In this article, you’ll learn how to use the Design section to create new templates, edit pre-built designs, apply templates to your content, and manage your templates with options like renaming, duplicating, and deleting.
Templates control how your courses, lessons, modules, and other school pages look to your students. Thrive Apprentice gives you a flexible template system—you can start from professionally designed pre-built templates or build your own from scratch. Once you have multiple templates, you can apply them to specific content and manage them all from one central dashboard.
Understanding the Design Section
The Design section is your central hub for managing all visual aspects of your online school. To access it:
- From your WordPress admin area, go to Thrive Dashboard > Thrive Apprentice.
- Click Design in the left sidebar.
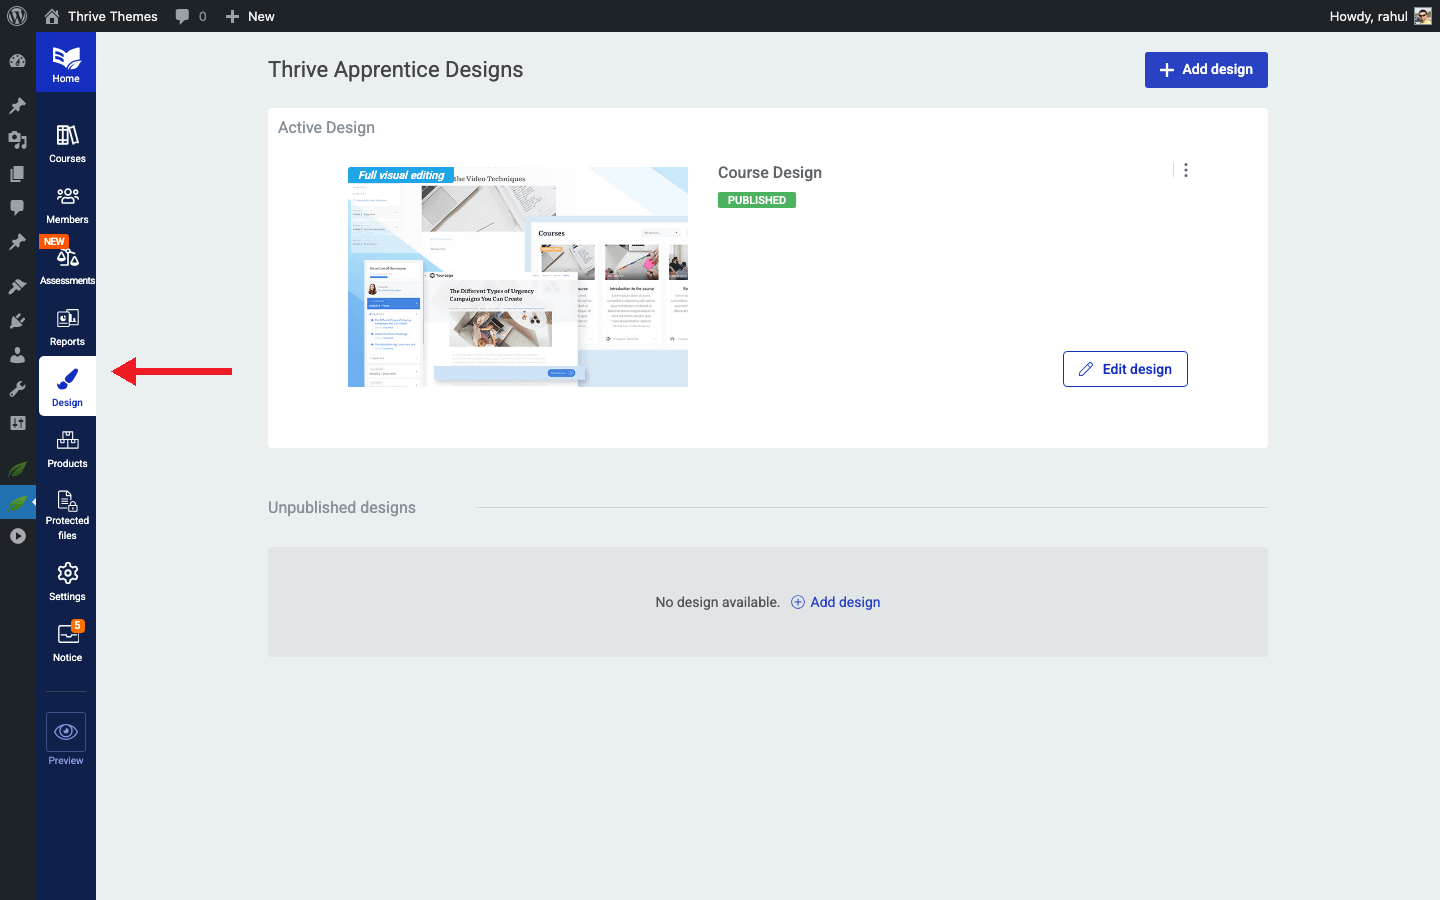
The Design dashboard displays all of your designs, organized into two groups:
- Published Designs — The currently active design that your students see on the front end.
- Unpublished Designs — Designs you have created or saved but have not yet made live.
From this dashboard, you can browse, edit, rename, duplicate, remove, and switch your active design.
Editing a Pre-built Design
Thrive Apprentice ships with pre-built designs that you can use as a starting point. To edit one:
- Navigate to Thrive Dashboard > Thrive Apprentice > Design.
- Locate the design you want to modify—either in the published or unpublished section.
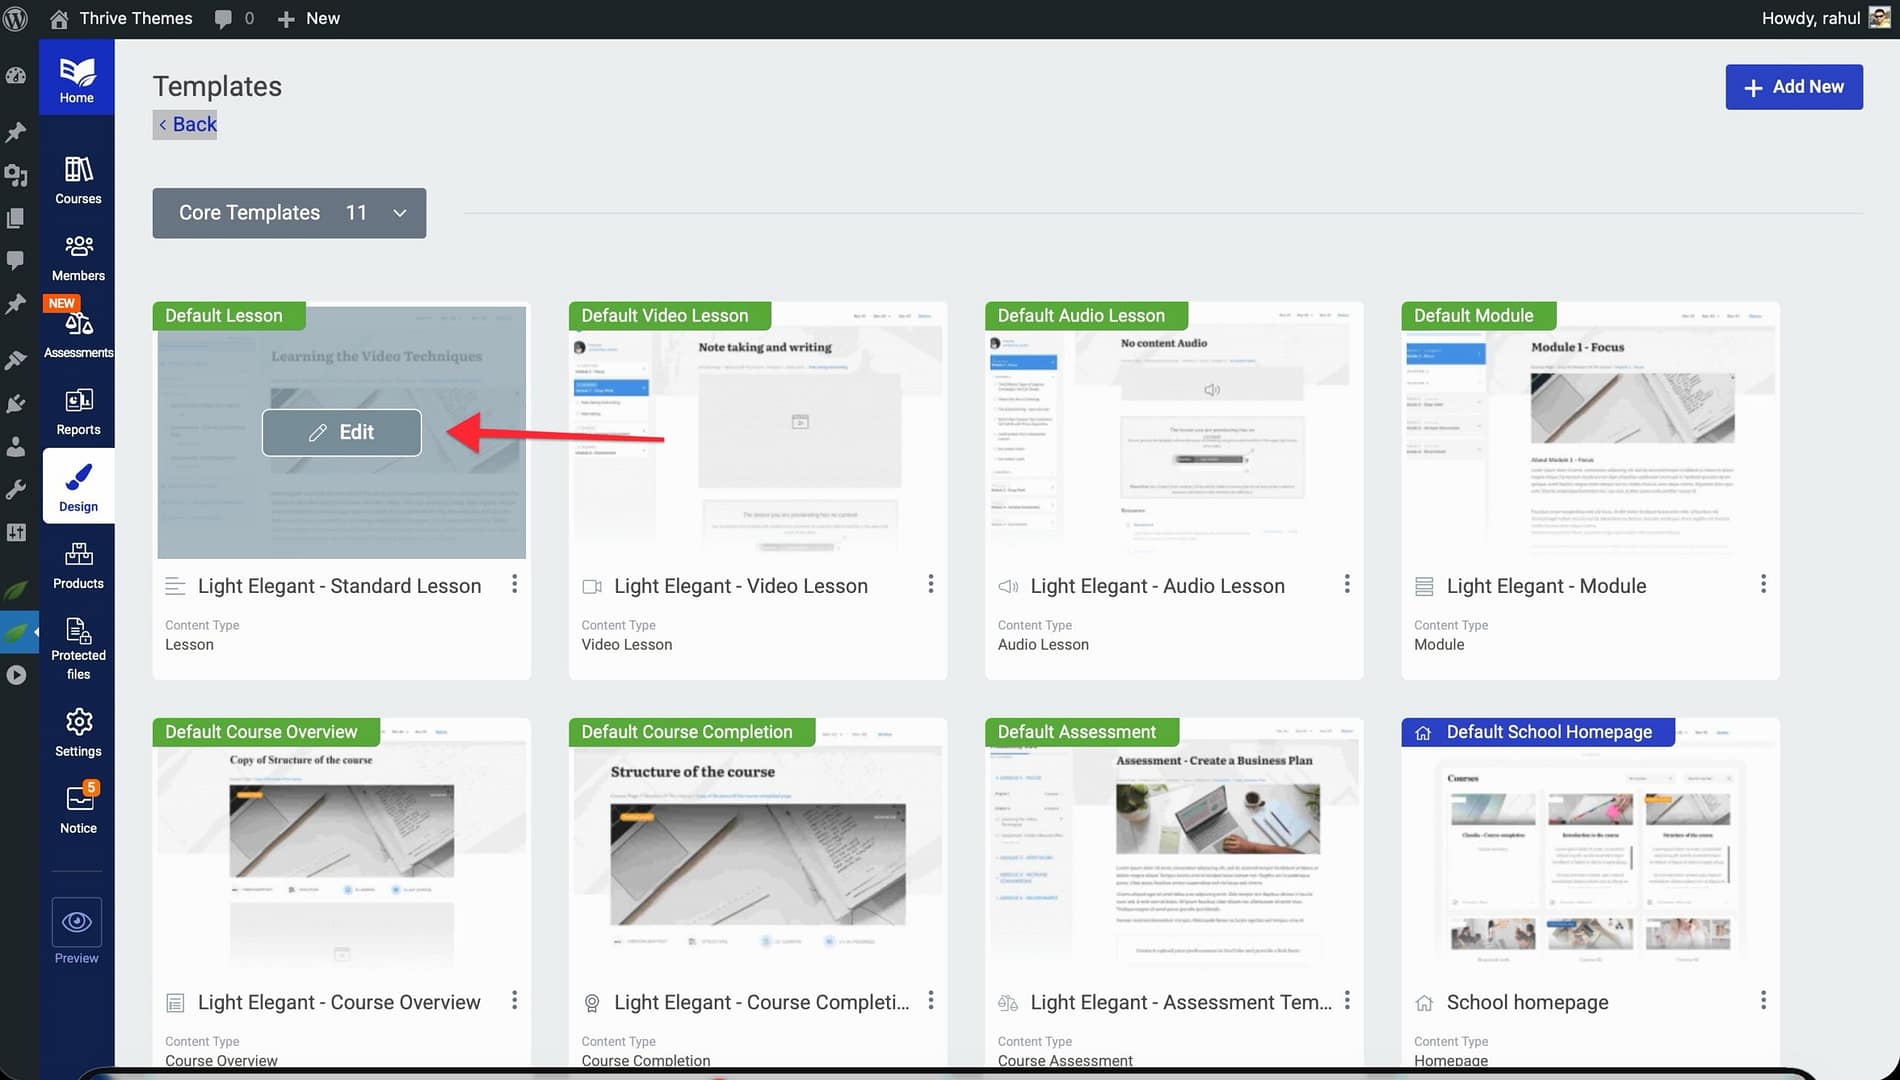
- Click Edit Design on the design block.
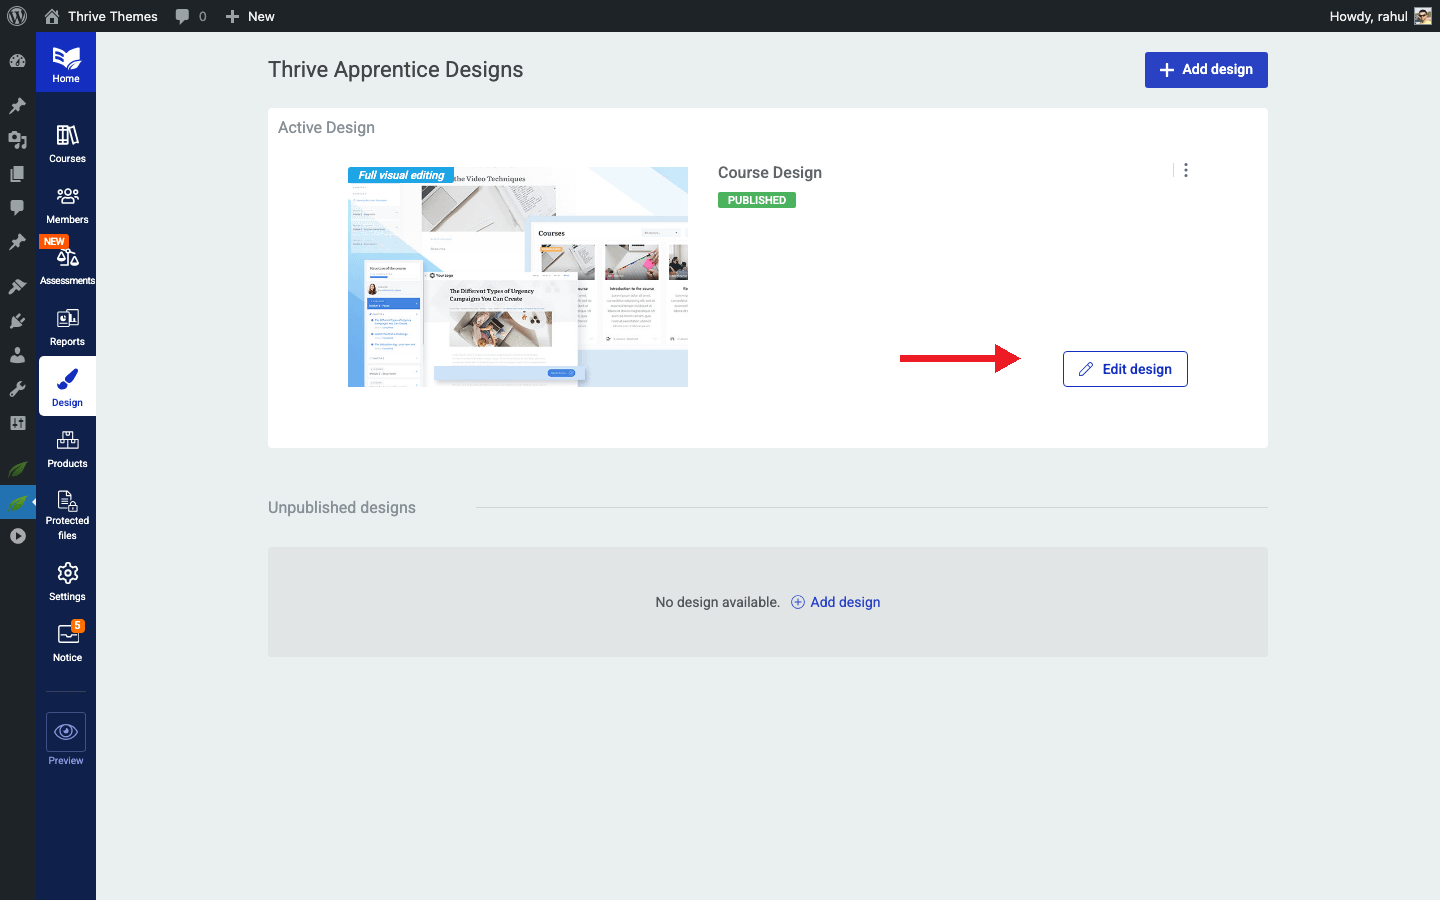
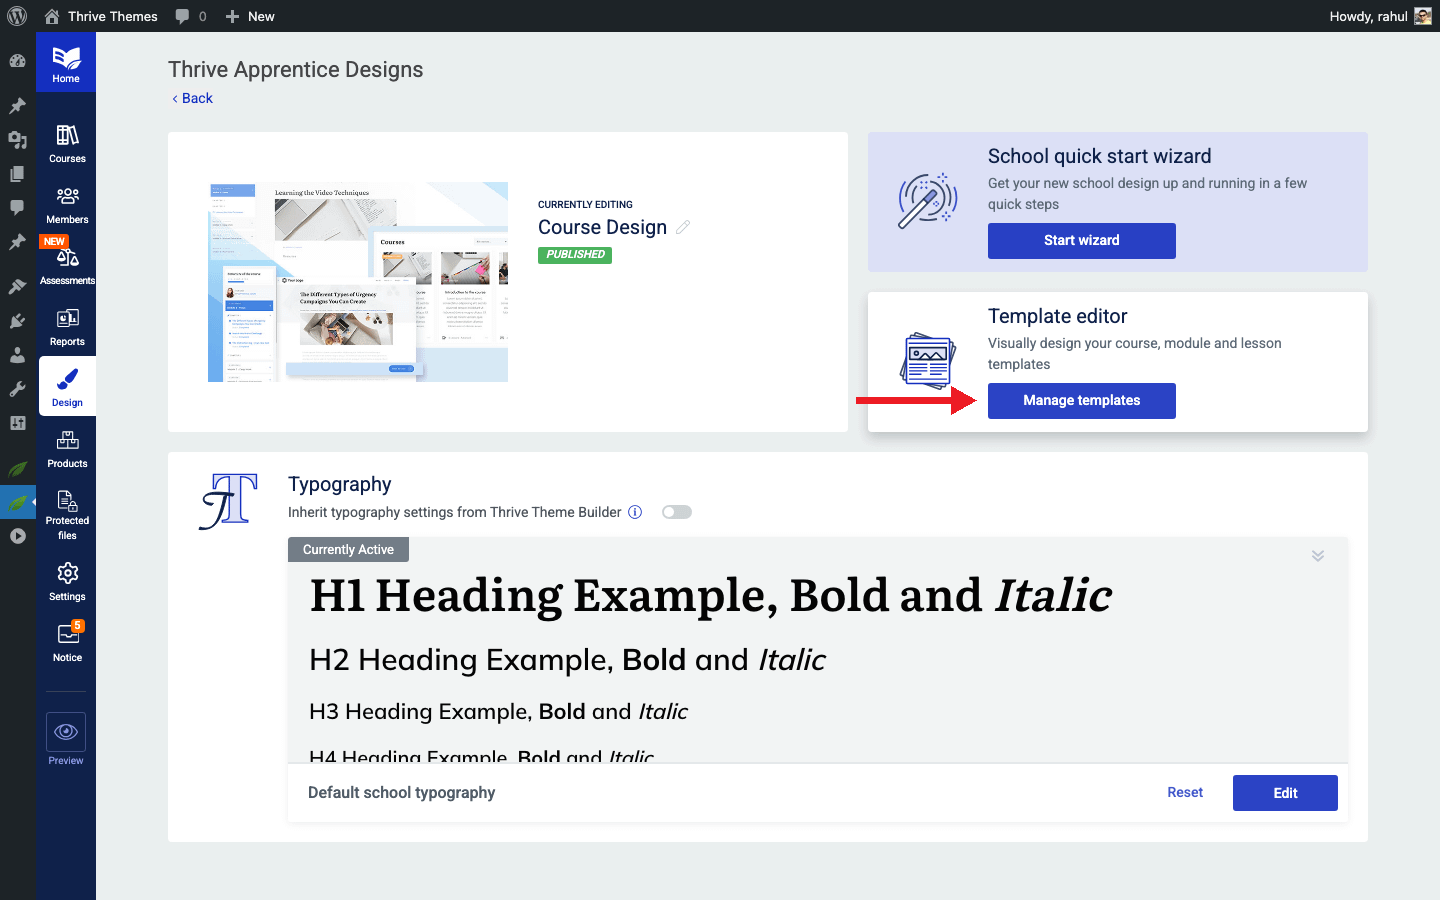
- You will enter the design editing dashboard, which shows all template types associated with that design (Course Overview, Lesson, Module, etc.).

- Click on any template type to open it in the visual editor.
- Customize the layout, colors, typography, and elements as needed.
- Click the pencil icon next to the design name if you want to rename it.
- Save your changes when finished.
Tip: Pre-built designs give you a polished starting point. Editing one is often faster than building from scratch, especially if you only need minor adjustments to match your brand.
Adding a New Design from Scratch
If you prefer to build your own design, you can create one from the ground up:
- Go to Thrive Dashboard > Thrive Apprentice > Design.
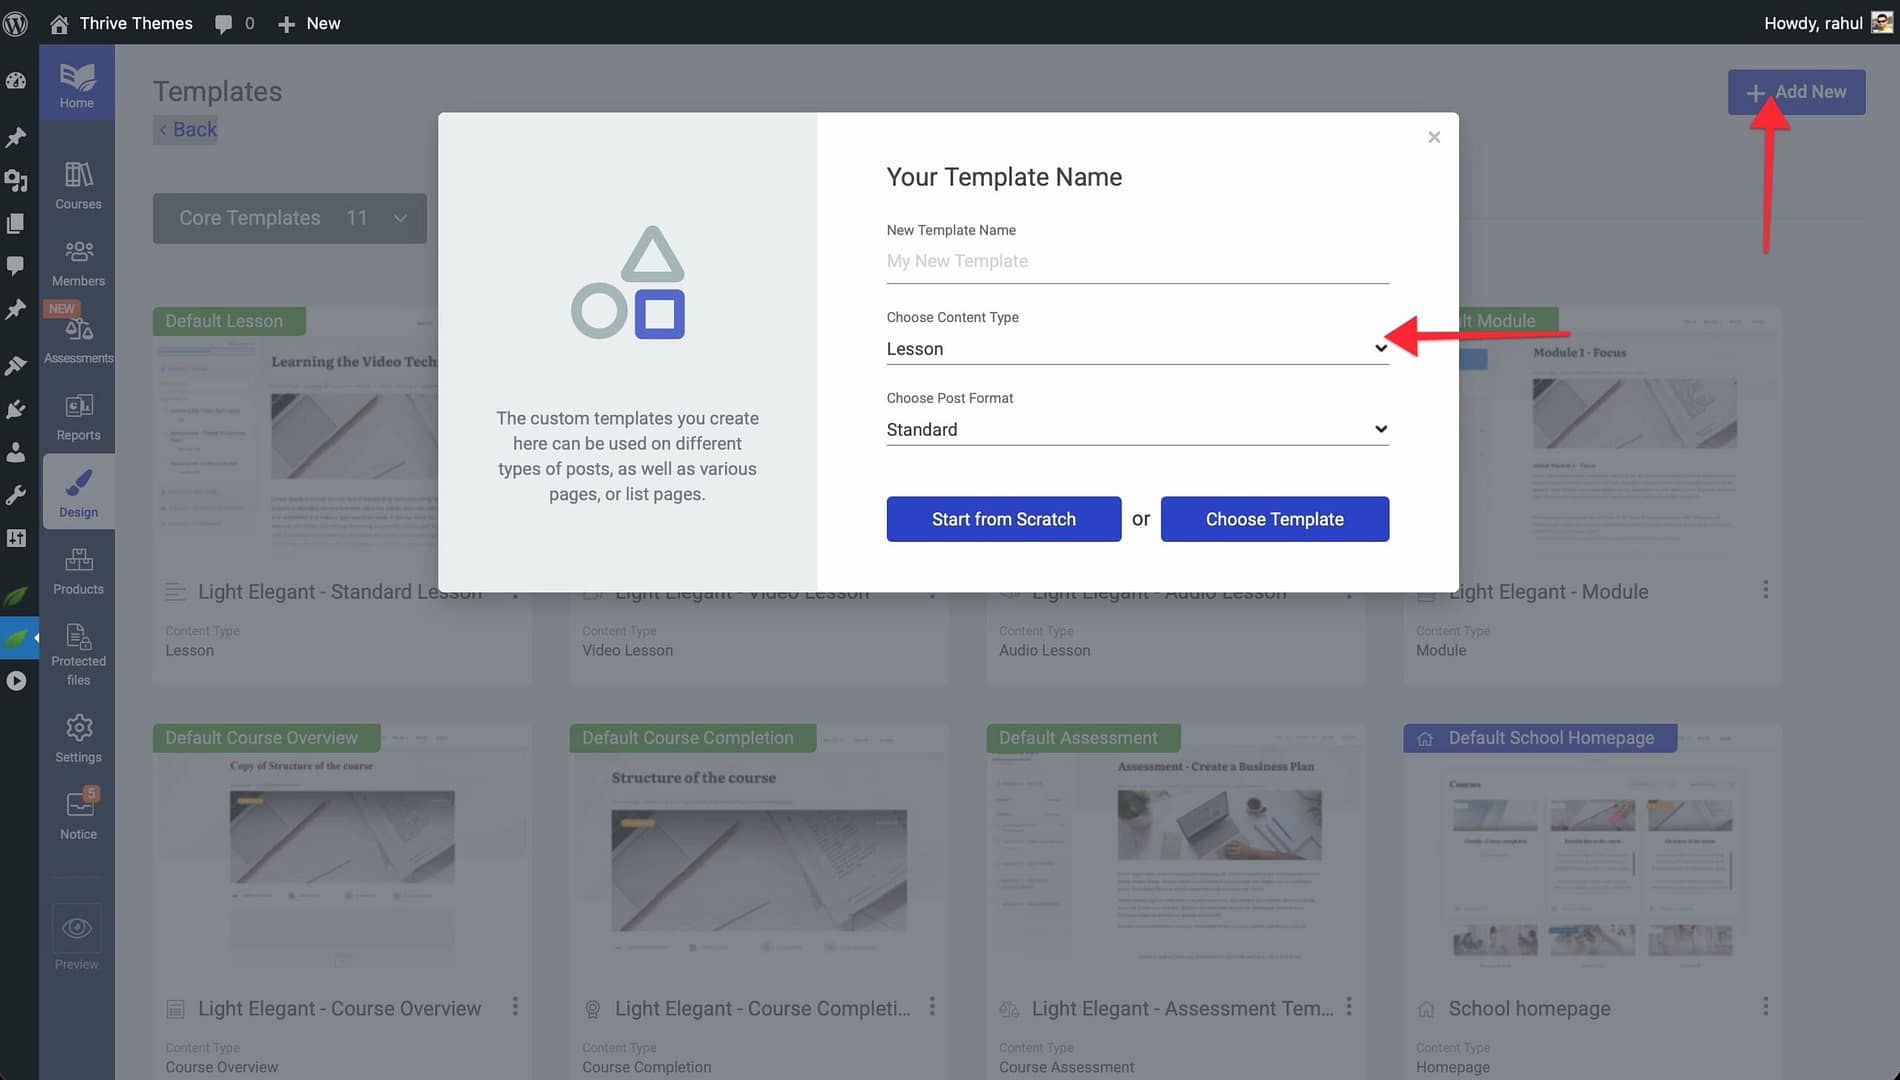
- Click the +Add Design button on the Design management page.

- In the dialog box that appears, enter a name for your new design.
- Click Create New Design to confirm.
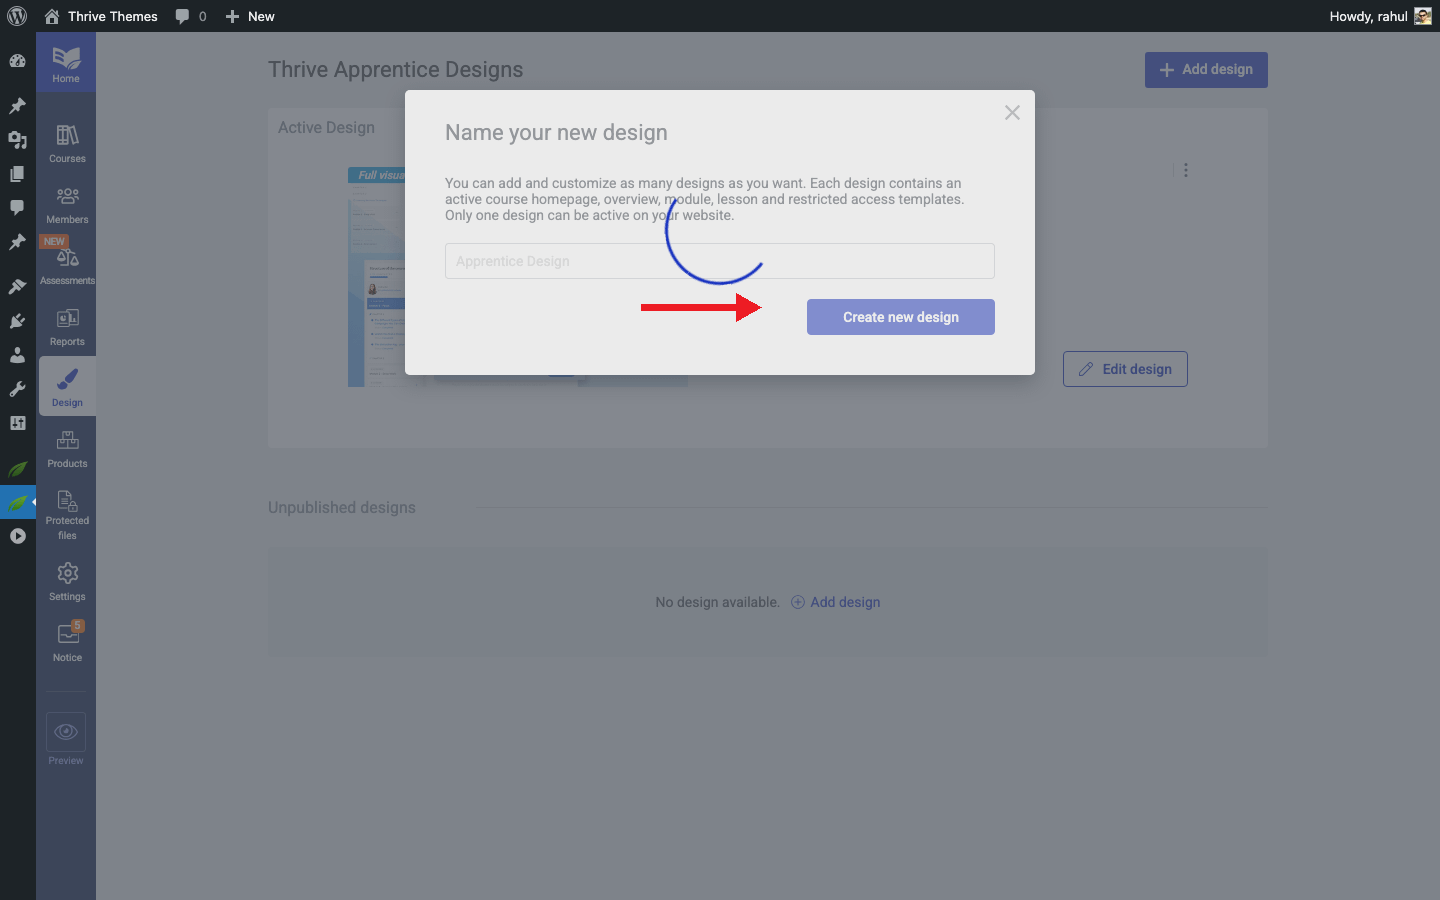
- Your new design will appear in the Unpublished Designs section.
- Click Edit Design on your new design block to begin building out each template type.
From here, you can add and customize templates for every page type in your school—including Course Overview, Lesson, Module, Course Completion, Access Restricted, Certificate Verification, Assessment, and School Homepage.
Creating and Using Templates Within a Design
Each design contains multiple template types. Thrive Apprentice offers the following template categories:
- Course Overview — Displays course details and structure to students.
- Lesson — Controls the layout of individual lesson pages.
- Module — Organizes grouped lessons within a course.
- Course Completion — Shown when a student finishes a course.
- Access Restricted — Displayed when a student lacks permission to view content.
- Certificate Verification — Used for verifying course completion certificates.
- Assessment — Controls the layout of assessment pages where students complete quizzes or evaluations.
- School Homepage — The main landing page for your online school.
To create a new template within a design:
- Open your design by clicking Edit Design.
- Navigate to the template type you want to add (e.g., Lesson).
- Click the option to add a new template for that type.
- Choose whether to start from a pre-built template or build from scratch.
- Customize the template using the drag-and-drop visual editor.
- Save your work.
Applying a Template to Content
Once you have created templates, you can apply them to specific courses, lessons, or modules:
- Open the course, lesson, or module you want to update.
- Hover over Edit button and Edit with Thrive Architect.
- In the left sidebar, locate the template settings for your content.
- Select the desired template from the available options.
- Save your changes.
Note: The same process works for applying templates to courses, lessons, and modules. You can mix and match templates across different pieces of content to create a varied but cohesive learning experience.
Managing Templates with Basic Options
Thrive Apprentice provides several management options for your templates:
Renaming a Template
- Open the design containing the template by clicking Edit Design.
- Locate the template you want to rename.
- Click the pencil icon next to the template name.
- Enter the new name and confirm.
Duplicating a Template
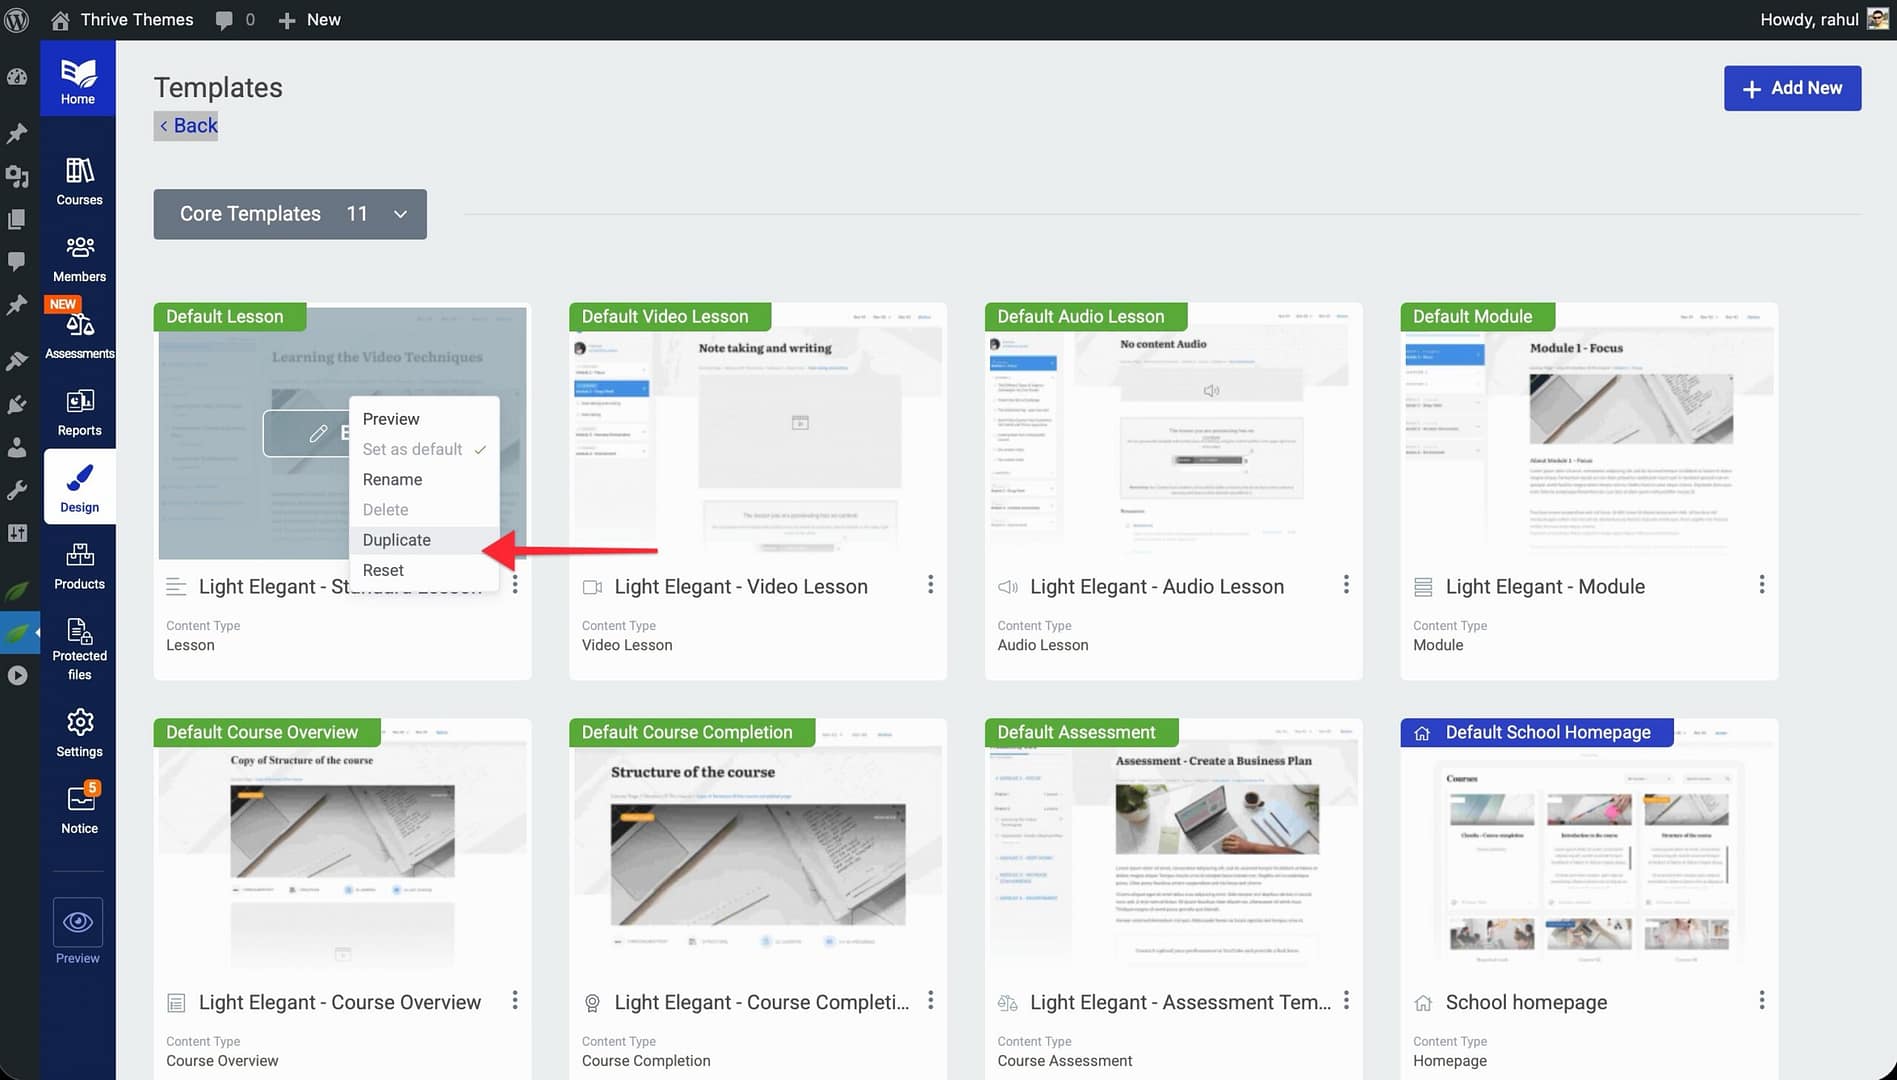
- Open the design and locate the template you want to copy.
- Click the Duplicate option on the template.
- A copy of the template will appear in your template list, ready for further customization.
Deleting a Template
- Open the design and locate the template you no longer need.
- Click the Delete option on the template.
- Confirm the deletion when prompted.
Conclusion
That’s it! You’ve successfully learned how to navigate the Design section, create new designs and templates, edit pre-built designs, apply templates to your content, and manage templates using rename, duplicate, and delete options. With these tools, you have everything you need to build a polished, professional-looking online school.
Related Resources
- Getting Started with the Visual Editor — Learn how to access the Visual Editor and switch between editors.
- Template Types Reference — A detailed guide to each template type, including what it controls and when students see it.
- Working with Video — Add video descriptions, control placement, and enforce video completion requirements.