When you’re the admin of a WordPress-built website, you can give users the ability to make changes to your site. The capabilities of each user will be provided by the user role you’ve assigned to them.
There are a few fundamental user roles that every WordPress website comes with. From there on, depending on the additional plugins that you’ve set up in the backend of your site, new roles will be added to your user roles list.
Moreover, you can add custom user roles, using plugins such as the ‘Members’ plugin. You can find a step-by-step guide a bit later in this article.
User roles and description
As previously mentioned, a fresh WordPress install comes with a few core user roles:
Super-Administrator
Administrator
Editor
Contributor
Author
Subscriber
You can find detailed descriptions of each of these user roles in this WordPress.org article:
However, some plugins will add more possible user roles to your site (such as “Shop Manager”, “Translator”, etc.)
We have written an article in which we’ve described some of the possible user roles that come with certain plugins (translation plugins, e-commerce plugins, etc. ) and you can find it here:
Depending on the purpose of your website and what you want to achieve, you can decide which user role to be granted in different situations.
For example, if you are offering a Thrive Apprentice course for logged-in users only, you will set up that course so that it is only available for users with the “Subscriber” user role.
User roles in Thrive Themes Products
There are a few locations when using Thrive Themes products where user roles are relevant.
Thrive Apprentice
In Thrive Apprentice, when setting up a product in which you can add courses and other types of content, you are able to set up the access requirements for that product:
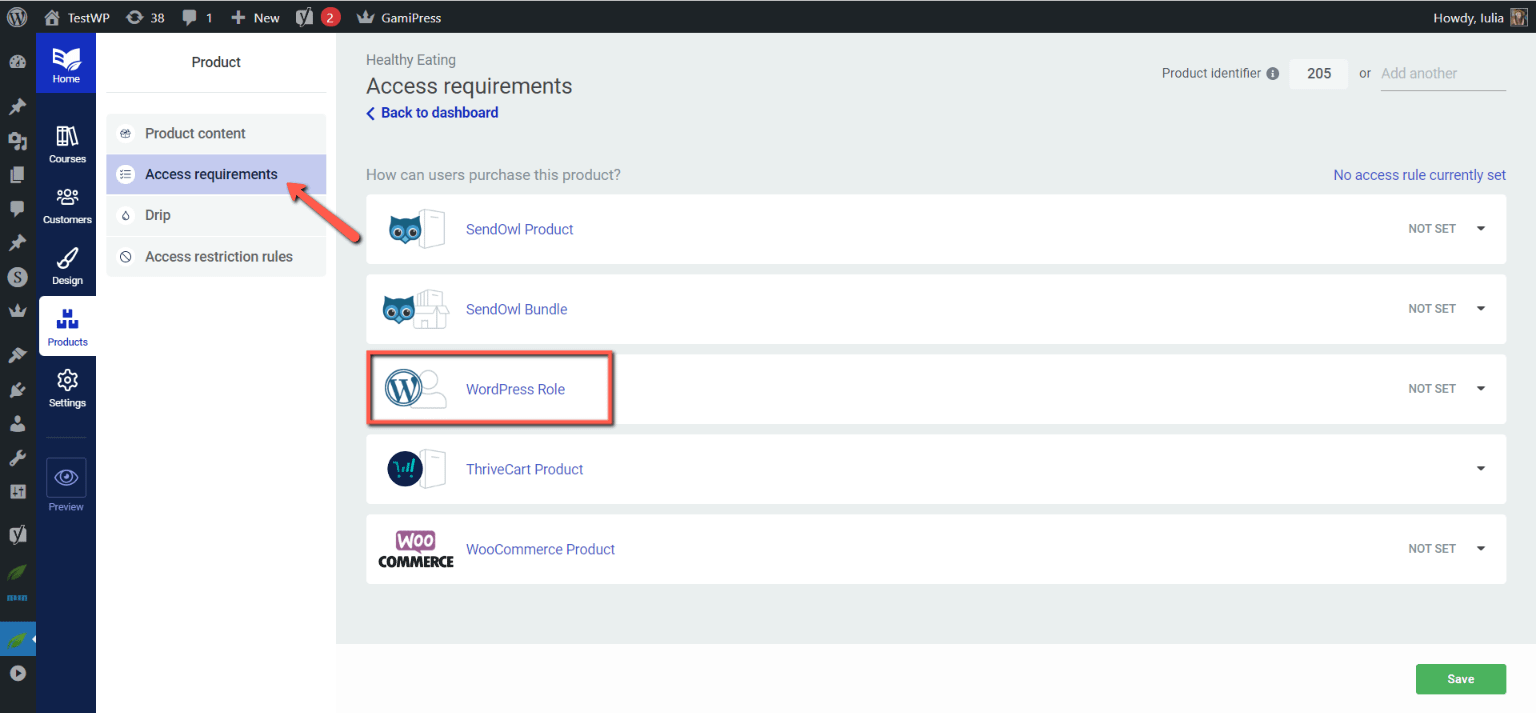
You can set up different requirements that need to be fulfilled in order for the product to be available to the user. One of the criteria that can be used here is the “WordPress Role”:

If you are providing courses that are only available for logged-in users, the most common user role would be the “Subscriber” one. And that is usually the case for a membership site/ course platform, even online stores and so on.
Thrive Automator
In Thrive Automator, user roles can be used in a few different ways:
You can create automations using the “Role is added to a user” start trigger:
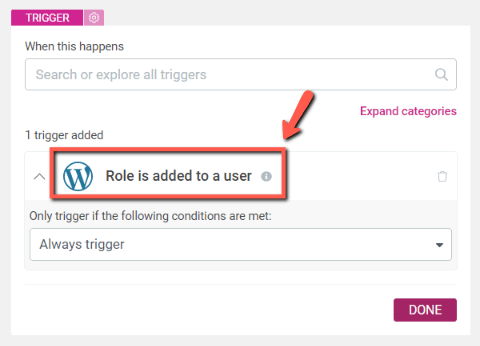
This will start the automation if one of your users gets assigned a different role.
You can create automations with start triggers that are not necessarily related to user roles, but add conditions related to user roles so that the automation starts if the trigger event happens and the user has a specific user role:
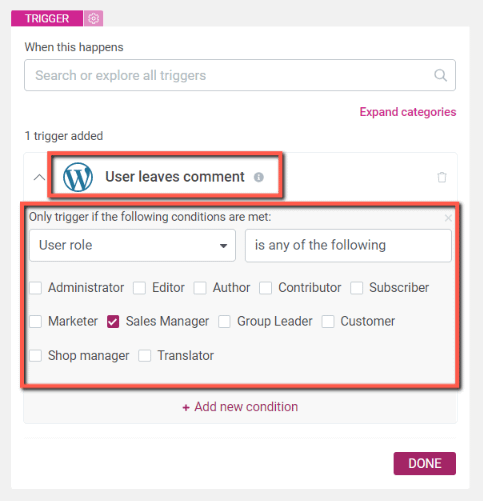
This way, even if the automation start trigger is not directly related to the role of that user, you can still create conditions to only start the automation for the users that meet the ‘user role’ rule.
In between actions and triggers, filters can be added, and that can be a filter such as ‘if user role = subscriber’;
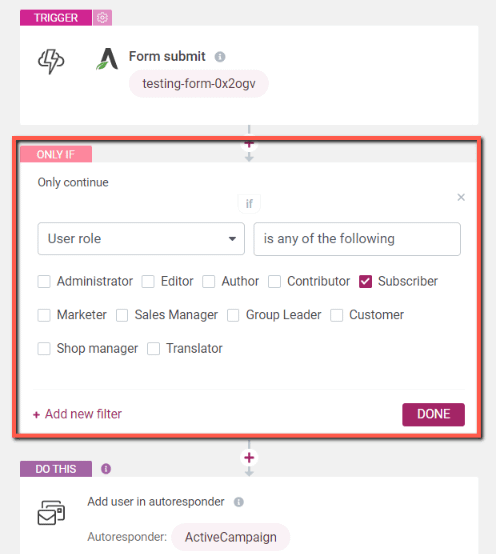
Thrive Architect and Thrive Leads (Lead Generation element)
In Thrive Architect and Thrive Leads, we are using “Lead Generation” elements that are essentially forms that can be connected to various services.
One option you have when setting up a “Lead Generation” element is to create the “WordPress Account” connection, so that when someone uses the form, a WordPress account will be created for them.
Here are some articles with more information about that:
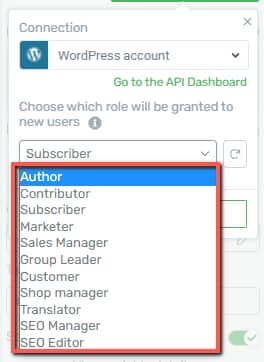
When you create the “WordPress Account” connection, you will be able to choose the user role to be granted to each user that fills in that form:
|
Note: To access a Thrive Leads form, open the lead group in which the form is situated and click on the “Edit Design” button:  This will open the Thrive Leads form in the Thrive Architect editor, where you’ll have access to editing the “Lead Generation” form itself: 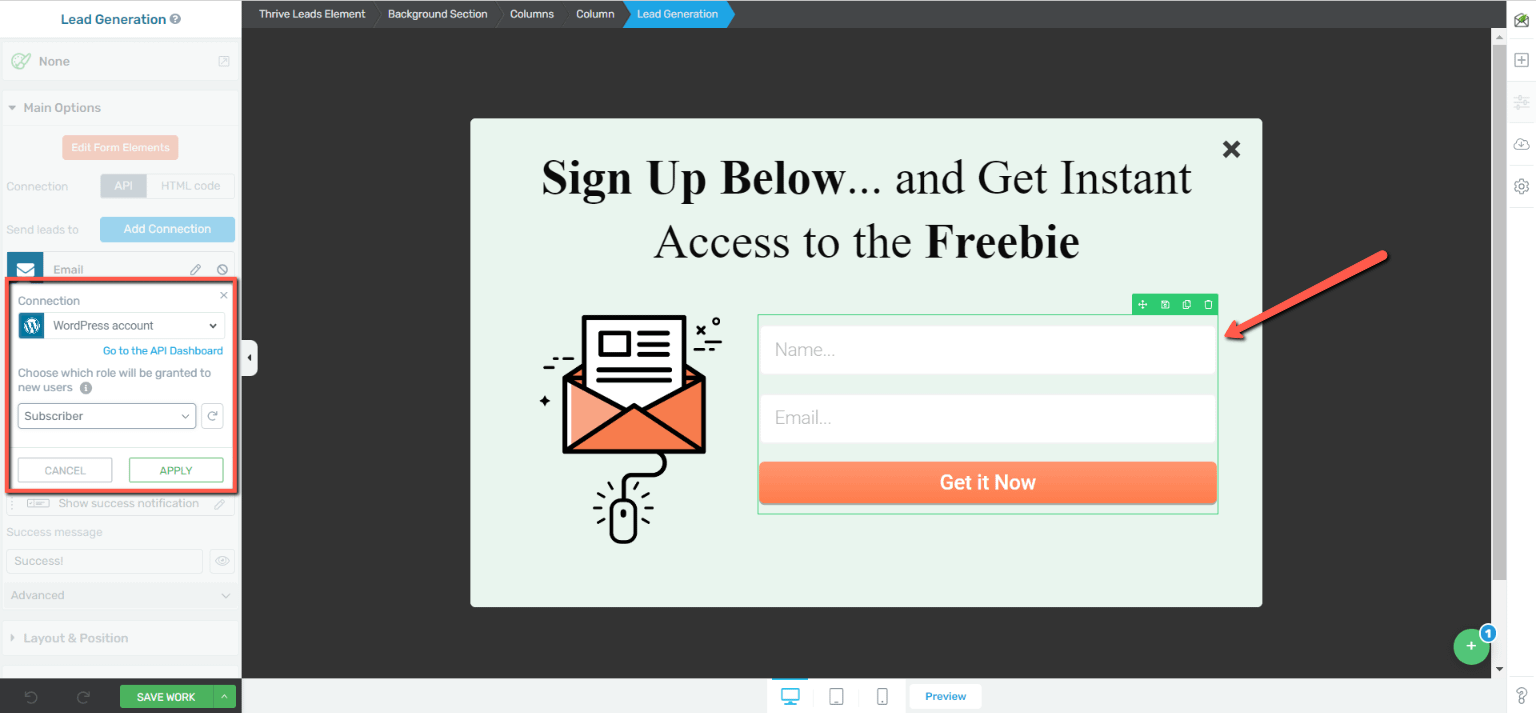 |
We have written a separate article that explains how to differentiate between the WordPress user roles when setting up the Lead Generation element, and you can check it out here (also mentioned earlier in this article):
How to add a new user role
In some cases, you might need to create custom user roles on your site. Creating a new (custom) user role can be easily done using a third-party plugin called Members, by MemberPress.
We have gone through each step of doing so in this article, so make sure you check it out if needed.
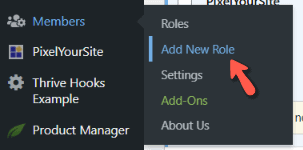
In short, you should start by installing the plugin on your website, just like you would normally do with any other plugin. Once installed, you are immediately able to create a new role:
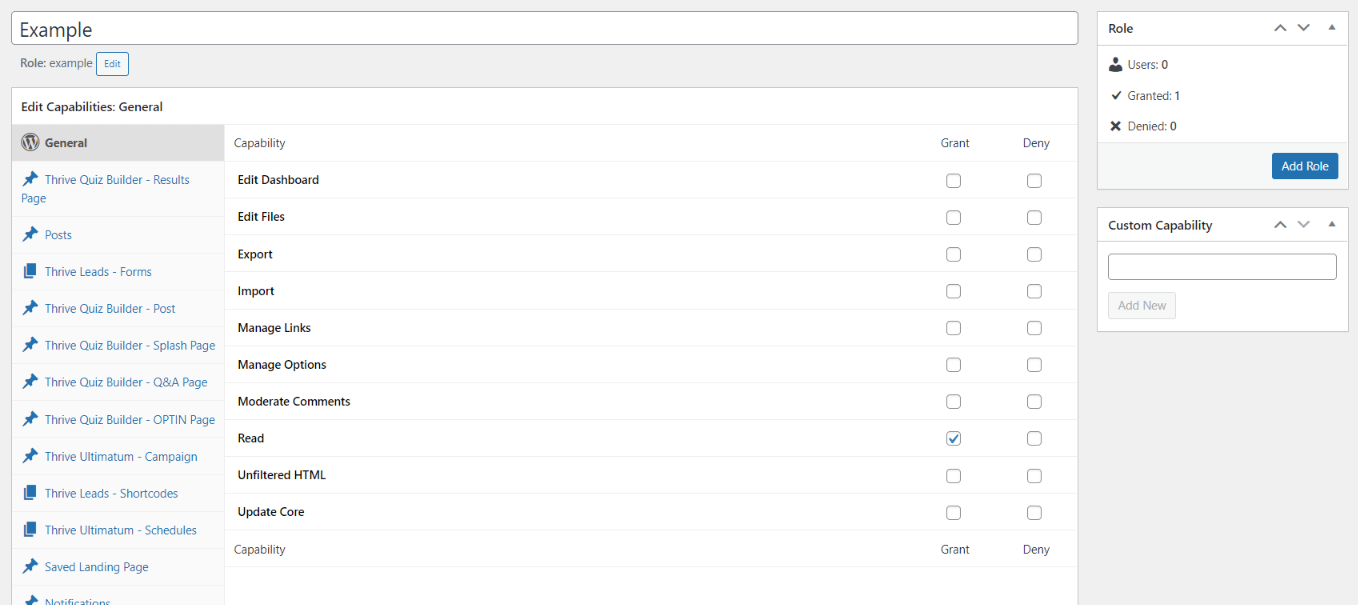
From there on, you can set the capabilities of this new role:
And lastly, save everything and add the role:
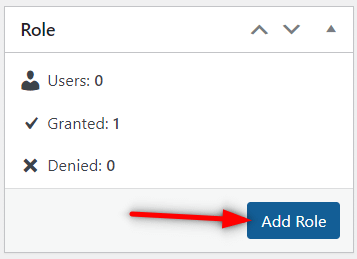
You will then be able to use and assign this new role as needed.
Edit existing WordPress roles
Lastly, if you’re looking for a way to edit existing user roles, that can be done from the “Roles” section of the “Members” plugin:
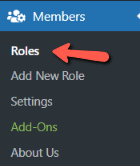
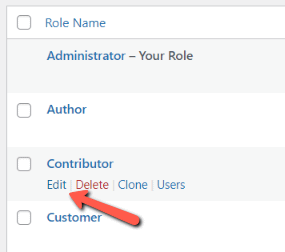
All you have to do is find the user role that you want to customize, hover over it to click on “Edit” and change its capabilities:
This is how you can add/customize WordPress user roles, as well as where user roles can be used in Thrive Suite products.
Hopefully, this was a helpful article.
Here are some more relevant articles from our knowledge base: