This guide will show you how to add CSS hover animations to elements in your Thrive Leads opt-in forms. By applying animations to both the normal and hover states, you can create engaging and interactive forms that capture your visitors’ attention.
Getting Started
Before you can add animations, you need to have an opt-in form set up in Thrive Leads. If you haven’t created a form yet, please refer to our Getting Started with Thrive Leads guide.
Once your form is ready, follow these steps to access the editor:
- From your WordPress admin panel, go to Thrive Dashboard > Thrive Leads.
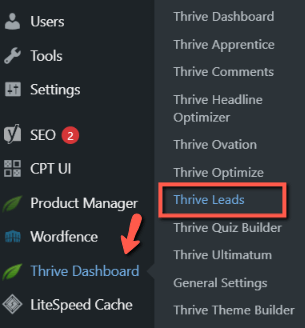
- Find the form you want to edit and click Edit Design.

Applying Animations
You can apply animations to any element on your form, such as an image or a button. In this guide, we will use an image as an example.
Normal State Animation
The normal state animation is triggered when the element first comes into the viewport.
- Select the element you want to animate.

- In the left sidebar, open the Animation & Action section.
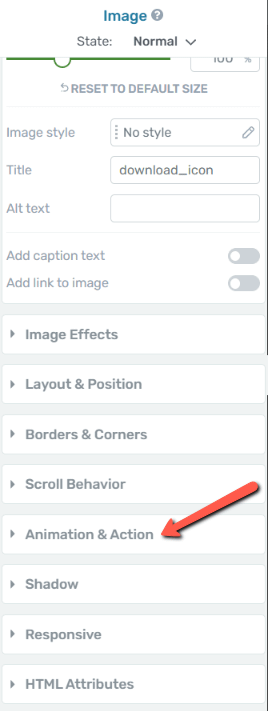
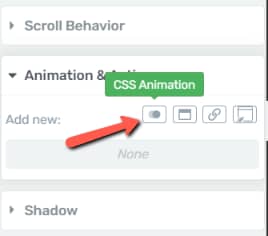
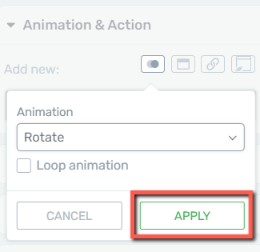
- Click on CSS Animation.
- Choose an animation from the list. You will see a live preview of the animation on your selected element.
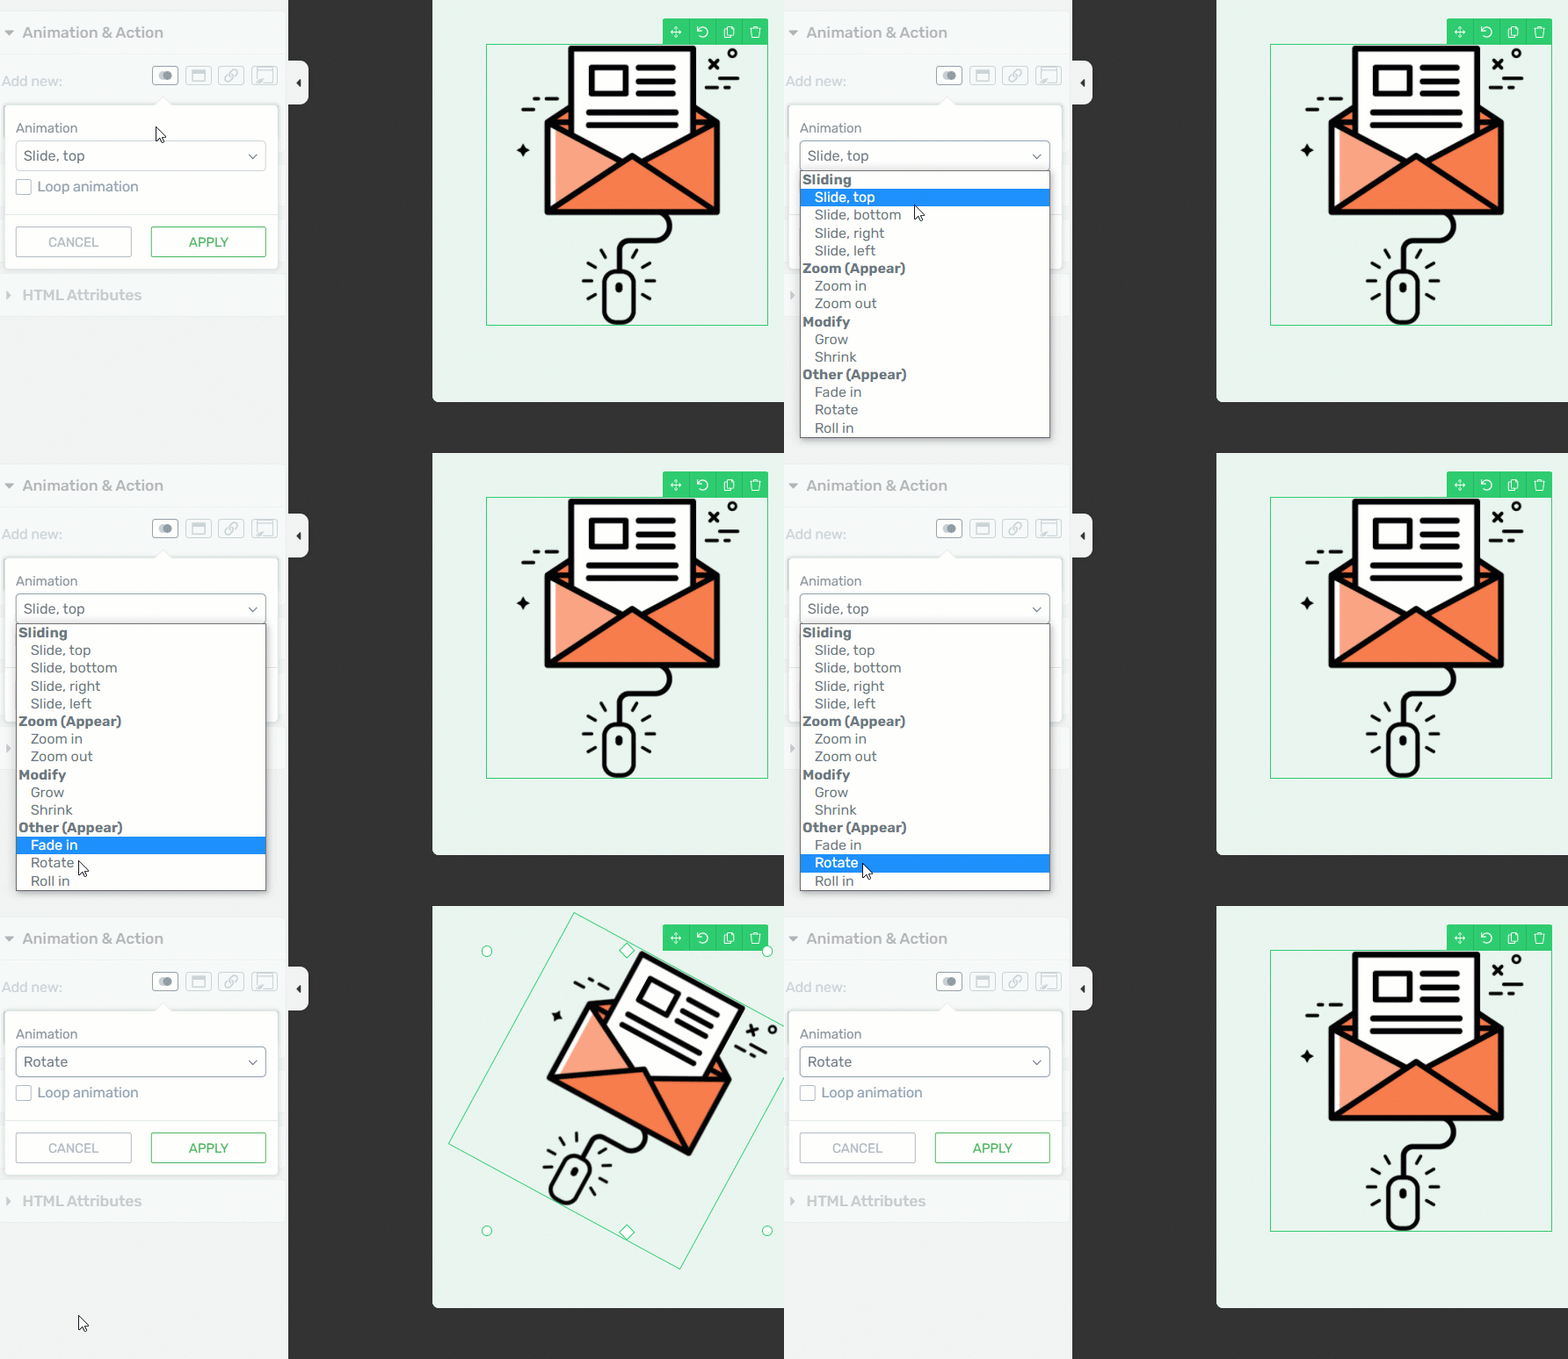
- Click Apply to save the animation.
Hover State Animation
The hover state animation is triggered when a user hovers their mouse over the element.
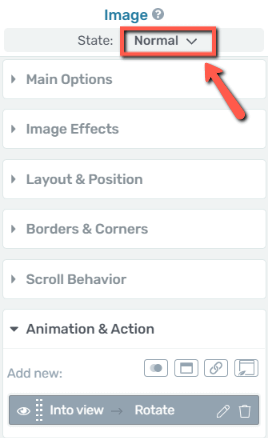
- With the element still selected, click on the State dropdown at the top of the sidebar and select Hover.
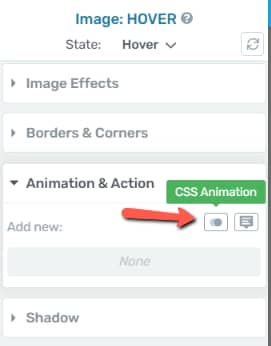
- Open the Animation & Action section again and click on CSS Animation.
- Choose a different animation for the hover state.
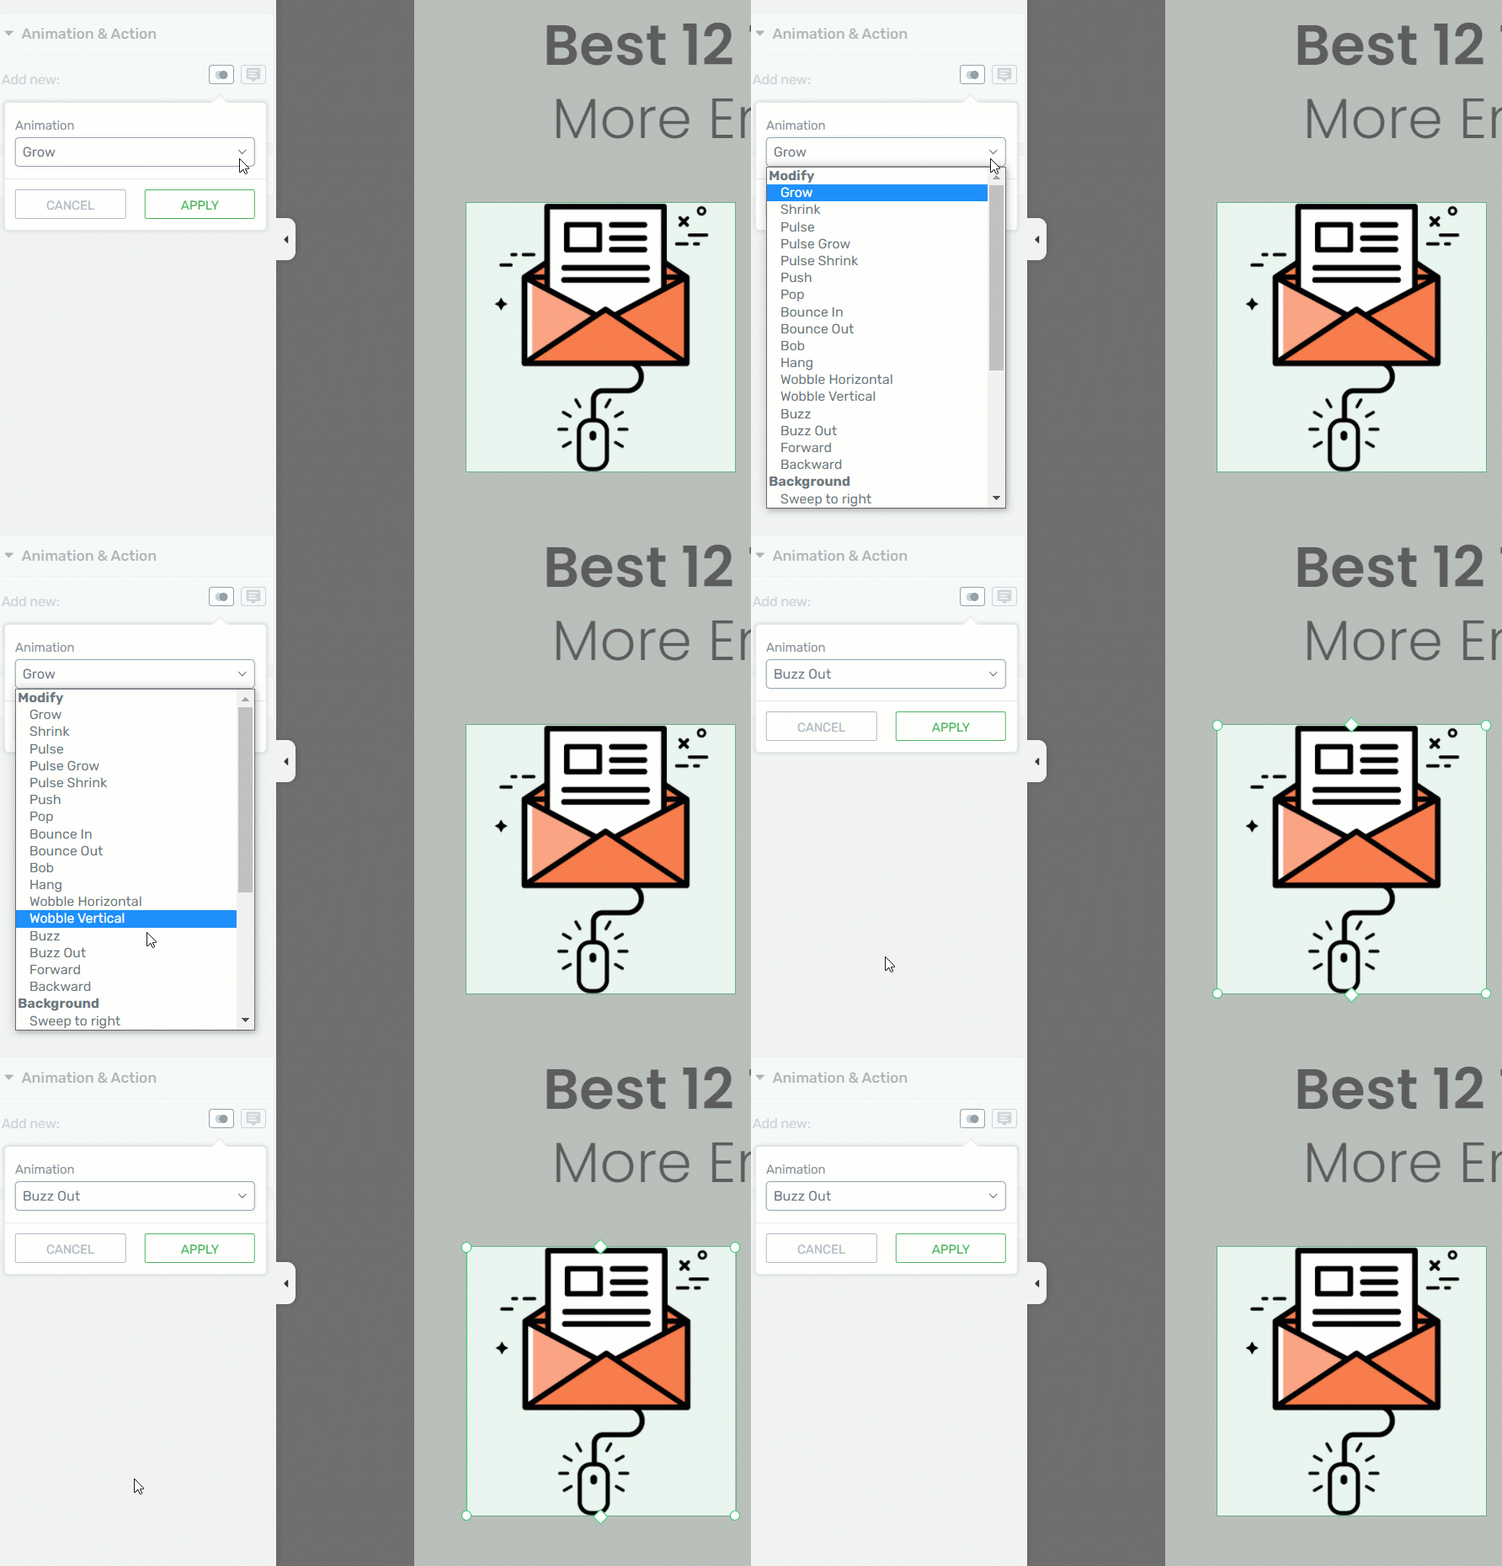
- Click Apply to save the animation.
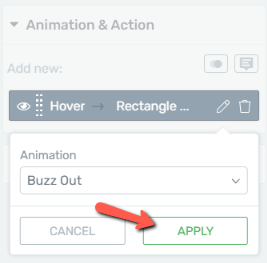
After completing these steps, your element will have two separate animations: one for when it enters the viewport and another for when it is hovered over.
For more tutorials and guides, please visit our Thrive Themes Knowledge Base.