This article will show you how to add custom CSS to your posts or pages using Thrive Architect.
The first thing you need to do is to edit the page or post you want to add the custom CSS to with Thrive Architect.
It should look something like this:
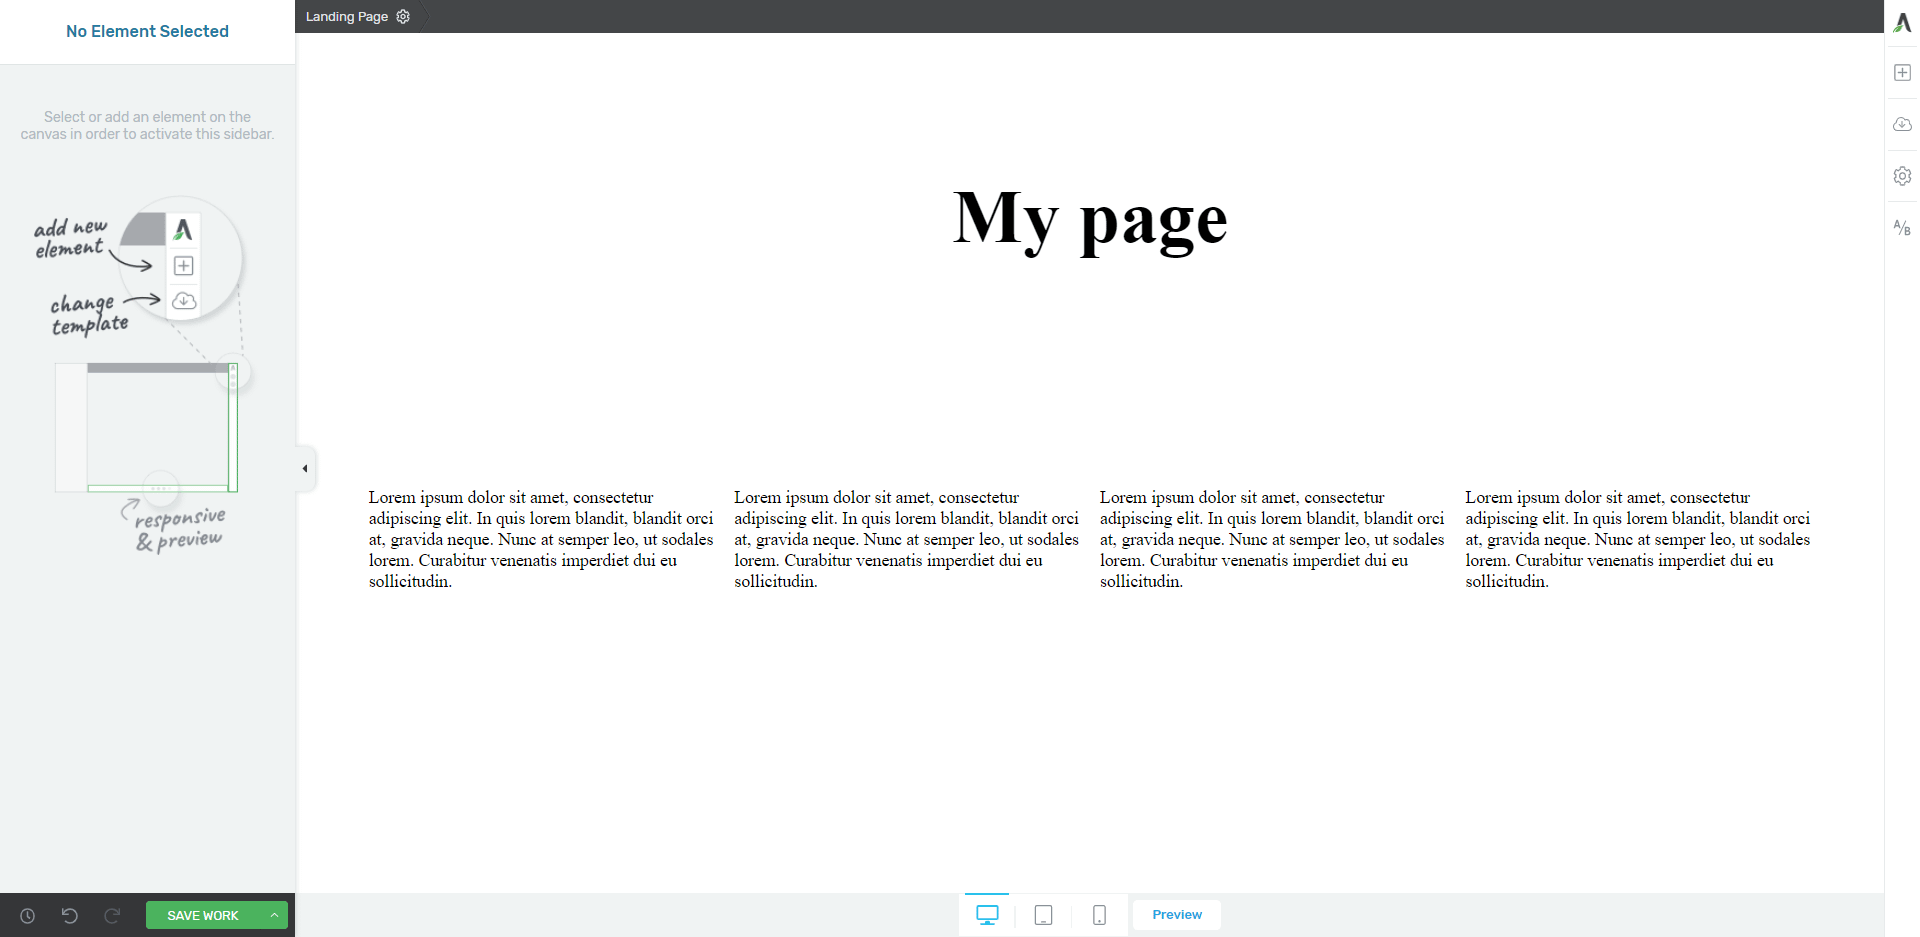
Select the element you want to edit. In this case, we will edit a “Text” Element and make the text written in bold using custom CSS:
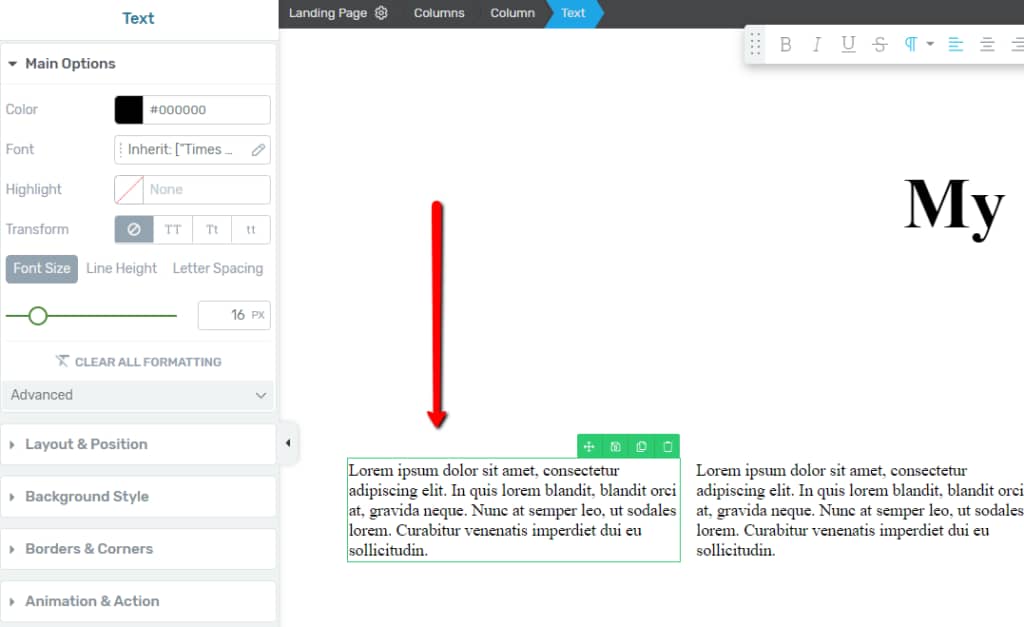
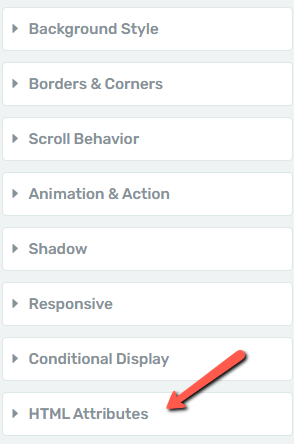
You will see the options in the left sidebar of your editor. Scroll down to the “HTML Attributes” option and click on it:
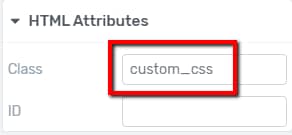
Since you’ve already selected the element that you want to modify, you now have to name it in the “Class Section”. In this case, I used the name “custom_css”:
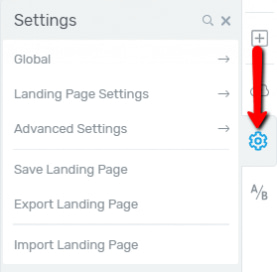
Next, go to the right sidebar, click on “Settings” (the gear icon) and choose “Advanced Settings”:
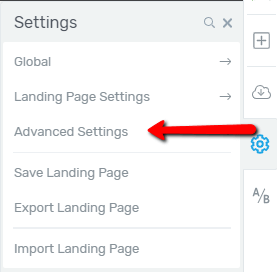
Click on “Custom CSS”:
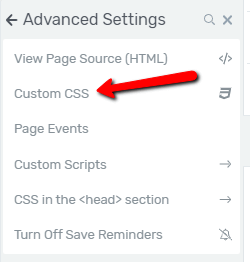
The custom CSS layout will pop up on your screen. You can now start typing.
Simply write the Class Name that you chose before, in the Class section, with an added dot in front of it (i.e. “.custom_css”). Also type a “p”, since you are adding the CSS to a paragraph.
Then, open a bracket, write “font-weight”, and “:bold;”. It should look like this:

Now save and close the CSS window from the right side of the screen by clicking on the check sign:

Your paragraph should now be written in bold:
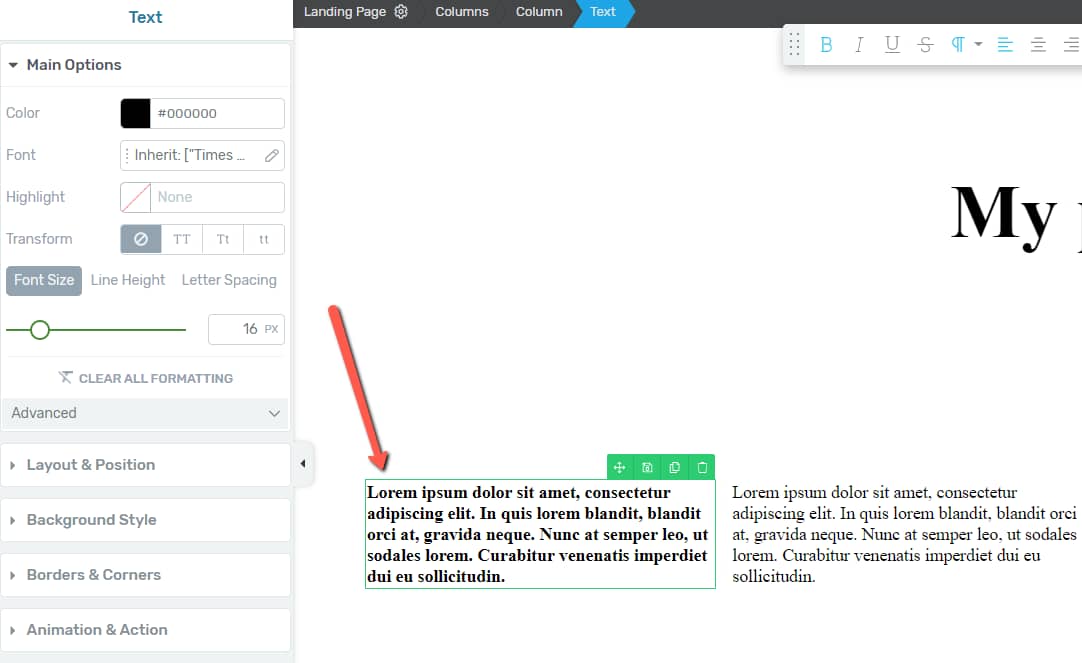
And there we go! It’s that easy to add Custom CSS on a page or a post using Thrive Architect. If you enjoyed this article, don’t forget to let us know and rate us below.