Adding custom fonts to your Thrive Theme Builder Theme can be very easily done.
In order to upload custom fonts to a theme, you will need to install and activate the “Custom Fonts” plugin. The steps in which you can do that are described in this article, so make sure to read it if you need help with this.
After installing and activating the plug-in, make sure to add the new custom fonts. The way to do that is described in the same article, here.
Use the Custom Fonts in Thrive Theme Builder
Now that the custom fonts have been added, you can start using them on your theme. You can either use the custom fonts inside the templates that you want, while editing the templates with the Thrive Theme Builder Editor, or you can add the custom fonts directly to your typography sets.
Use the Custom Fonts on a Template
If you want to use the custom fonts on the theme templates, you can apply them to any “Text” element from your templates.
Firstly, you need to access the Thrive Theme Builder Dashboard. Then, go to the “Templates” section from the left sidebar:

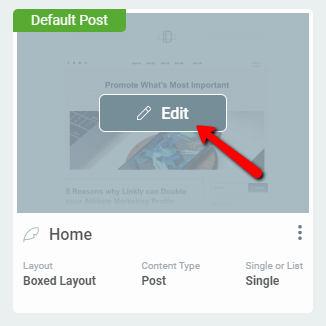
Here, go to the template that you want to edit, and hover over it. Then, click on the “Edit” button:
This will open the Thrive Theme Builder Editor in a new tab. What you have to do now is click on a “Text” element on which you want to use the custom font. The options of the “Text” element will appear on the left sidebar.
Go to the “Fonts” section and click on the field next to it:

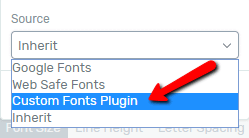
Then, go ahead and click on the field below the “Source” option, in order to open a drop-down with the sources. Choose the “Custom Fonts Plugin” source:
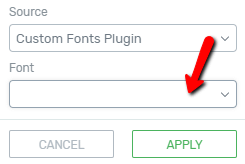
Click on the “Font” field, below the “Source” one, in order to open the list with the custom fonts that you have previously added in the plug-in:
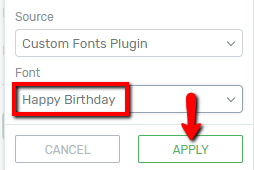
From the drop-down, choose the custom font that you want to use, and then click on the green “Apply” button:
The font will then be applied to the “Text” element:

This is how you can apply a custom font to any “Text” element, in the Thrive Theme Builder Editor.
Use the Custom Fonts in a Typography Set
Besides using the custom fonts in order to edit “Text” elements one by one, you also have the option to use the fonts in a typography set, which you can then globally use in various templates. Here is how you can do that:
In the Thrive Theme Builder Dashboard, go to the “Typography” section from the left sidebar:

Here is where you will see all of your typography sets. You can either create a new typography set, and add the font to that, or you can edit an existing set. For this example, I will edit an already existing set, but you can check out this article if you want to find out how you can manage a typography set.
The editing process will be done in the Thrive Theme Builder Editor. In order to start editing the typography set, click on the pencil icon:
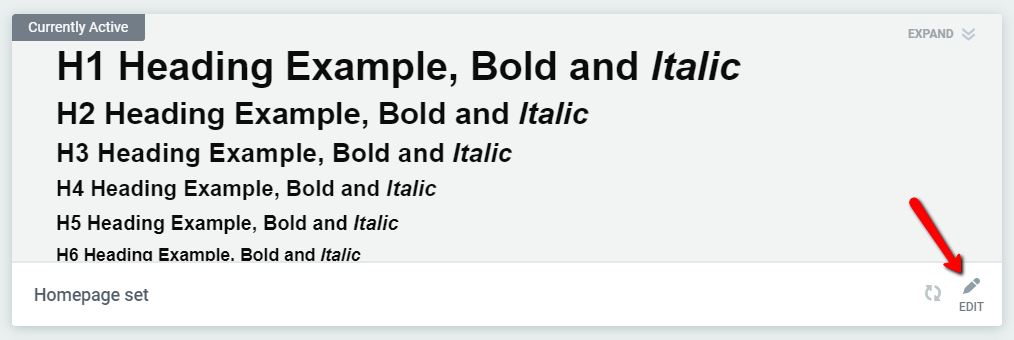
This will open the set in the Thrive Theme Builder Editor. From here, you can then select each heading or paragraph and change the fonts to them, following the exact steps, just as the ones described above:
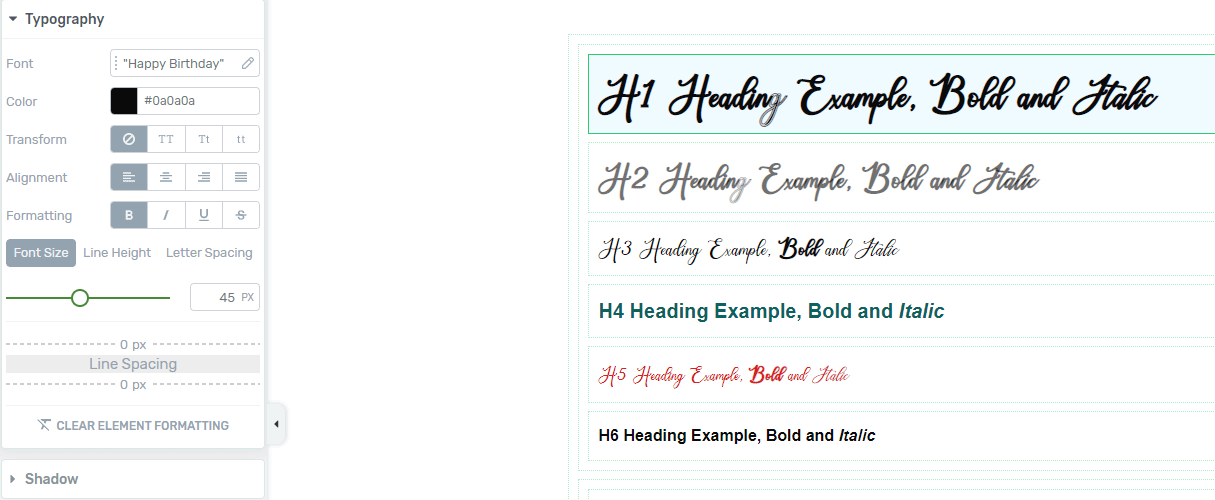
When you’re done customizing the fonts, make sure to save the changes by clicking on the green “Save Work” button from the bottom left side of the editor:

Inserting the custom fonts into a typography set will make it easier for you to modify the fonts from all of the templates at once. This comes in handy if you want to use a custom font all over your website.
If you need more information about how you can set up and manage typography sets, make sure to read this article, which goes into more details about this.
Also, for more Thrive Theme Builder articles, you can check out this knowledge base section.