This Thrive Automator action allows you to create data mappings from a third party service to internal datasets.
The “Advanced mapping” action will be available whenever the start trigger of an automation has custom mappings:
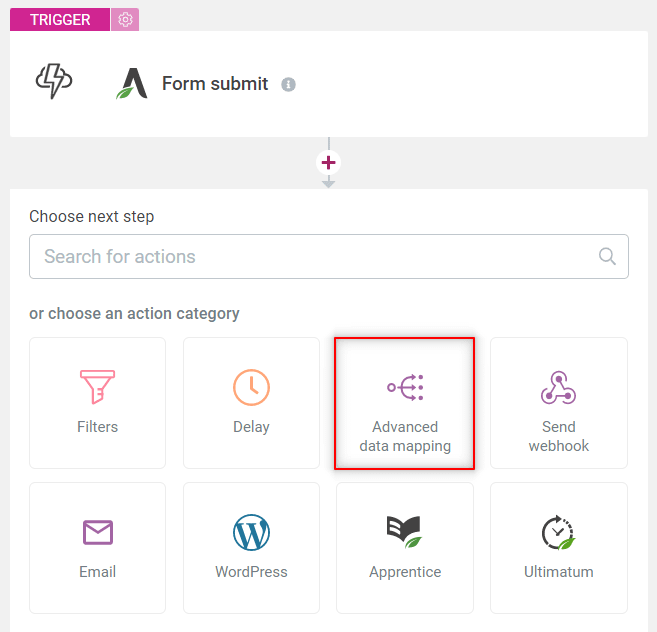
An interesting use case in which this feature might come in handy is for those instances when you want to map a payment gateway product ID to a Thrive Apprentice product.
Or, you can have a form on your website that has custom fields with multiple options. You can use the “Advanced mapping” feature later on in an automation, to map that data and give access to a Thrive Apprentice product based on the user selection.
Here’s all you need to know about this option.
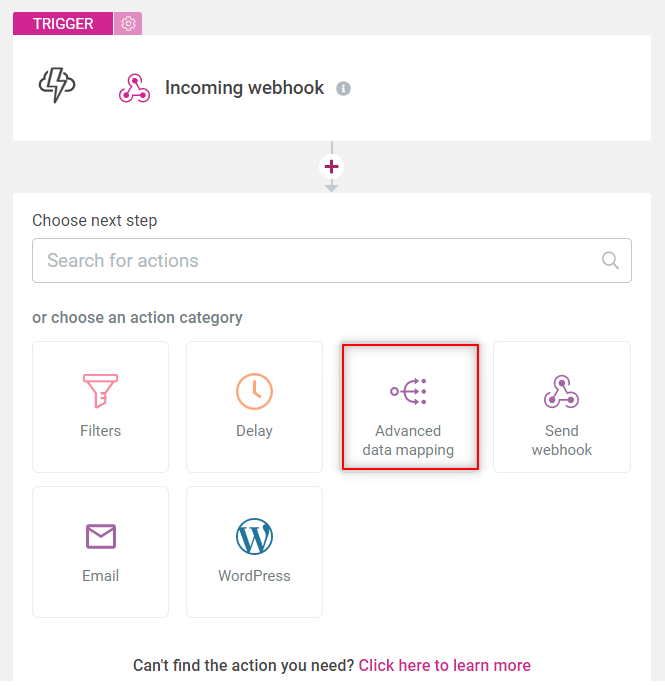
In Thrive Automator you will be able to select the “Advanced mapping” action based on the data that is passed down from the start trigger.
In this example, I am using an “Incoming webhook” that passes the data regarding the product ID as a simple text:

Normally, if the product ID would get passed down as a simple text field, then the action of granting access to a dynamic apprentice product would not applicable.
You can read more about the product identifier from Thrive Apprentice in this article:
However, with the help of the “Advanced mapping” feature, this data that comes in from a webhook can be paired with a Thrive Apprentice product. This means that you can dynamically use that value downstream:
Next, you will be able to actually map the incoming data:
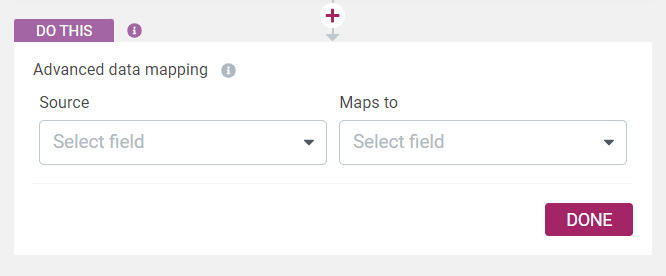
So here you will be looking for whatever data is coming down form the start trigger:

You can choose the product ID as your source, and you can map that to a Thrive Apprentice product.
Next, you can set some matches:
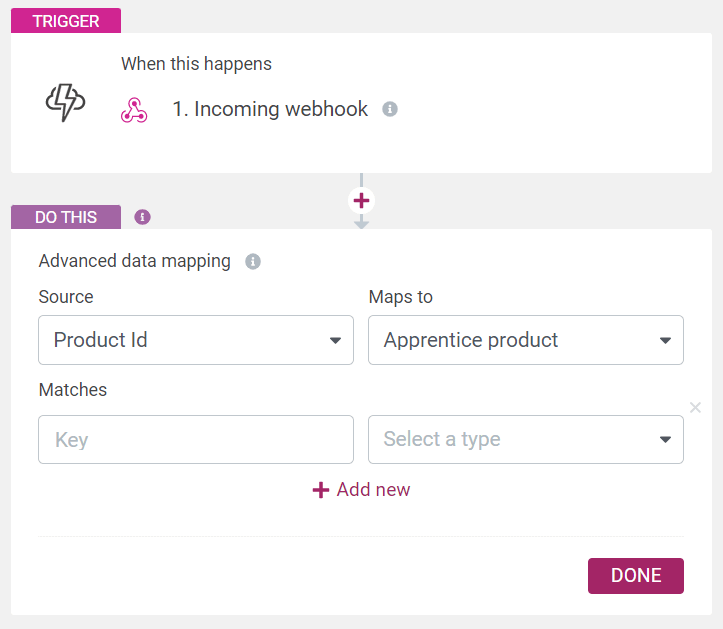
Add the product ID value in the “Key” field, and match it with a Thrive Apprentice product:

You can add multiple fields here:

This means that you can use one single automation for granting access to multiple courses. When the text values that come through as product IDs match the values that you mapped here, the automation will perform the action of granting access to different products.
Then, you can proceed with the “Find or create user” action:

And lastly, you can add one more action:
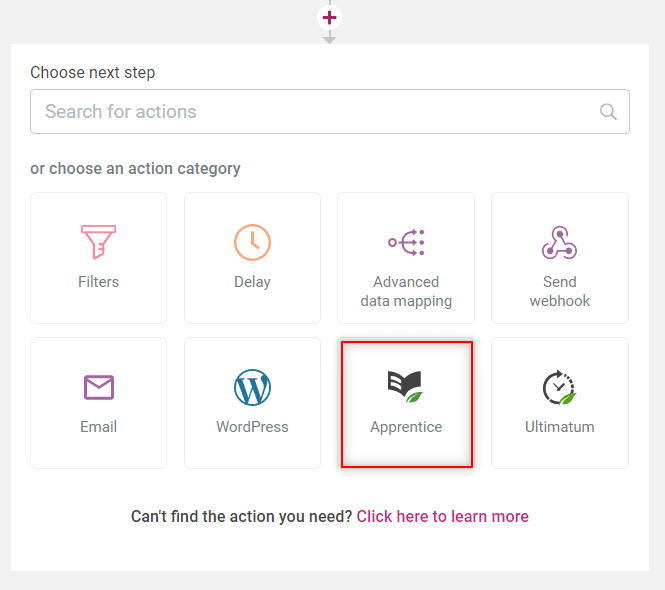
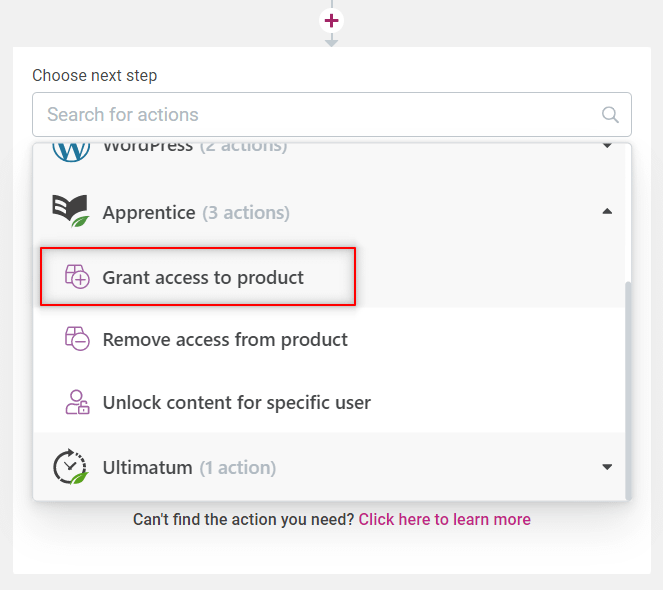
After you click on the “Apprentice” card, you can select the “Grant access to product” action:
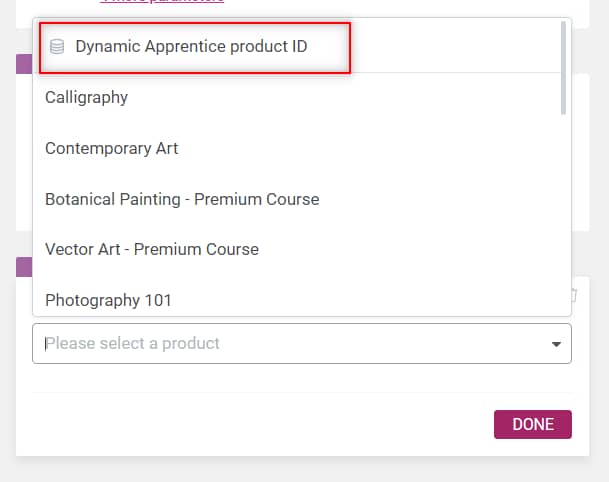
And here you will be able to pick a “Dynamic Apprentice product”:

With all this set up, click on “Done” and your automation is ready to be saved and published:

As already mentioned, this feature can be used with other start triggers as well.
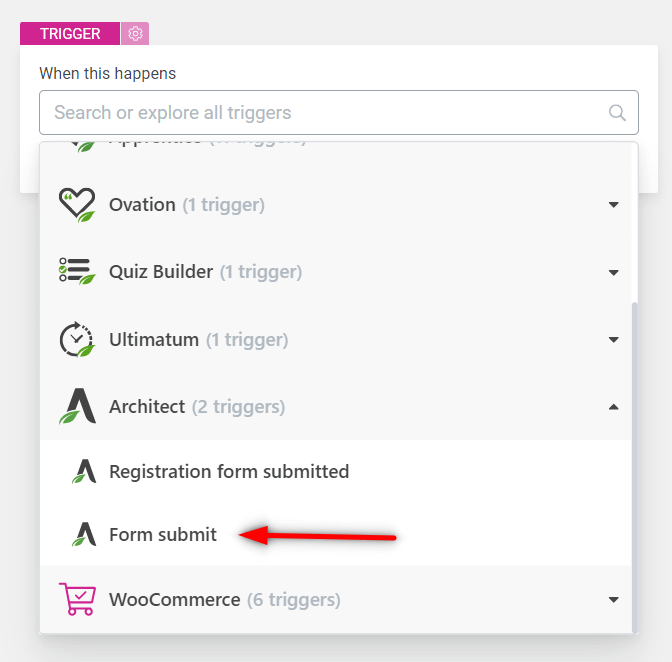
For example, you might have a “Form submit” trigger:
On this form, you have some custom fields in which you are allowing the visitors to select what course they would like to get access to:

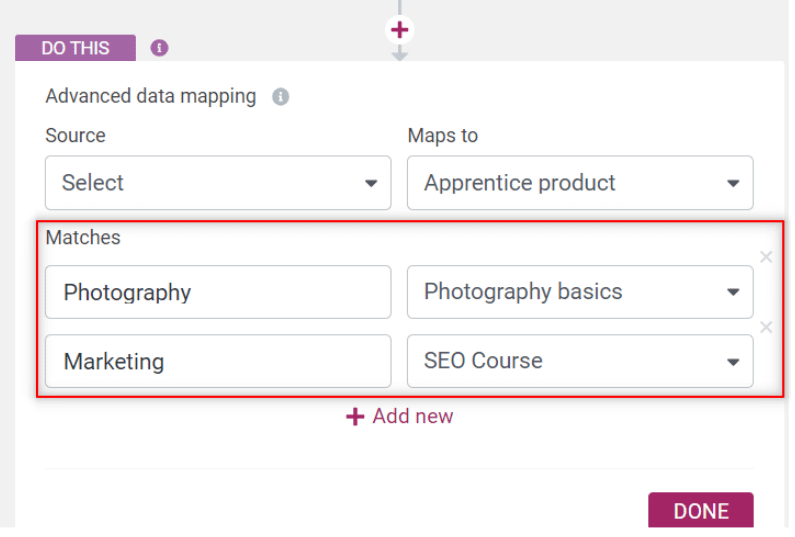
The ones interested in photography can receive access to your “Photography basics” course, and naturally the ones interested in marketing will be granted access to your “SEO course”.
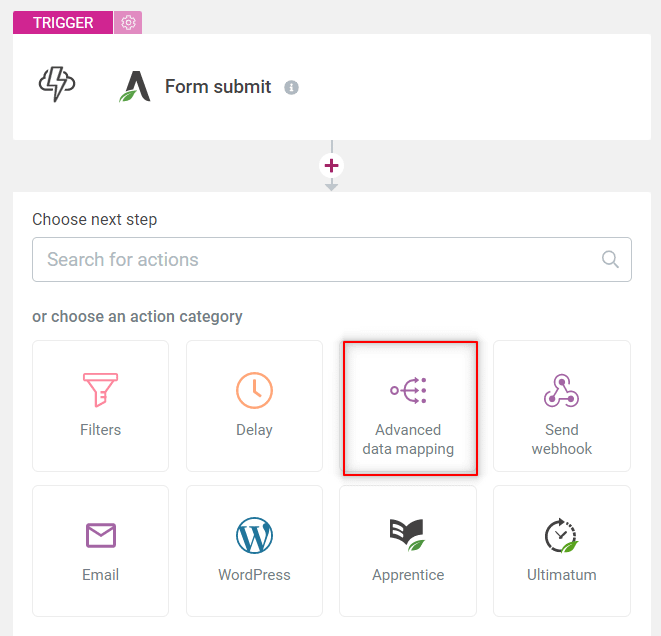
Back in Thrive Automator, select “Advanced mapping” for your automation:
And then the source needs to be custom field from your form:
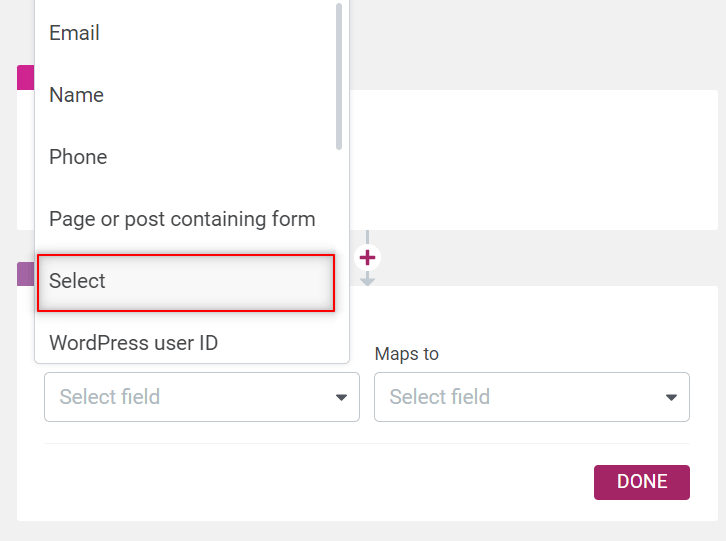
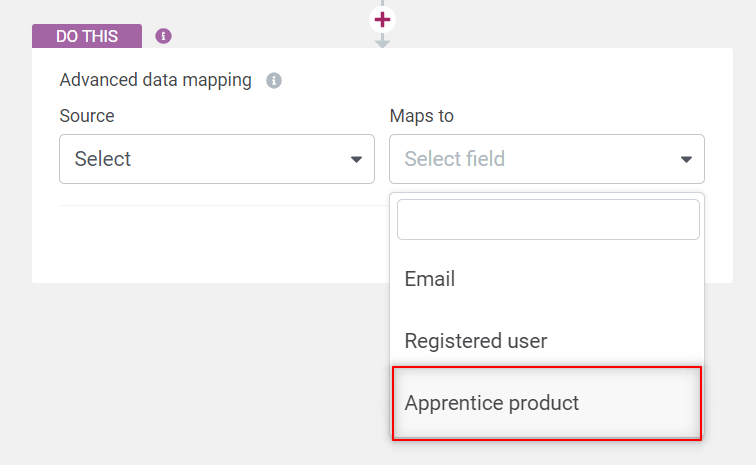
And it will map to a Thrive Apprentice product:
Lastly, in the following two drop-down lists match the selections to their corresponding products:
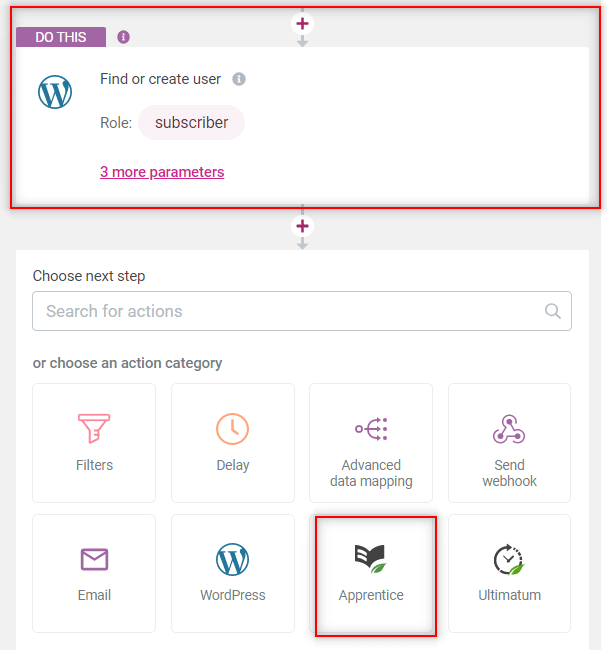
Then proceed once more with adding the “Find or create user” action along with the “Grant access to product” one, listed under the “Apprentice” card:
And lastly select what course someone gets access to based on what value they provide on the form:
There are multiple ways in which you can use the “Advanced mapping” from Thrive Automator.
As shown above, you will be able to match known values to specific datasets that are maybe not that easy to determine because they to not match the pre-existing data structure from Thrive Apprentice.
Now, the action of granting access to a Thrive Apprentice product will support dynamic data like the one that comes through the automation, and this means that depending on what data the incoming webhook caries and depending on the advanced data mapping, your students will be granted access to different courses.