In this article, we will have a look at the steps that need to be made in order to apply a template to your Thrive Apprentice content.
I will use an already existing Thrive Apprentice course, on which I will go ahead and apply a different template than the currently existing one.
Keep in mind though that the steps detailed below can be used when you are trying to apply a new template to a lesson or module as well.
The first thing you need to do is to open the course on which you would like to apply the new template:
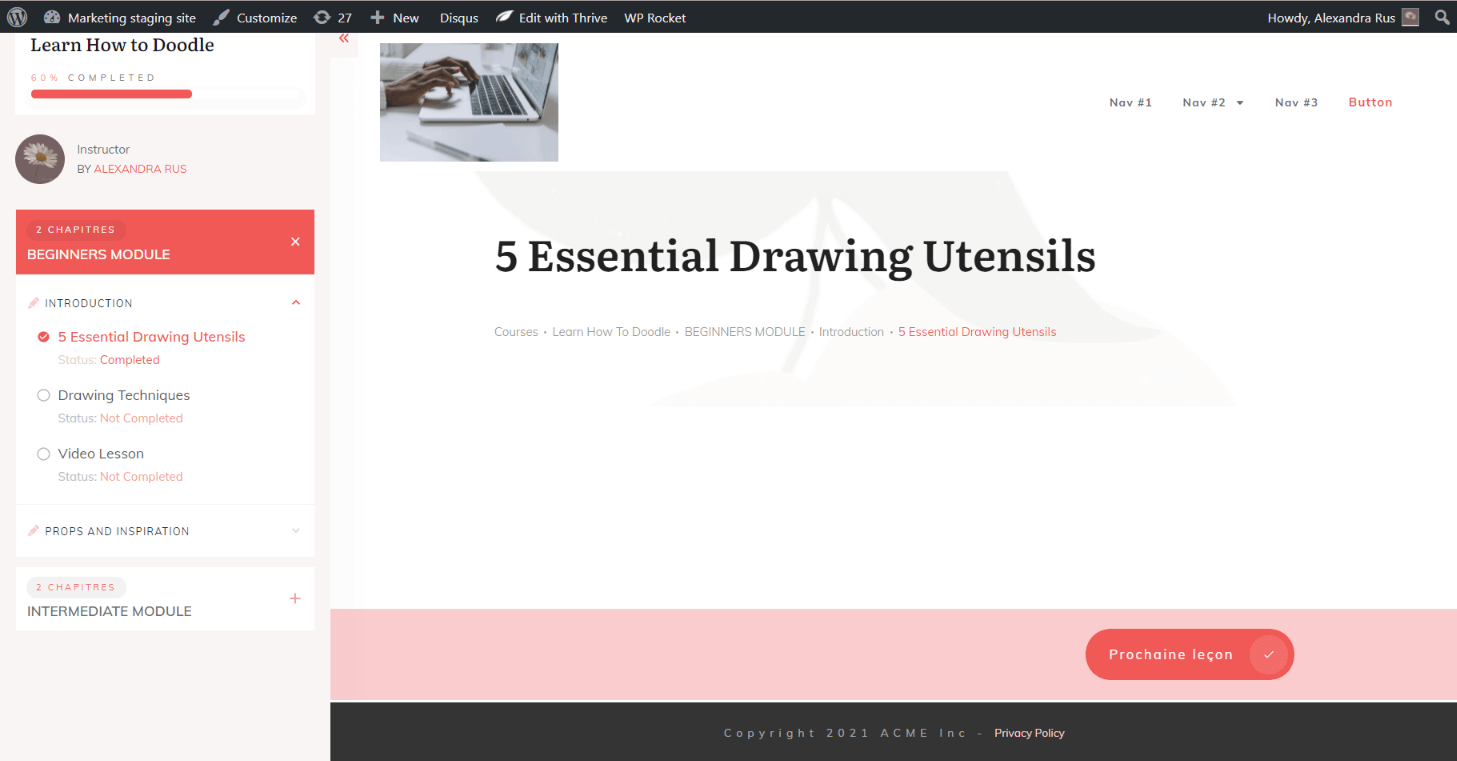
Then, in the navigation bar, hover over “Edit with Thrive” and select “Edit with Thrive Architect” from the submenu that opens:

In the breadcrumbs, click on “Course Overview”:
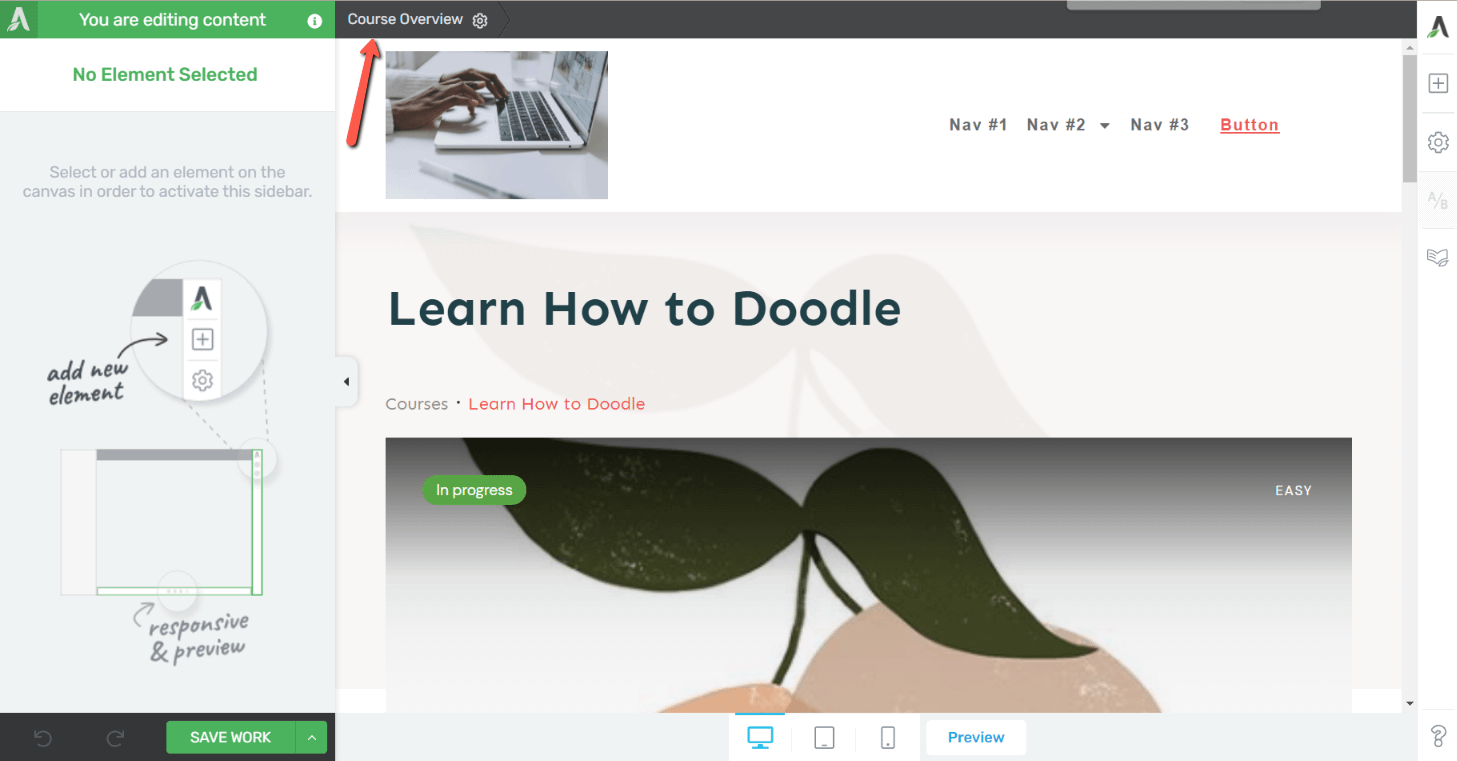
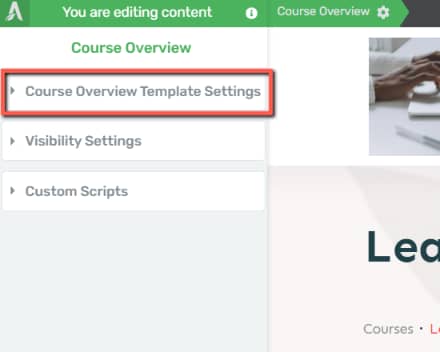
In the left sidebar list of options, open the “Course Overview Template Settings” section:
This is where you can view the currently active template, as well as load a new one if you want:
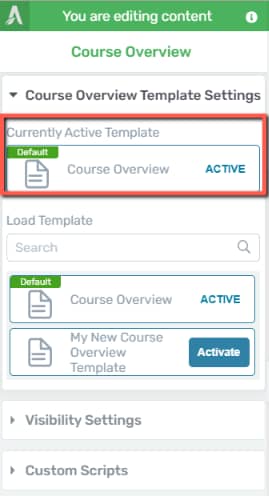
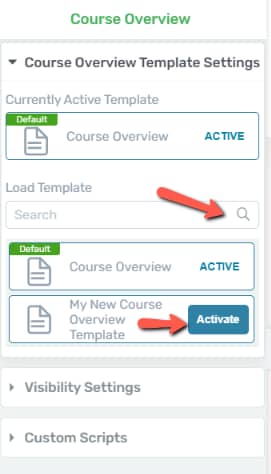
To load a new template, you can either look it up using the search field or hover over an already existing template from the list and click on “Activate”:
After you activate it, the new template will be listed in the left sidebar, under the “Currently Active Template” section:
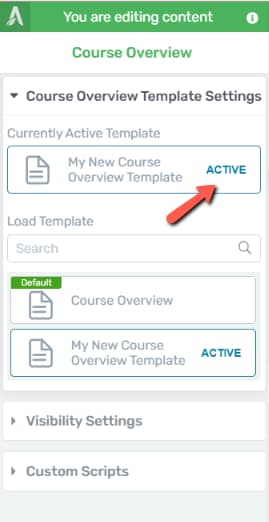
In the “Load Template” section you will still be able to view the “Default” template, and you can still use it if you want to change the template once more and load a new one.
These are the steps for applying a new template to a course from Thrive Apprentice.
You can follow the exact same steps as the ones described above whenever you are trying to apply a new template to your content, regardless of whether you are working on a lesson, course, or module.
Check out this dedicated section of our knowledge base, if you want to learn more about how to design your courses.