Do you want to send the data you obtain through a Thrive Themes Lead Generation element to your Zapier account?
This is possible when you integrate Thrive Themes with Zapier.
This article will show you how to connect a Lead Generation form to your Zapier account.
Note: Before connecting a Lead Generation element with Zapier, you need to have two things:
- An API connection between your Thrive Themes account and your Zapier account;
- A Zap is set up to work specifically with the Lead Generation elements you create on your website with Thrive Leads or Thrive Architect.
This document will help you build an API connection and create a Zap in your Zapier account.
Once you have set up the connection and the Zap, Zapier will be available for the Lead Generation elements (either used in Thrive Leads or Thrive Architect) that you have on your website.
In this article, we’ll see how it works with the Lead Generation element in Thrive Architect.
- Selecting a Zapier Connection in Lead Generation Settings
- Setting Zapier Connection Details
- Setting up Form Fields
- Setting up an After-Submission Action
Selecting a Zapier Connection in Lead Generation Settings
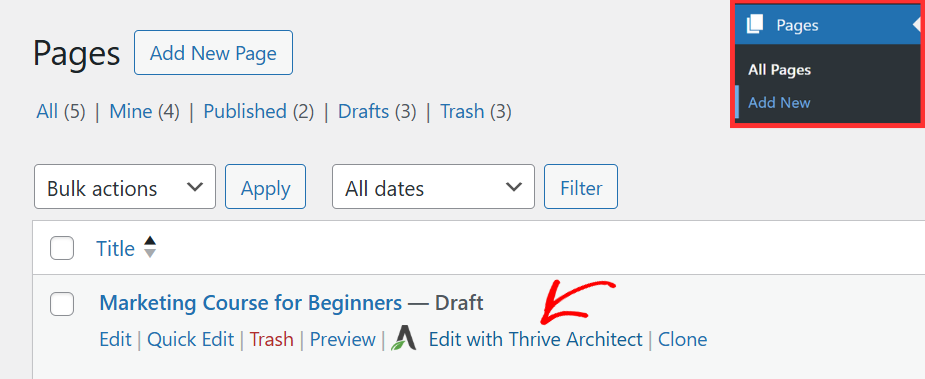
To begin, open your WordPress admin area, navigate to Pages > All Pages, hover on the page with the Lead Generation element, and click Edit with Thrive Architect.
When you open the page in the editor, click the Lead Generation element on the page to see the settings open in the left column.
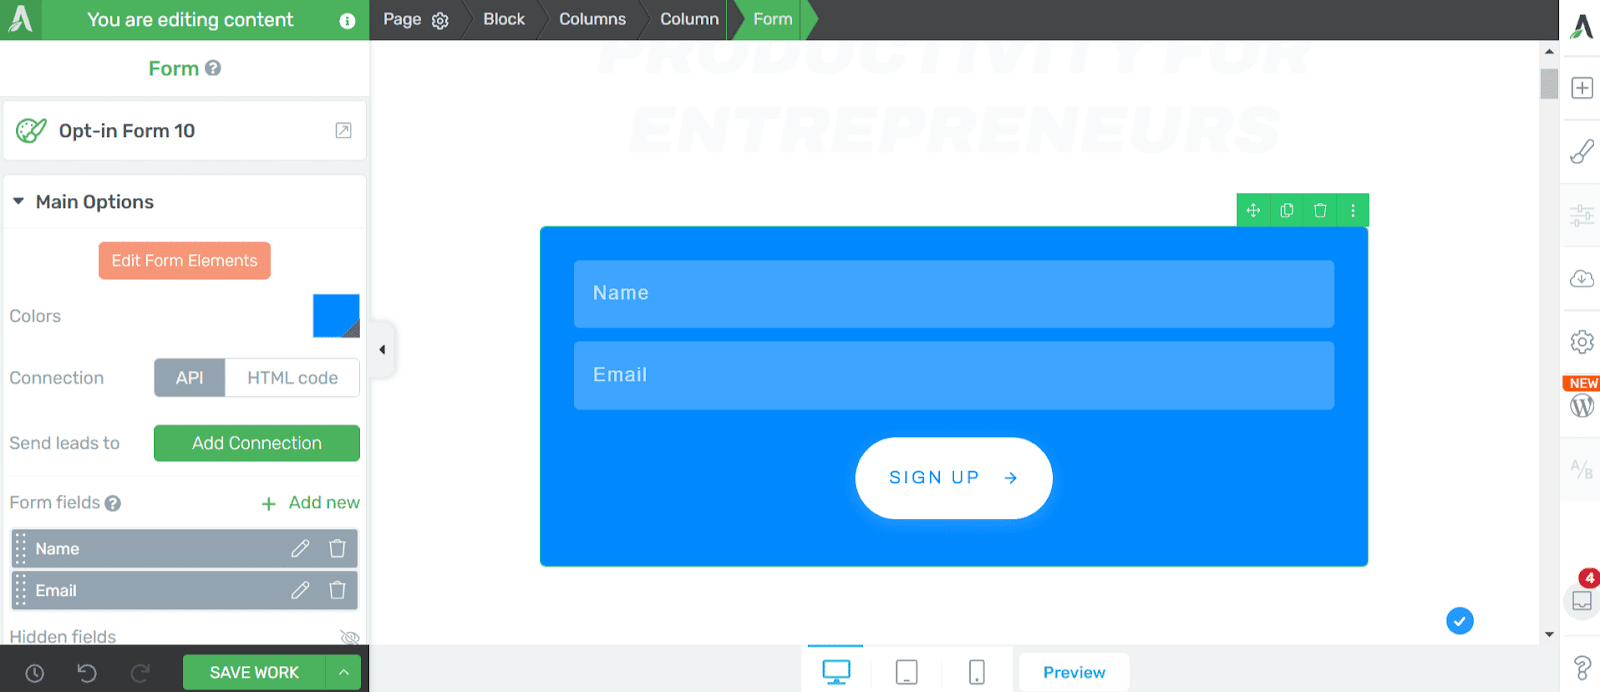
In the left column, open the Main Options of the Lead Generation and click the Add Connection button.

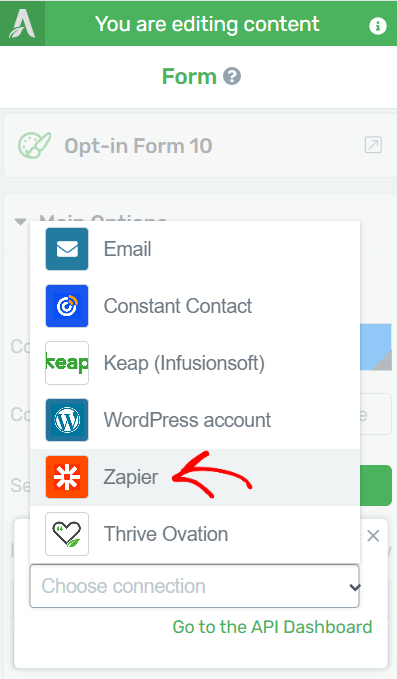
When you click Add Connection, you’ll see a dropdown asking you to choose the connection you want to proceed with.

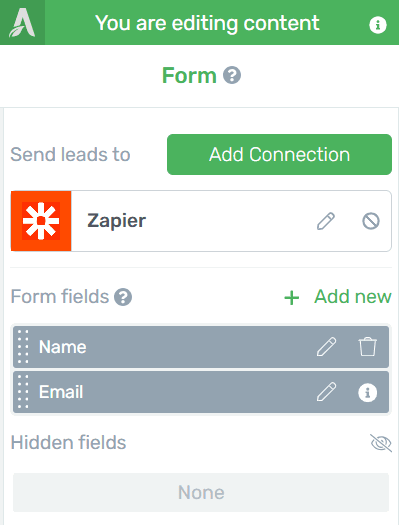
Under the Connection dropdown, select Zapier.
Setting Zapier Connection Details
Once you select Zapier, you’ll see a box where you can enter the connection details. The details you can manage here are listed below.
- Send IP address: This lets you decide whether to store the subscriber’s IP address when they submit the form.
- Tags: You can add the tags you want to apply to all the submissions from this form.
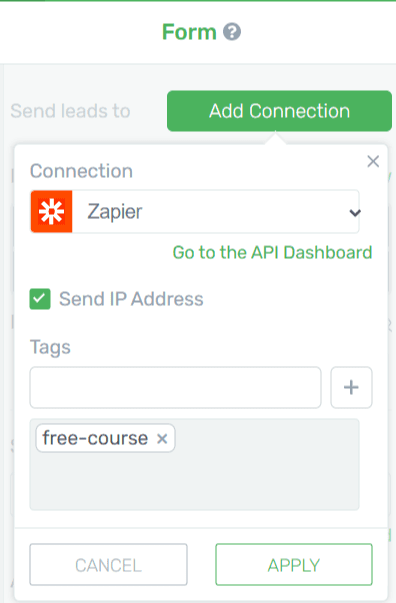
After you fill in the details, click Apply.
Setting up Form Fields
Once you select the connection and add the details, you can set up the form fields.
To ensure you get all the required data, you must set what fields to appear in the opt-in form and which ones should be required/mandatory for the subscription. The “Email” and “Name” fields appear by default here, and the “Email” field is mandatory since without an email address, it would not make sense to subscribe.
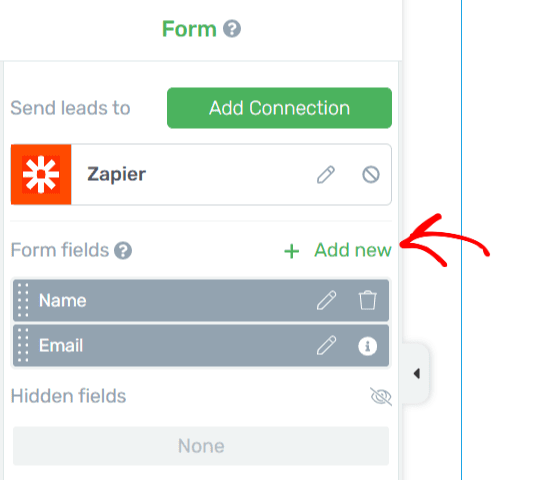
If you want to add additional fields like the Phone number or Address, you can do so by clicking Add New.
Each field can be customized. You can change their name as required. For example, instead of “Email,” you could write “Please write down your email address.”
Moreover, clicking the little trash icon can delete the “Name” and the “Phone” fields.
After you have set the fields, click on the “Next” button to go on.
Want to add custom fields using Zapier? The Lead Generation element in Thrive Themes now lets you add and map custom fields with Zapier. You can learn more about adding custom fields in Zapier here.
Setting up an After-Submission Action
Now that we’ve seen how a lead generation can be connected to Zapier and how you can add more fields to it, we’ll see how you can manage the post-opt-in action for the element.
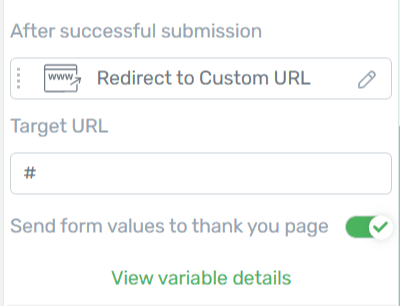
To manage the post-opt-in or after-submission action, scroll down to After successful submission in the Main Options.
Under After successful submission, you can choose one of the two options.
- Redirect to Custom URL: If you choose this action, you will be prompted to enter a custom URL or a link to a page you want to open after a user subscribes to the form.
- Show success notification: This will allow you to enter a customized message displayed after someone subscribes.
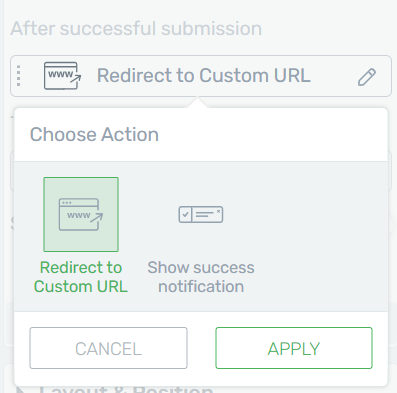
After you have chosen the post-opt-in action, click the Apply button.
Once you have completed all the settings for the Lead Generation element, click the Save Work button at the bottom left of the screen.
We’ve just seen how you can connect a Thrive Architect Lead Generation element with Zapier and the further settings you need to take care of.
Like a Lead Generation element in Thrive Architect, you can connect the Lead Generation form in Thrive Leads with Zapier.
Next, if you want to add custom field types to a Lead Generation element, here is a document that will help.