In this article, you’ll learn the core editing workflows in Thrive Architect—how to add and position elements, select and move multiple elements at once, and copy-paste styling between elements.
Adding Elements to a Page
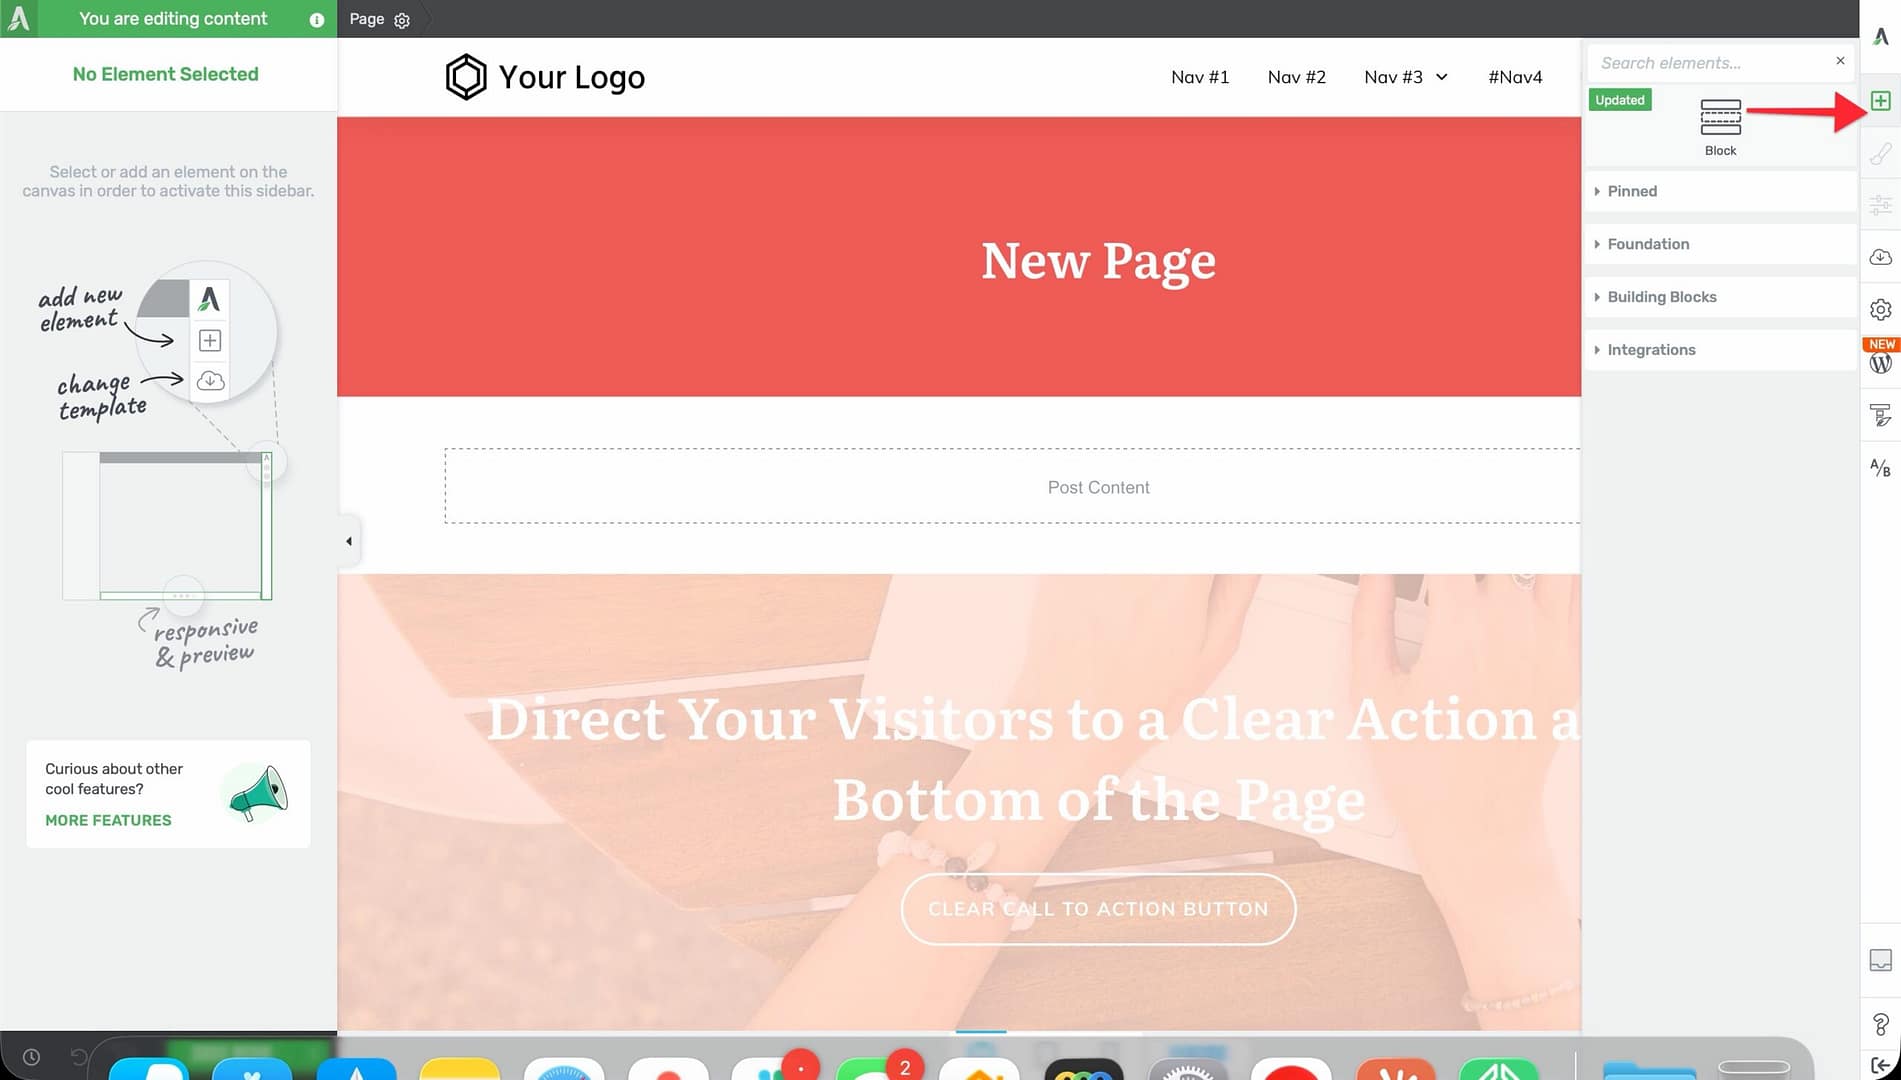
- Open a page in the Thrive Architect editor
- Click the green plus (+) icon in the right sidebar to open the element panel.
- Find the element you want to add. You can scroll through the categories or use the search field at the top.
- Drag the element from the panel onto the canvas. A blue indicator line shows where it will land—above, below, or beside other elements.
- Drop the element in the desired position.
Pinning Elements
If you use certain elements frequently, you can pin them to the top of the element panel for quick access:
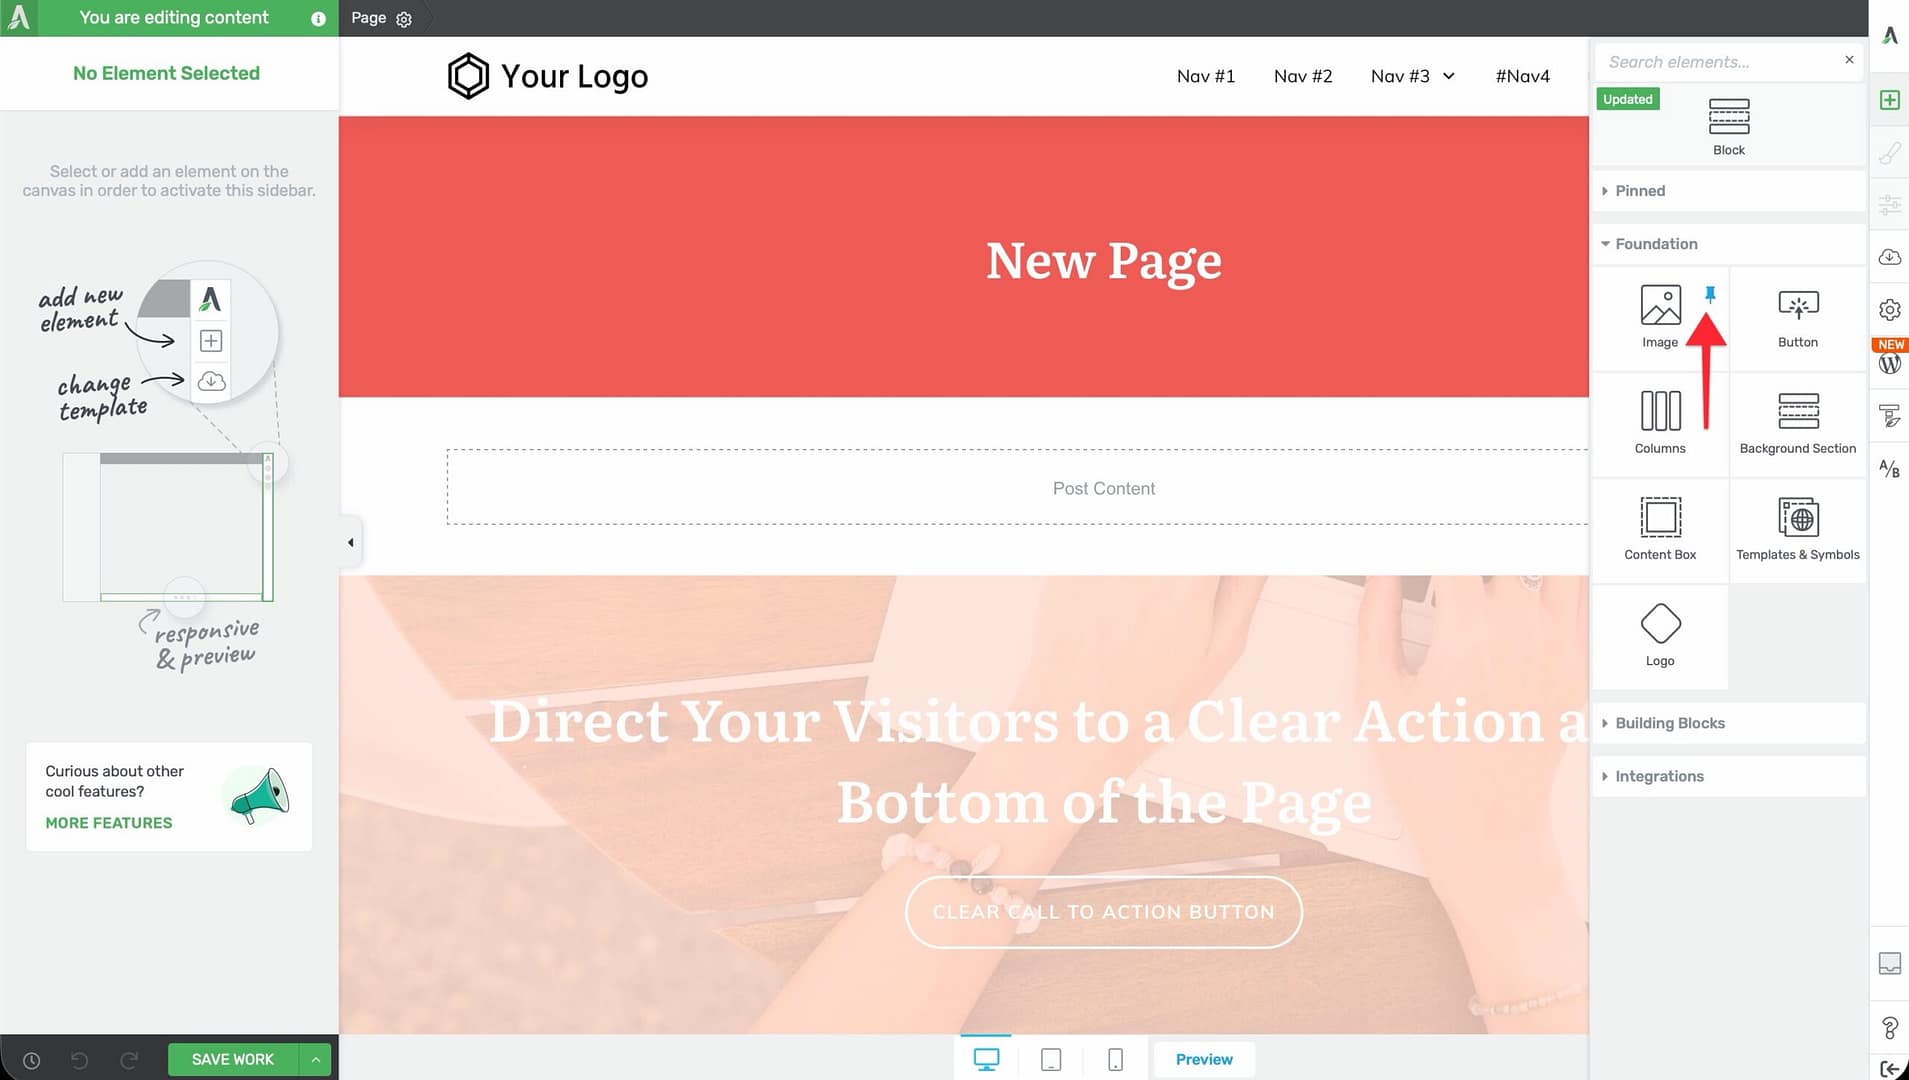
- Open the element panel (green plus icon).
- Hover over the element you want to pin.
- Click the pin icon that appears.
- The element now appears in the Pinned section at the top of the panel.
To unpin an element, hover over it in the Pinned section and click the pin icon again.
Working with Elements on the Canvas
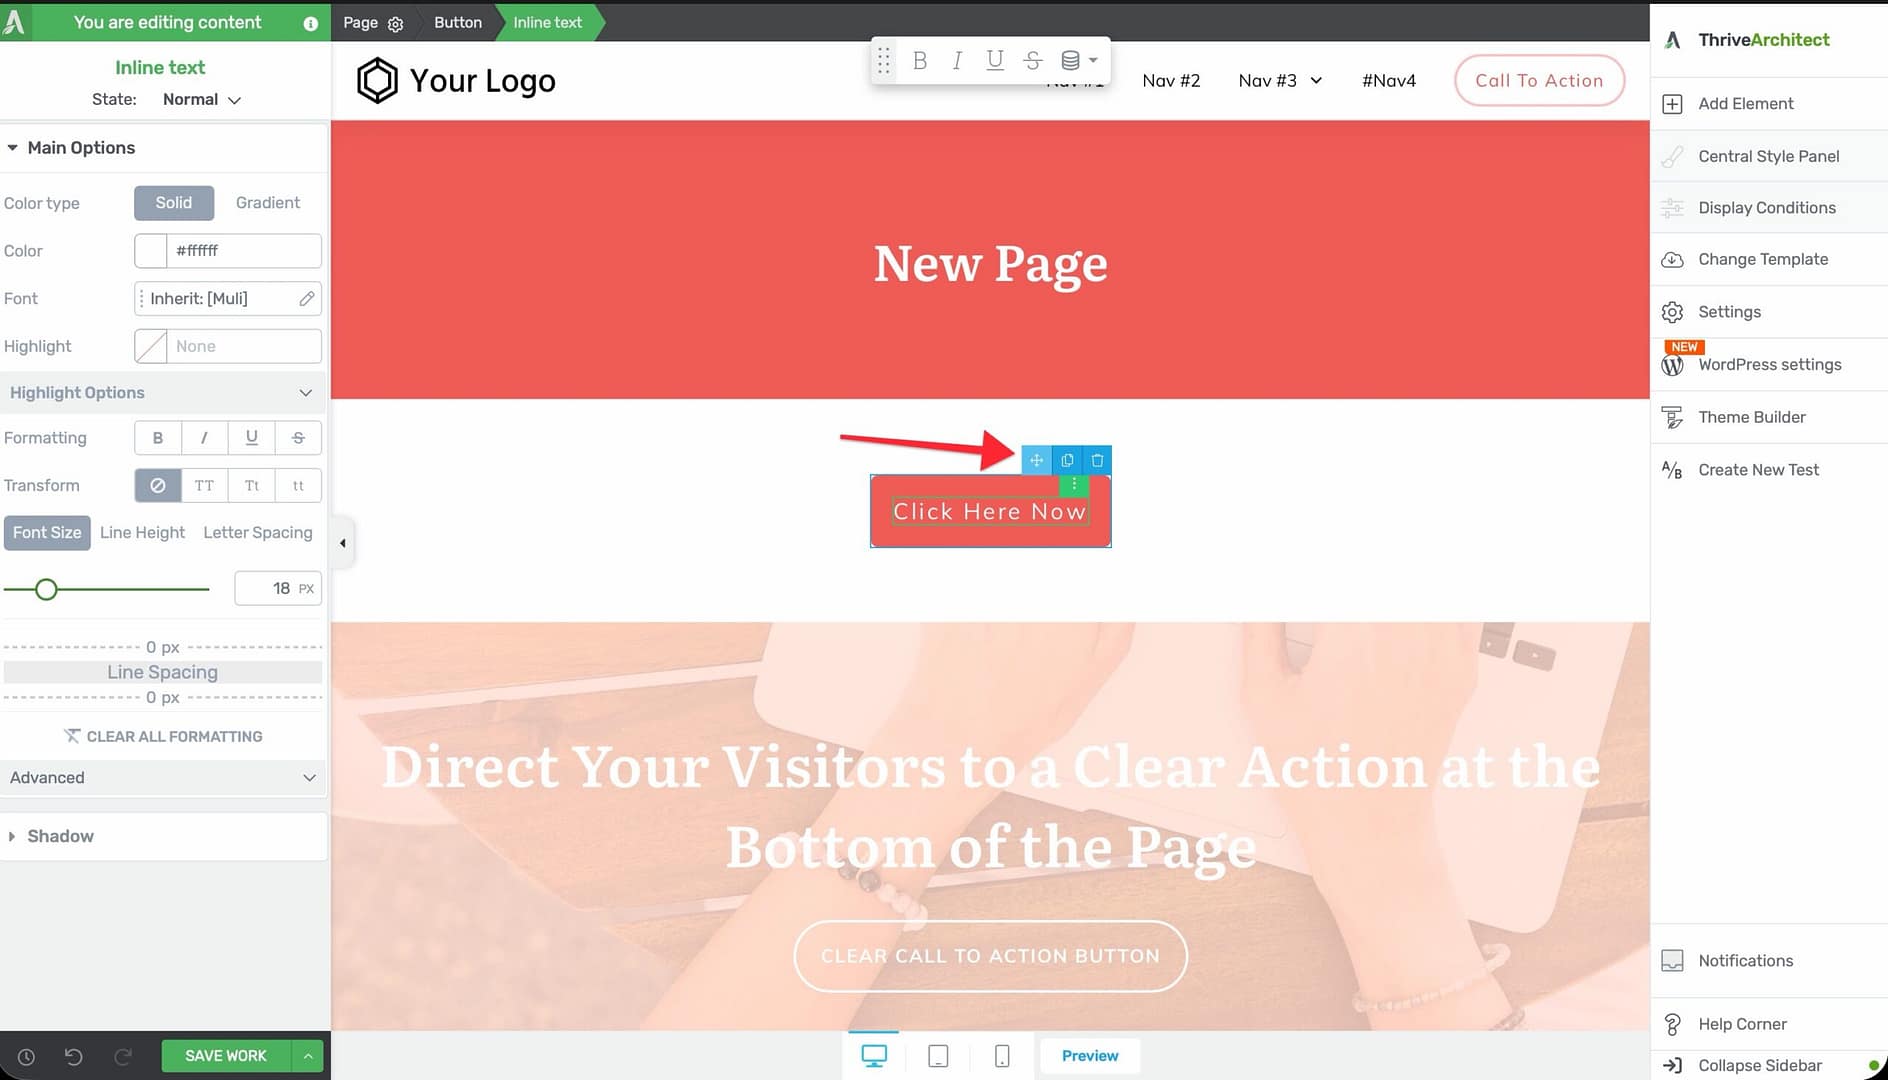
When you hover over an element on the canvas, several quick-action icons appear:
- Move (four-arrow icon) — Click and drag to reposition the element.
- Save as Template/Symbol — Save the element as a reusable template or global symbol.
- Duplicate — Create an identical copy of the element immediately below.
- Delete (trash icon) — Remove the element from the page.
Click on any element to select it and view its full options in the left sidebar.
Selecting Multiple Elements

You can select multiple elements at once to move or style them together:
- Hold Ctrl (or Cmd on Mac) and click each element you want to select.
- Once multiple elements are selected, two buttons appear in the left sidebar: Moving and Styling.
Moving Multi-Selected Elements

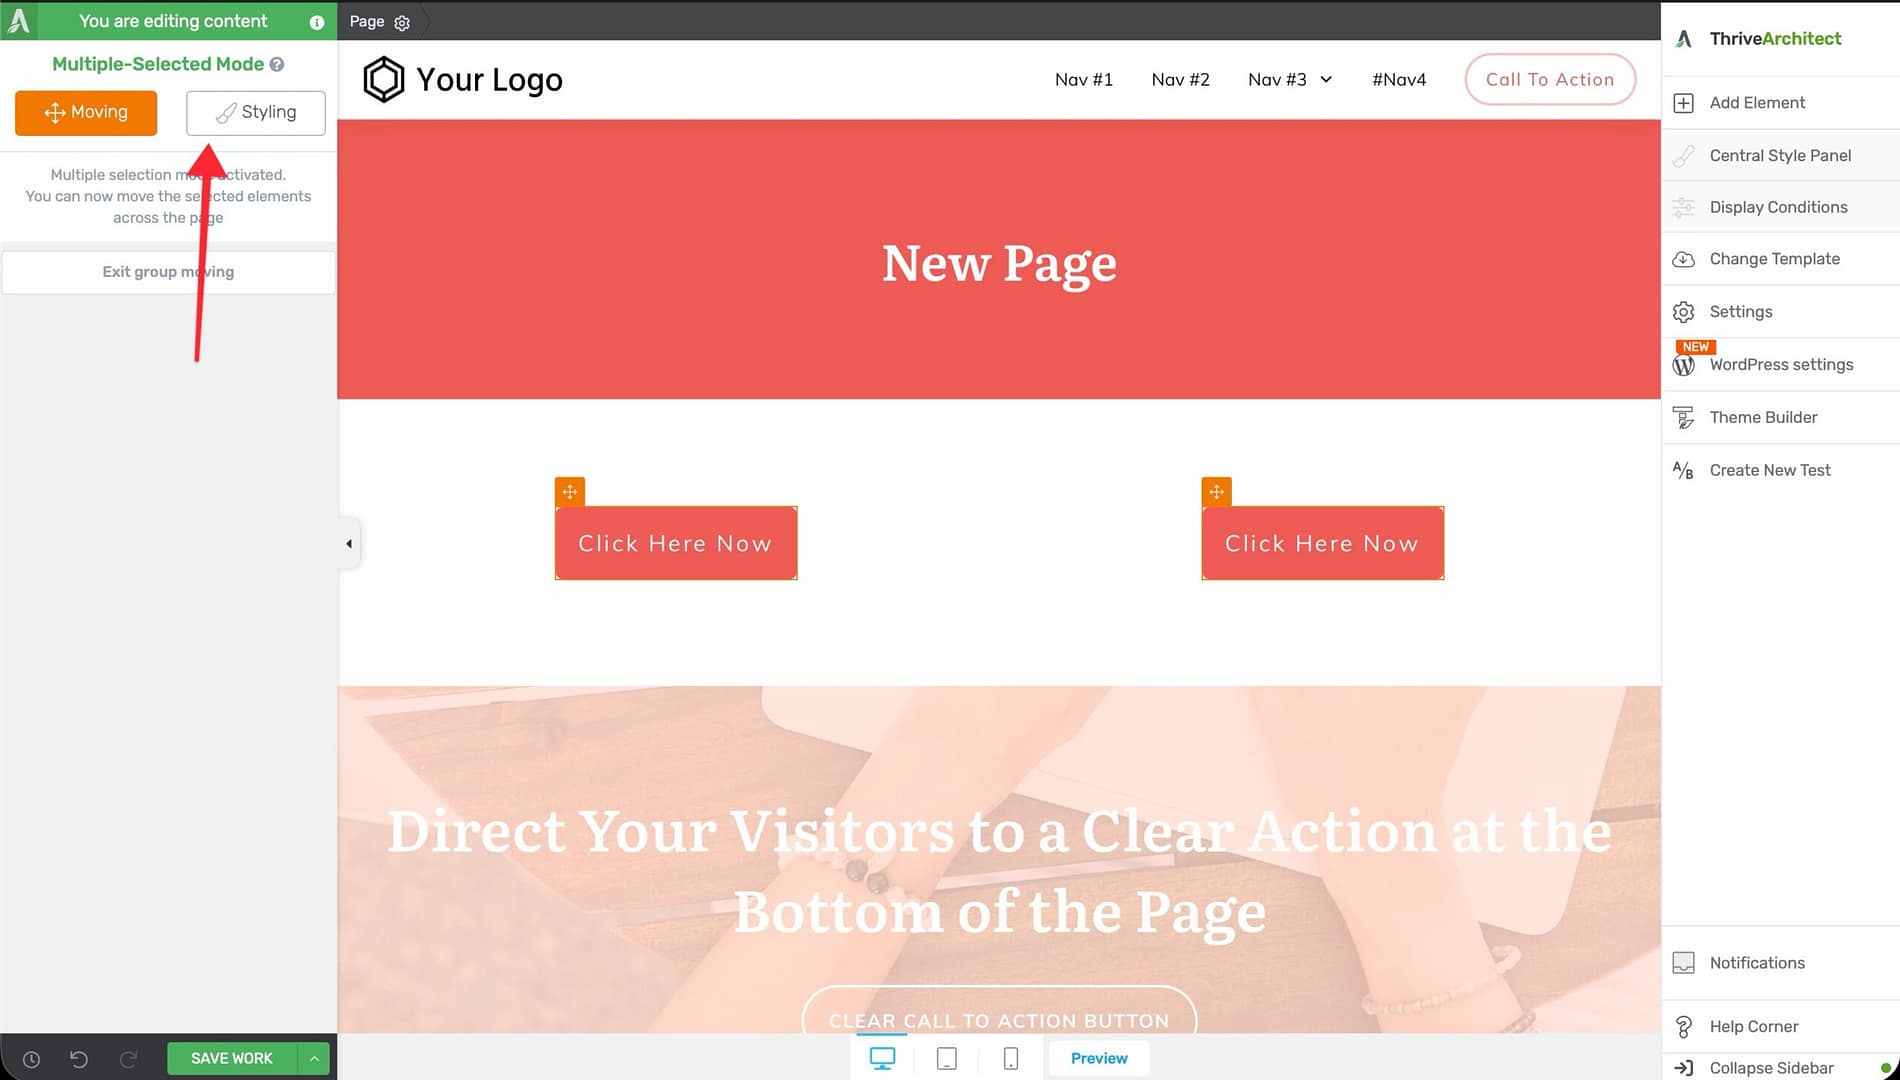
- Select multiple elements using Ctrl+Click.
- Click the Moving button in the left sidebar.
- A four-arrow drag icon appears next to each selected element.
- Click and drag any one of these icons to move all selected elements together to a new position.
Styling Multi-Selected Elements
- Select multiple elements using Ctrl+Click.
- Click the Styling button in the left sidebar.
- The available styling options appear: Typography, Layout & Position, Background, Borders & Corners, Shadow, and Responsive.
- Any changes you make apply to all selected elements simultaneously.
Copy-Pasting Element Styles
You can copy the visual style from one element and paste it onto another element of the same type. This works for most element families (buttons, content boxes, text elements, etc.) but does not work on Blocks and Background Sections.
Copying a Style
- Click the element whose style you want to copy.
- Click the three-dot menu (More Options) that appears on the element.
- Select Copy Style.
Pasting a Style
- Click the target element (must be the same type as the source).
- Click the three-dot menu on the target element.
- Select Paste Style.
The target element will immediately adopt the visual styling of the source element—colors, fonts, borders, shadows, and spacing.
Keyboard Shortcuts
Here are useful shortcuts to speed up your editing:
- Ctrl + Z — Undo the last action
- Ctrl + Y — Redo the last undone action
- Ctrl + Click — Select multiple elements
- Delete — Remove the selected element
Related Resources
- Getting Started: Learn about the Thrive Architect editor layout and interface overview.
- Saving Your Work: Learn the different save and preview options available in the editor.
- Importing and Exporting: Learn how to export and import page content between pages or sites.