After creating a campaign, you need to specify how and when this campaign should display on your site, namely the campaign type:
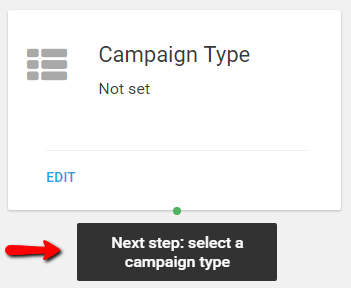
You can choose from three options:
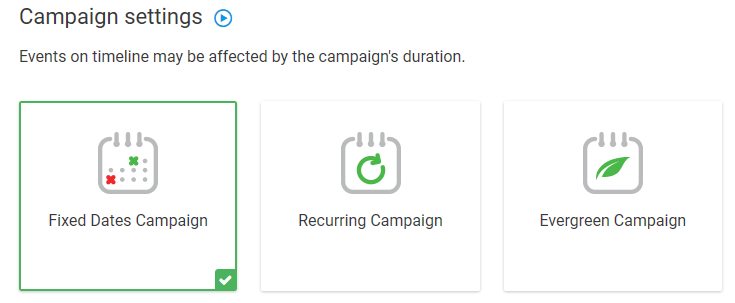
In this tutorial, we present how to set up a “Fixed Dates Campaign”.
Step 1 – Select the campaign type
In campaign settings, select “Fixed Dates Campaign”:
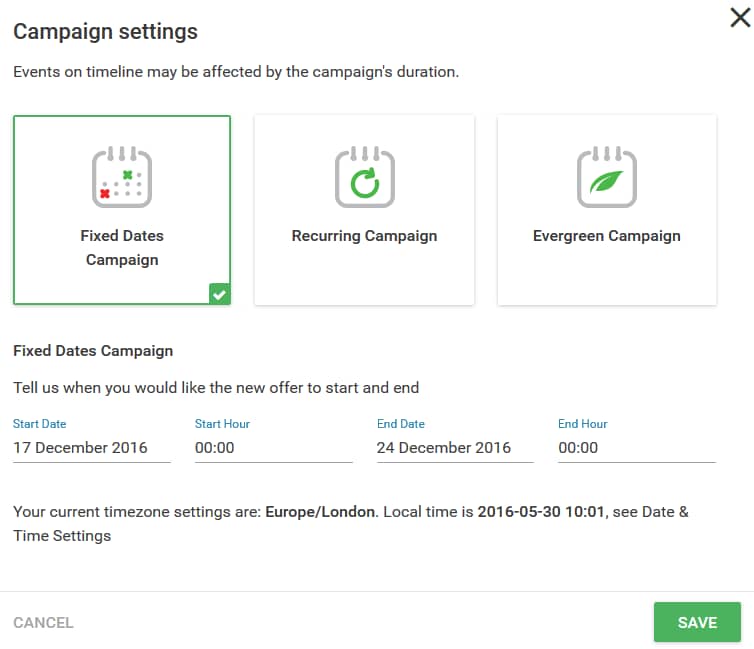
Step 2 – Set up the Campaign
Next, at the bottom of the form, you can set the dates for your campaign. You can select the exact date and time when the campaign displays on your site:
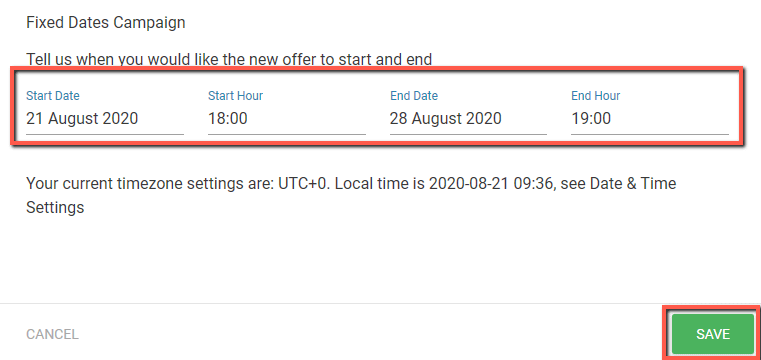
With the above settings, the campaign will start displaying on the 17th of December at midnight and it will no longer display after December 24th.
Note: Your personal timezone settings are extremely important in this step. Timezone settings can be set by going to Settings – General in your WP dashboard or even in the Settings of the Thrive Ultimatum plugin.
Step 3 – Display settings for your campaign
Now that your campaign is created, you need to set its display settings, namely, select the pages where the forms appear.
Click “Edit” to select the pages and posts where the campaign should appear:
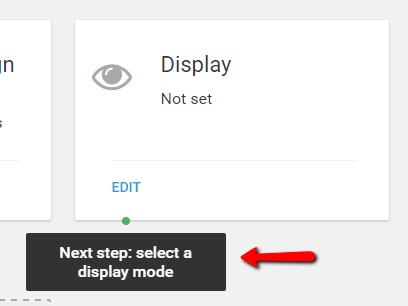
Then, in the new window that opens, go through the listed pages/posts, and select the ones on which you want to display the campaign:

For more detailed instructions, on how to set display settings for your campaign, please see this article.
This is how you can create a “Fixed Dates Campaign”. If you need more information about Thrive Ultimatum, make sure to check out our dedicated knowledge base section.
I hope you found this article useful. If so, please make sure to rate it with a smile below 🙂