Do you want to organize and structurize lessons and chapters in your courses? Thrive Apprentice offers Modules that act like containers to help you organize everything with a course.
Just like every other content type, Thrive Apprentice lets you create Module templates that you can save and reuse whenever you want.
In this article, we’ll show you how you can create a Thrive Apprentice Module Template.
Accessing the Thrive Apprentice Templates
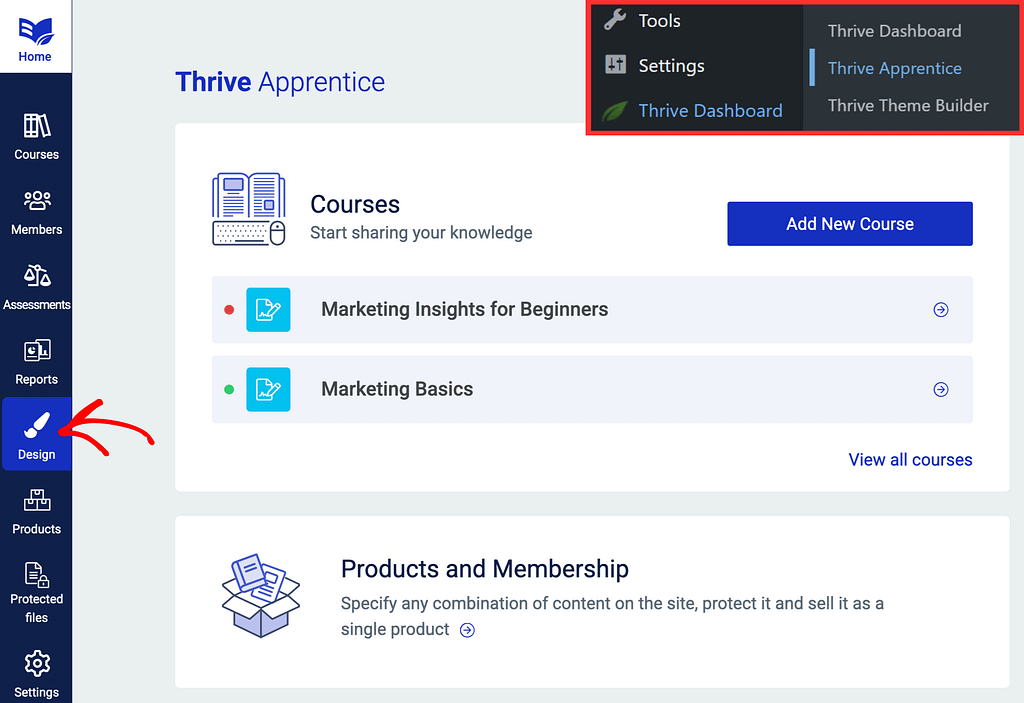
To add a new certificate verification template, begin by opening your WordPress admin area, navigating to Thrive Dashboard >> Thrive Apprentice, and clicking on Design.
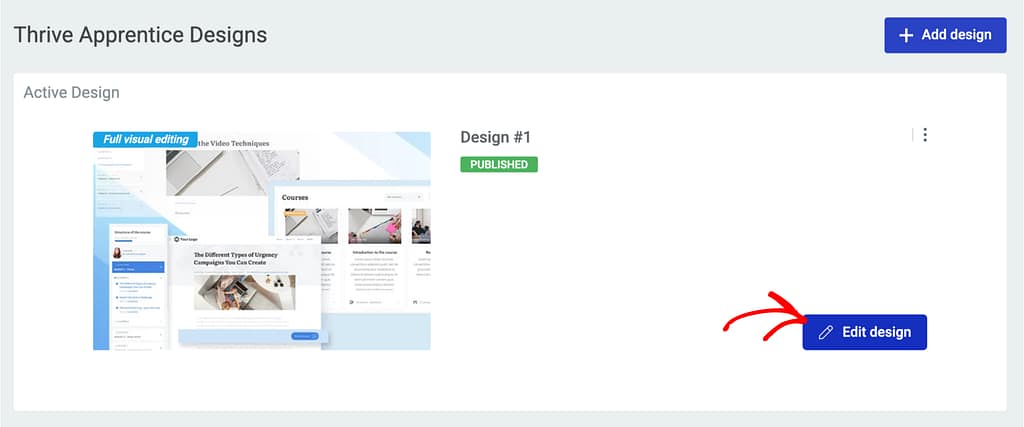
On the Design page, click the Edit design button within the active design block.
After clicking Edit design, you’ll be taken to a page where you’ll be able to edit the current design. On this page, click Manage Templates in the Template editor block.

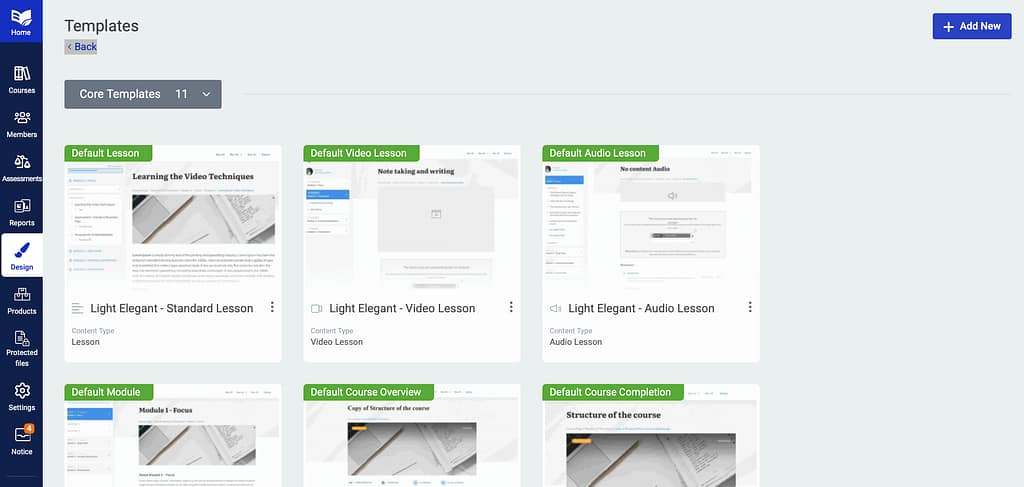
Clicking Manage templates will open a page with all the available Thrive Apprentice templates.
Adding and Setting Up a Module Template
Thrive Apprentice offers you templates that you can use directly or customize them as per your needs. You can also create new templates if you want.
There are two ways you can set up a Module template in Thrive Apprentice
Editing the Default Module Template
Like the other templates in the library, Thrive Apprentice offers a Default Module template that you can use directly or customize it as needed.
To use this template, scroll down the Thrive Apprentice templates page, hover on the Default Module template, and click Edit.

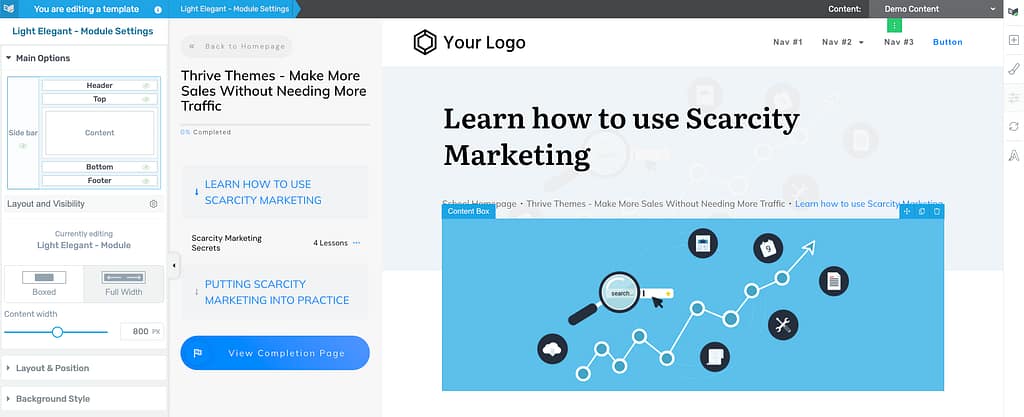
Clicking Edit will open the Default Module template in the editor where you can make the changes you want.
Creating a New Module Template
Thrive Apprentice allows you to create new templates from scratch and customize them further.
To create a new Module template, open the Thrive Apprentice templates page, and click +Add New on the top right.
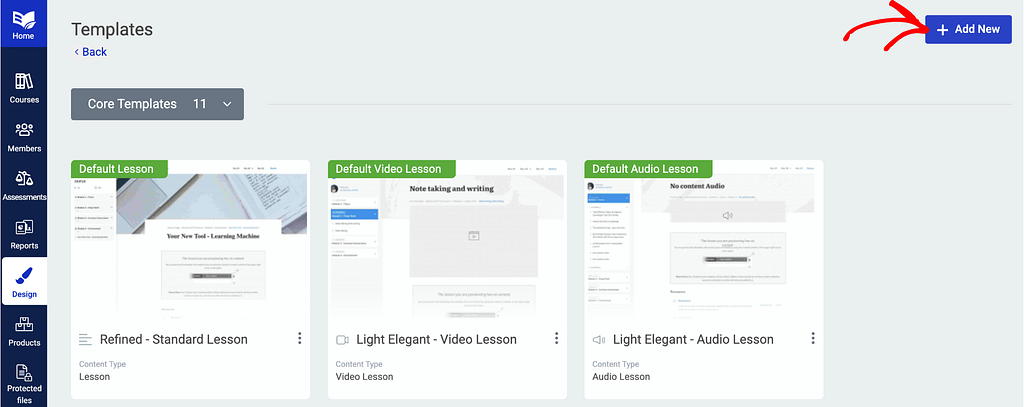
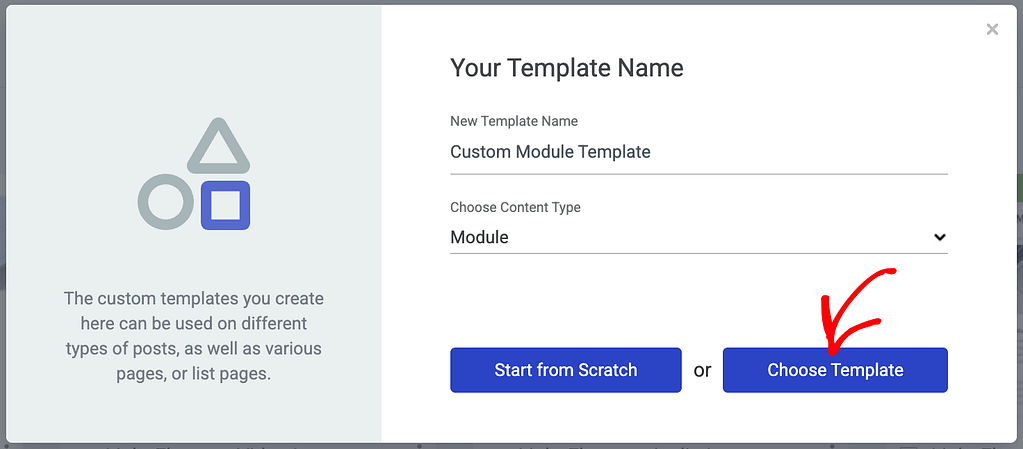
When you click +Add New, you’ll see a popup where you’ll need to enter the template details.
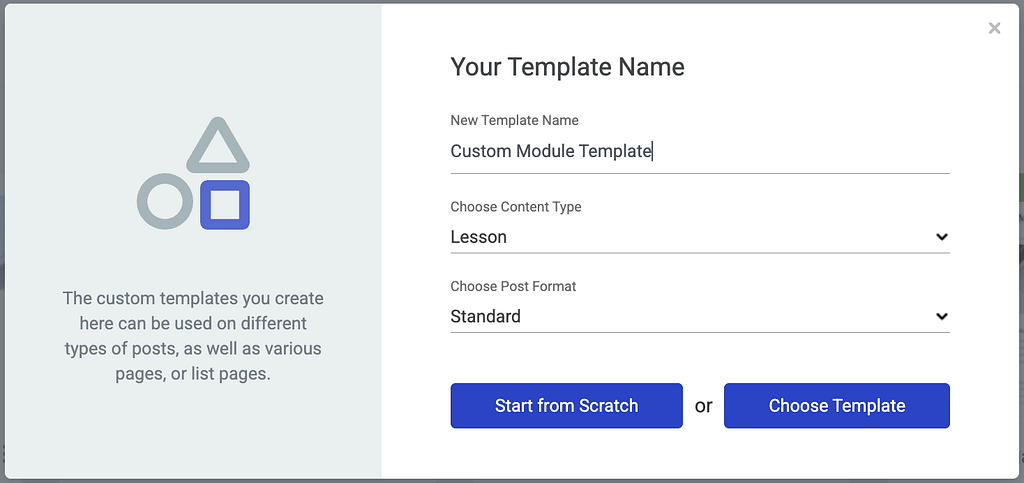
This popup asks you to enter the following details:
- New Template Name: The name you want to associate with the template.
- Choose Content Type: Select the content type you want to include in this template. You can select among options like Lesson, School Homepage, Course Overview, Module, Certificate Verification, etc.
- Choose Post Format: This field is available if you select the content type as Lesson in the previous field. This is where you can select the post format as Standard, Video or Audio based on the type of the lesson.
In this example, we’ll set the Template name and choose the content type as Module.
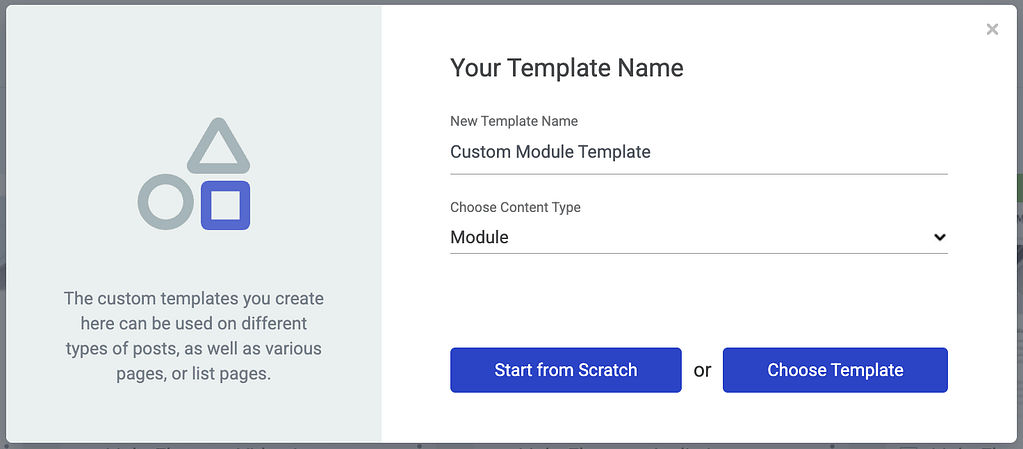
After entering the template name and the content type, you’ll see two ways to add a template.
Building a Template from Scratch
Clicking on the Start from Scratch button allows you to build a template from scratch.
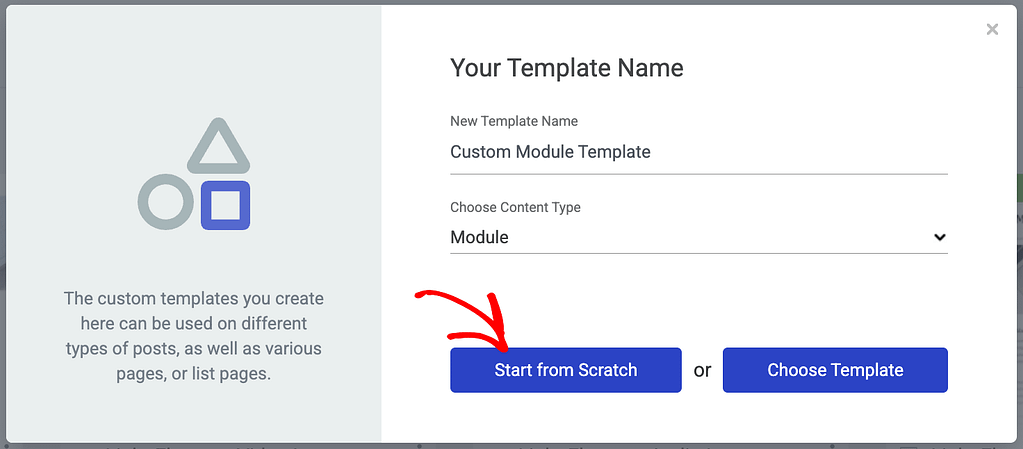
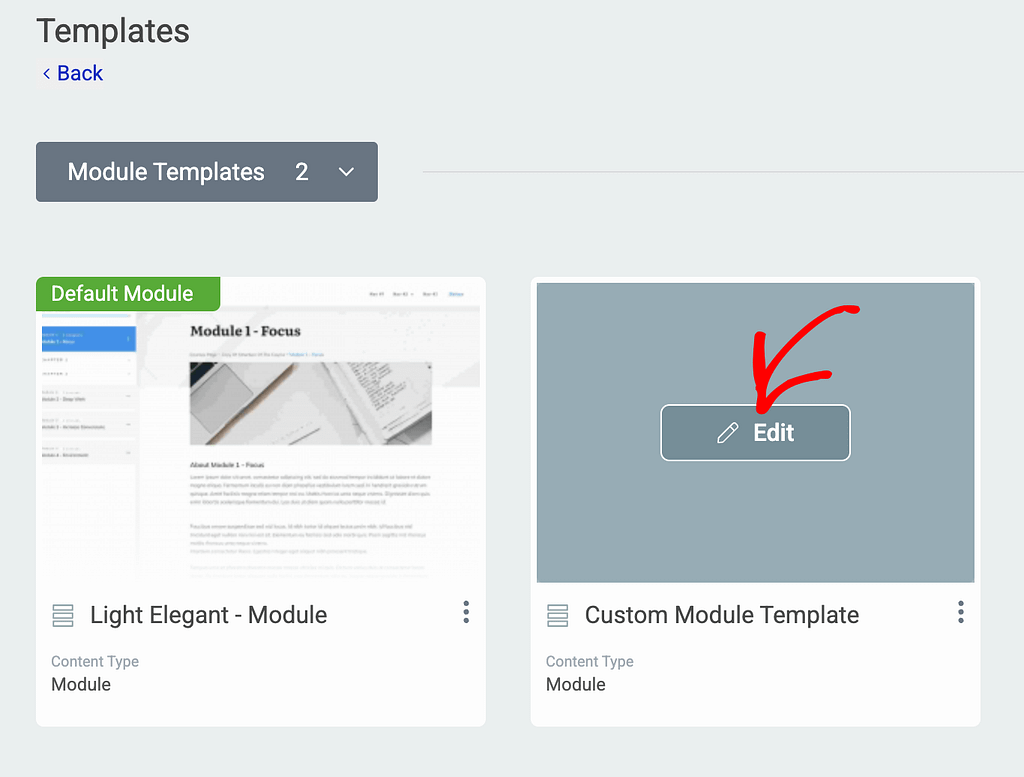
After you click Start from Scratch, you’ll see a new template added on the Thrive Apprentice templates page. To edit the newly created Module template, hover over it and click Edit.
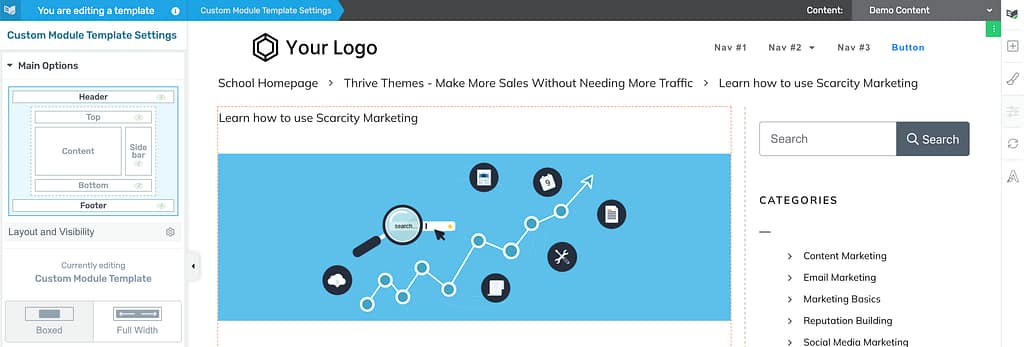
Clicking Edit will open the Module template in the editor where you can customize everything on it.
Building a Module Template by Choosing a Template
Thrive Apprentice offers a variety of templates that you can pick and customize as per your needs. To create a Module template using one such ready template, click the Choose Template button on the template creation popup.
Clicking Choose Template will open a popup with available templates. On this popup, click on the template you want to use and then click Create Template.
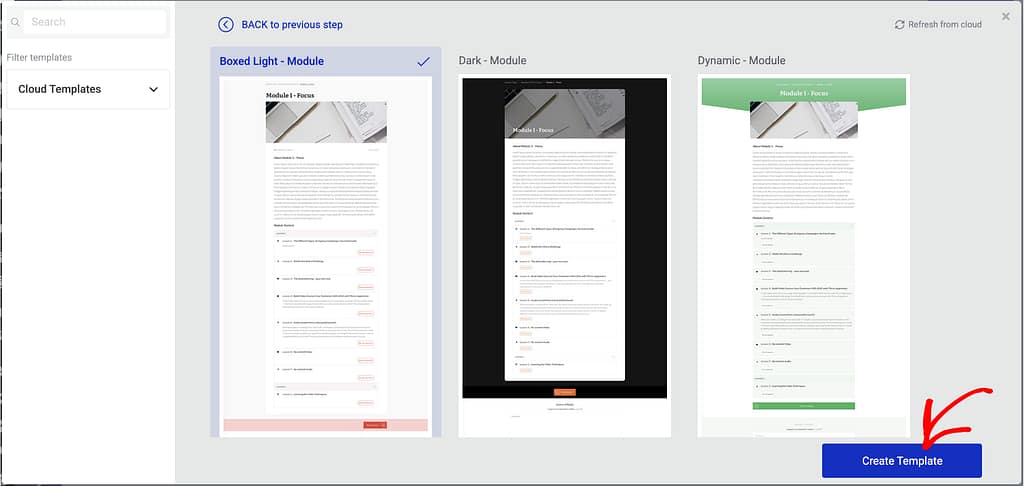
Clicking Create Template will add the Module template on the Thrive Apprentice templates page. To edit this Module template hover over it and click Edit.
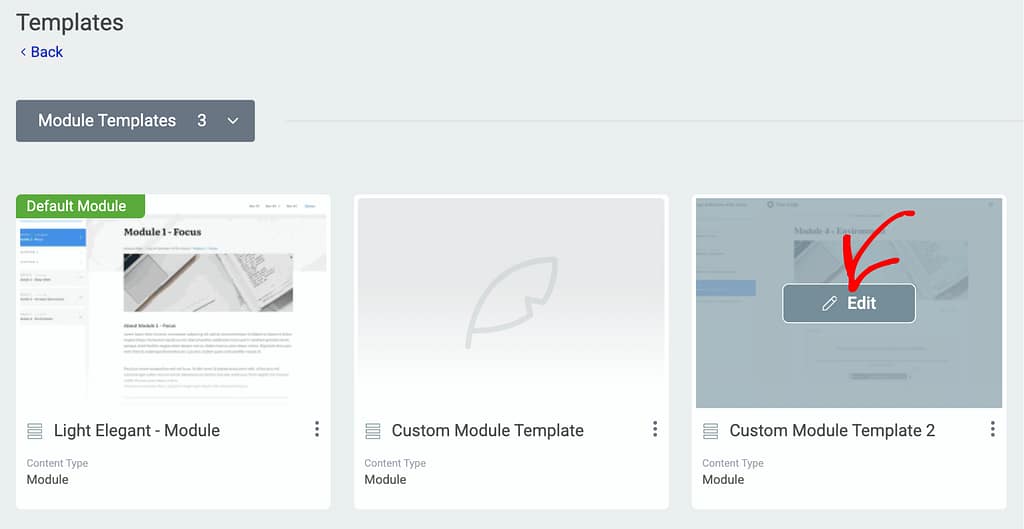
Clicking Edit will open the Module template in the editor. Here, you can alter all you want and customize the template as you need.

When you finish creating a template from scratch or by editing an existing template, please ensure you click the Save Work button on the bottom left of the screen.
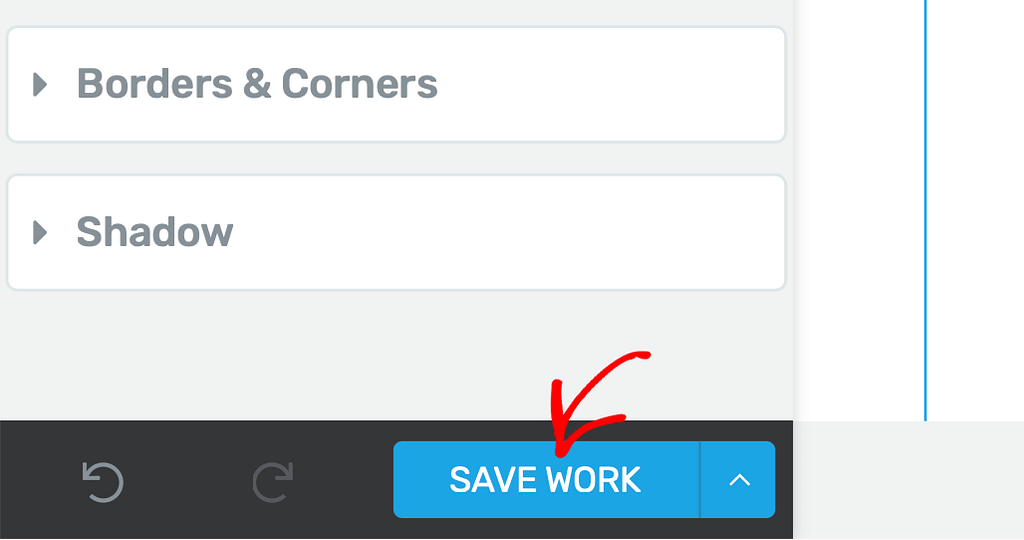
This will save your templates with all the changes you’ve made.
We’ve just seen how you can add a new Module template by creating one from scratch or using an existing template.
Next, do you want to organize your lessons and chapters inside a module? Here’s our document that will help.