When you’re creating a Thrive Apprentice course, in the “Topic” section, you have the option to select in which topic should this course be included:

The Course Topic works exactly like a category for your courses. This way, you can have, for example, a topic in which you can include five courses.
The main benefit of the topics is that your users will be able to find your courses based on the topic they are included in, by using the filters from your Apprentice page:
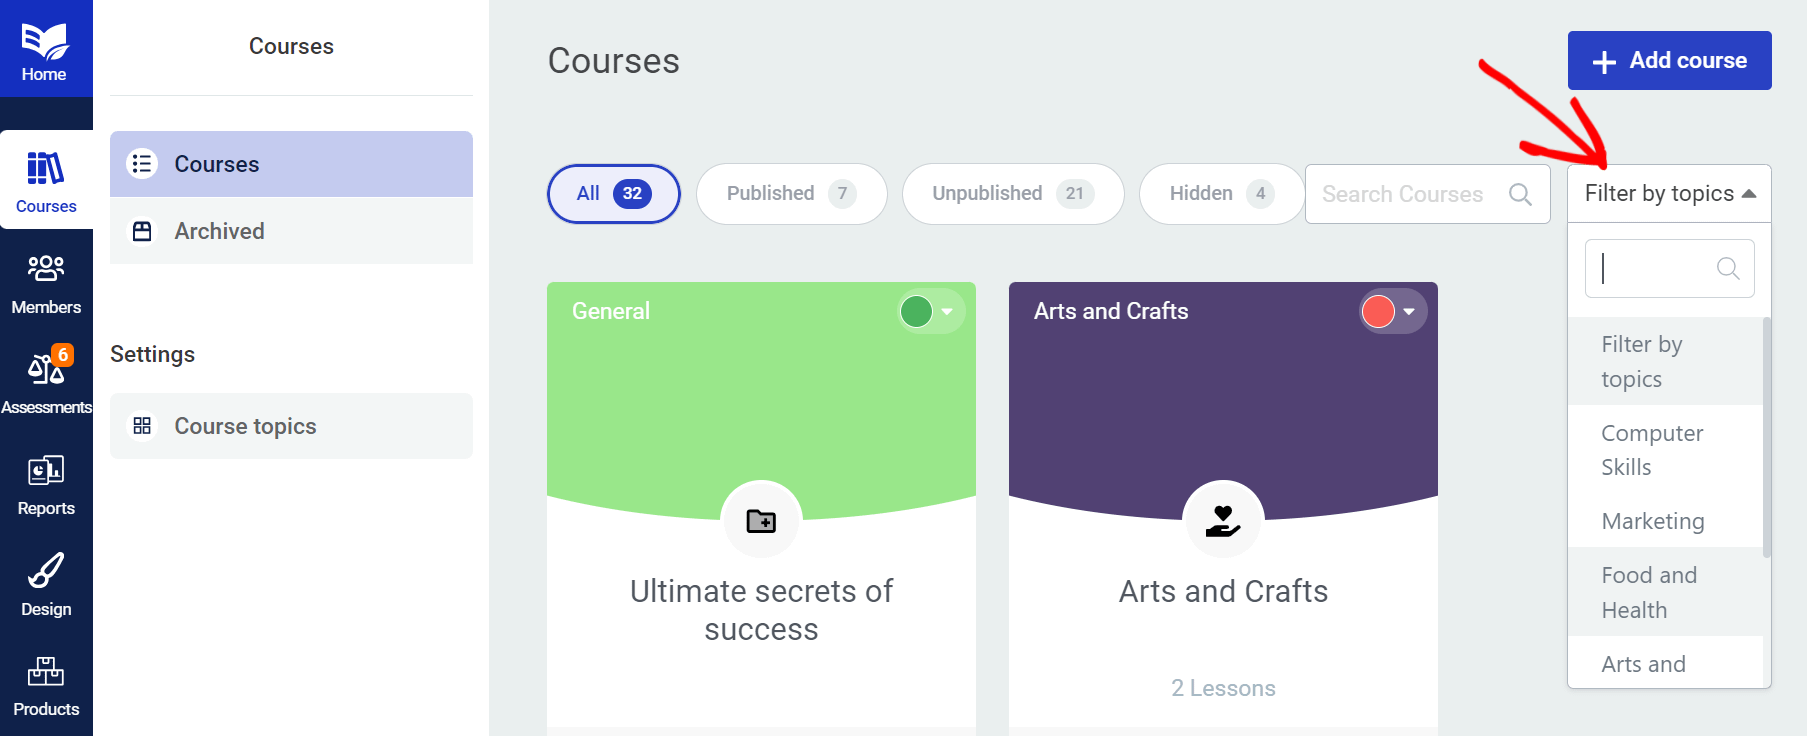
If you accessed Thrive Apprentice for the first time and this is the first course you are creating, the only available topic will be the “General” one.
Add a Topic
So, in order to add more topics in which you can include your courses, you can do one of the following:
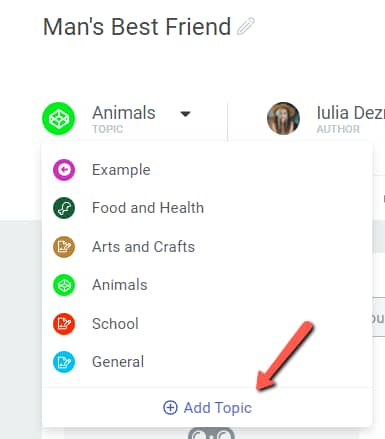
1. Click on the “Add Topic” option directly from the Topics section of a course:
2. Or go on the navigation bar and access the “Course topics” option:
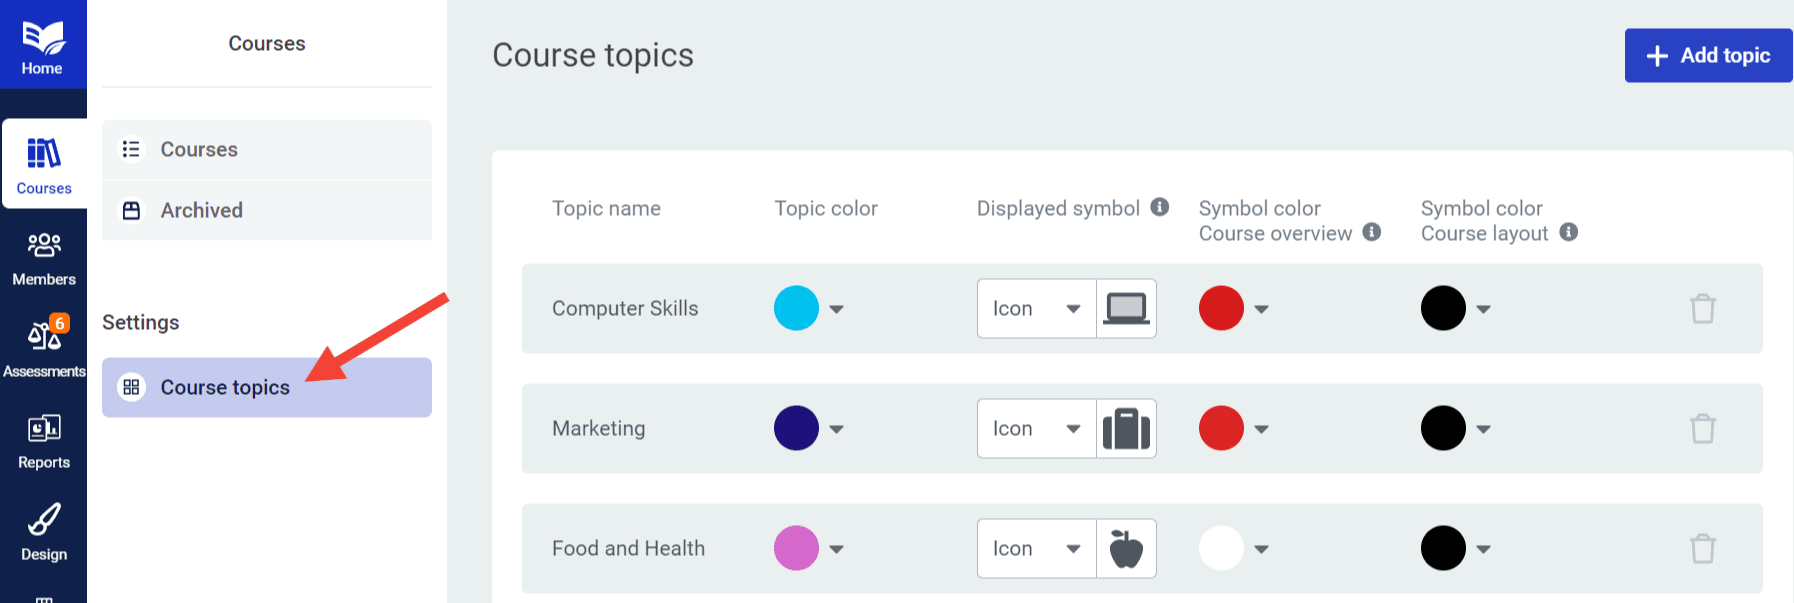
Course Topics
In both cases, the Course Topics page will open, with all of your course topics listed. Again, if this is the first course that you are creating, your only available topic will be the “General” topic.
Here are the options you can find on the “Course Topics” page:

-
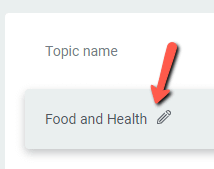
Topic name (1): this is the name of the topic that will appear in the filters and on each course that is included in the topic. If you hover over the title, the edit option (pencil icon) will appear next to it and if you click on that, you will be able to change the title:
-
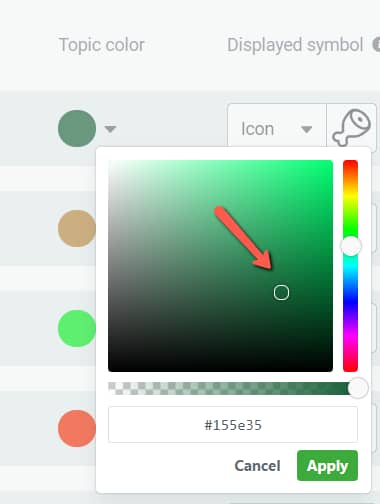
Topic color (2): this option lets you choose a theme color for each topic. In order to do that, simply click on the color from this section and a color picker will open. Choose the desired color, or enter its code in the “Color code” section, and click on “Apply”:
-
Displayed symbol (3): with the help of this section, you can assign an image or an icon to each topic:
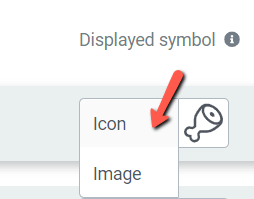
This will also show up on the filters and on the respective courses, next to the topic name.
If you want to assign an image to your topic, simply click on the “Image” option and the media library will open.
From there you can select the respective image and use it; or upload it first, if it is not in your library yet. For images, we recommend you use a transparent-background .png image type with the recommended size, which is 32 x 32 pixels.
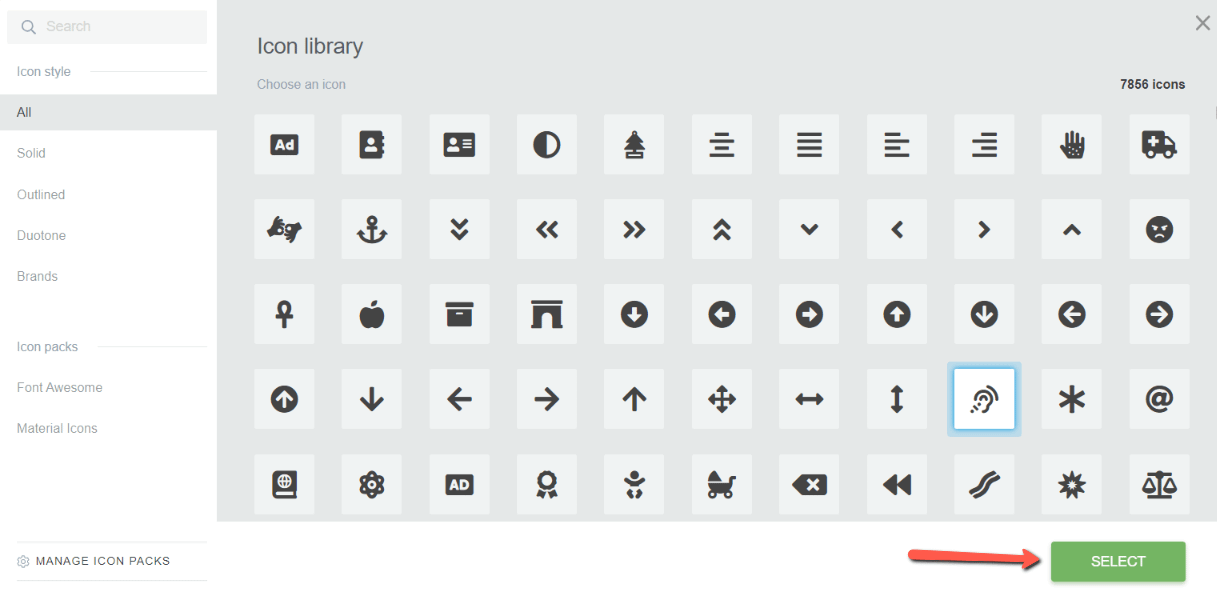
If you want to assign an icon to the topic, then click on the “Icon” option and select one of the many available icons that you can use:
-
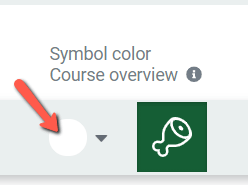
Symbol color – Course overview (4): from here you can select the color of the symbol in the course overview header. Please note that this option is not available if you have chosen to assign an image to your topic and not an icon. You can make use of the color picker, as usual:
-
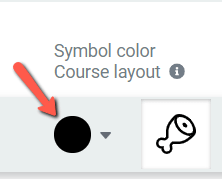
Symbol color – Course layout (5): pick the symbol color for the course card. Please note that this option is not available if you have chosen to assign an image to your topic and not an icon:
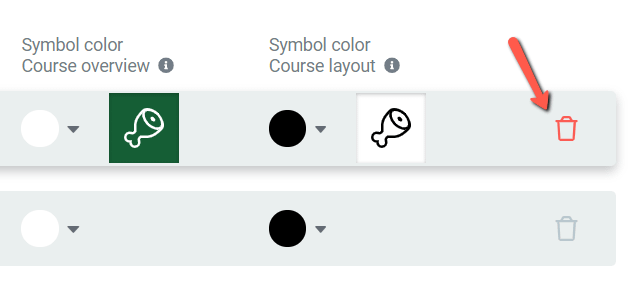
In order to delete a topic, click on the little trash icon next to the topic you want to have removed:
Anytime you want to add a new topic, simply click on the “Add New” button:

Then, you will be able to apply the same options to the newly added topic, like the ones mentioned above (title, icon, color).
You can add as many topics as you want, they will be stacked on top of each other on the “Course Topics” page.
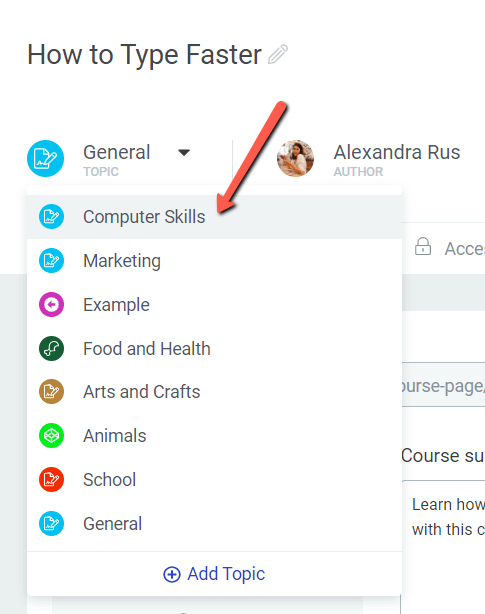
Afterward, you can go back to creating your course, and choose a topic in which to include your course:
If you want to find out more about Thrive Apprentice, you can check out the other Thrive Apprentice articles as well.
Hopefully, this article was useful to you. If so, please give it a smile below 🙂