In this article, you’ll learn how to set up and launch your first A/B test with Thrive Optimize. This guide will walk you through the process of creating variations, configuring traffic distribution, and setting success goals to optimize your conversions.
Before you begin, make sure you have the page you want to test already built and ready in Thrive Architect.
Understanding Control and Variations
When you start an A/B test, it’s important to understand two key terms:
- Control: This is the original page you’ve already built with Thrive Architect.
- Variations: These are the alternative versions of the page that you will create to test against the Control.
Note: Variations are created only for testing purposes and are not saved as actual separate pages on your WordPress website. Once a test is over, you can choose to save one of them as your live page.
Adding Test Variations
To start your test, you’ll need to open your page in the Thrive Architect editor and access the A/B dashboard.
- Navigate to Pages > All Pages in your WordPress dashboard.
- Hover over the page you want to test and click Edit with Thrive Architect.
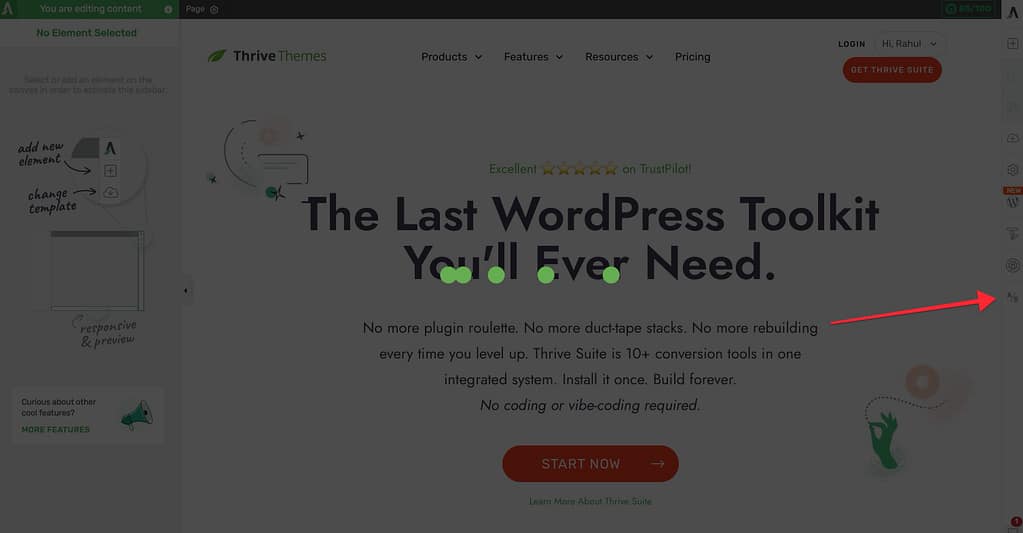
- In the right-hand sidebar, click the A/B icon.

- Choose one of the following ways to add a variation:
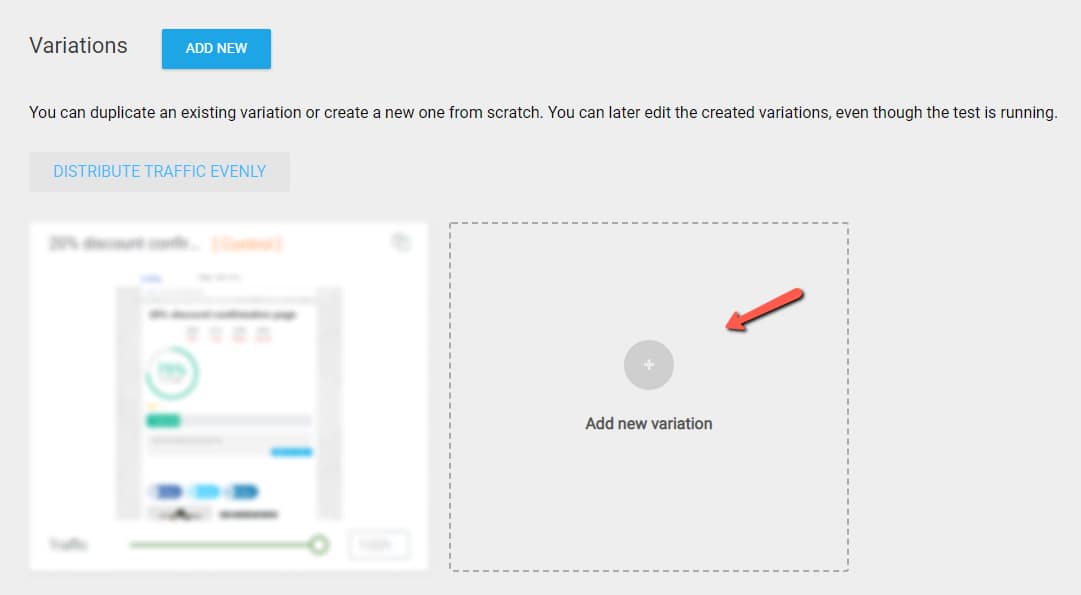
- Add New Variation: Click this button to create a blank variation from scratch.
- Duplicate Control: Click the Duplicate icon on the Control card to create a copy of your original page. This is best if you only want to make small adjustments, such as changing a headline or button color.
Editing and Managing Variations
Once you’ve added your variations, you can customize them to test different ideas.
- Hover over the variation card and click Edit Variation to open it in Thrive Architect.

- Make your changes and click Save Work at the bottom left before returning to the dashboard.
- Back in the dashboard, you can manage your variations using these icons:
- Pen Icon: Click this to edit the variation name (for internal use).
- Duplicate Icon: Use this to clone an existing variation for further testing.
- Archive Icon: Click this to remove a variation from the active test without deleting it. You can find archived items in the Archived Variations section.
- Trash Icon: Click this to permanently delete a variation.
Important! After a test is completed, all losing variations are automatically archived. This ensures you can still access them when starting future tests.
Setting Traffic Distribution
Next, you need to decide how many visitors should see each version of your page.
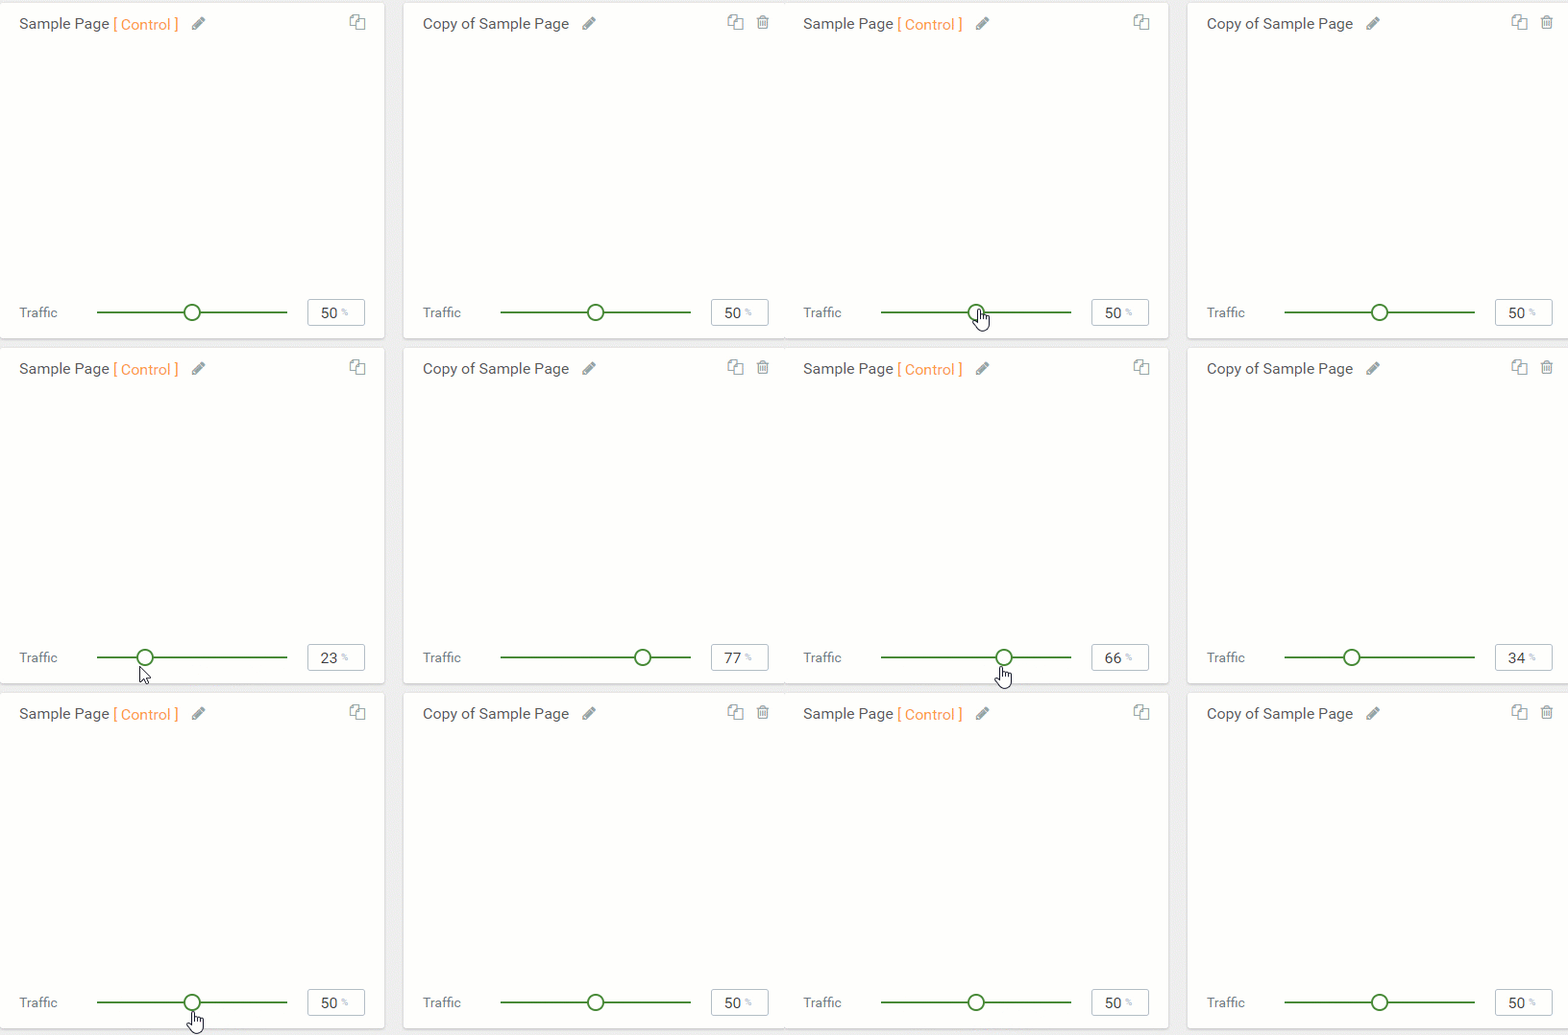
- Use the Slider at the bottom of each variation card to adjust the traffic percentage.
- Alternatively, click the Distribute traffic evenly button at the top to quickly split visitors equally among all active variations.

Setting Up and Starting the A/B Test
Now that your variations are ready, you can configure the final test settings.
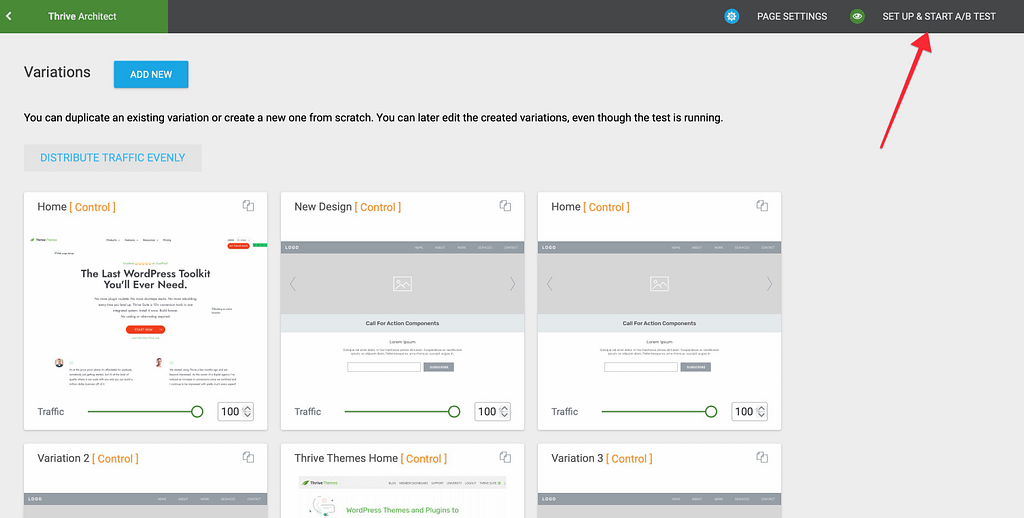
- Click the Set Up & Start A/B Test button in the top-right corner.

- Follow the two-step setup in the lightbox:
Step 1: Personalize Your A/B Test
- Enter a Test Name and a short Description.
- Optional: Enable Automatic Winner Settings if you want Thrive Optimize to automatically pick a winner based on specific criteria (like minimum conversions or duration).
- Click Next.
Step 2: Set the Goal of the Test
Choose one of the following goal types:
- Revenue: Counts a conversion when a user reaches a specific page and allows you to set a financial value for that conversion.
- Visit Goal Page: Similar to the Revenue goal, but doesn’t require setting a financial value. It simply counts when a visitor reaches a specific URL.
- Subscriptions: Counts a conversion when a visitor registers via an opt-in form on your page.
Once you have selected your goal, click Start A/B Test.
Conclusion
That’s it! You’ve successfully learned how to create your first A/B test with Thrive Optimize. You now know how to add variations, distribute traffic, and set goals to find the best-performing version of your content.
If you’re still having trouble, check out the related articles below.
Related Articles
- Getting Started: Read our full guide on Getting Started with Thrive Optimize.
- Goal Types: Learn more about A/B test goal types in Thrive Optimize.
- Test Overview: Understand how to use the A/B test overview and see test details.
- Winner Settings: Learn about automatic winner settings and how they work.
Thrive Optimize Documentation: Explore the full Thrive Optimize knowledge base for more tutorials.