1. Home
  2. Knowledge Base
  3. Thrive Ultimatum
  4. Styling a Thrive Ultimatum Campaign
  5. Displaying Widget Countdowns in Thrive Ultimatum Campaigns

Displaying Widget Countdowns in Thrive Ultimatum Campaigns

When configuring your Ultimatum campaigns, you can set the countdown timer design to display as a widget.

In order to have a better understanding of how to display a widget countdown timer on your website, have a look over the following video:

Display the Campaign

After you have created a campaign, you can start setting it up in your Thrive Ultimatum dashboard.

You first need to decide where the campaign will be displayed on your website. Click on the “Edit” button from the display section of your Thrive Dashboard::

Then, in the lightbox that opens, choose where you want to display the campaign:

Should you only want to show the campaign o a singular post/page, this is where you should choose that specific post/page from.

Choose a Design Type

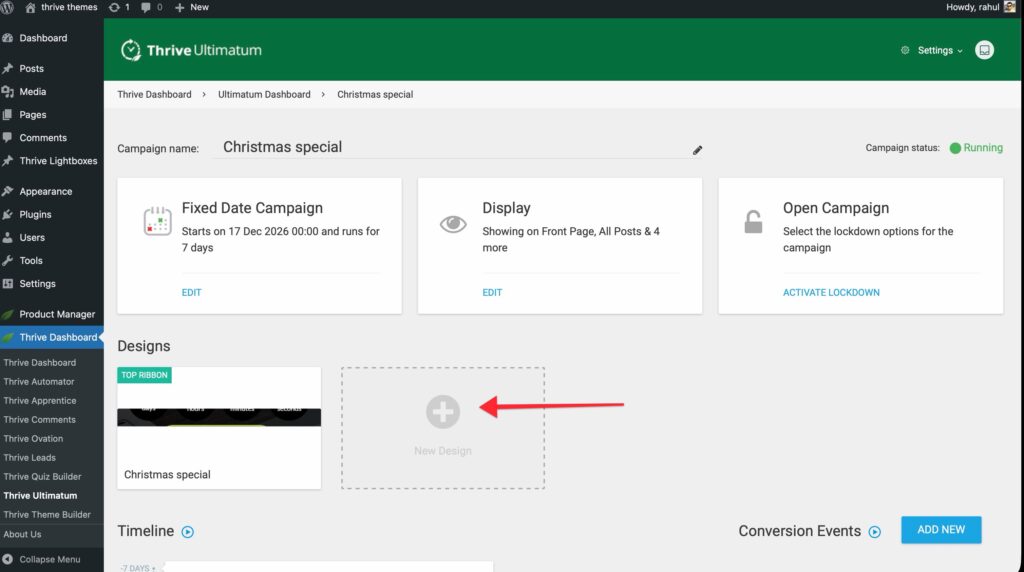
You then need to choose a design type for your campaign’s timer, from the “Design” section:

A lightbox will appear on the screen, where you need to select “Widget – displays in any widget area on your site”. Once done, click on “Continue”:

Choose a Template for Your Campaign

To start setting up the design for the campaigns timer, click on the pencil icon:

A template library will open, from where you can choose a design template:

Edit the Design with Thrive Architect

Now you can start customizing each item of the template in the Thrive Architect editor. For this example, you can customize the “Text” (1), the “Countdown” (2), and the “Button” elements (3):

We have dedicated articles for how to use each element, linked below:

Note: Since the main purpose of Thrive Ultimatum is to build conversion-boosting campaigns for your website, don’t forget to link the button from your timer to the product or offer you are advertising in your campaign.

You can learn more about how you can do that in this article.

When you are doing customizing the template, make sure you save all your changes by clicking on the “Save Work” button:

Activate the campaign

After you’ve done this, you can simply start the campaign by clicking on the “Paused” button on the top right side of the dashboard:

The status will change to “Running” and you will also receive a notification in the lower part of the dashboard letting you know that the campaign has started:

Display the Widget

In order to display the countdown on all pages or posts where you’ve set it to appear, you have to add the “Thrive Ultimatum” widget to one of your Widget Areas, and then add a “Widget Area” element to your Thrive Theme Builder template. This should be the template applied to the post/page on which you wish to display the widget.

To do all this, you will first have to access your WordPress Admin dashboard, hover over “Settings” and select “Widgets” from the menu that expands:

Go to one of your widget areas and add the Thrive Ultimatum widget, using the “Add Block” option:

Then, choose the campaign that contains your widget countdown type and update the widget area.

You can then go ahead and add the “Widget Area” element to the page/post template applied to the page/post on which you want to display the widget. Make sure you check out this article in case you need more help with that part.

Once you’re done, the countdown timer should be visible:

You can learn more about how widgets work and how to use them in this article.

Note: Remember that if you are using Thrive Theme Builder on your website, you can display the widgets on your templates with the help of the “Widget Area” element. If you are using any other theme, the settings will depend on that theme in particular.

This is how you can set up and display a widget countdown design on your website.

Hopefully, this article was useful to you. If so, don’t hesitate to rate it with a smile below 🙂

Was this article helpful?

Related Articles

>