The Thrive Apprentice pre-built designs offer full visual editing, which means that you can customize every design-related aspect of your courses.
This article will shortly explain what each section does, and will also provide you with the necessary resources for each individual section.
So after you’ve published your design, you can go ahead and start customizing it:

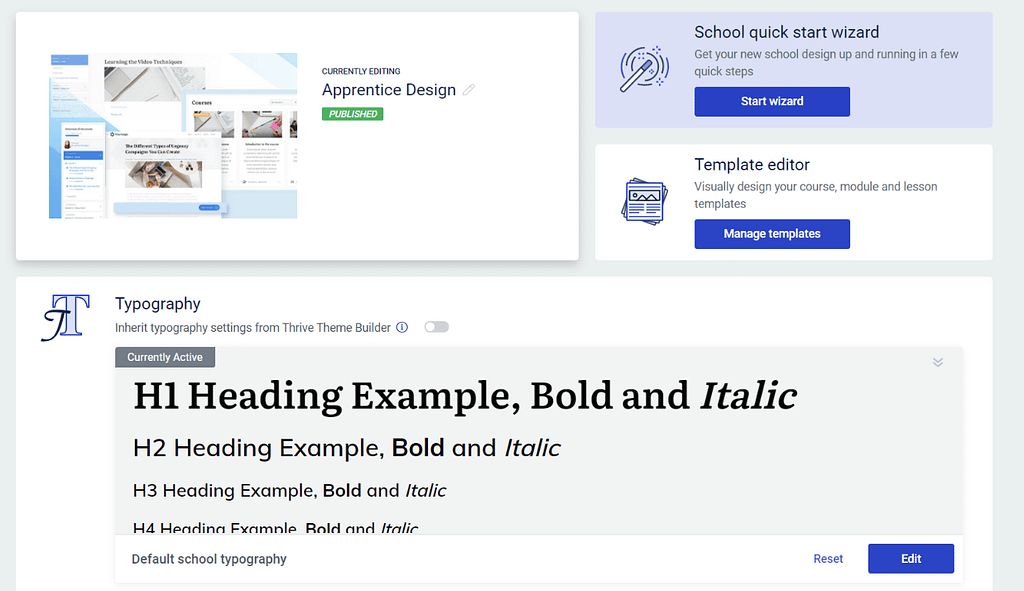
Clicking on “Edit design” will take you to this dashboard:
Currently editing
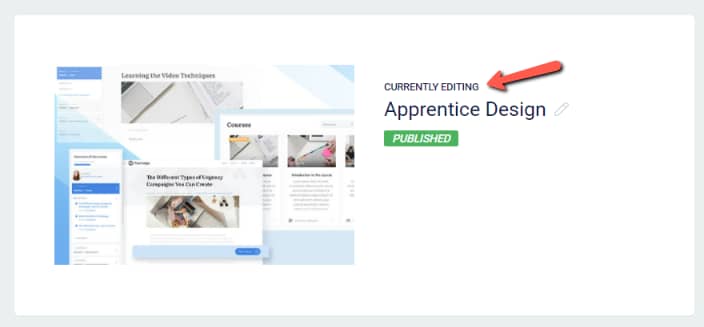
The first section shows you the design you are currently editing:
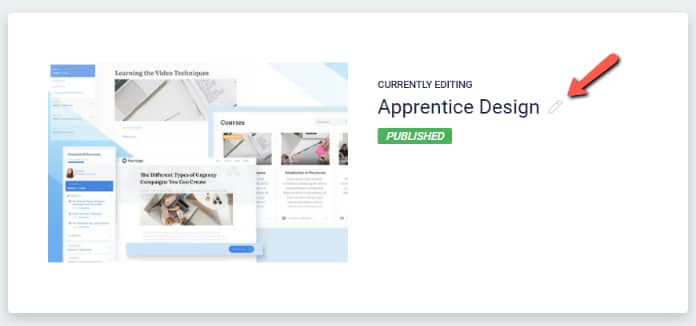
You also have the option of renaming the design if you want, by clicking on the pencil icon next to the name of the design:
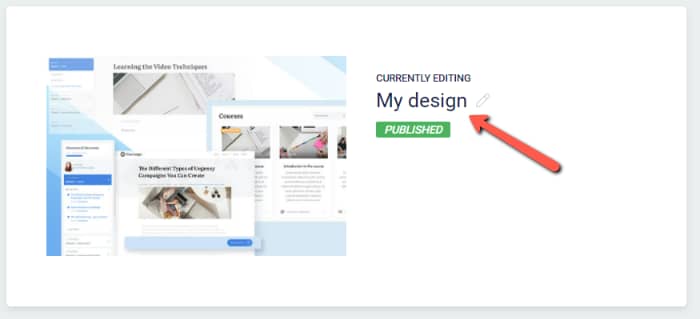
Simply type in the new name and then click anywhere outside this section to make sure the name is saved:
Start wizard
You next have the “Start wizard” section:
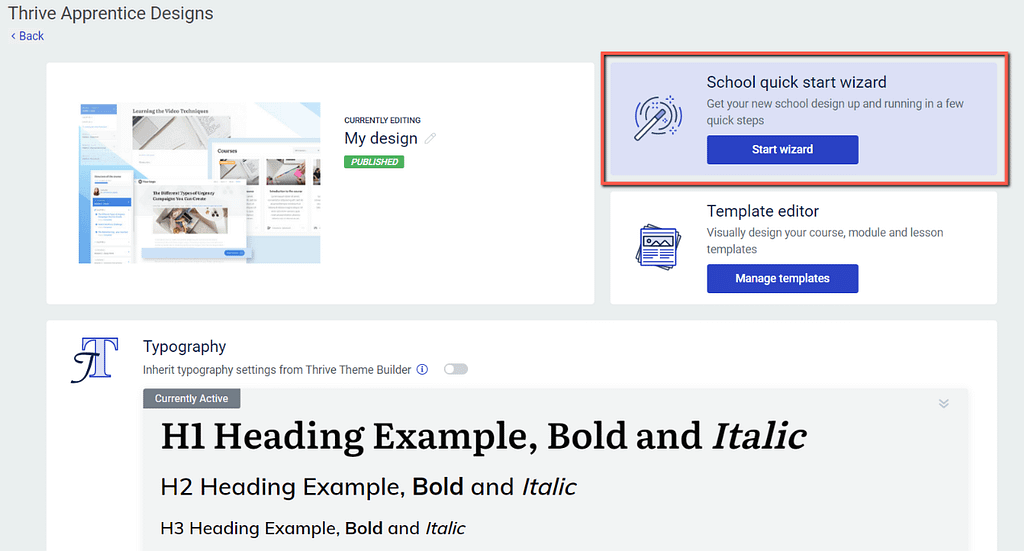
Click on the “Start wizard” button in order to go through all the wizard steps:

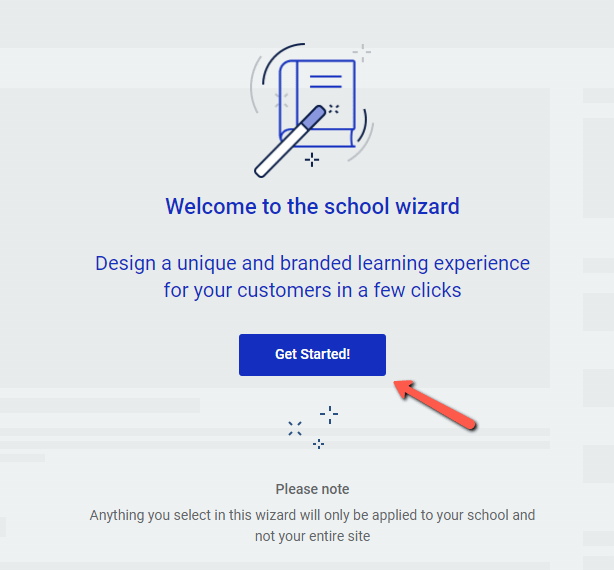
You can find here a detailed article about how to get started with this wizard:
Template editor
The next section is the “Template editor” one:
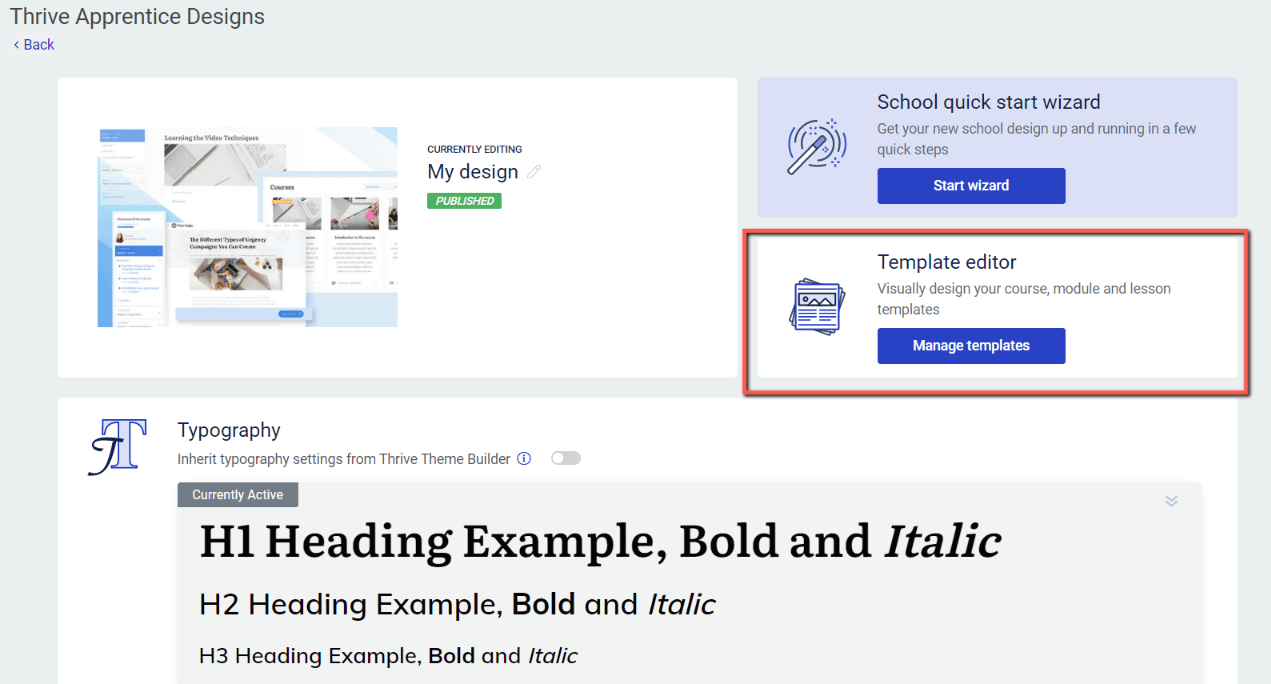
Click on “Manage templates” in order to view the template library:

This is where you will be able to edit and customize the templates for your homepage, lessons, modules, and courses:
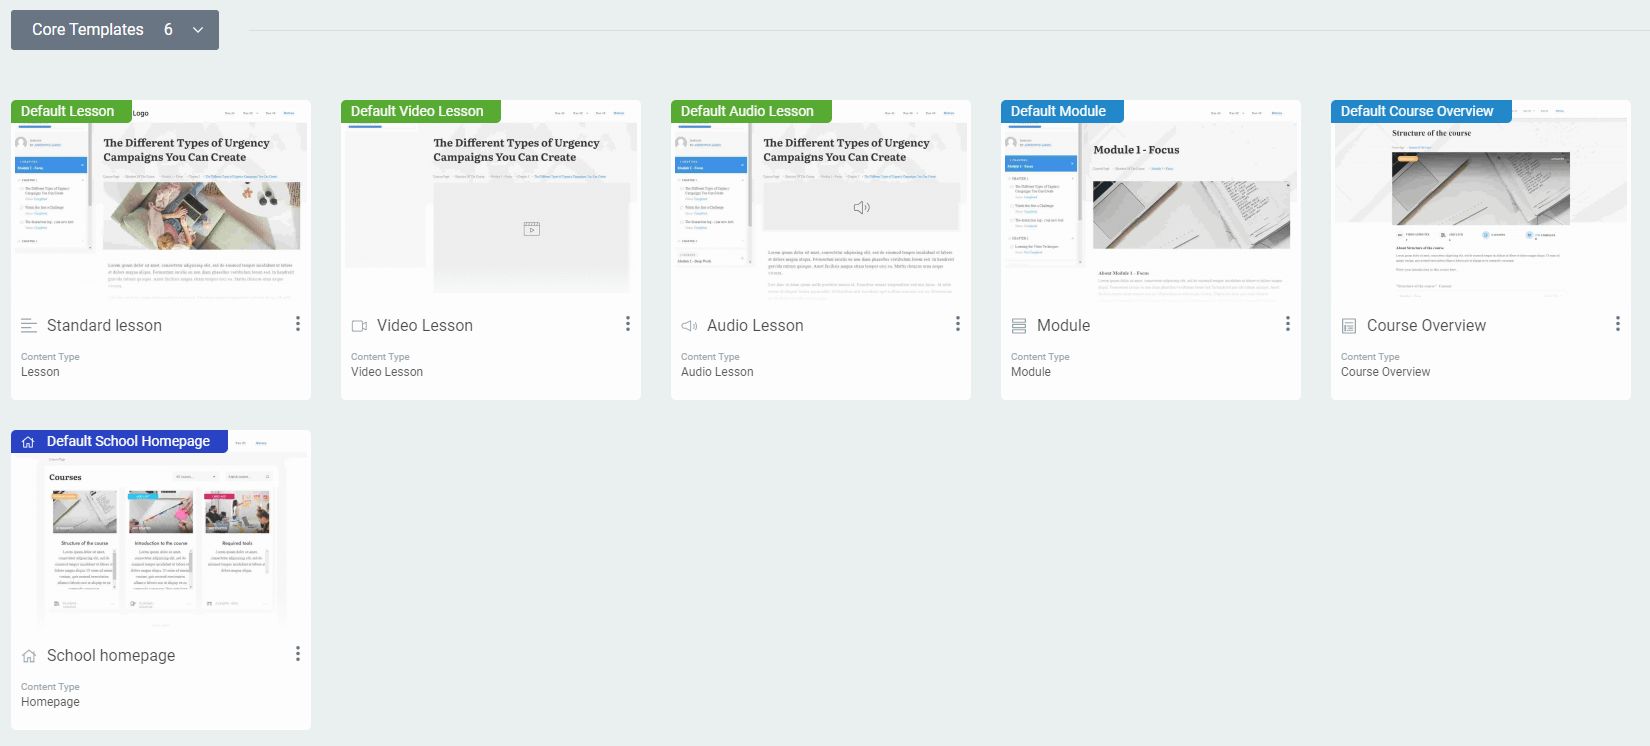
Check out these articles if you want to find out more about how to add and edit your course templates:
- Creating and Using Thrive Apprentice Templates
- Managing Thrive Apprentice Templates – Using the Basic Template Options
Typography
The last section is the “Typography” one:

This is where you can view the typography available throughout your course design.
You can also apply different typography settings from here, and this article details how to do that step by step.
These are all the available sections when editing your course design. Just as mentioned in the article, we have separate dedicated resources for each section, so make sure to check those out for more in-depth information.