This article will cover what social share badges are, why they’re so powerful, how to create and edit your badges using our live editor.
Below you can see a video tutorial that will walk you through the entire process of setting up your Social Share Badge, using Thrive Quiz Builder:
What is a Social Share Badge?
A social share badge is a graphic that usually includes an attractive image and the result that the user has obtained. Here’s an example of a social badge from a typing web site called 10fastfingers.com:
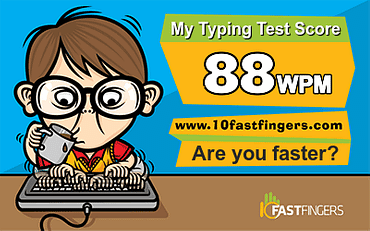
The main purpose of a badge is to attract social shares.
Why are social badges so shareable?
Firstly, they are usually designed to be colorful and attention-grabbing in order to garner attention far more than a simple text result. They include the personalized result that the user has obtained.
Finally, they also usually contain some kind of call to action or teaser in order to encourage the “friends” of the visitor to participate themselves. In the example above, the teaser is “Are you faster?”
How do I Create a Social Share Badge?
Thrive Quiz Builder comes complete with a fully featured live social share badge editor.
This means you can quickly and easily create these badges from within your WordPress website.
Here’s how you do it:
1) Open the Social Share Badge Editor
The live social share badge editor can be accessed from the dashboard of any quiz that you’ve created:
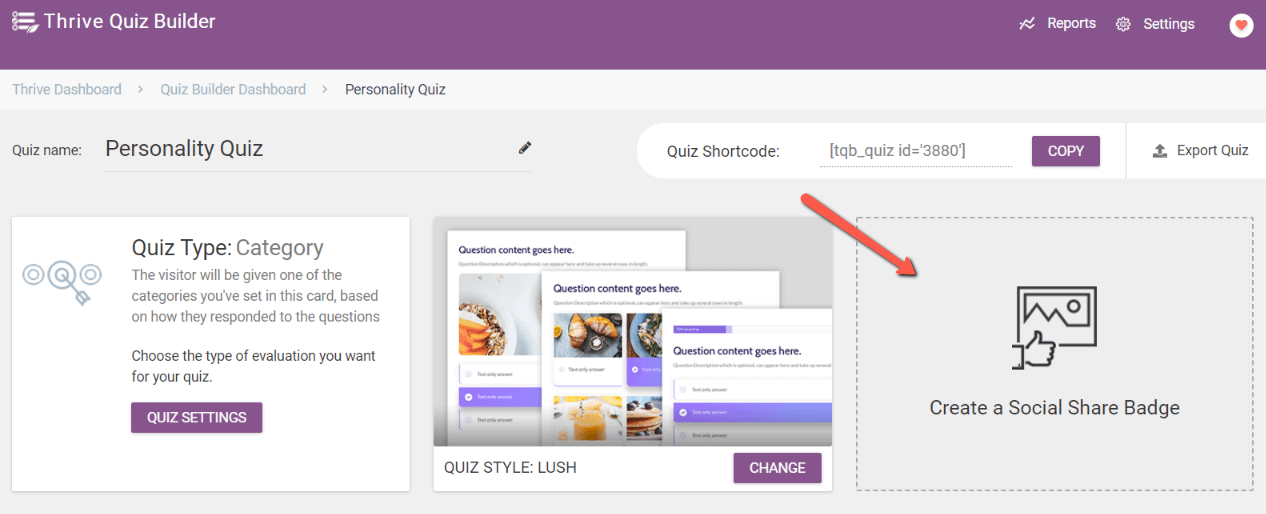
Simply click on the section that says “Create a social share badge”.
2) Select a Social Share Badge Template
A lightbox will appear asking you to choose a template:
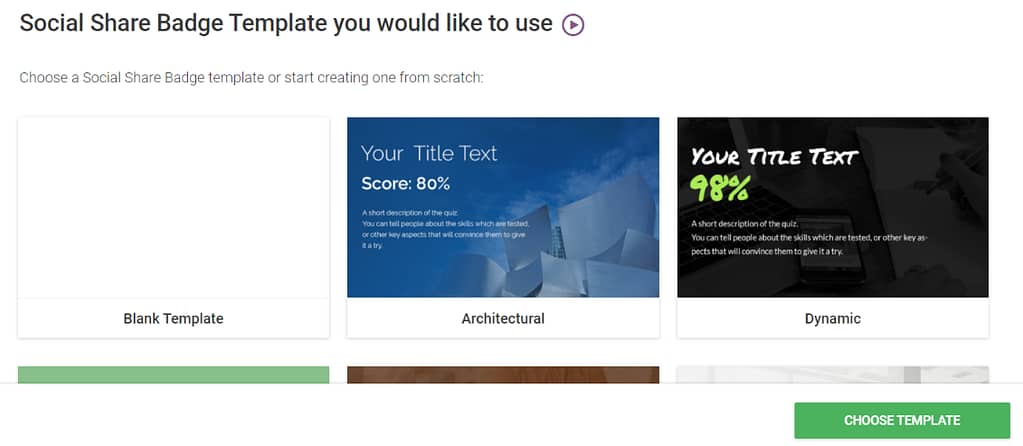
You can either start from scratch by selecting the “blank” template or you can choose an existing template that is close to the style that you like.
The Thrive Live Social Badge Editor
Once you choose the template, you will be taken directly to this editor, where you can bring further changes to it:
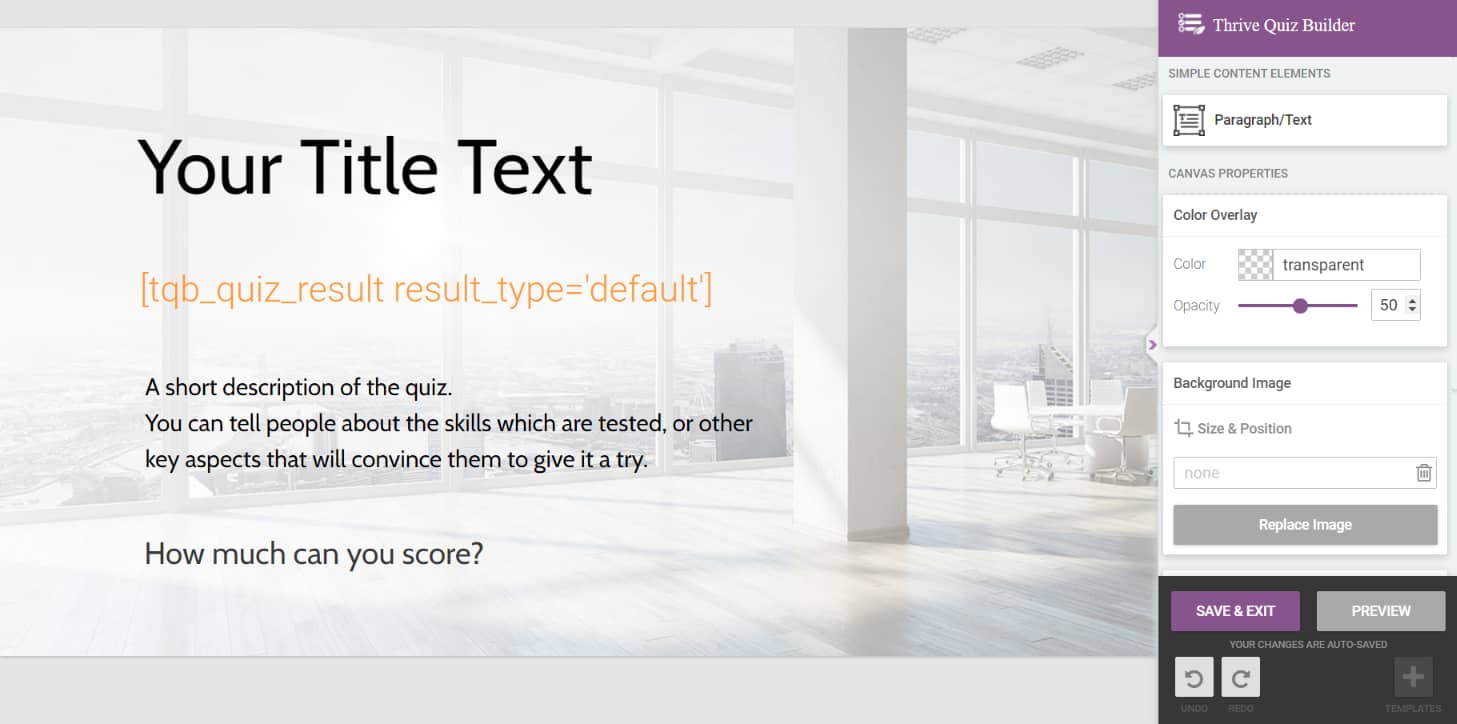
Paragraph/Text
Use this option if you want to add additional text to the already existing one. Simply drag and drop it onto the canvas:

The editor allows you to modify the look and feel of existing text as well as do things such as duplicate, move and delete it.
Hovering over an existing text element renders the following controls:

You can duplicate the text element by clicking in the top left corner and delete the element by clicking in the top right corner. You can move the element by dragging on the middle icon.
- Changing Text Style
Firstly click on the text element that you would like to change. This will load the text formatting control panel on the right-hand side:
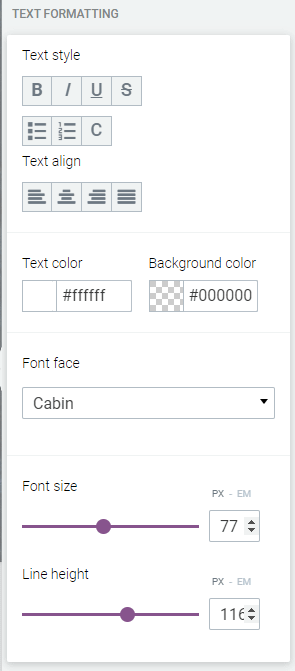
First, you should highlight the text that you want and then use the regular text formatting options to bring changes to it.
Color Overlay
Use the options available here if you want to overlay a color on top of your picture, thus giving the picture a tint of a certain color that you will decide on:
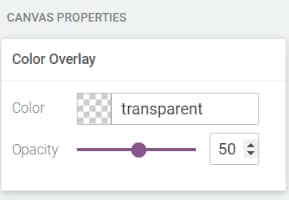
Click on the color field in order to open the color picker and choose a color, and then, from the “Opacity” slider, adjust the amount of opacity of the chosen color.
Background Image
The background image is probably the most crucial part of creating a good social share badge. You should choose an image that garners attention:
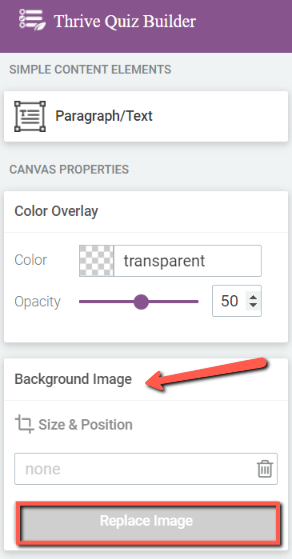
You can choose any image that you’ve previously uploaded to your Media Gallery.
- Adjusting the Size and Position of the Background Image
You can modify the size and position of your social share badge by clicking on the “Size & Position” button in the sidebar:

This will open up a lightbox with some new functionality:
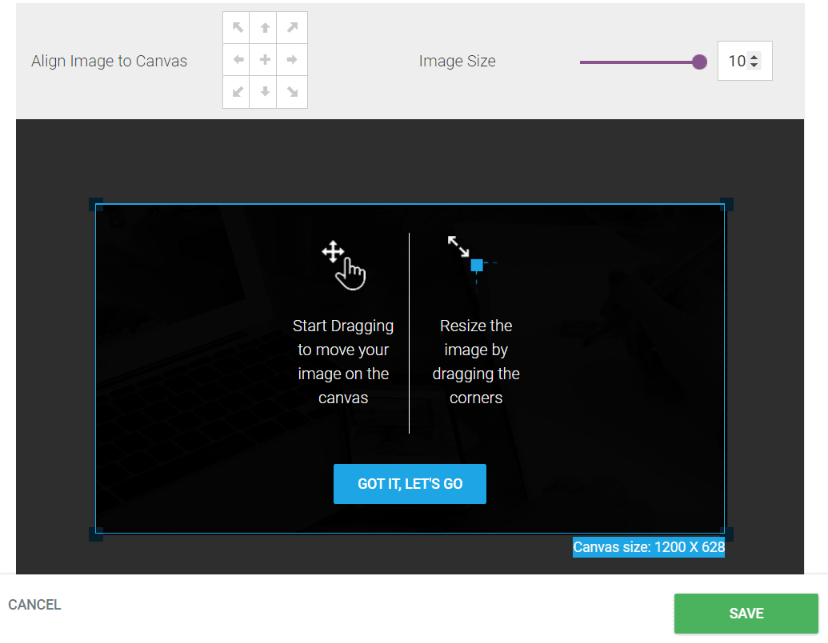
- Here you can set the alignment of the background image relative to the canvas. Clicking the arrows will align the background image with the canvas edge. The blue square border represents the canvas edges;
- The image size slider allows you to adjust the size of the background image as a percentage of its native size. However, you cannot make the image larger than 100% to ensure high picture quality and no blurring;
- You can move the background image by dragging it into the position of your choice. You can also resize the image to your desired size by dragging the boxes in each corner. Keep in mind that the aspect ratio of the image is retained when resizing.
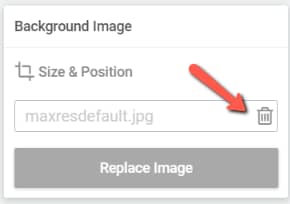
You can also remove the image anytime you want, by using the trash icon:
Canvas Size
You can also modify the size of the canvas from the same sidebar:
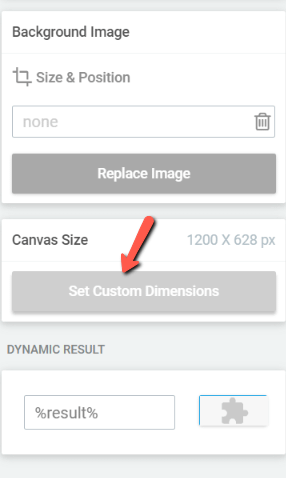
When you click on the “Set Custom Dimensions” button, you will be taken to the following lightbox:

Simply set the width and height of the canvas and hit the “Save” button.
Dynamic Result
This feature will allow you to display a dynamic result anywhere you want on your social share badge:
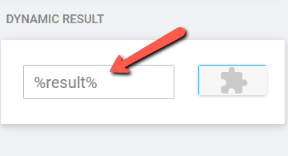
The template comes by default with a shortcode that is automatically displaying the result:
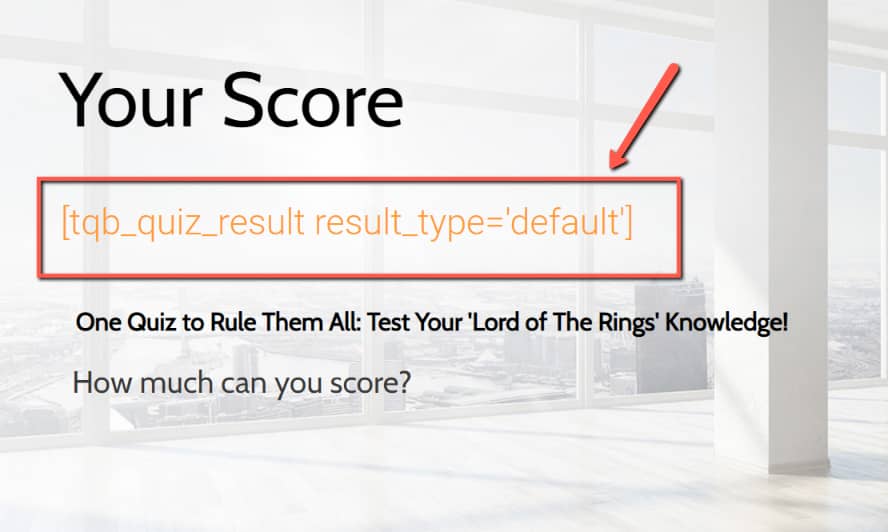
This is how it looks on the front end:

However, if this shortcode is mistakenly removed, or if you’d like to also display the results in another part of the template, you can use the dynamic result from the editor:

You simply have to copy the text from the dynamic result field, and then paste it within any other element you already have on your canvas, like so:

Don’t forget to save your work before exiting the editor!
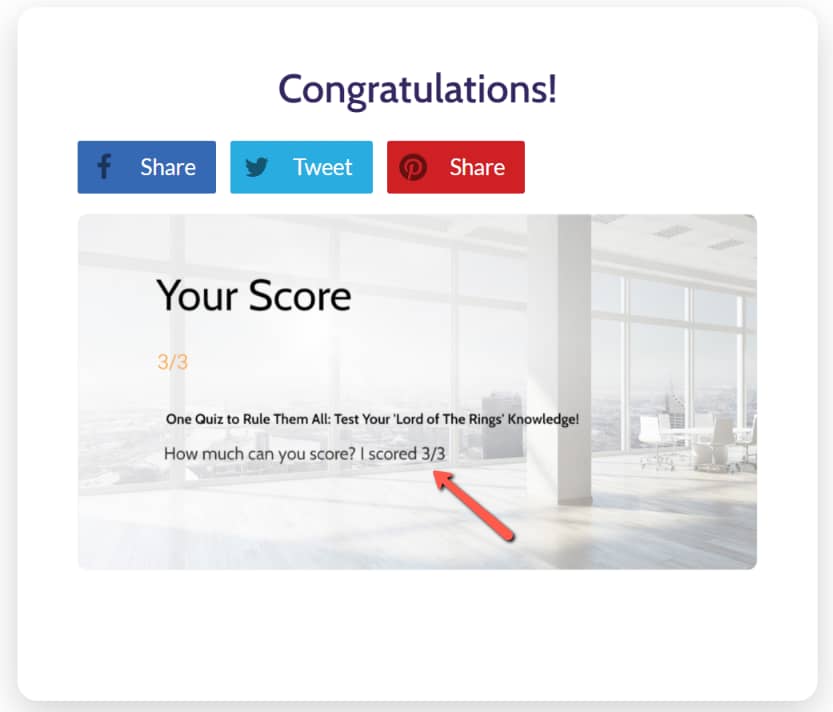
On the front end, this dynamic result will display the actual score gotten on the quiz:
Loading a Different Social Badge Template
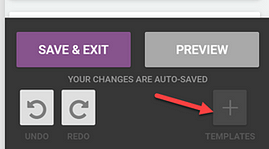
You can quickly and easily load a new social share badge template by clicking on the template button in the bottom right-hand corner:
Saving your Changes
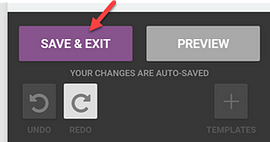
All changes are autosaved, however, you should make sure that you click the “Save & Exit” button when you’re finished with the editor. This will make sure that the badge is generated correctly on the server:
How to Add my Social Share Badge to my Results Page
Lastly, after you are done customizing your social share badge, you have one more step to take – and that is to incorporate it into the results page, where it will eventually be displayed.
For that, you simply have to access and edit the “Results Page”:

And load a template that has the social share badge incorporated within:
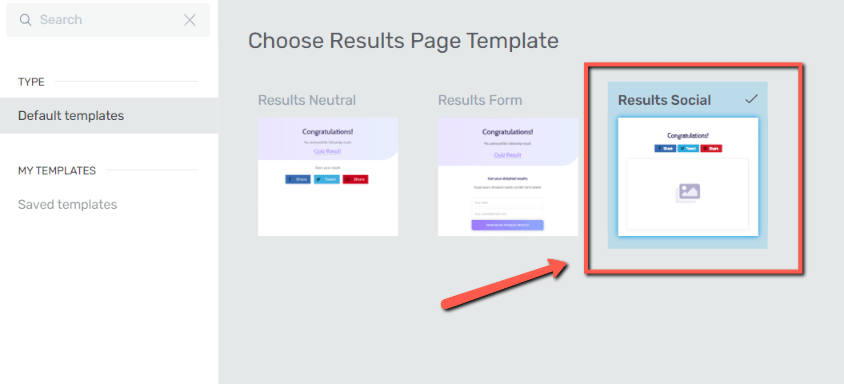
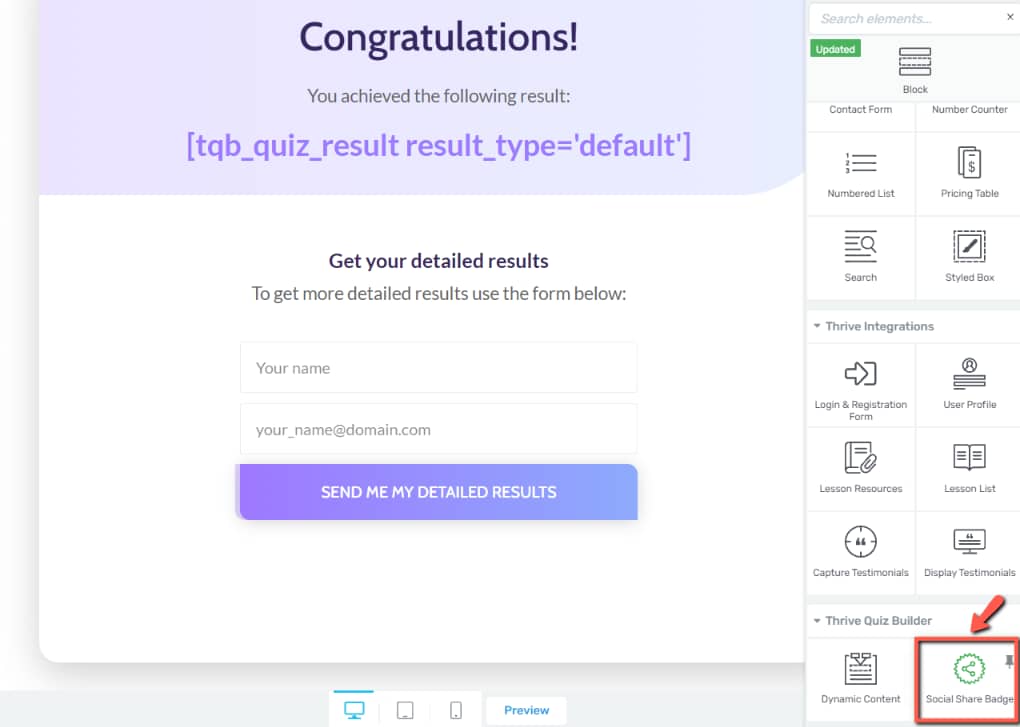
Alternatively, you can also use any other of the existing templates and then simply add the “Social Share Badge” element to it:
We have a separate article about how to do all this, which you can find linked here:
These are the steps for editing and customizing your “Social Share Badge” in Thrive Quiz Builder.
If you need more information about the Thrive Quiz Builder, feel free to check out this section of our knowledge base.