In this article, you’ll learn how to get started with Thrive Theme Builder—from navigating the dashboard to running the Site Wizard and accessing the visual editor. This guide consolidates everything you need to know for your first session with Thrive Theme Builder.
Note: Before proceeding, make sure you have installed and activated Thrive Theme Builder on your website.
Accessing the Thrive Theme Builder Dashboard
To open the Thrive Theme Builder dashboard:
- Go to your WordPress admin dashboard.
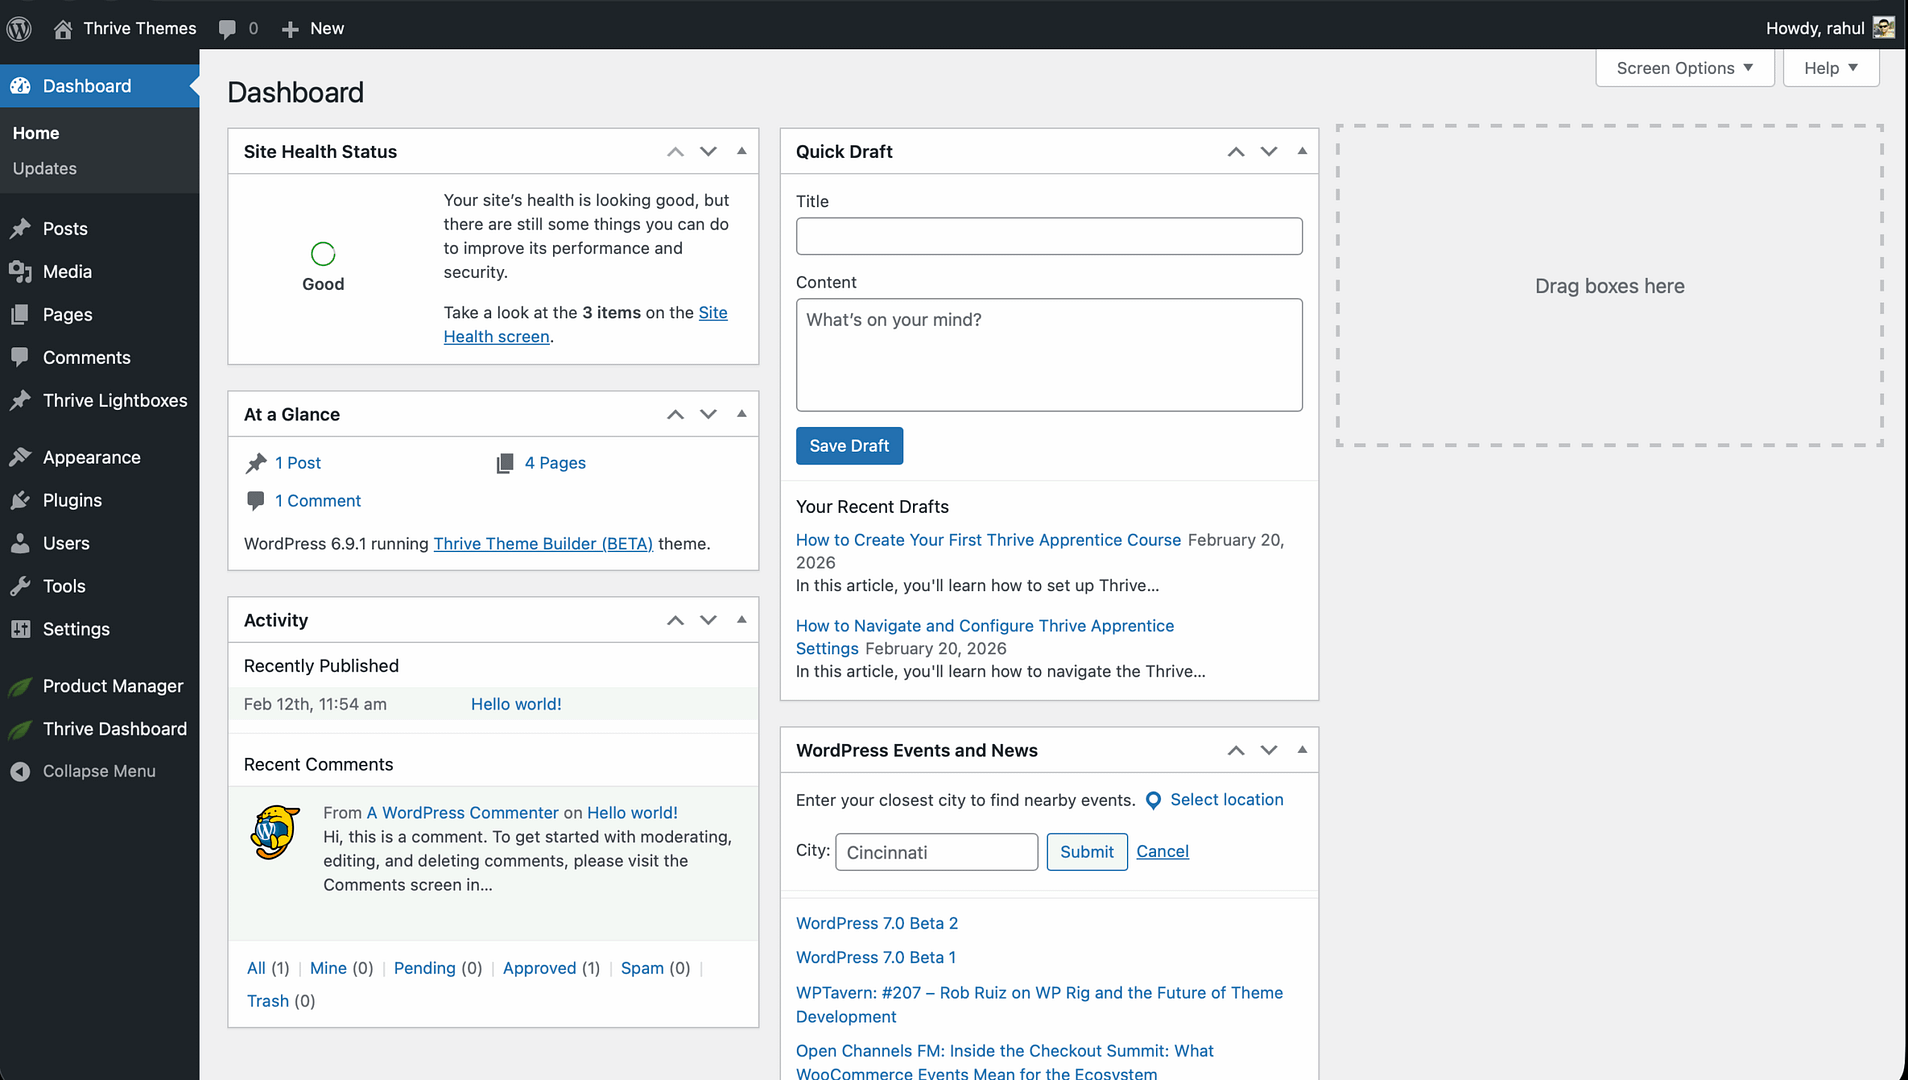
- In the left sidebar, click Thrive Dashboard.
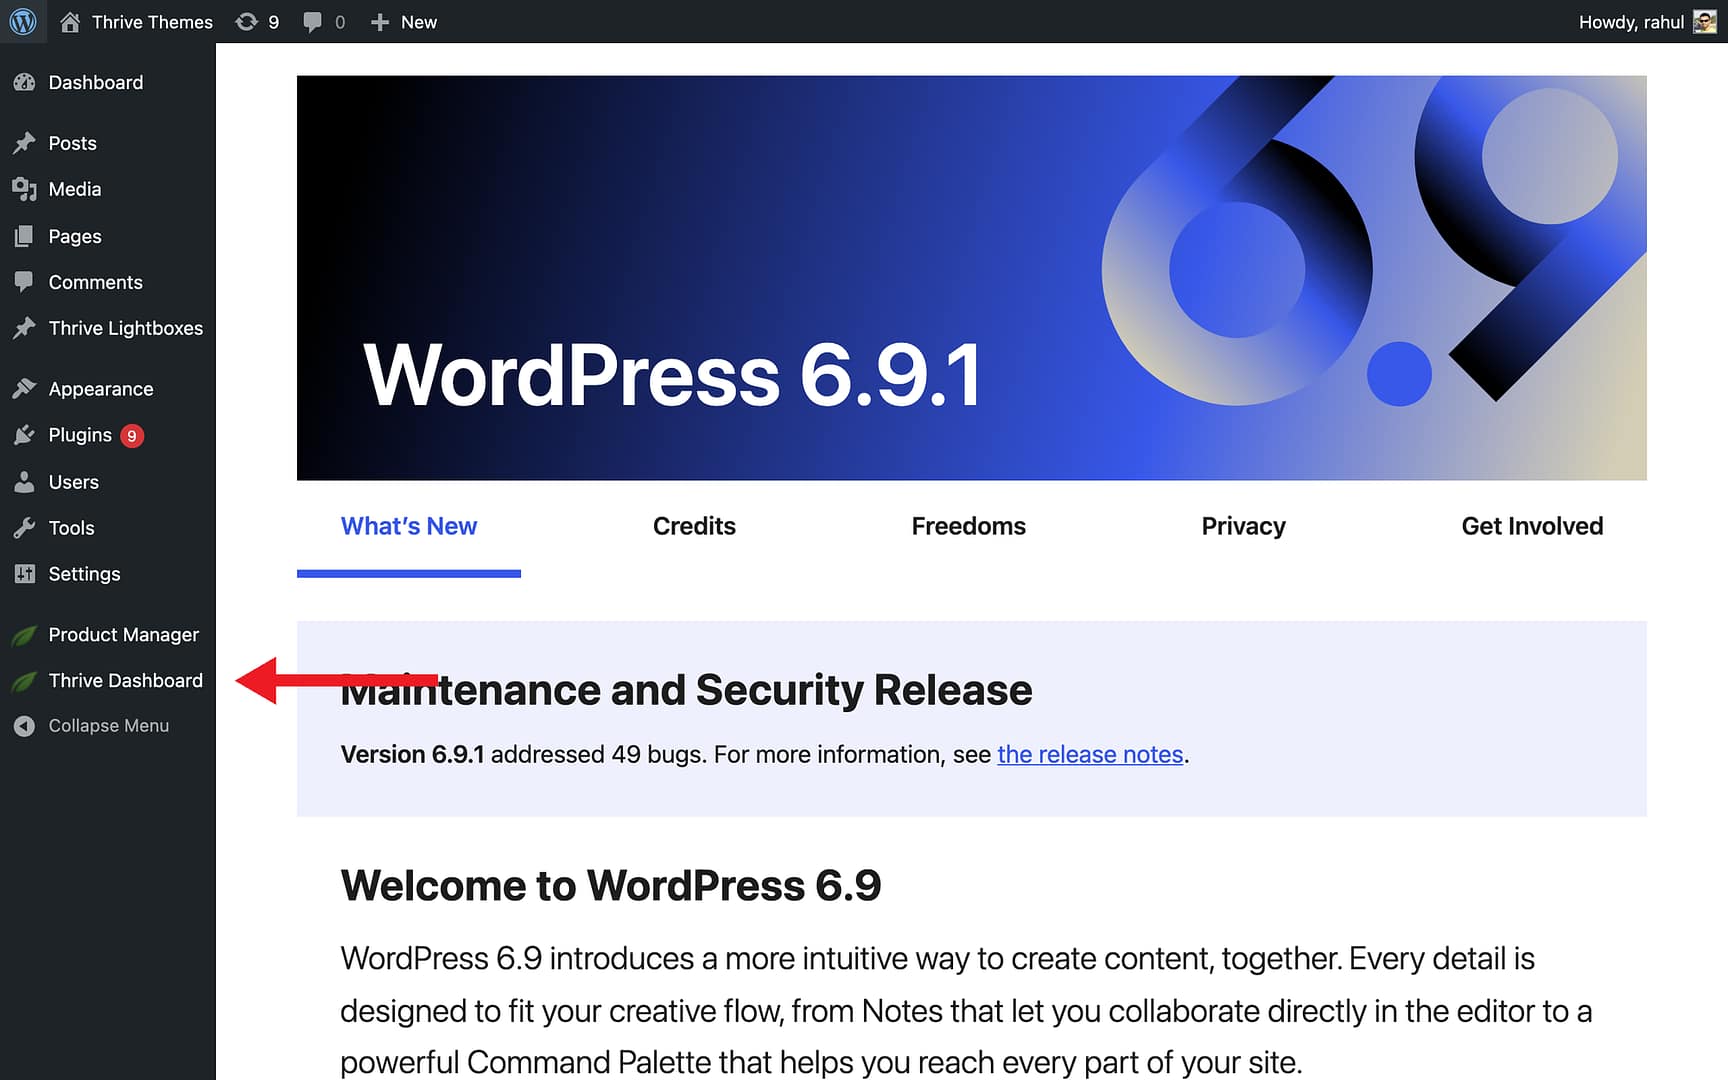
- Click Thrive Theme Builder.
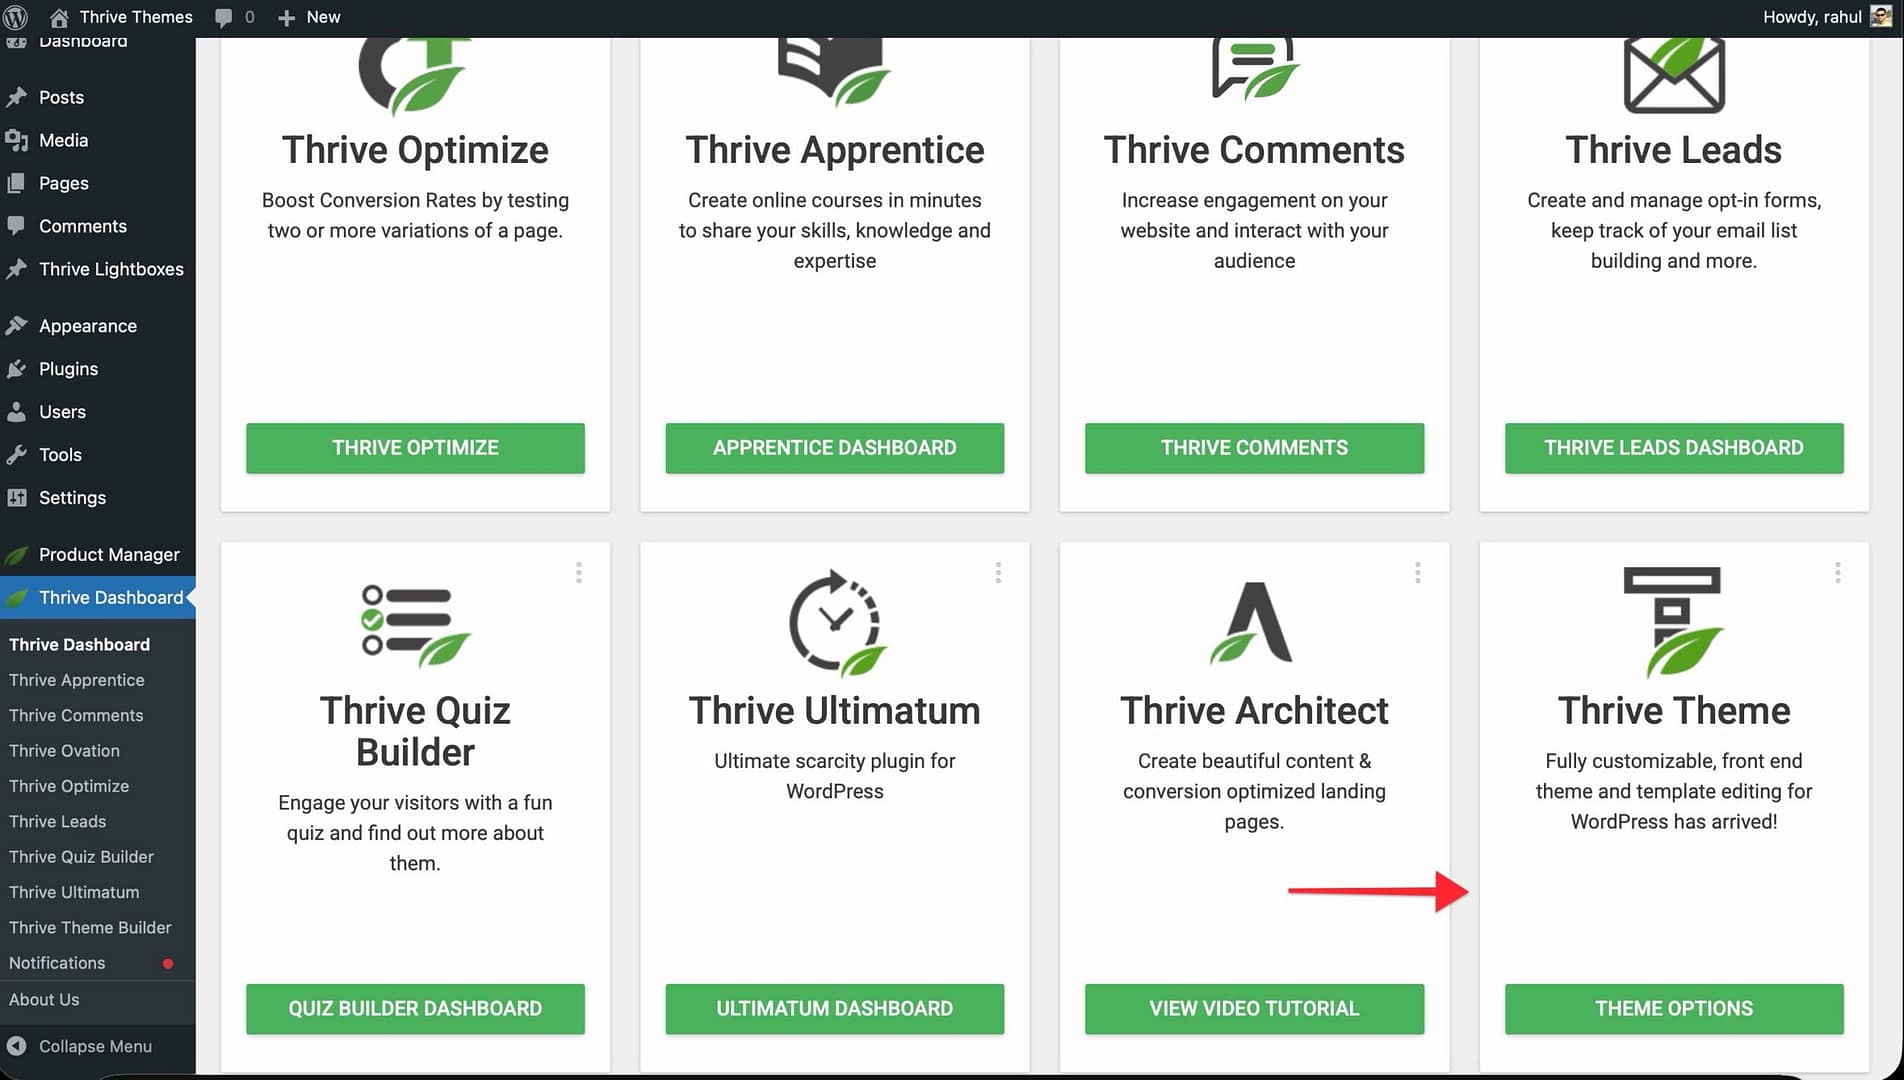
This opens the main Thrive Theme Builder dashboard, which serves as your central hub for managing every aspect of your theme. Choose the theme of your choice:

Dashboard Overview
The dashboard sidebar contains seven sections, each accessible via icons on the left:
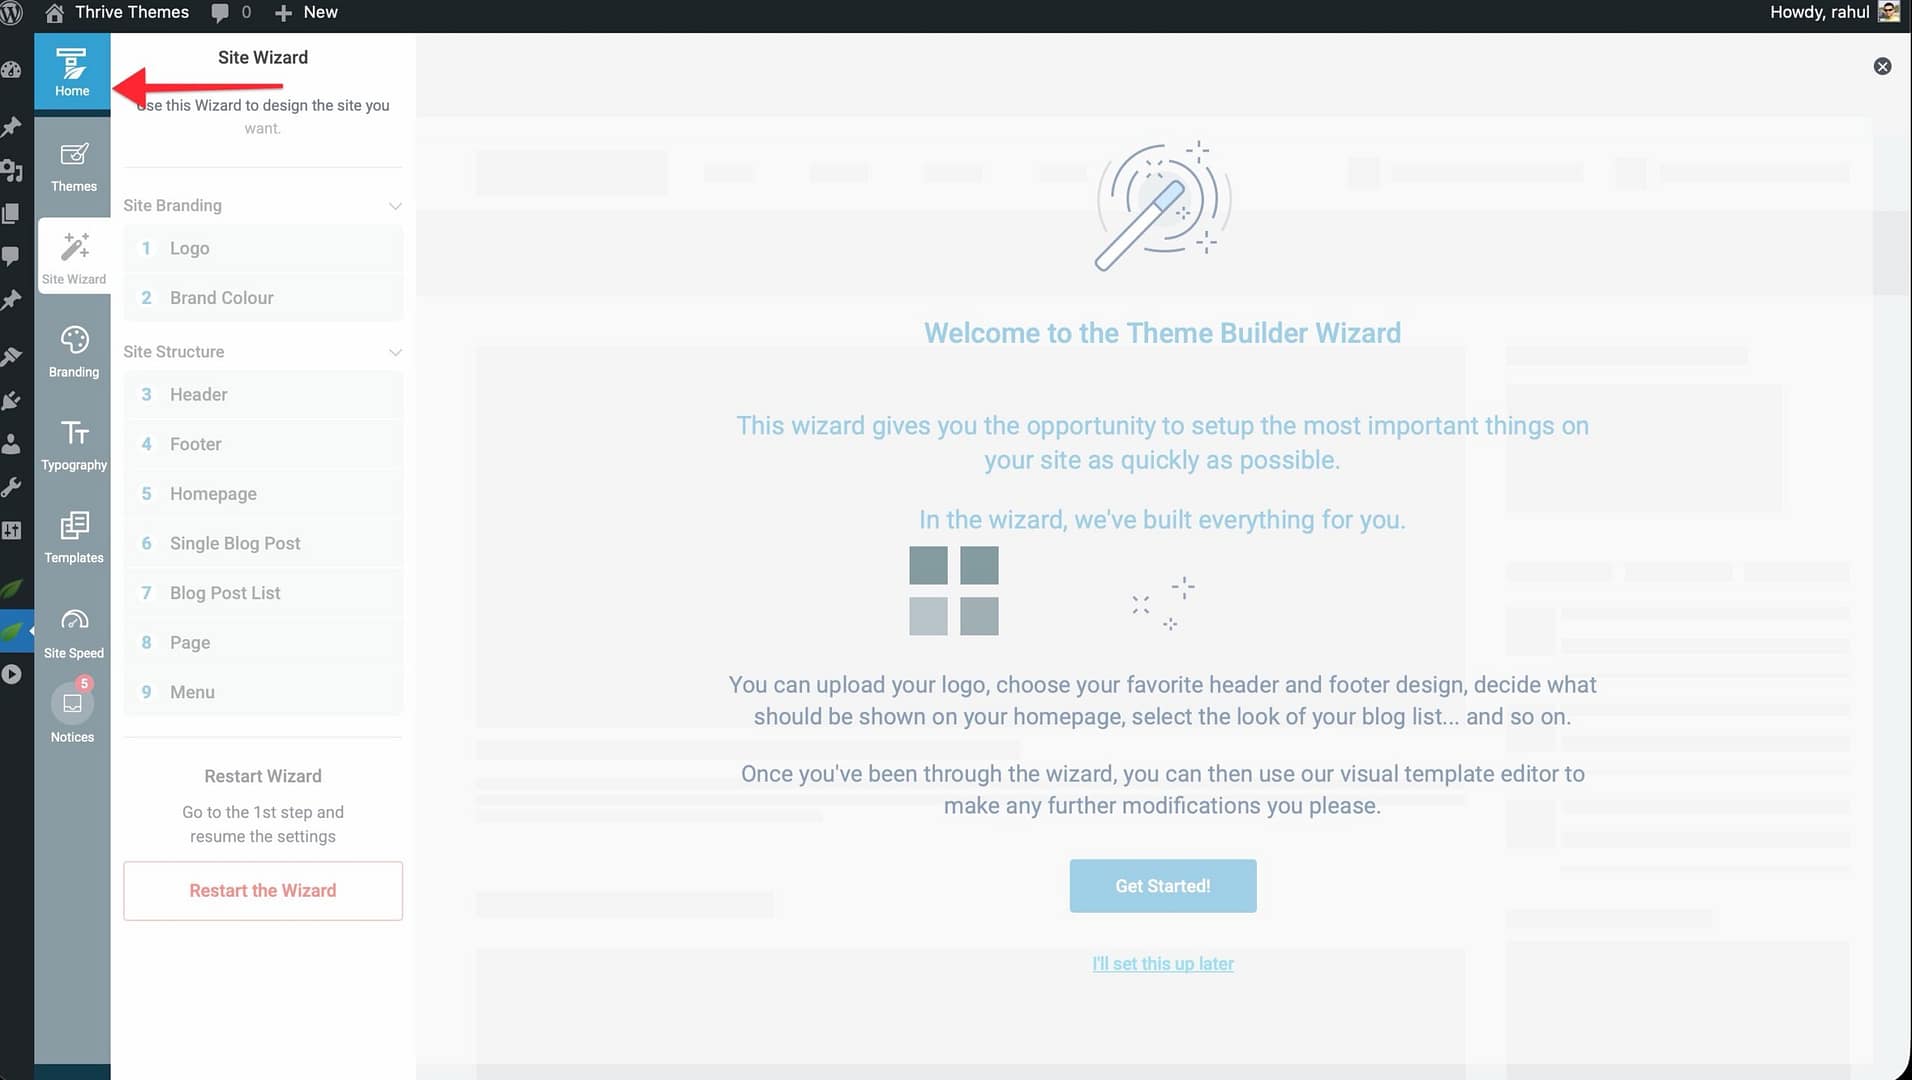
- Home — Displays a card-based overview of your current theme, templates, branding, typography, site speed recommendations, and a Help Corner for quick support access.
- Themes — Manage, import, and switch between companion themes (skins).
- Site Wizard — A guided setup that walks you through configuring the key parts of your website.
- Branding — Set your website logo (light and dark versions), favicon, and brand color palettes.
- Typography — Customize font families, sizes, and text styles for the entire theme.
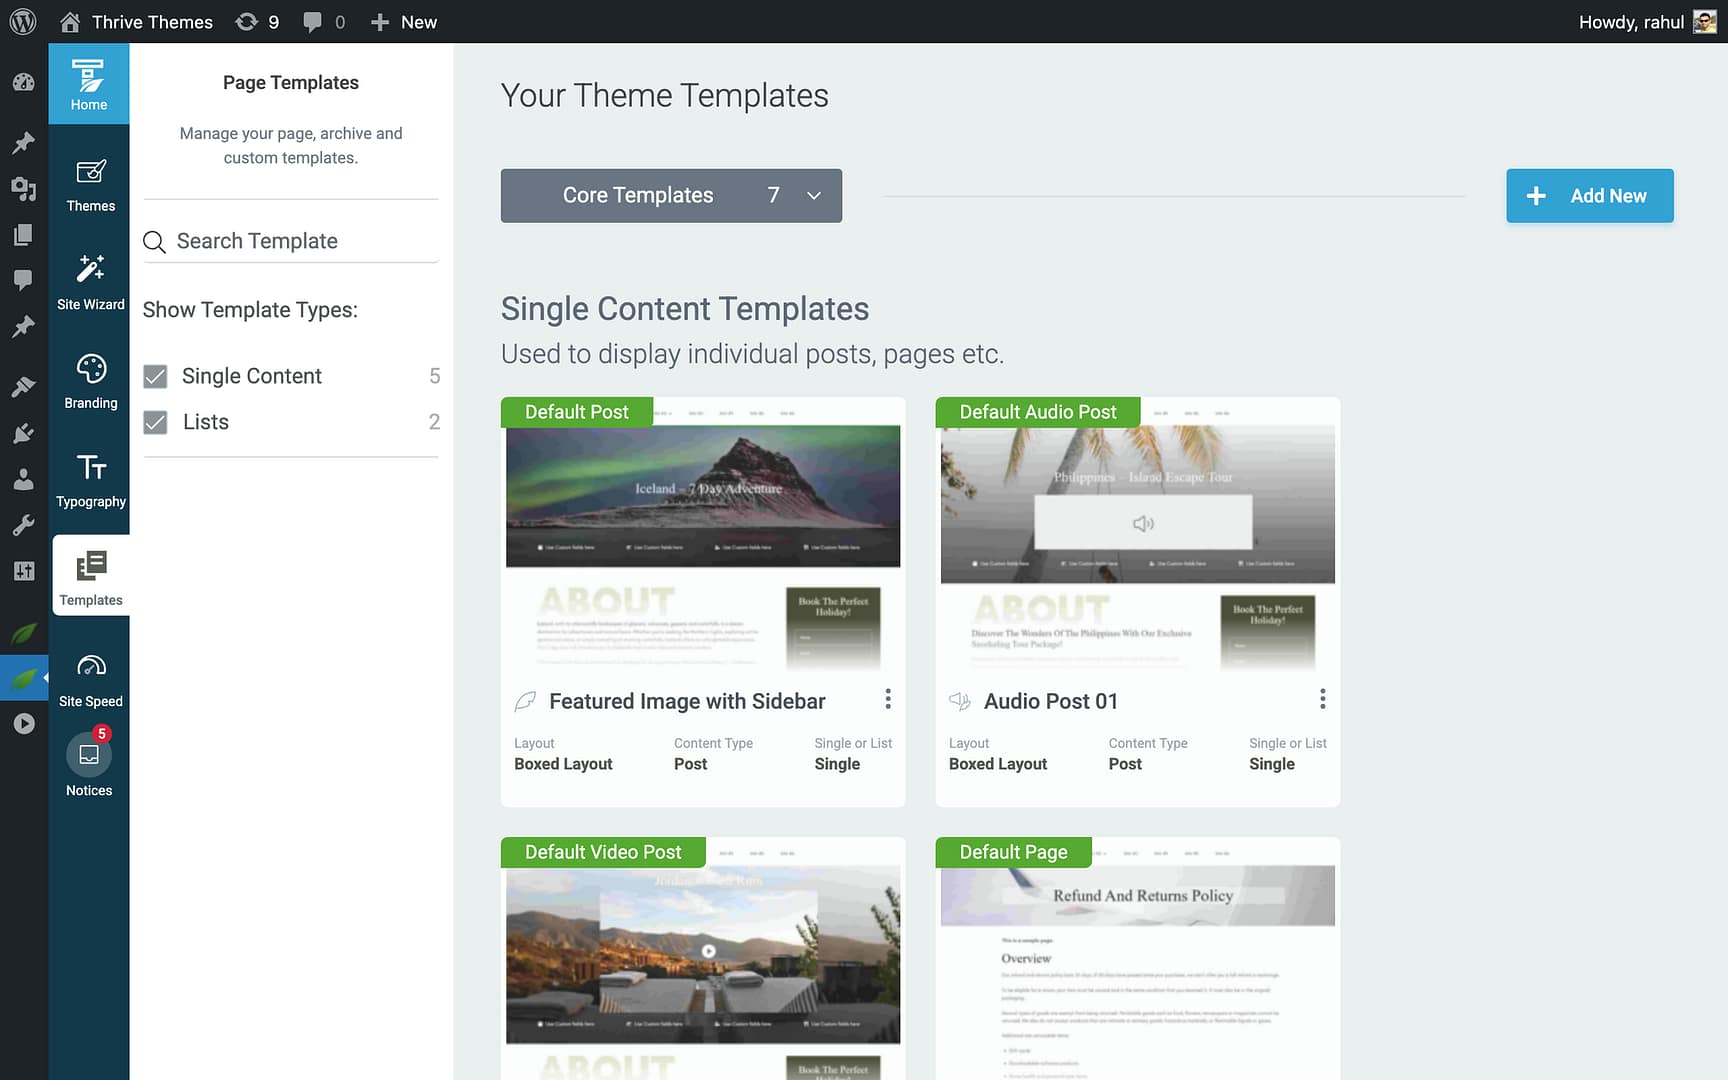
- Templates — Browse, edit, and create all your theme templates (homepage, post, page, blog list, archive, etc.).
- Site Speed — Access Project Lightspeed, image optimization recommendations, caching suggestions, and AMP settings.
Tip: If this is your first time using Thrive Theme Builder, start with the Site Wizard to configure the core structure of your website before diving into templates and design.
Running the Site Wizard
The Site Wizard walks you through nine steps, organized into two sections.
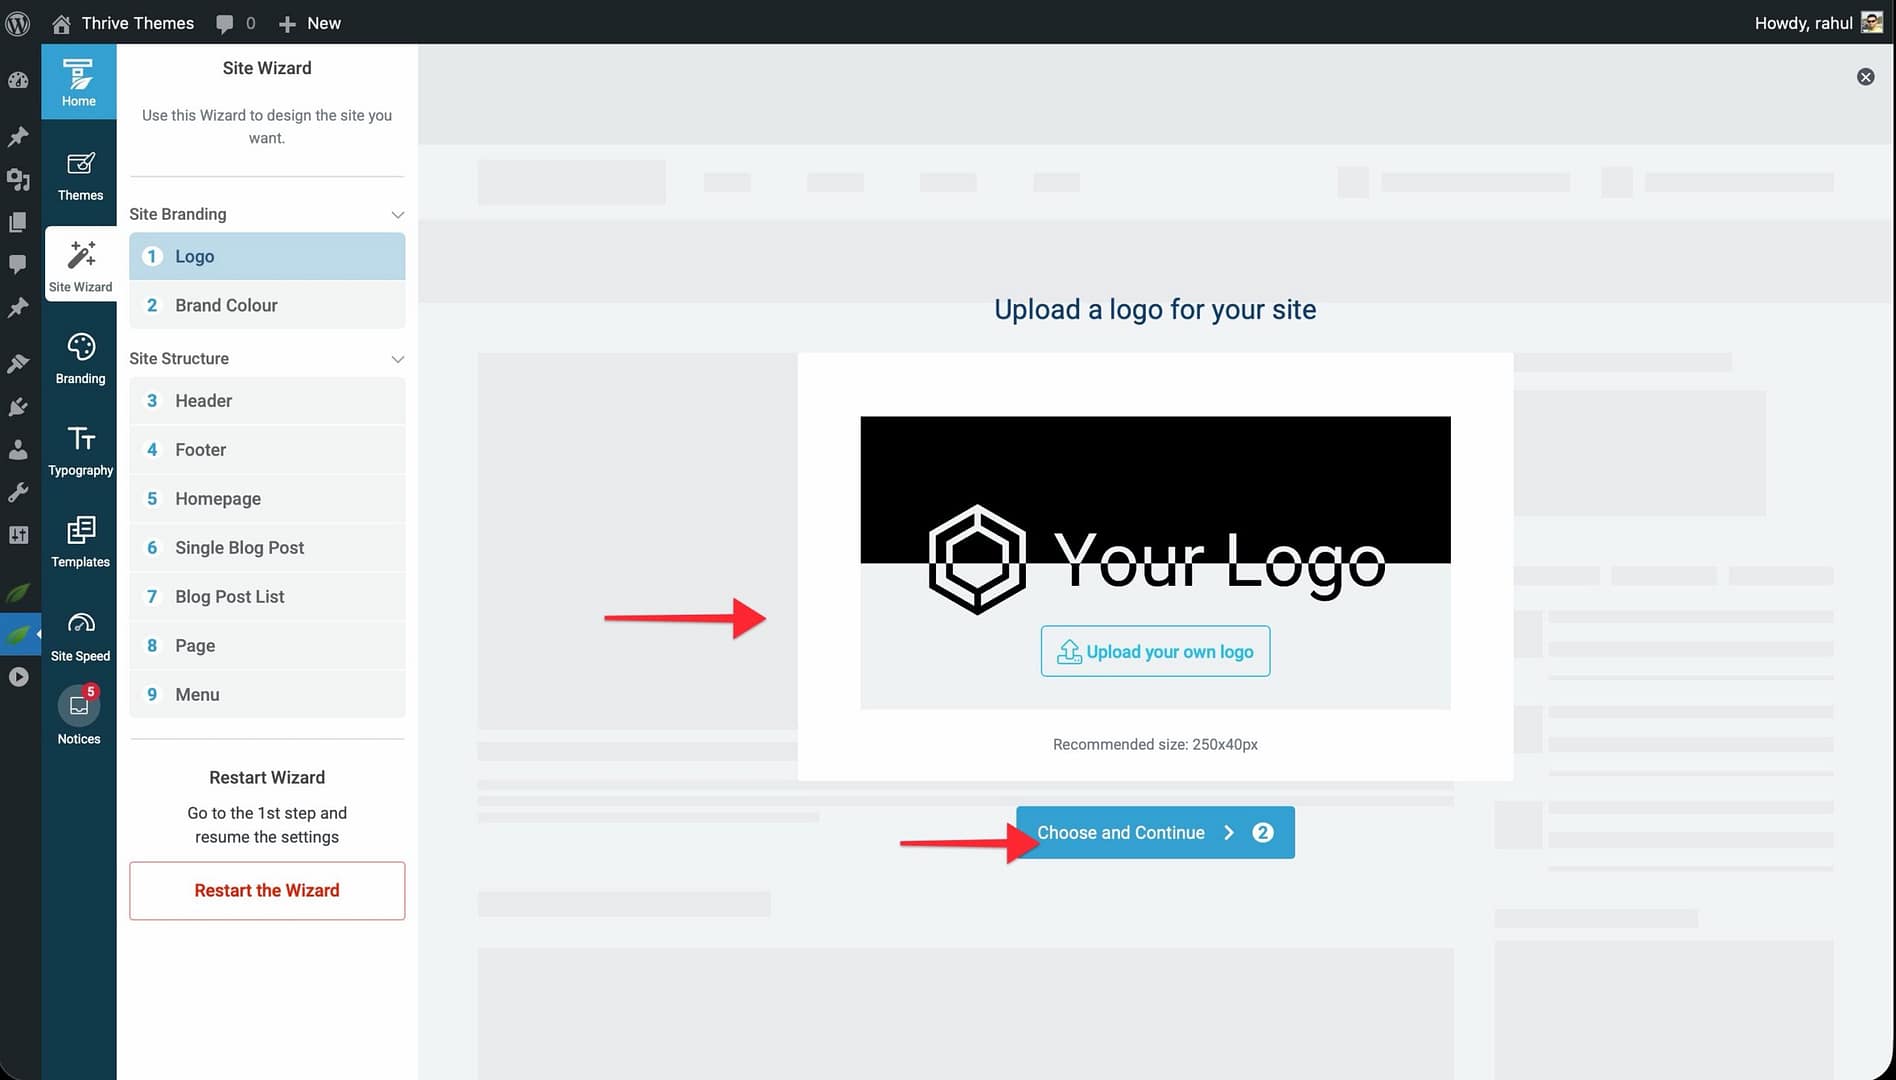
Site Branding
Step 1: Logo Upload your website logo from the media library. The recommended size is 250x40px. Click Choose and Continue to proceed.
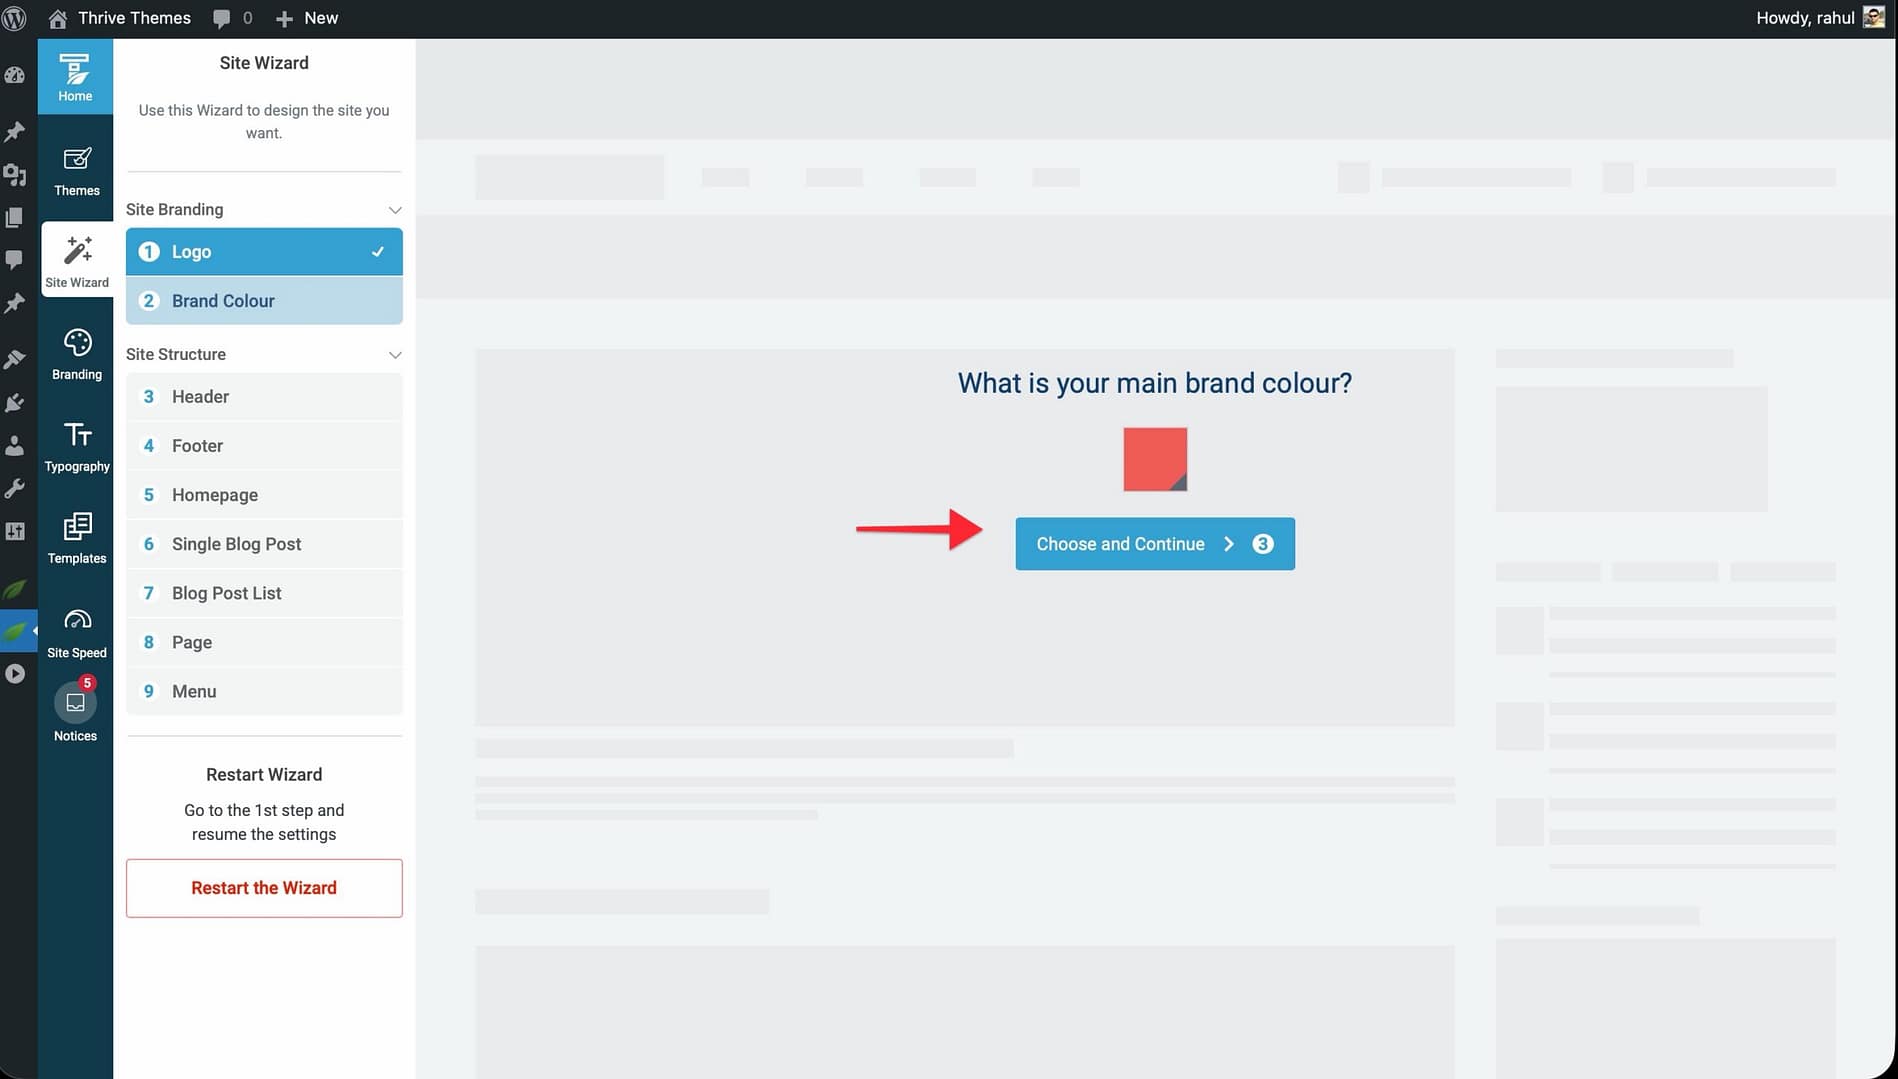
Step 2: Brand Colour Pick your main brand color—this is applied to buttons, banners, and hover effects across your theme. Click the color box to open the color picker, select your color, and click Choose and Continue.
Site Structure
Step 3: Header Choose a header layout for your website. You can browse options using the dropdown or the left/right arrows in the live preview. Click Choose and Continue.
Step 4: Footer Select a footer layout using the same method as the header step. Click Choose and Continue.
Step 5: Homepage Choose how your homepage is set up. You have three options:
- Ready-made homepages — Import a pre-designed homepage from the available templates.
- Display an existing page — Select one of your existing WordPress pages.
- Display your blog — Use your blog post list as the homepage.
Step 6: Single Blog Post Select a template layout for individual blog posts. Options vary by theme but typically include different title placements, featured image positions, and sidebar configurations.
Step 7: Blog Post List Choose a display format for your blog archive—options include grid, list, masonry, and featured layouts.
Step 8: Page Select a default page template layout (e.g., Boxed, Title Banner, or Full-width).
Step 9: Menu Assign a WordPress menu to your header and footer sections. Select a menu from the Choose a WordPress Menu dropdown and click Activate Menus on my Site. If you haven’t created any menus yet, you can choose I will choose later and set this up in Appearance > Menus afterward.
After completing all steps, you’ll see a confirmation screen with options to preview your website or continue customizing.
Accessing the Thrive Theme Builder Editor
There are three ways to open the Thrive Theme Builder editor to customize your templates.
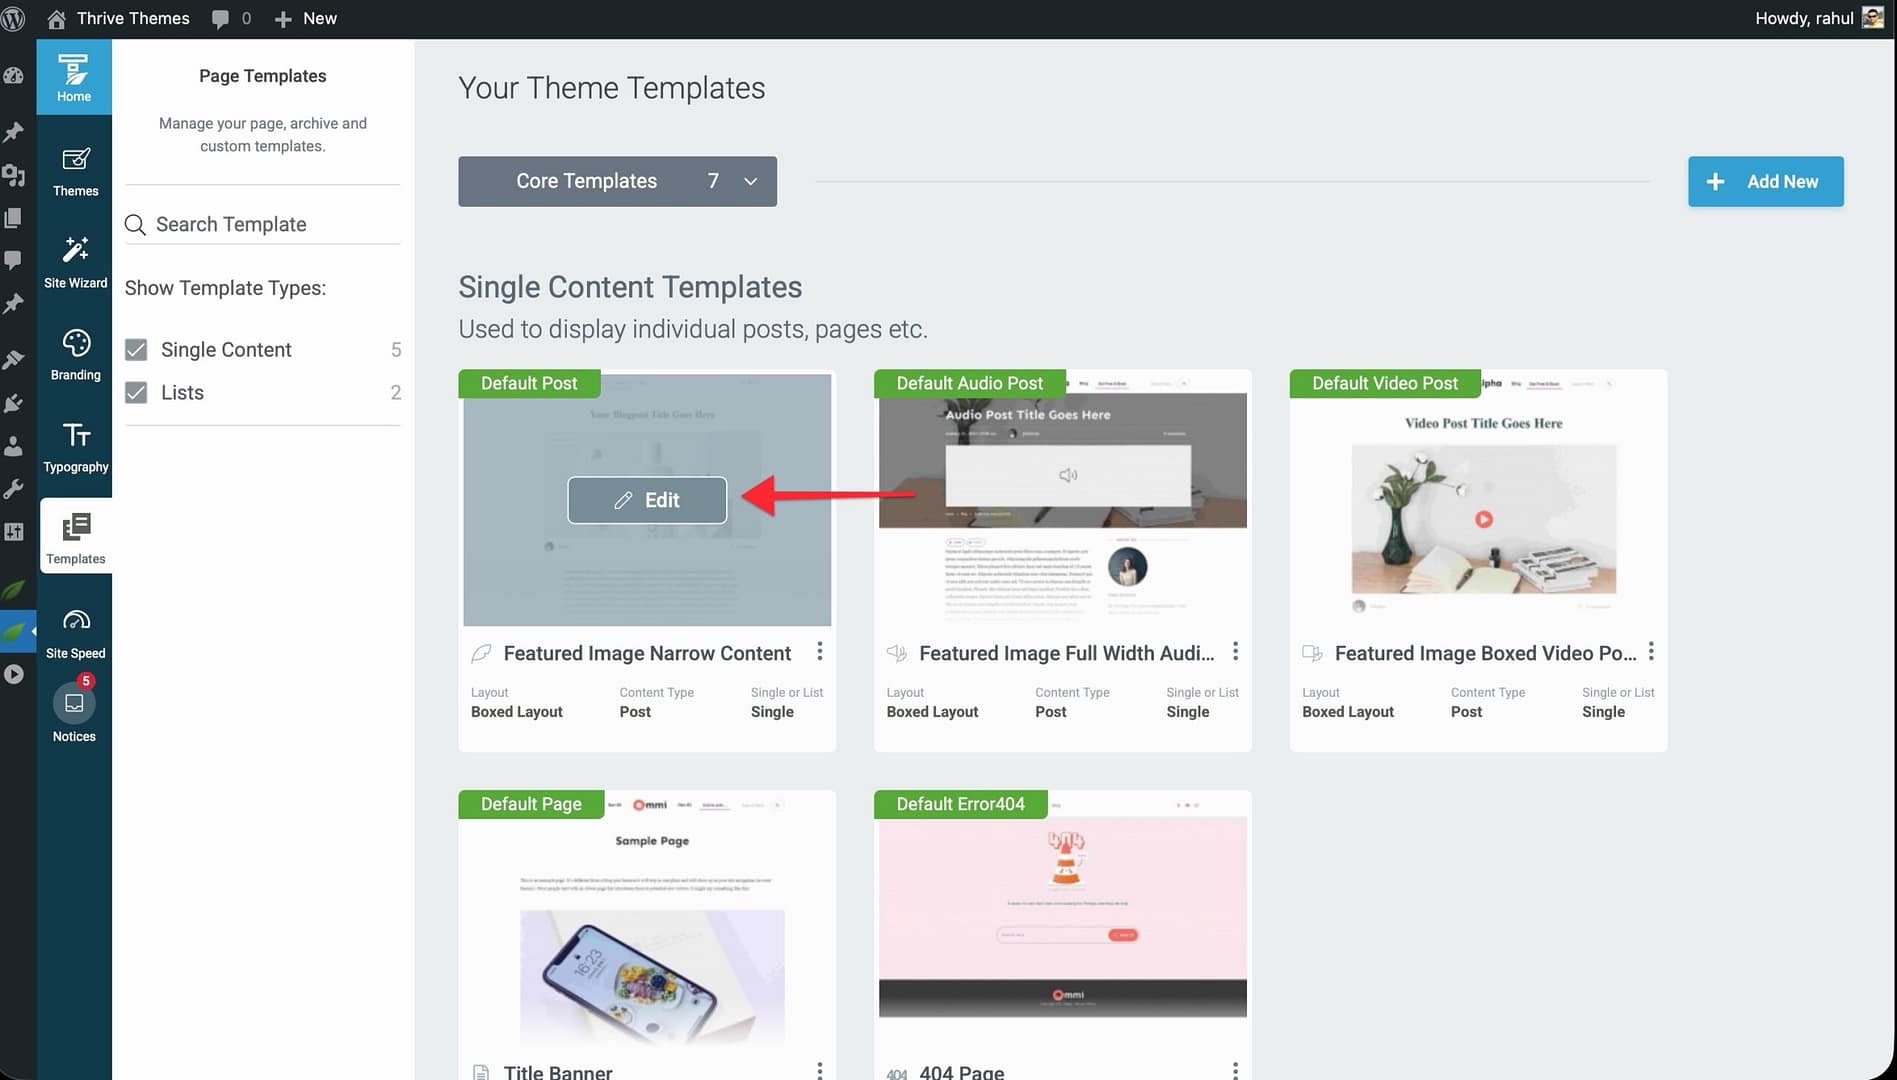
Method 1: From the Templates Section
- Open the Thrive Theme Builder dashboard.

- Click Templates in the left sidebar.

- Find the template you want to edit.

- Hover over the template and click Edit.
Method 2: From the Frontend Admin Bar
While viewing any page or post on the frontend (while logged in):
- Look for the Edit with Thrive option in the WordPress admin bar.
- Hover over it to see two options:
- Edit with Thrive Architect — Opens the content editor for that specific page/post.
- Edit Theme Template “[Template Name]” — Opens the Thrive Theme Builder editor for the template applied to that page/post.
- Edit with Thrive Architect — Opens the content editor for that specific page/post.
- Click Edit Theme Template to open the template editor.
Method 3: Switch from Within Thrive Architect
If you’re already editing content with Thrive Architect and a Theme Template is applied:
- Look for the Thrive Theme Builder icon in the right sidebar, below Settings.
- Click the icon to switch from the content editor to the template editor.
Understanding the Difference: Thrive Theme Builder Editor vs. Thrive Architect
Thrive Theme Builder and Thrive Architect serve different purposes:
- Thrive Theme Builder Editor — Used to design and customize templates (the reusable layout structure applied to pages, posts, and archives). Changes here affect all pages/posts that use the template.
- Thrive Architect — Used to edit the content of individual pages and posts. Changes here only affect that specific page or post.
If you don’t have a full Thrive Architect license, Thrive Theme Builder includes a limited version called Thrive Architect Light, which provides basic content editing capabilities.
What’s Included with Thrive Theme Builder
Every Thrive Theme Builder theme comes with:
- Pre-designed templates — A set of professionally designed templates for pages, posts, blog lists, headers, footers, and more.
- Site Wizard — The guided setup process described above.
- Branding & Typography controls — Centralized settings for your logo, favicon, colors, and fonts.
- Site Speed tools — Built-in Project Lightspeed analyzer and recommendations for image optimization and caching.
- WooCommerce integration — Full support for customizing WooCommerce shop, product, cart, checkout, and account templates (requires WooCommerce plugin).
- Thrive Architect (Light) — A bundled version of the content editor for editing individual pages and posts. If you own the full Thrive Architect, it replaces the Light version automatically.
Related Resources
- Installing Thrive Theme Builder: Follow the step-by-step installation and activation guide.
- Setting Up Demo Content: Learn how to make your website look like the demo.
- Setting Up Branding: Configure your logo, favicon, colors, and typography.
- Managing Templates: Explore the full Templates section to customize your site’s layout.