In this article, you’ll learn how to add new themes and switch between them in Thrive Theme Builder. You can maintain multiple themes in your library and switch your active theme at any time—though only one theme can be active on your website at a time.
Adding a New Theme
Adding a new theme does not affect your live website. The new theme remains inactive until you explicitly activate it.
From the Cloud
- In the Thrive Theme Builder dashboard, click Themes in the left sidebar.
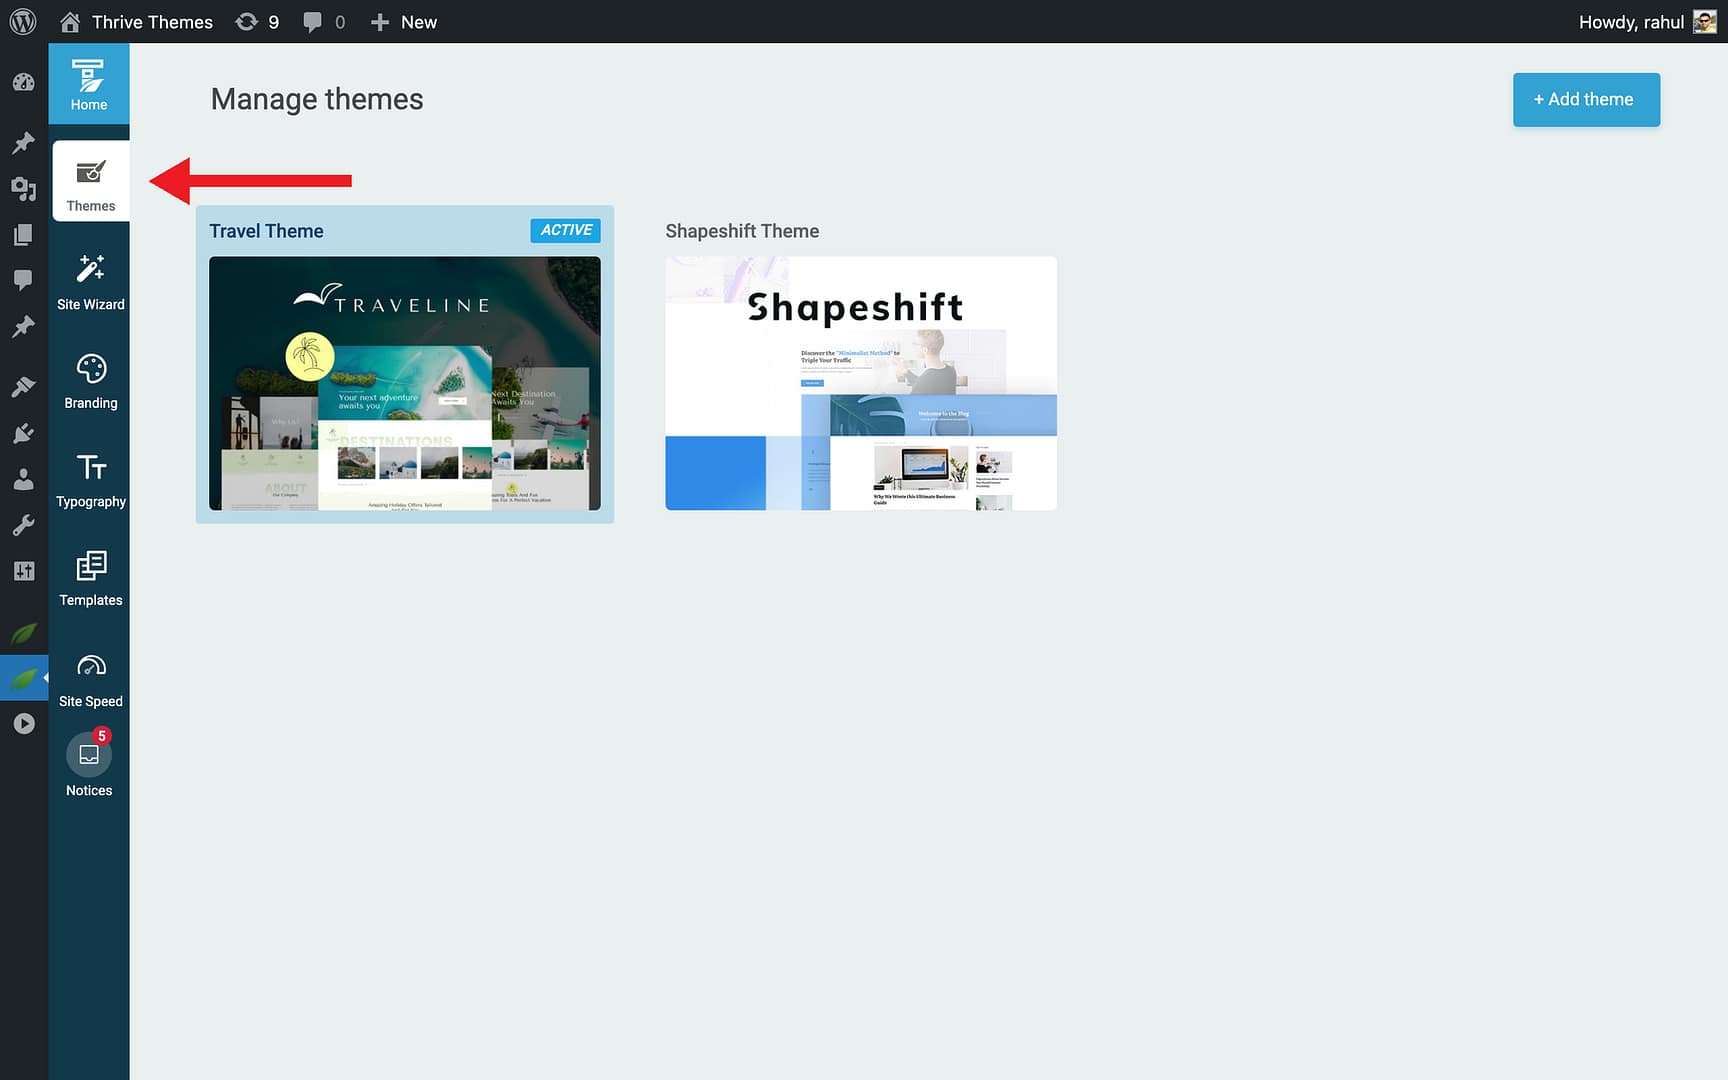
- Click + Add theme in the top-right corner.

- Browse the available cloud themes.

- Hover over the theme you want and click Download.
- The theme appears in your themes list as inactive.
By Duplicating an Existing Theme
You can also create a new theme based on an existing one:
- In the Themes section, hover over an existing theme.
- Click the three-dots icon to open the options menu.
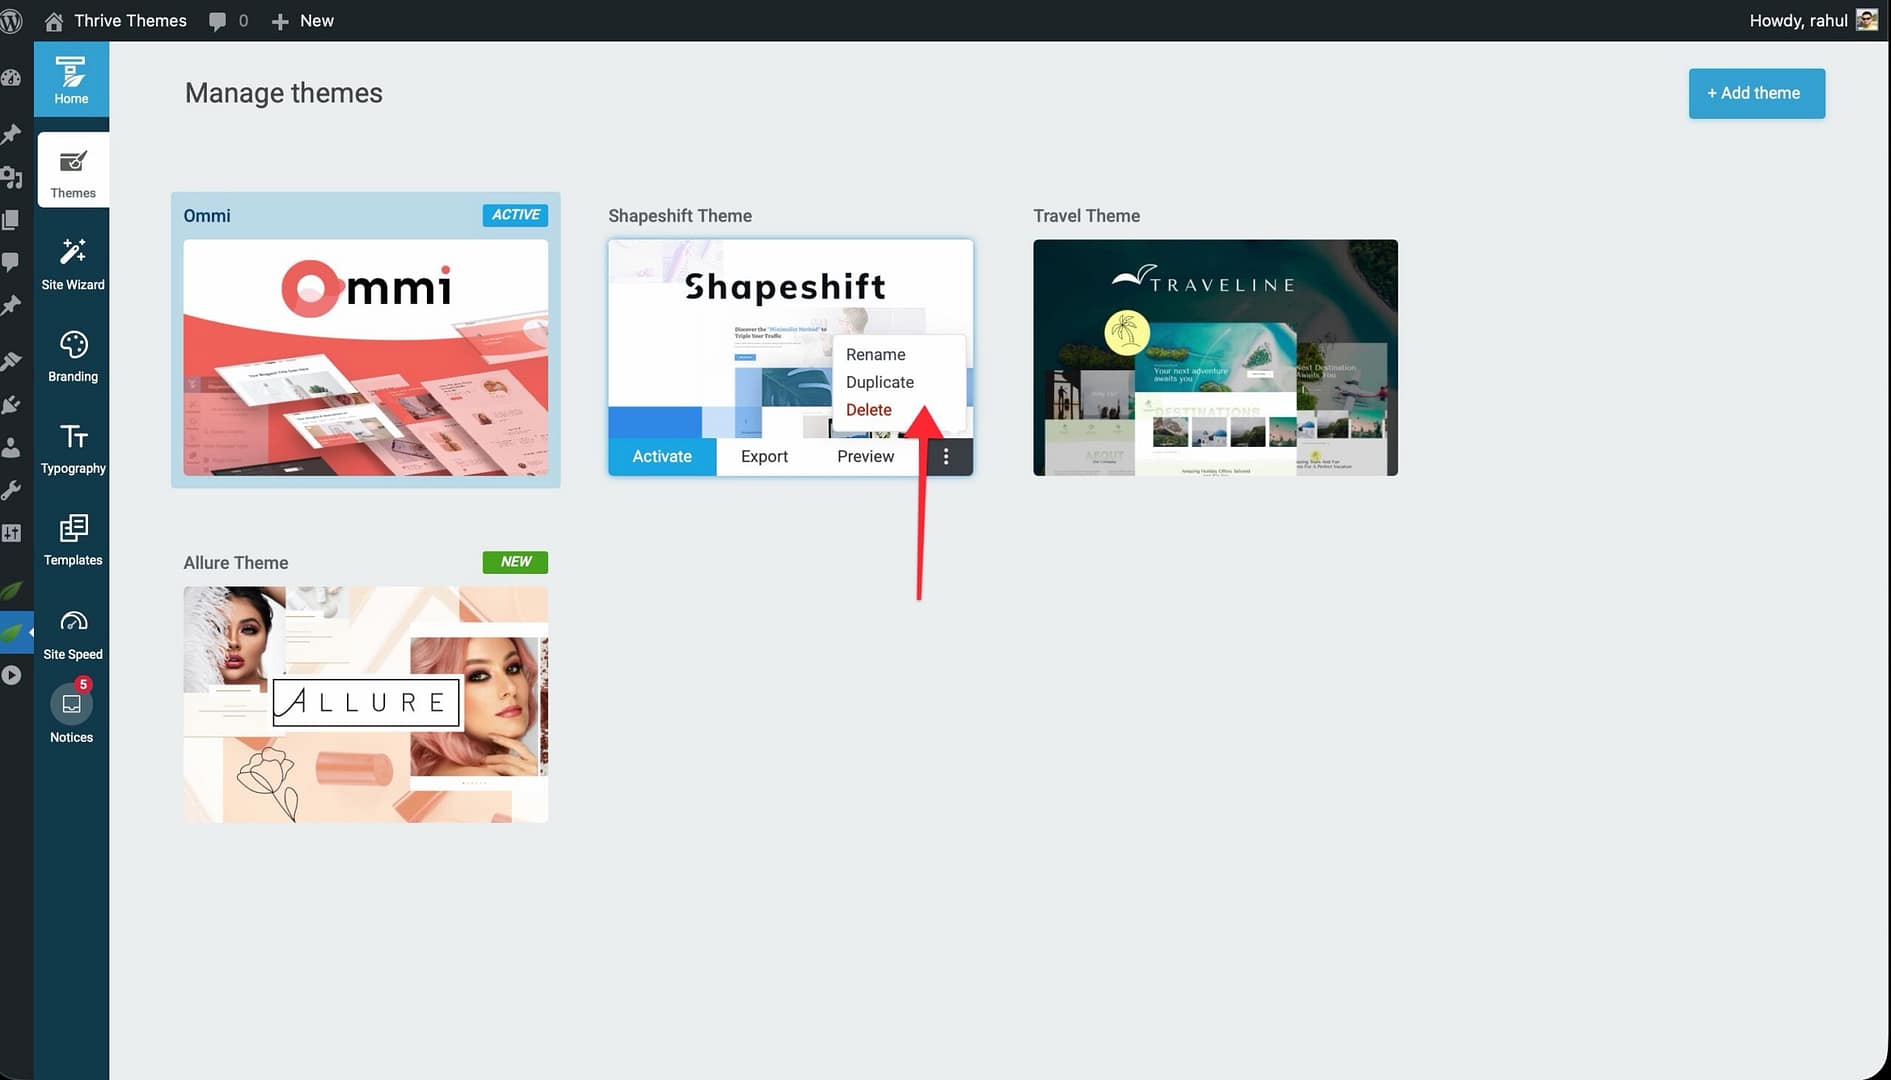
- Select Duplicate.
- A copy of the theme is created with all its templates, layouts, typography, and color settings intact.
This is useful when you want to experiment with design changes without modifying your active theme.
Switching Between Themes
When you activate a different theme, your entire website’s appearance changes immediately—all templates, colors, typography, headers, and footers switch to the new theme’s settings.
How to Activate a Theme
- Go to Themes in the Thrive Theme Builder dashboard.
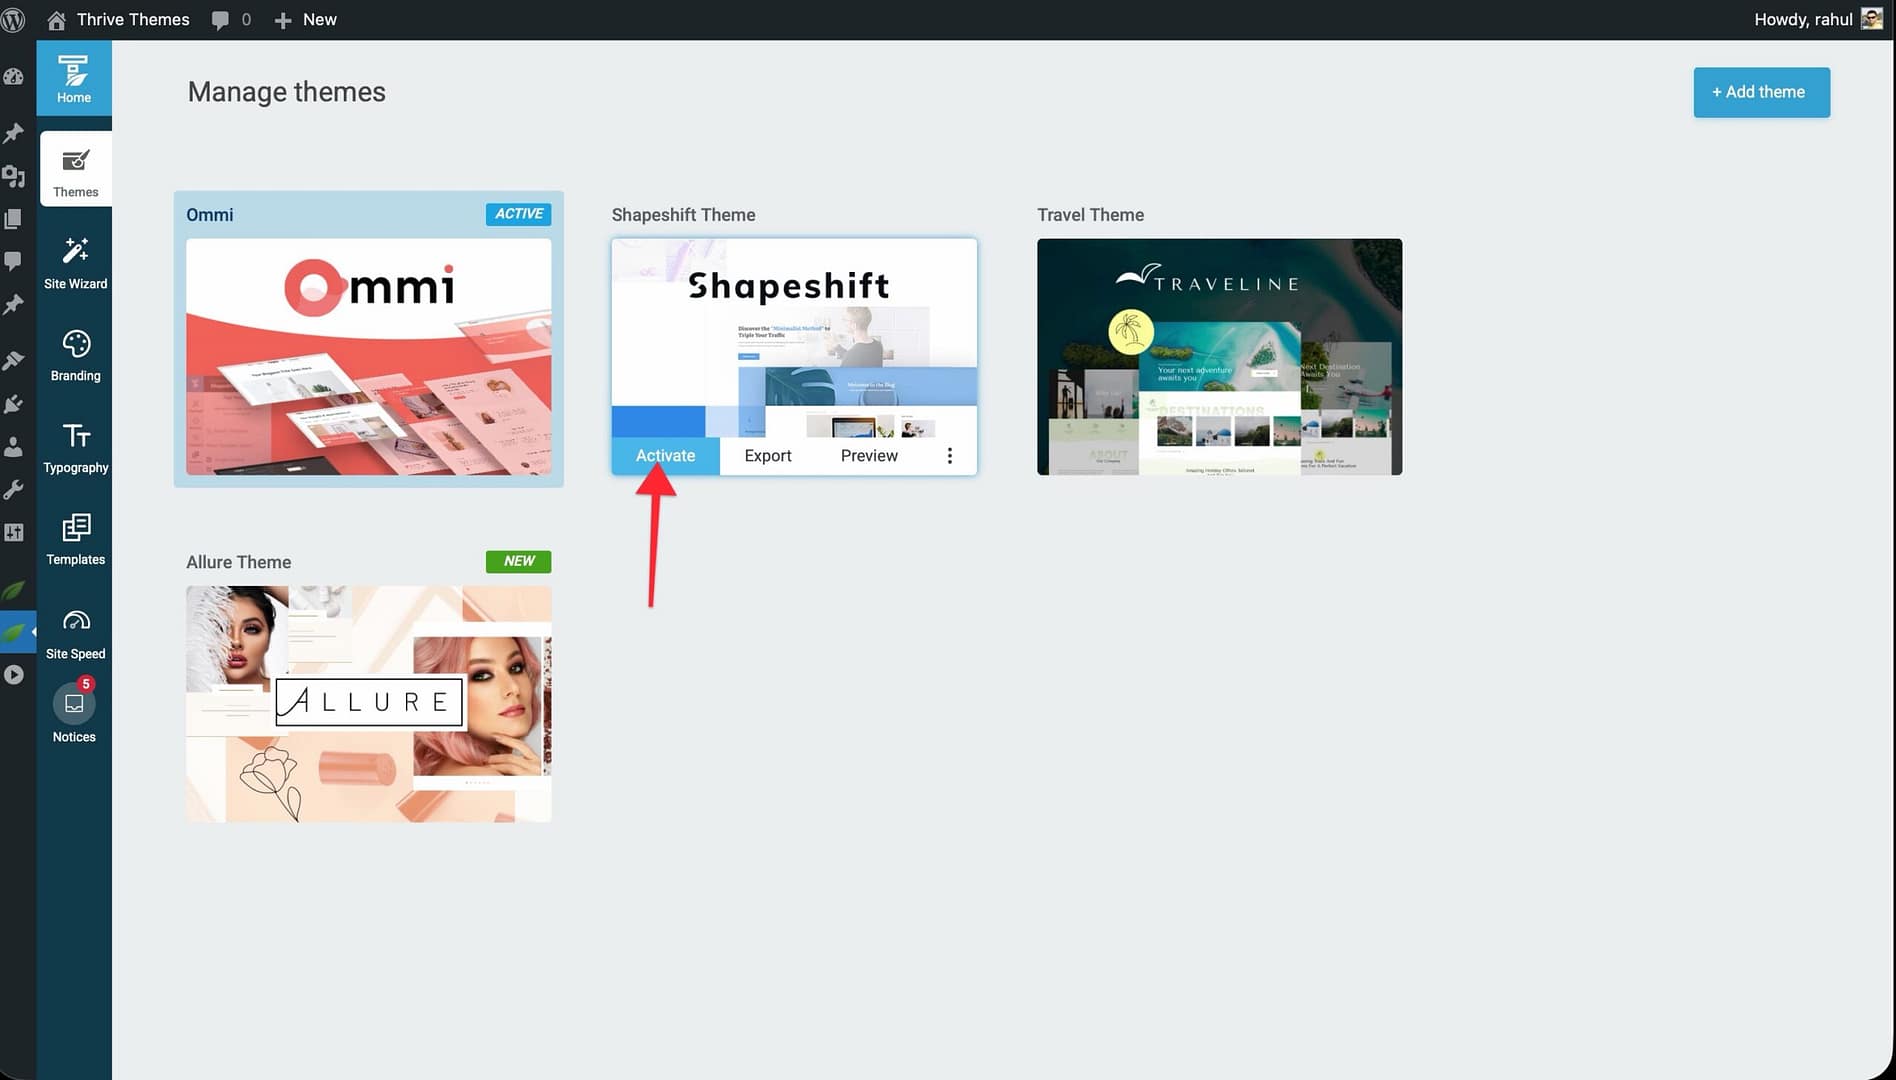
- Hover over the theme you want to activate.
- Click Activate.
- The Site Wizard opens so you can configure the basic setup for the new theme (logo, colors, header, footer, etc.).
Important: Activating a new theme changes your live website immediately. Consider testing on a staging site first if you’re unsure about the result.
What Happens When You Switch Themes
When you switch from one theme to another:
- Templates change — All page, post, and list templates switch to the new theme’s templates.
- Typography changes — Font families, sizes, and text styles update to the new theme’s typography set.
- Colors change — Theme colors (buttons, banners, links) update to the new theme’s color palette.
- Headers and Footers change — The header and footer sections switch to the new theme’s designs.
- Your content stays the same — Pages, posts, images, and other WordPress content are not affected. Only the visual design layer changes.
- The Site Wizard opens — You’ll be prompted to set up the basic structure for the new theme.
What Happens to the Old Theme
The old theme becomes inactive but is not deleted. It remains in your themes list and can be reactivated at any time. All of its customizations are preserved.
Best Practices
- Test before switching — If possible, preview the new theme or test on a staging site before activating it on your live website.
- Back up your site — Create a backup before switching themes, especially if you’ve made extensive customizations.
- Complete the Site Wizard — After switching, go through the entire Site Wizard to ensure your branding, menus, and template selections are correct for the new theme.
- Review your pages — After switching, check key pages to make sure they display correctly with the new templates.
Related Resources
- Installing a Theme: Learn how to download themes from the cloud.
- Managing Your Themes: Learn how to organize, duplicate, and delete themes.
- Getting Started: Review the full Site Wizard walkthrough.