In this article, you’ll learn how to add social share buttons to your Thrive Theme Builder templates—including templates with and without sidebars—and how to configure their appearance and behavior.
Adding Social Share Buttons to a Template
Step 1: Open the Template Editor
- In the Thrive Theme Builder dashboard, click Templates in the left sidebar.
- Hover over the template where you want to add social share buttons (typically your blog post template) and click Edit.
Step 2: Add the Social Share Element
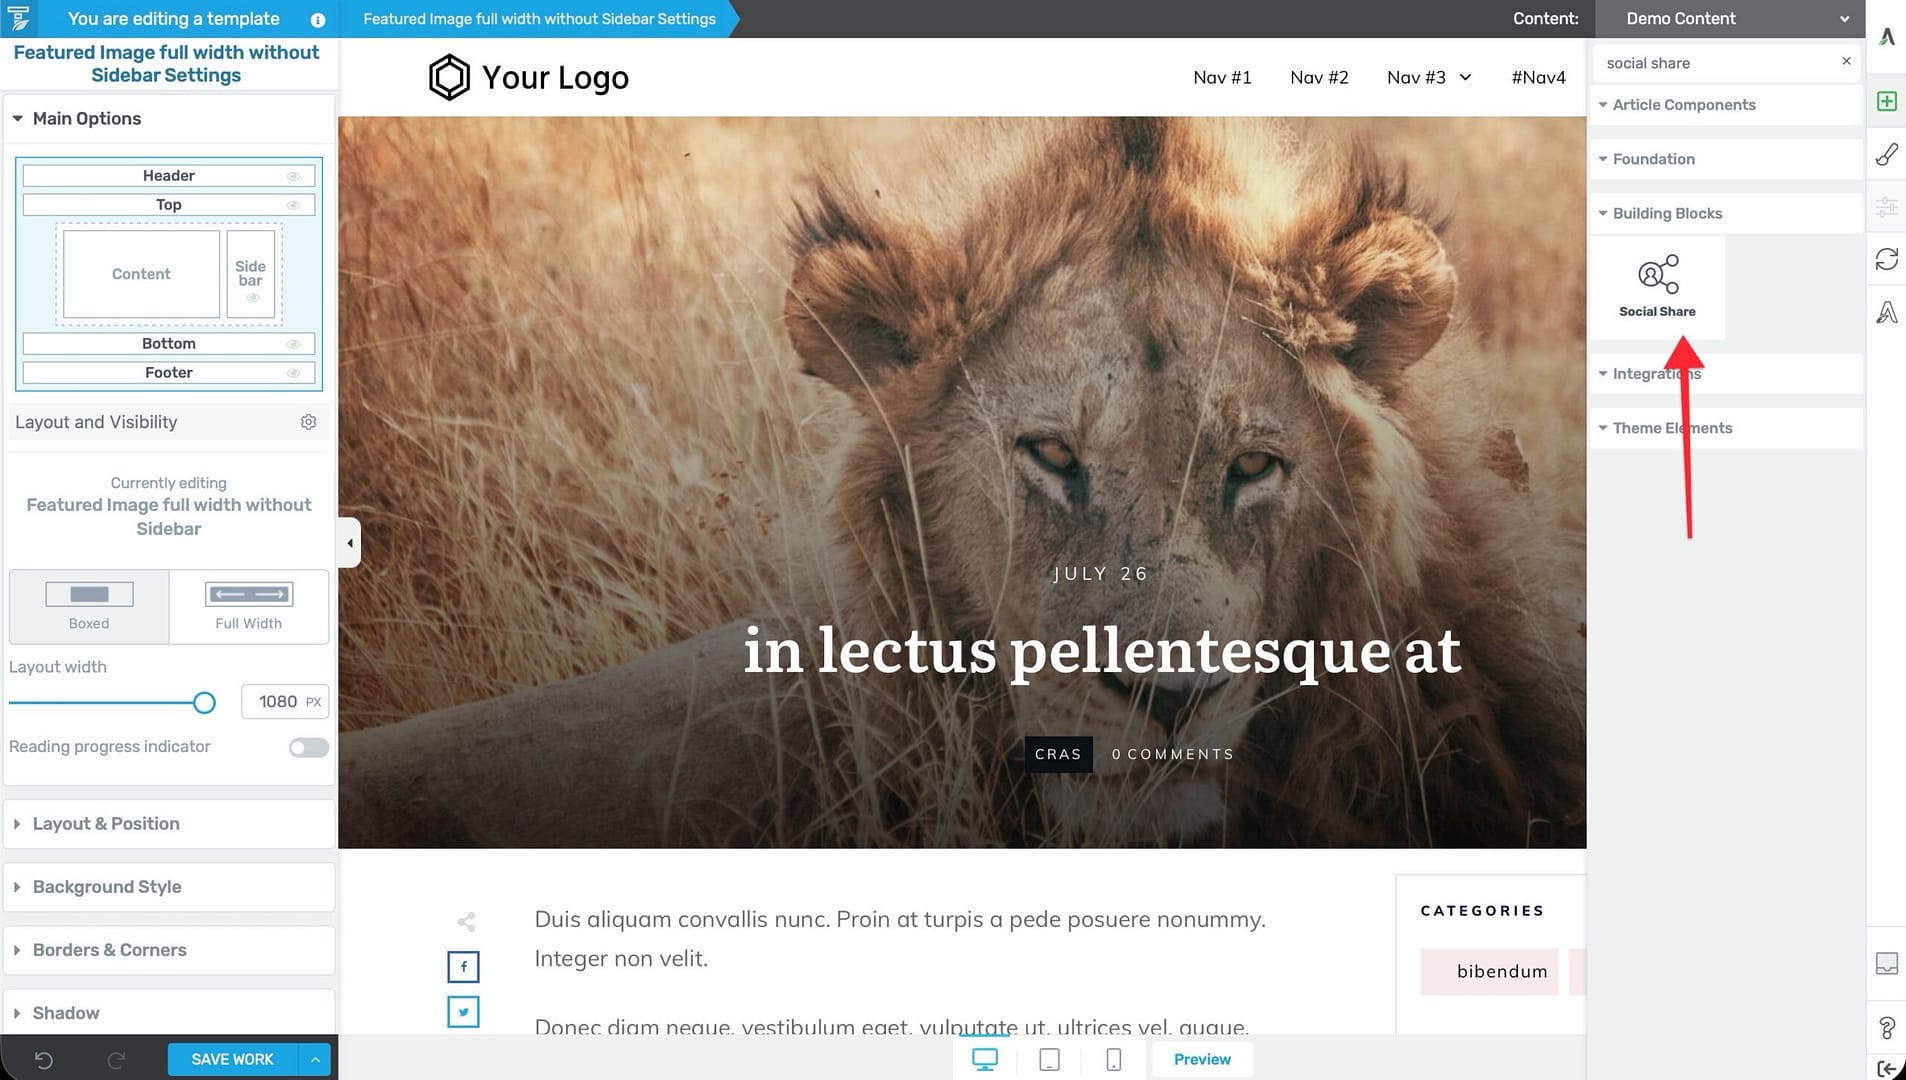
- In the right sidebar of the editor, click the plus (+) icon to open the element panel.
- Search for Social Share in the element list.
- Drag the Social Share element from the panel and drop it into position on the template—typically next to the content area or below the post title.
Step 3: Configure the Social Share Element
Once placed, select the Social Share element to see its options in the left sidebar:
- Style/Preset — Choose from pre-designed button styles.
- Size — Adjust the button size.
- Spacing — Control the gap between buttons.
- Type — Choose between Icon only, Icon + text, or Counter display modes.
- Networks — Select which social networks to include (Facebook, Twitter/X, LinkedIn, Pinterest, Xing, Bluesky, etc.).
Displaying Social Share on Templates Without a Sidebar
If your template doesn’t have a sidebar, you can still display social share buttons effectively.
Option 1: Edit the Template Layout
Position the Social Share element directly within the content area:
- Open the template in the editor.
- Add the Social Share element and place it on the left or right side of the content area.
- Use column layouts or positioning controls to place the buttons alongside the content.
Option 2: Use a Pre-Made Design
Load a template design that already includes social sharing:
- In the Templates section, click Add New or edit an existing template.
- Choose Choose Template to browse the template library.
- Select a design that includes social share buttons integrated into the layout.
Using Sticky Social Share Buttons
The Social Share element itself does not have a built-in sticky option. To make it stay visible as visitors scroll, wrap it in a parent container and apply sticky behavior to that container:
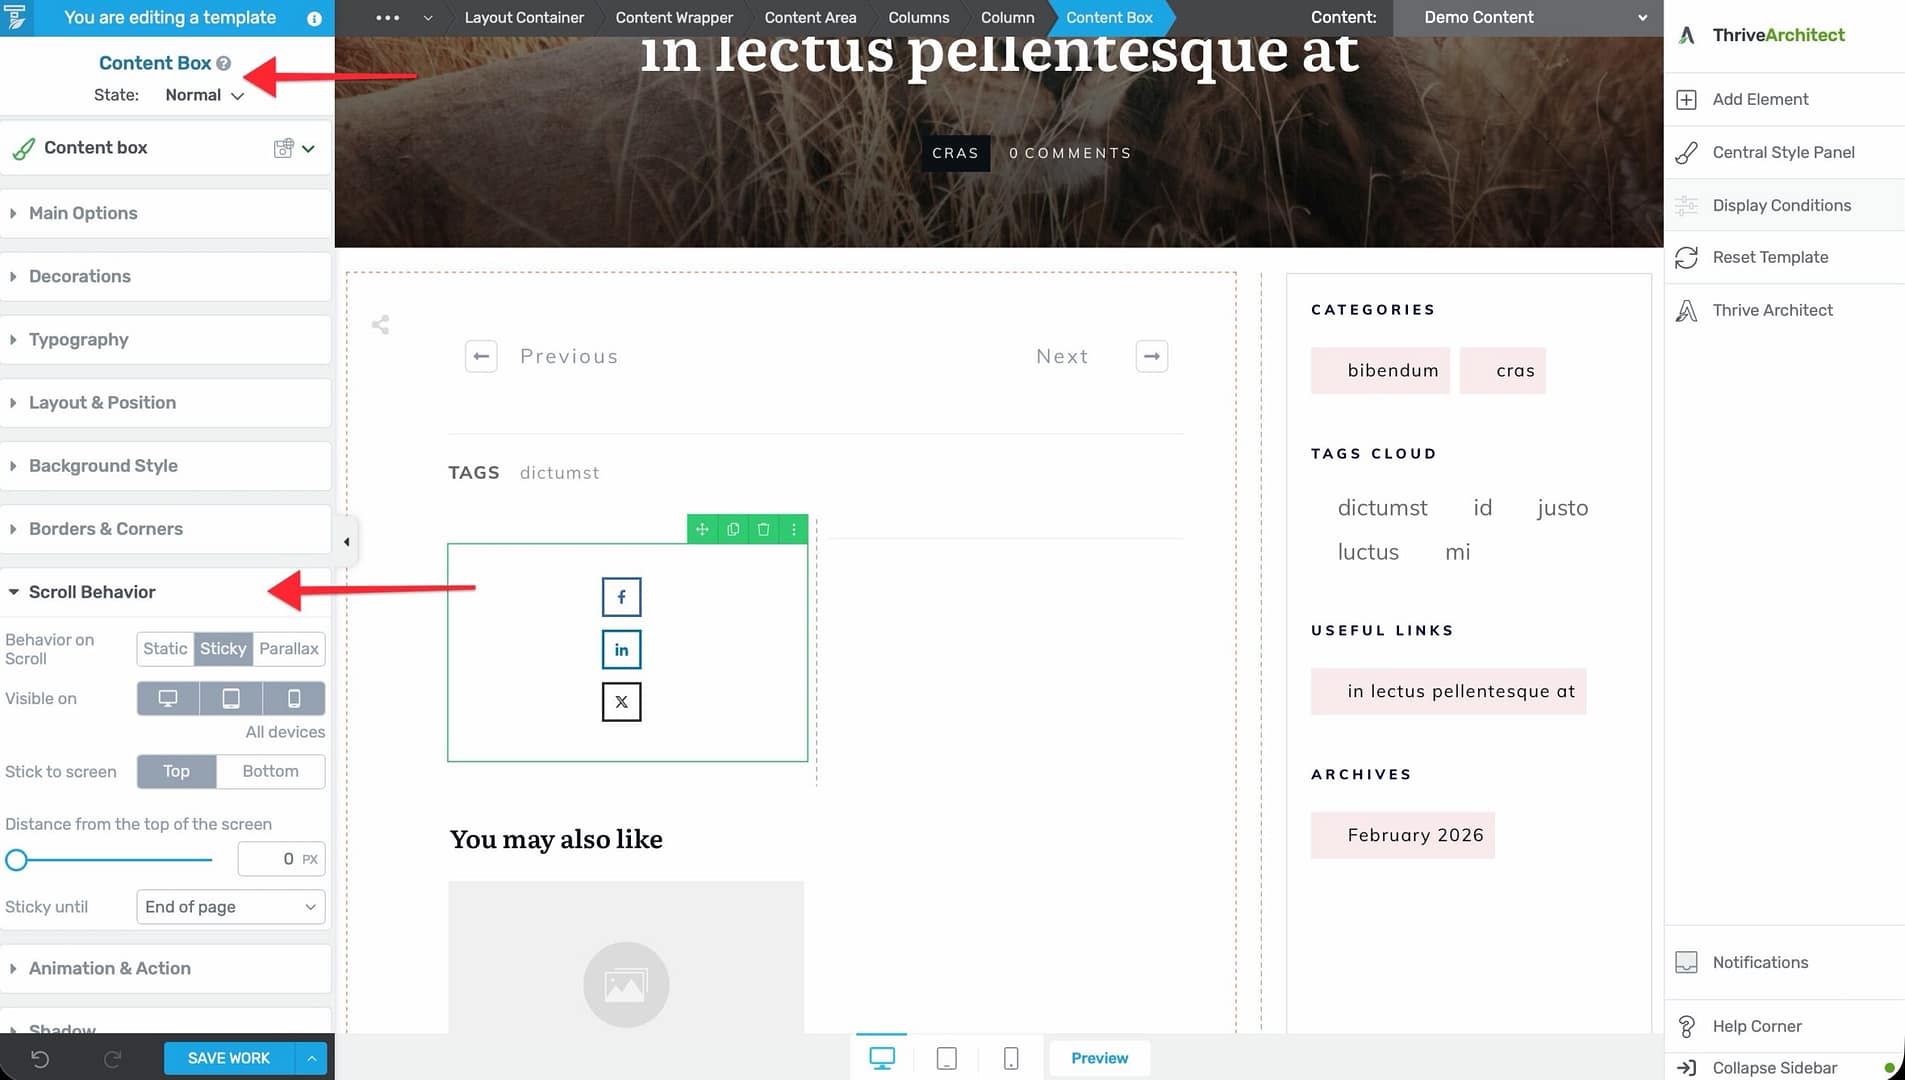
- Place the Social Share element inside a Column or Content Box.
- Select the parent container (not the Social Share element itself).
- In the left sidebar, open the Scroll Behavior section on the parent container.
- Enable the Sticky option to keep the container (and the social buttons inside it) visible during scrolling.
Sticky social share buttons work especially well on long blog posts where visitors might want to share the content after reading a portion of it.
Best Practices
- Place buttons where they’re visible — Position social share buttons near the top or side of the content where readers will see them.
- Don’t overload with networks — Include only the most relevant social networks for your audience (3–5 networks is typically enough).
- Use consistent styling — Keep the social share button style consistent across your templates for a cohesive look.
- Test on mobile — Verify that social share buttons are accessible and properly sized on mobile devices.
Related Resources
- Using the Thrive Theme Builder Editor: Learn about the editor tools and interface.
- Creating Post Templates: Learn how to create and customize post templates.
- Connecting Social Media Profiles: Learn how to connect your social media profiles.