Ready to start collecting leads? This guide will walk you through creating your first opt-in form using the Lead Groups method, which is the most common and powerful way to use Thrive Leads.
Step 1: Create a Lead Group
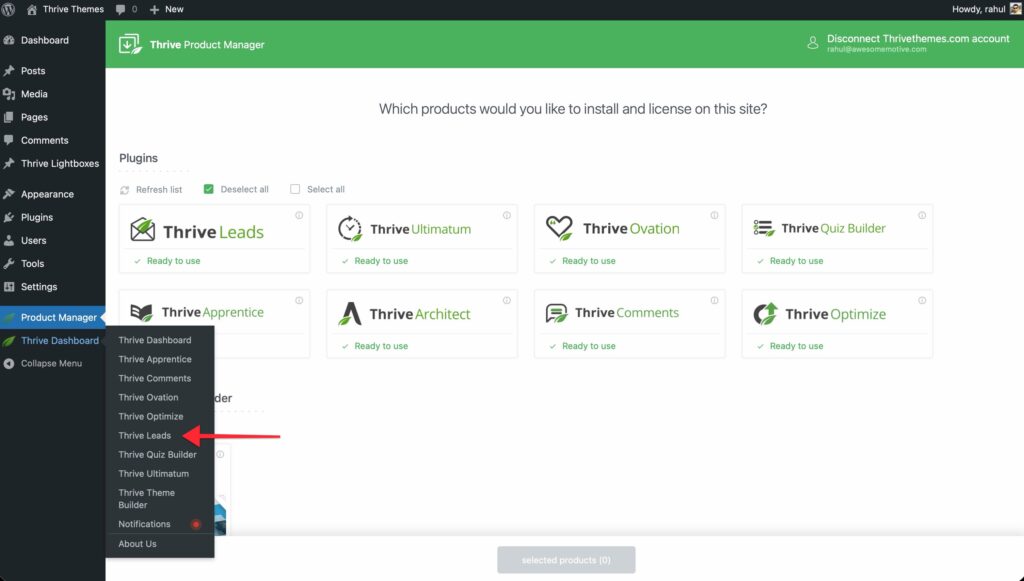
- Go to Thrive Dashboard >> Thrive Leads.
- In the “Lead Groups” section, click Add New.
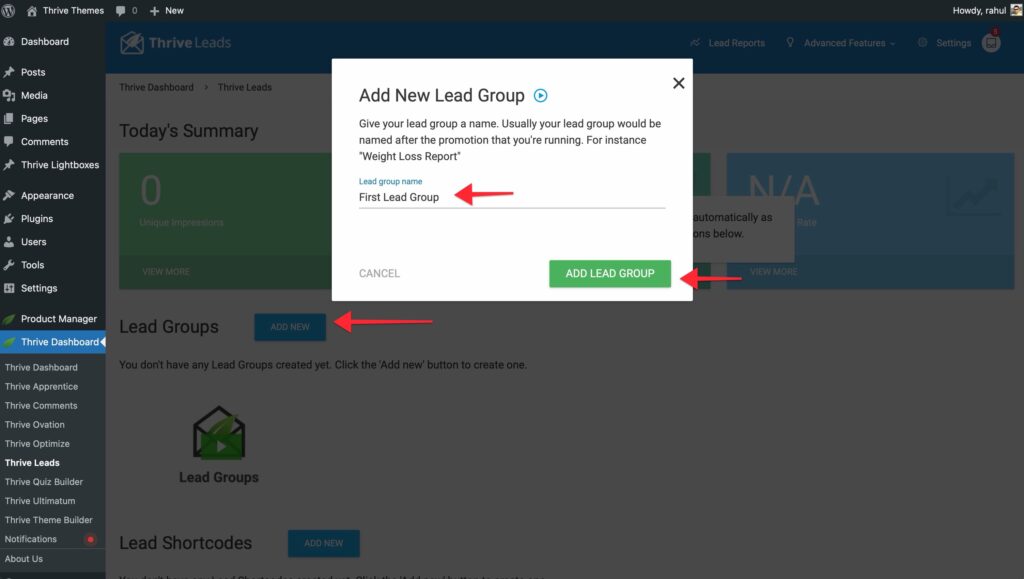
- Name your group (e.g., “Main Newsletter”) and click Add Lead Group.
Step 2: Define Display Settings
You need to tell Thrive Leads where to show this form.
- Click the Cogwheel Icon (Mobile/Display Settings) next to your new Lead Group.
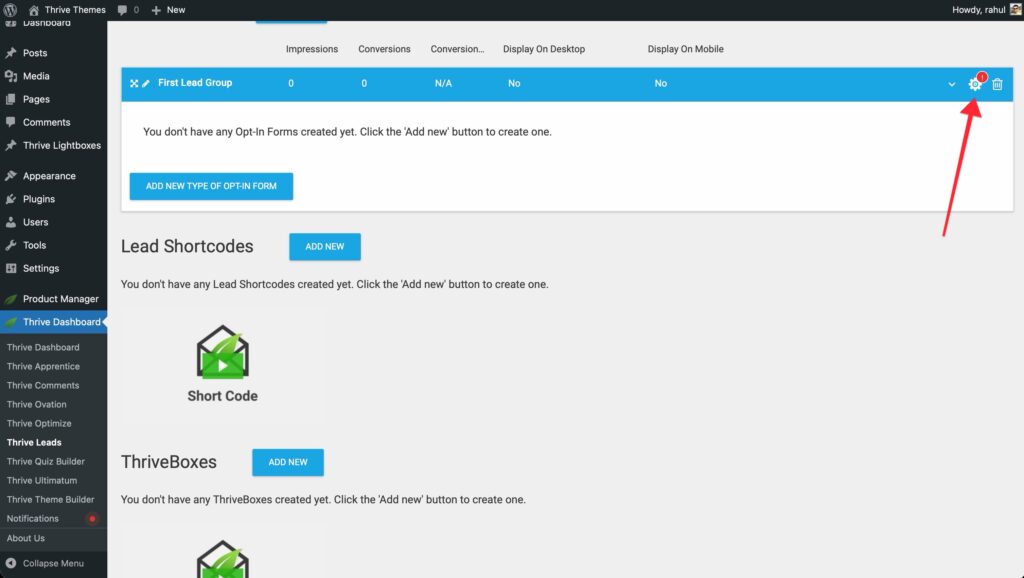
- A popup will appear listing all your site’s content.
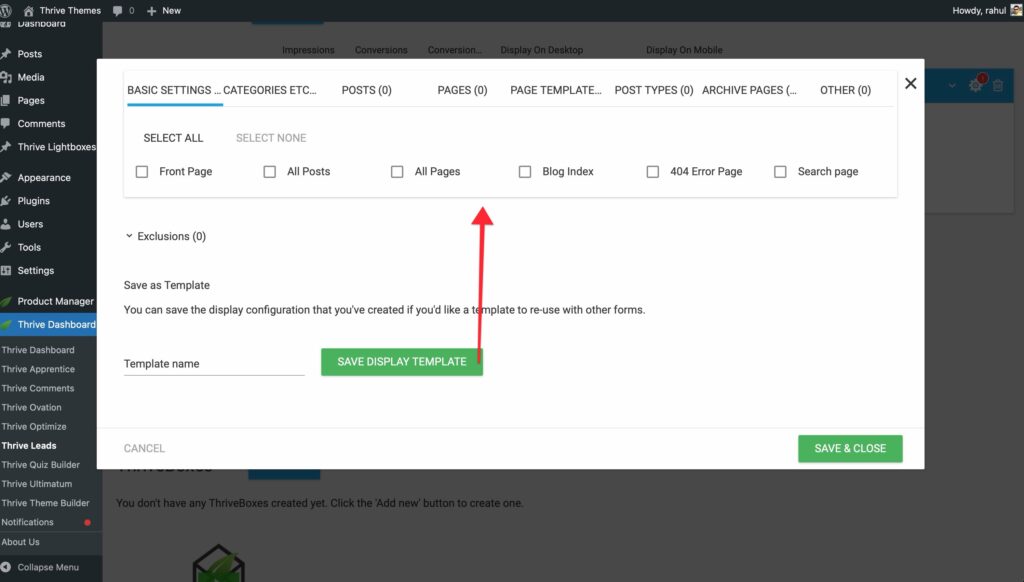
- Select where you want the form to appear. For a simple start, check “All Posts”.
- Click Save & Close.
Step 3: Create a Form Type
Now you need to choose what kind of form to show.
- Click the Add New Type of Opt-In Form button inside your Lead Group.

- Choose “Lightbox” (a popup) for this example.
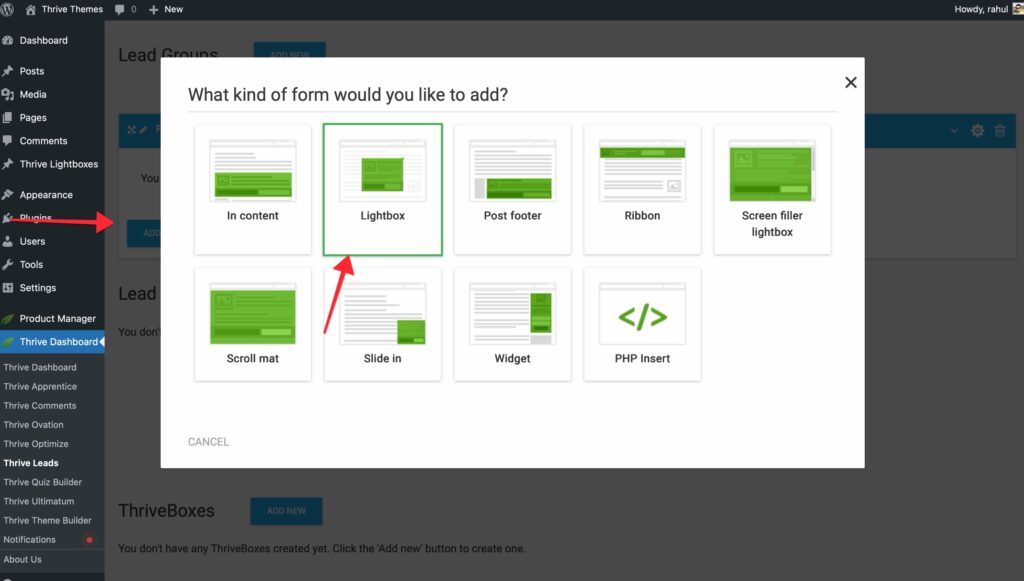
- The “Lightbox” card will appear in your Lead Group.
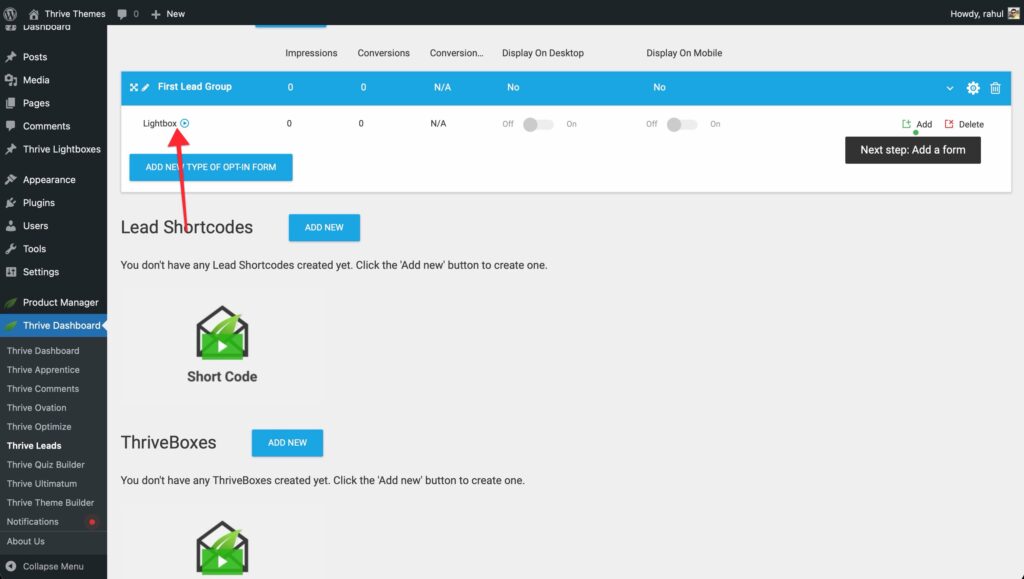
Step 4: Add and Design the Form
- Click the Add button (or the Plus icon) on the Lightbox card.
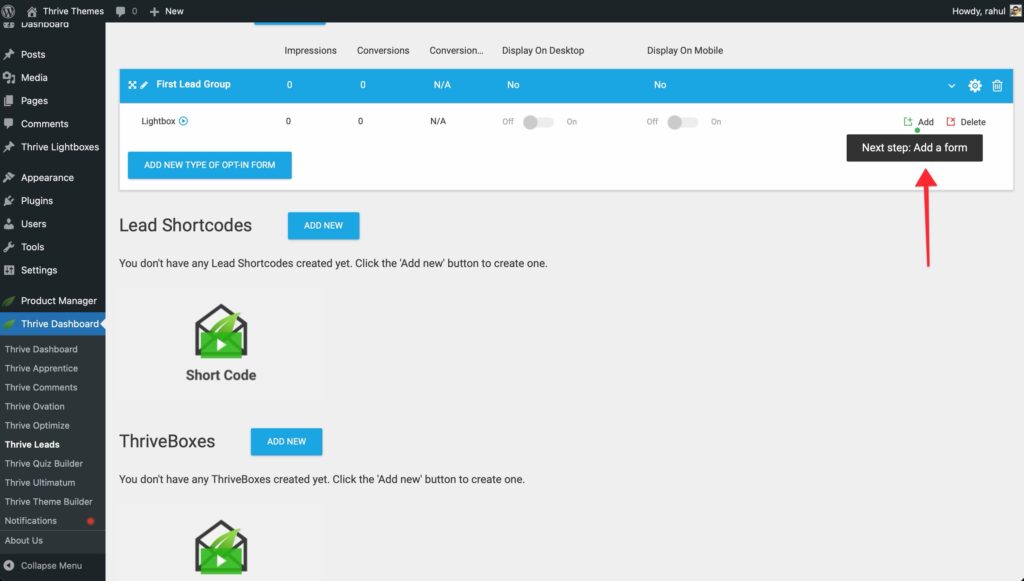
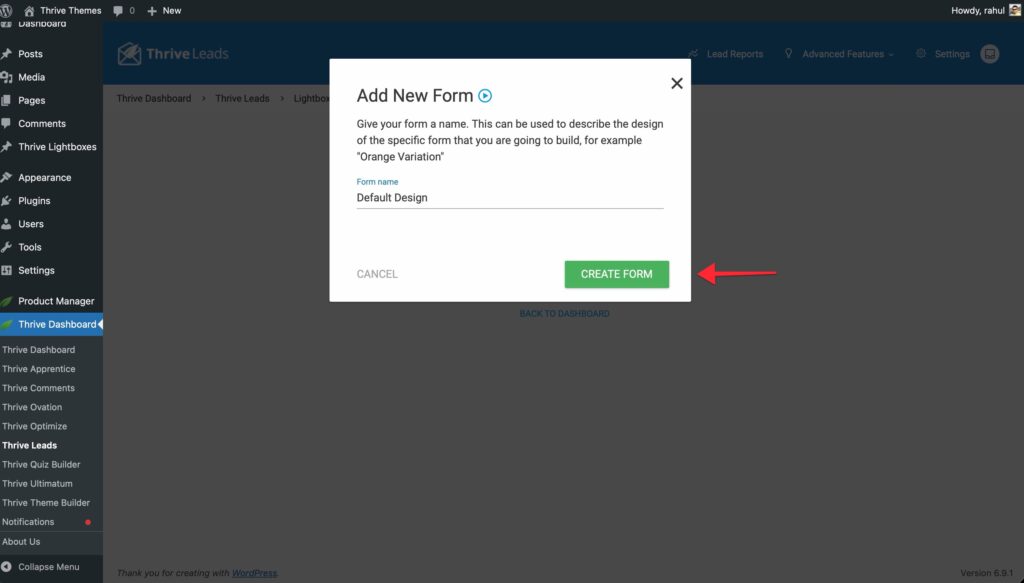
- Click Create Form.
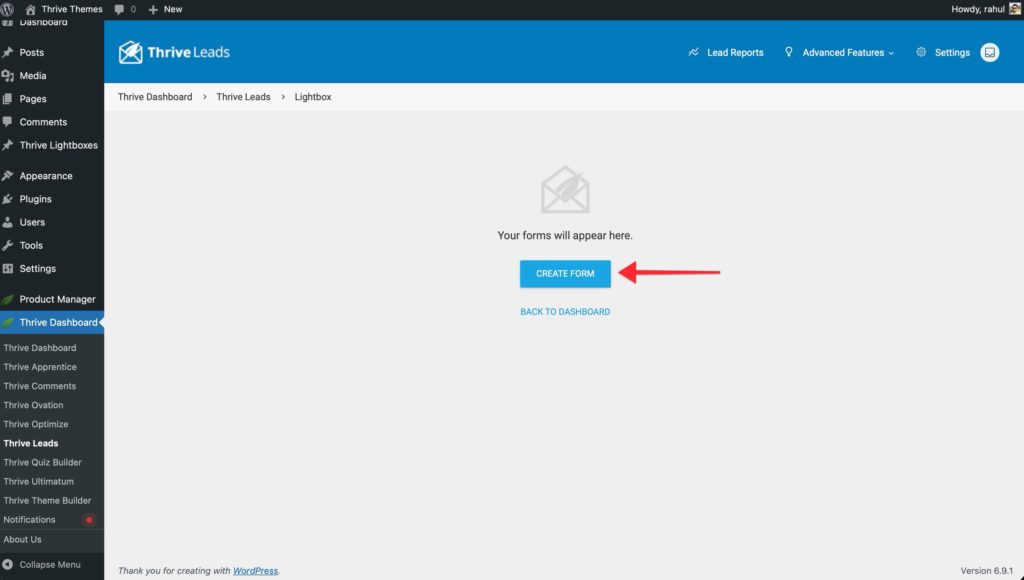
- Name your form (e.g., “Default Design”) and click Create Form.
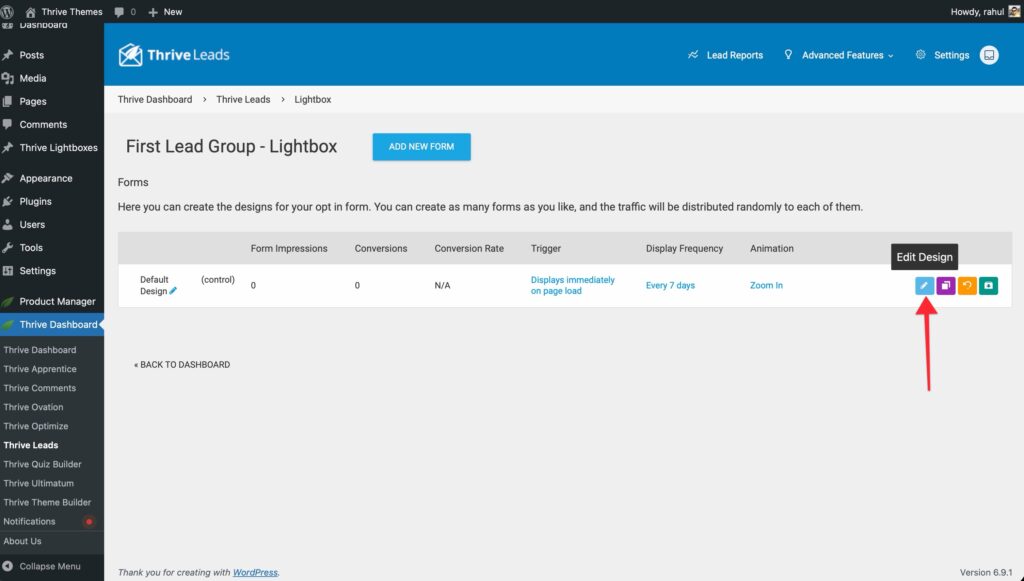
- Click the Edit Design (pencil icon) button.
- Thrive Architect will open relative to your form.
- A template library will pop up. Browse and select a template that suits your goal.

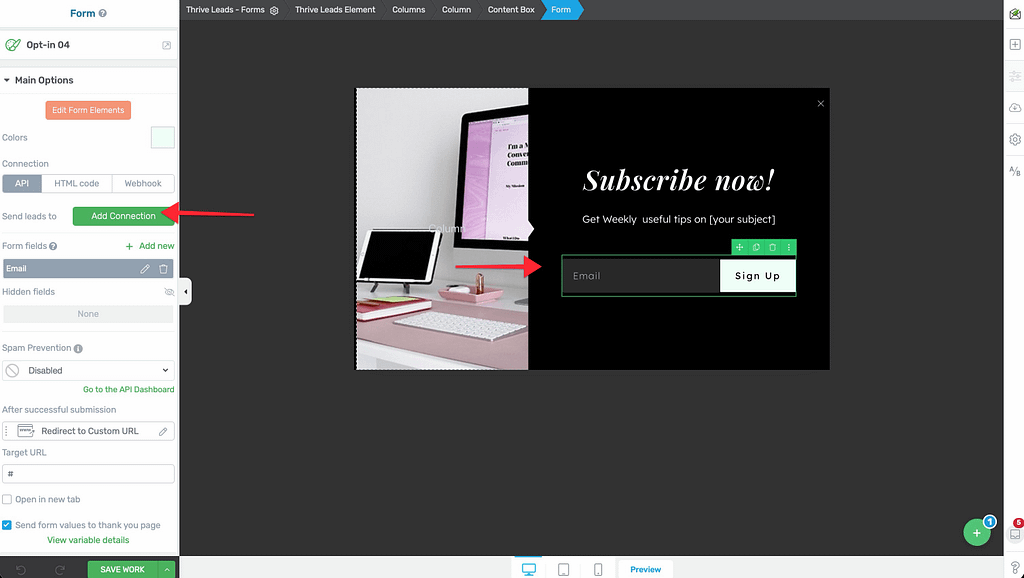
- Customize the text, colors, and images using the visual editor.

- Important: Click on the “Lead Generation” element (the form fields) and configure your connection to your email service (e.g., Mailchimp) in the left sidebar under “Connection”.
- Click Save Work in the bottom left corner and close the editor tab.
Step 5: Configure Triggers and Display Frequency
Back in the Thrive Leads Dashboard, look at your form stats. You will see settings for “Trigger” and “Display Frequency”.

Trigger
Defines when the form appears.
- Click on the default trigger (usually “Displays immediately on page load”).
- Change it to something less intrusive if desired, like “Show after a certain period of time” (e.g., 10 seconds) or “Show when the user scrolls to a percentage of the way down the content” (e.g., 50%).
- Click Save.
Display Frequency
Defines how often a visitor sees the form.
- Click on the default setting (e.g., “Every 7 days”).
- Adjust the slider. Set it to 0 if you want it to show every time (good for testing), or leave it at 7-30 days to avoid annoying repeat visitors.
- Click Save.
Step 6: Activate Your Form

- Go back to the main Thrive Leads Dashboard.
- On the form design line, toggle the switch on the far right relative to “Desktop” (and Mobile) to ON.
Congratulations! Your form is now live on all your blog posts. Visit a post in an Incognito/Private window to test it out.

Alternative: Using Shortcodes or ThriveBoxes
If you prefer not to use automatic placement, you can create a Lead Shortcode or ThriveBox.
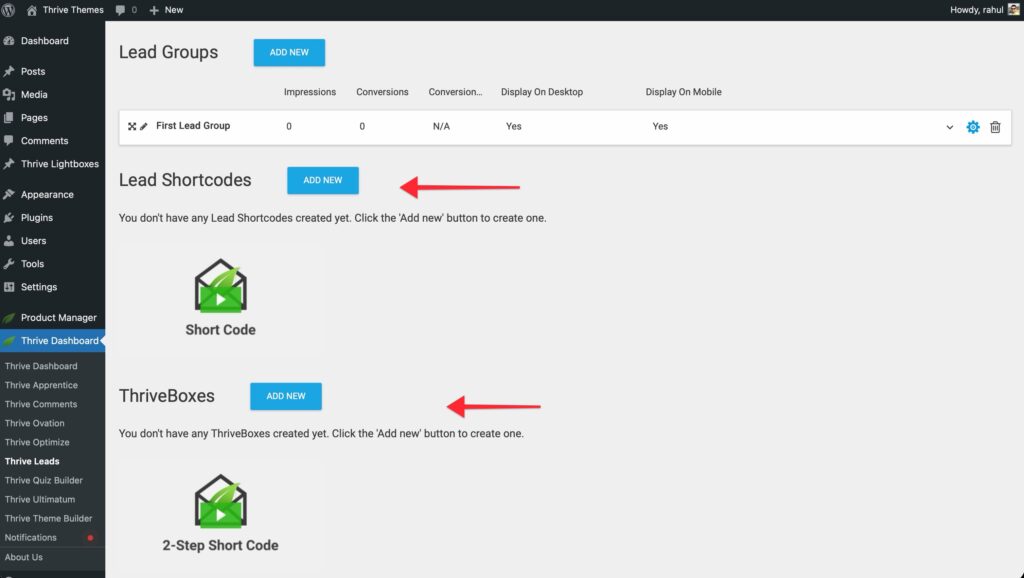
- Scroll down to the “Lead Shortcodes” or “ThriveBoxes” section in the dashboard.
- Click Add New and follow the same design steps as above.
- Once designed, copy the Shortcode displayed next to the form title.
- Paste that shortcode into any WordPress post or page content.
That’s it, your site is now ready to convert visitors into leads!