Tagged answers allow you to qualify and segment your leads based on every single choice they make in a quiz. In this article, you’ll learn how to apply tags to individual answers and how these tags are sent to your email marketing service.
How to Enable Tagged Answers
You can assign tags to any multiple-choice or audio/video question.
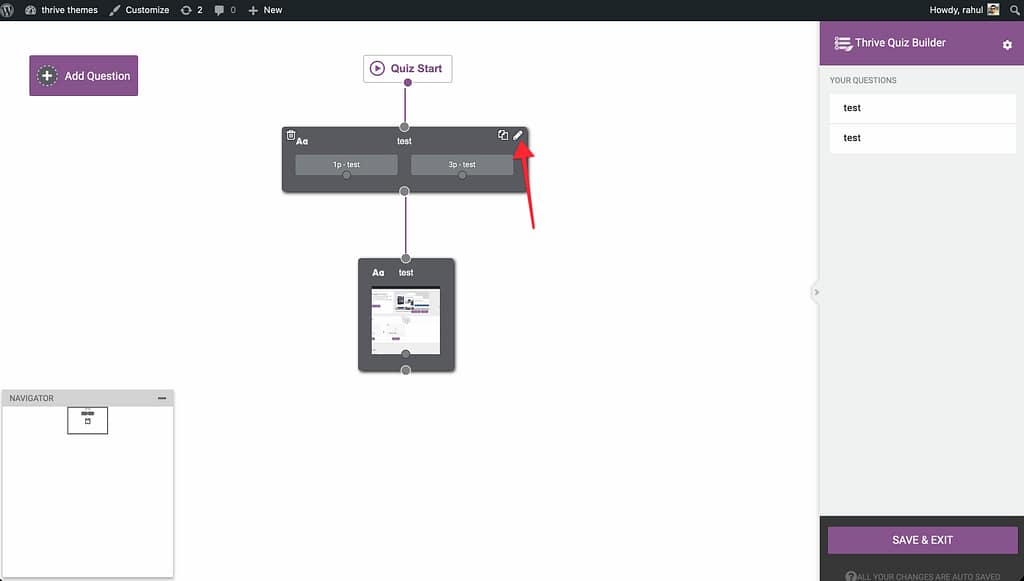
- In the Questions Editor, click the Pencil Icon to edit a specific question.
- In the answer setup area, look for the Tags toggle and switch it to ON.
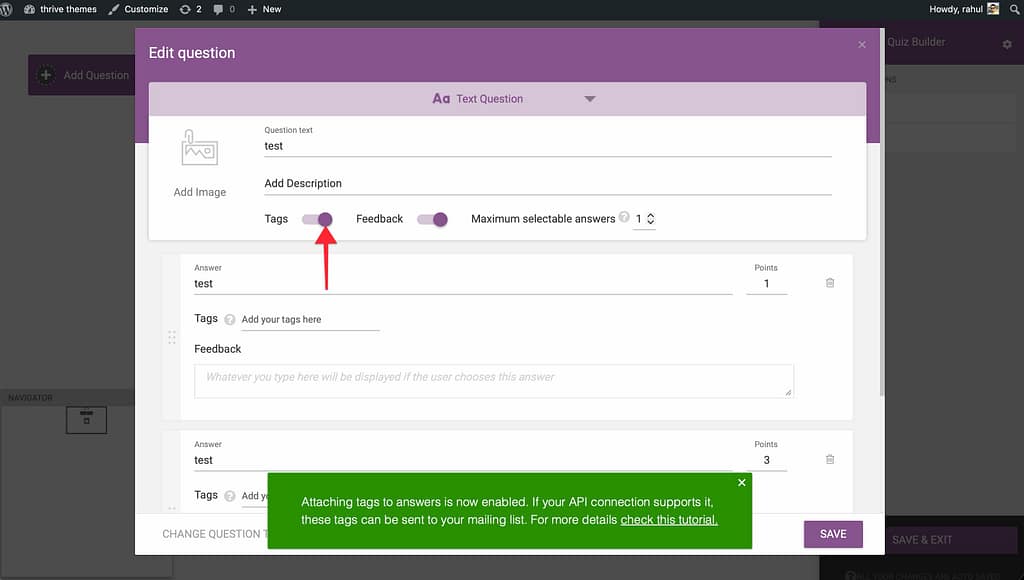
- A Tags input box will appear next to each answer option.
- Type the tags you want to apply when a user selects that answer (e.g., “Interest: SEO”, “Budget: High”).
- You can add up to 5 tags per answer.
- Click Save.
How Tags are Delivered
It is important to understand that tags are only sent to your mailing list if the user completes a lead generation form.
- Selection: The user clicks a tagged answer during the quiz.
- Tracking: Thrive Quiz Builder “remembers” these tags as the user progresses.
- Submission: When the user enters their email on the Opt-in Gate or Results Page, all the tags they “earned” during the quiz are sent to your connected email marketing service.
Strategies for Segmentation
- Interest-Based Tagging: Tag answers that reveal a user’s specific pain points or interests (e.g., “Weight Loss” vs. “Muscle Gain”).
- Buyer Intent: Tag answers that indicate how ready a user is to buy (e.g., “Researching” vs. “Ready to start now”).
- Demographics: Tag answers that clarify the user’s role or business size.
Related Resources
- Email Integrations: Connecting Quiz Data to Your Email Marketing Service
- Quiz Types: Understanding Quiz Types in Thrive Quiz Builder
- Opt-in Gates: Using the Opt-in Gate in Thrive Quiz Builder
Thrive Quiz Builder Documentation: Explore the full Thrive Quiz Builder knowledge base