One of the most powerful features of Thrive Ultimatum is the ability to show campaigns only on specific parts of your website.
When creating a campaign, the Display card allows you to define these rules.
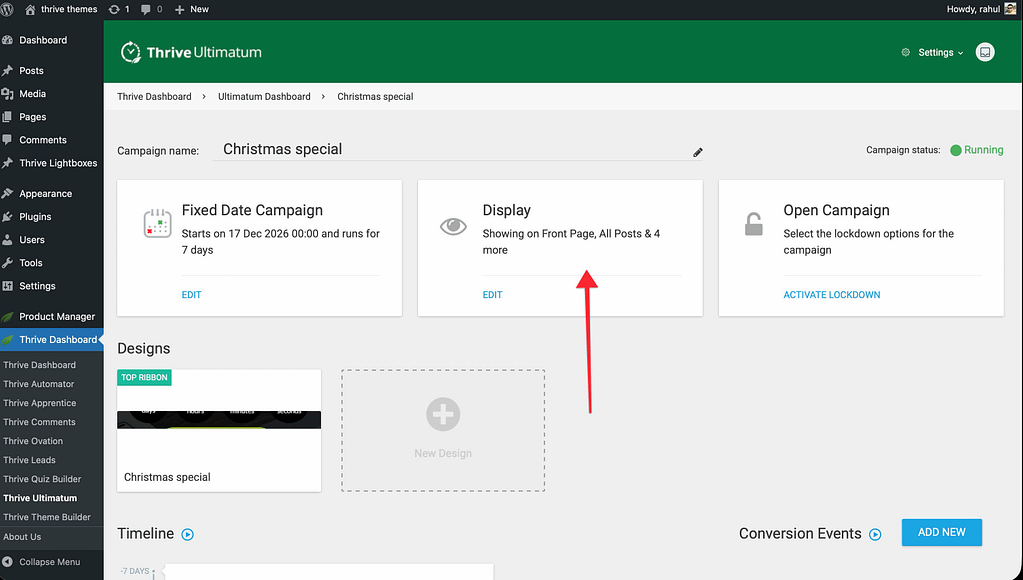
Display Logic Tabs

- Basic Settings:
- All Posts / All Pages: Quickly target everything.
- Front Page / Blog Index: Target your home and blog feed.
- 404 Error Page: Target lost visitors.
- Categories & Tags: Show campaigns only on posts within a specific category (e.g., “Marketing” posts).
- Posts / Pages: Search for and select individual posts or pages.
- Post Types: Target custom post types (e.g., WooCommerce Products).
- Archive Pages: Target category or tag archive pages.
- Other:
- Logged in / Logged out: Show customized offers to subscribers vs. new visitors.
Exclusions
Exclusions override your display selection. This is critical for preventing your campaign from appearing where it shouldn’t (like the Checkout page or key landing pages).
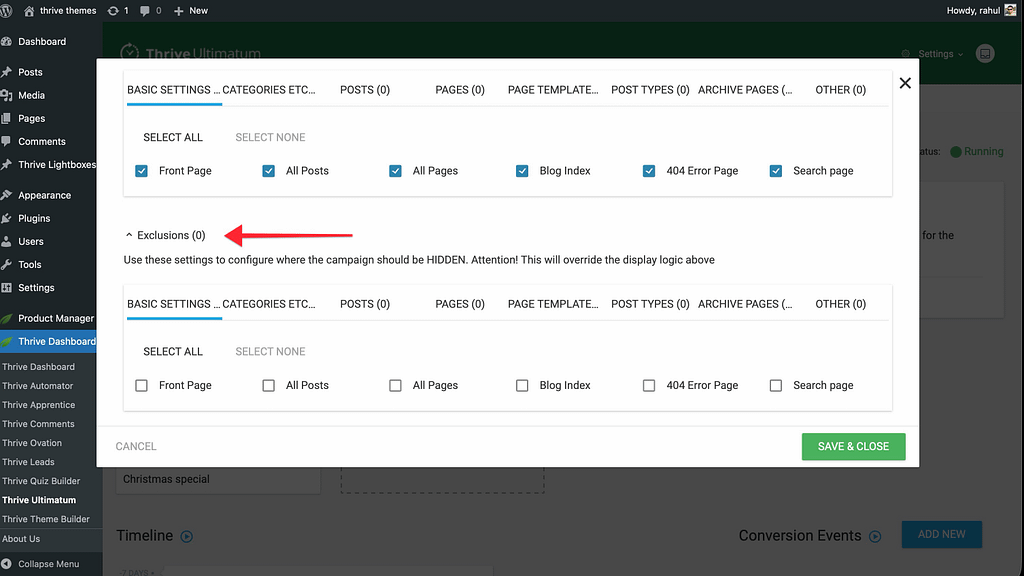
How to set an Exclusion:
- Open the Display Settings.
- Select where you WANT the campaign to appear (e.g., “All Pages”).
- Click the Exclusions tab (often represented by a red “X” or “Exclude” toggle depending on your version).
- Select the specific pages to exclude (e.g., “Checkout”, “Thank You Page”).
- Click Save.
The campaign will now show everywhere except those excluded pages.
Related Resources
- Campaign Setup: How to Get Started with Thrive Ultimatum
- Troubleshooting: How to Fix Caching Issues in Lockdown Campaigns
- Thrive Ultimatum Documentation: Explore the full Thrive Ultimatum knowledge base.