In this article, you’ll learn how to create a free online course funnel using Thrive Apprentice—a proven strategy for building your email list by offering a free course as a lead generation tool.
What Is a Free Course Funnel?
A free course funnel is a marketing strategy where you offer a free online course in exchange for a visitor’s email address. Instead of selling the course directly, you use it as a lead magnet—attracting potential customers, growing your email list, and nurturing them toward purchasing your paid products or services.
Why Use a Free Course Funnel?
Free course funnels are one of the most effective ways to grow your audience because:
- High perceived value — A free course feels more valuable than a simple PDF download, which increases opt-in rates.
- Email list building — You collect email addresses from every student who enrolls, giving you a direct line of communication.
- Trust building — Delivering quality content for free demonstrates your expertise and builds trust with your audience.
- Upsell opportunities — Once students complete the free course, you can promote your paid courses, memberships, or services.
Prerequisites
Before you begin, make sure you have:
- Thrive Apprentice installed and activated on your WordPress site.
- Thrive Architect installed for building your landing page.
- An email marketing service connected to your site (e.g., Mailchimp, ActiveCampaign, ConvertKit).
Creating a Free Course in Thrive Apprentice
The first step is to create the actual course content inside Thrive Apprentice:
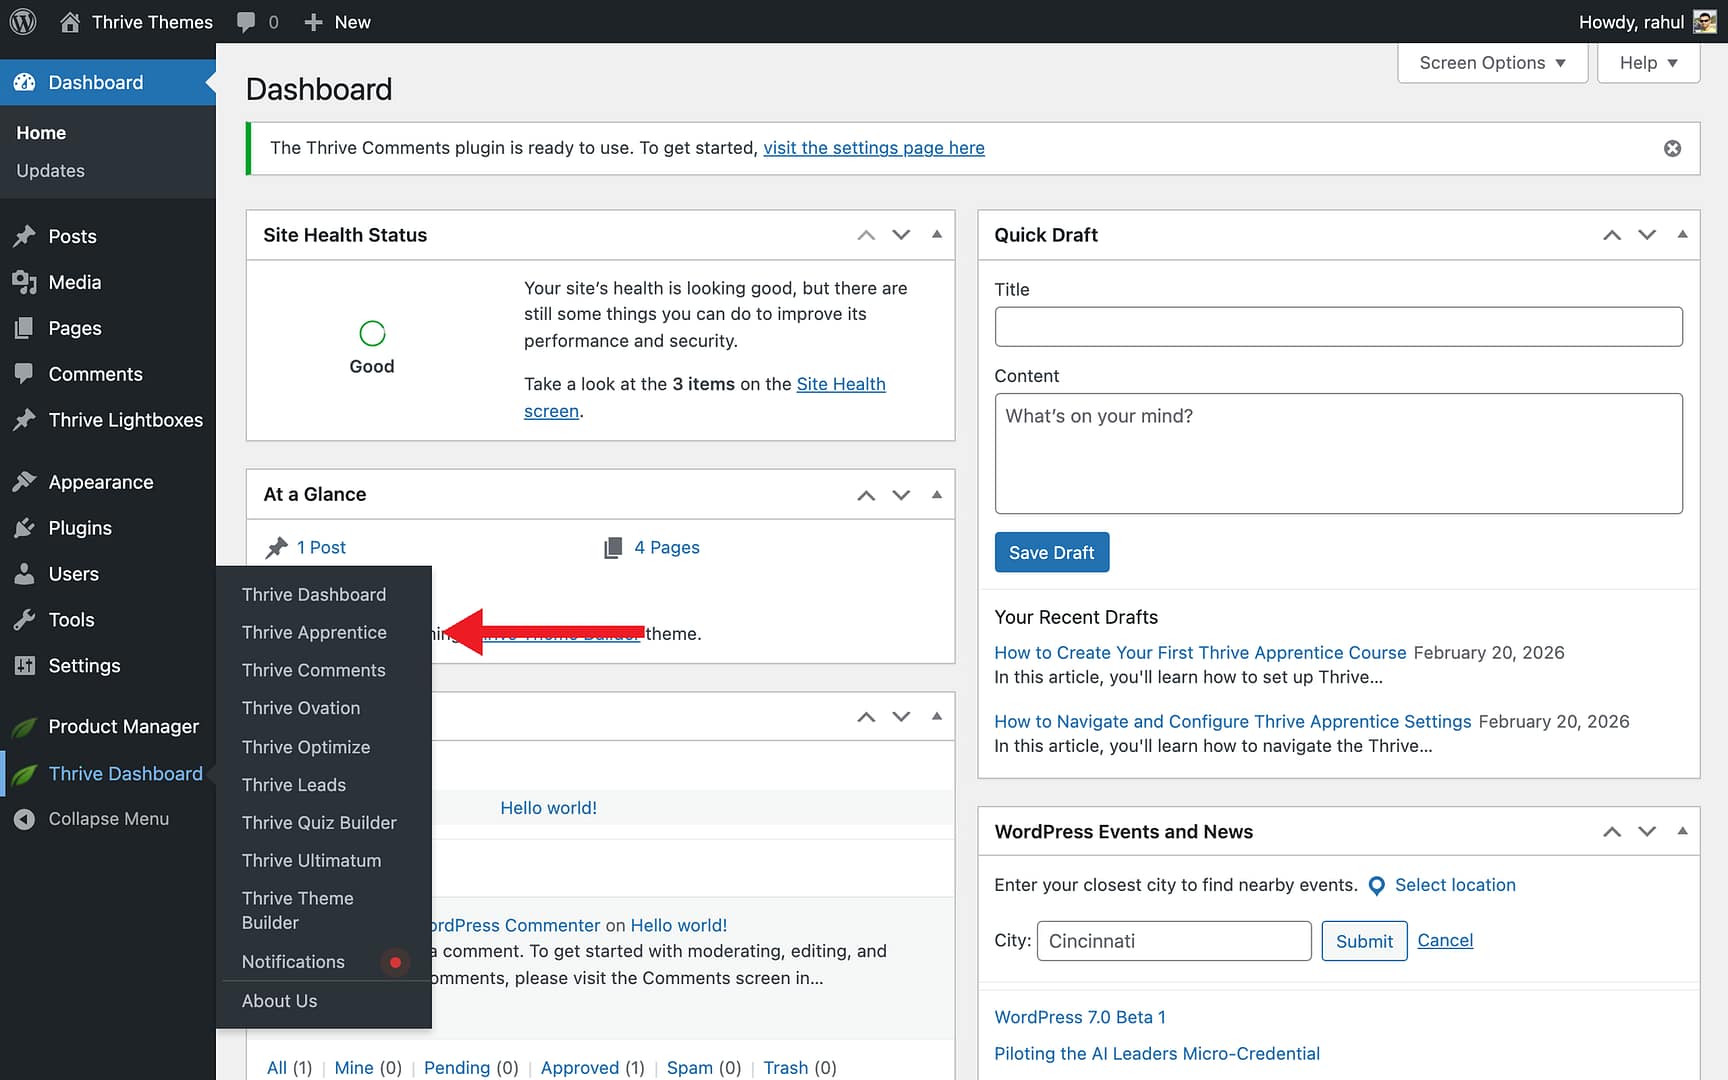
- Navigate to Thrive Dashboard > Thrive Apprentice in your WordPress admin sidebar.
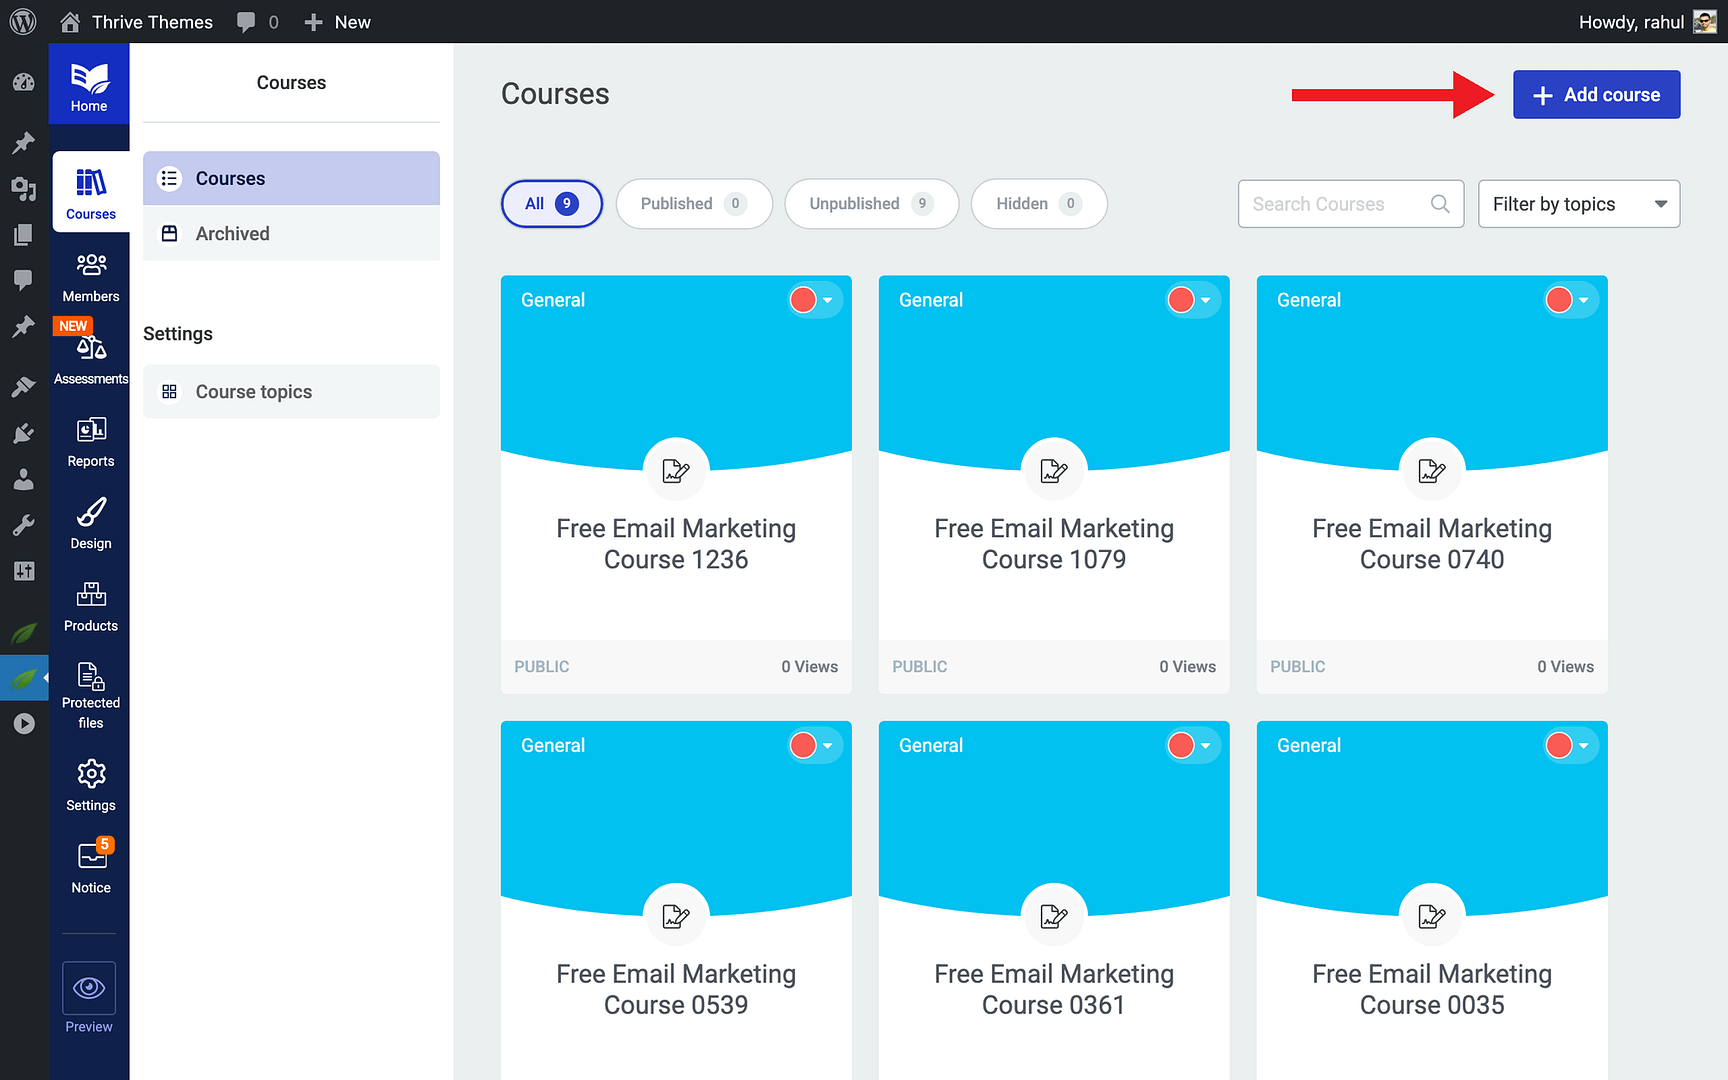
- Click the Courses tab in the left sidebar.
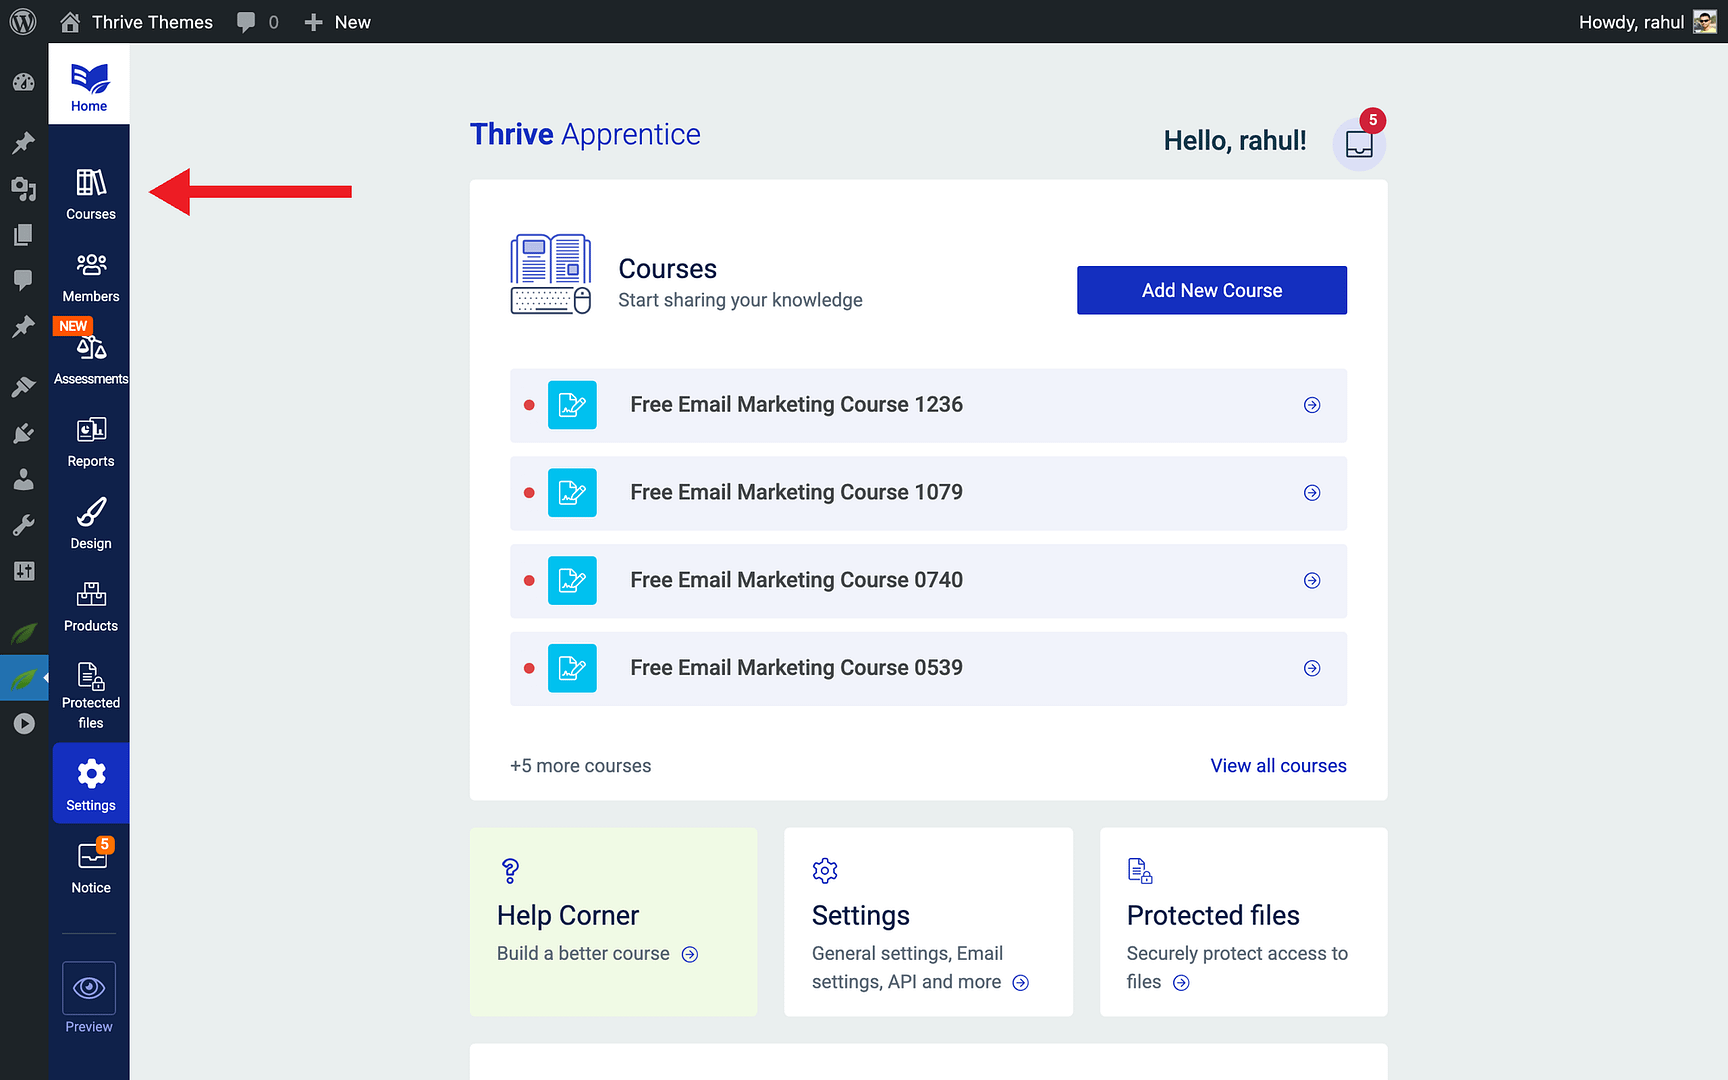
- Click the + Add course button in the top-right corner.
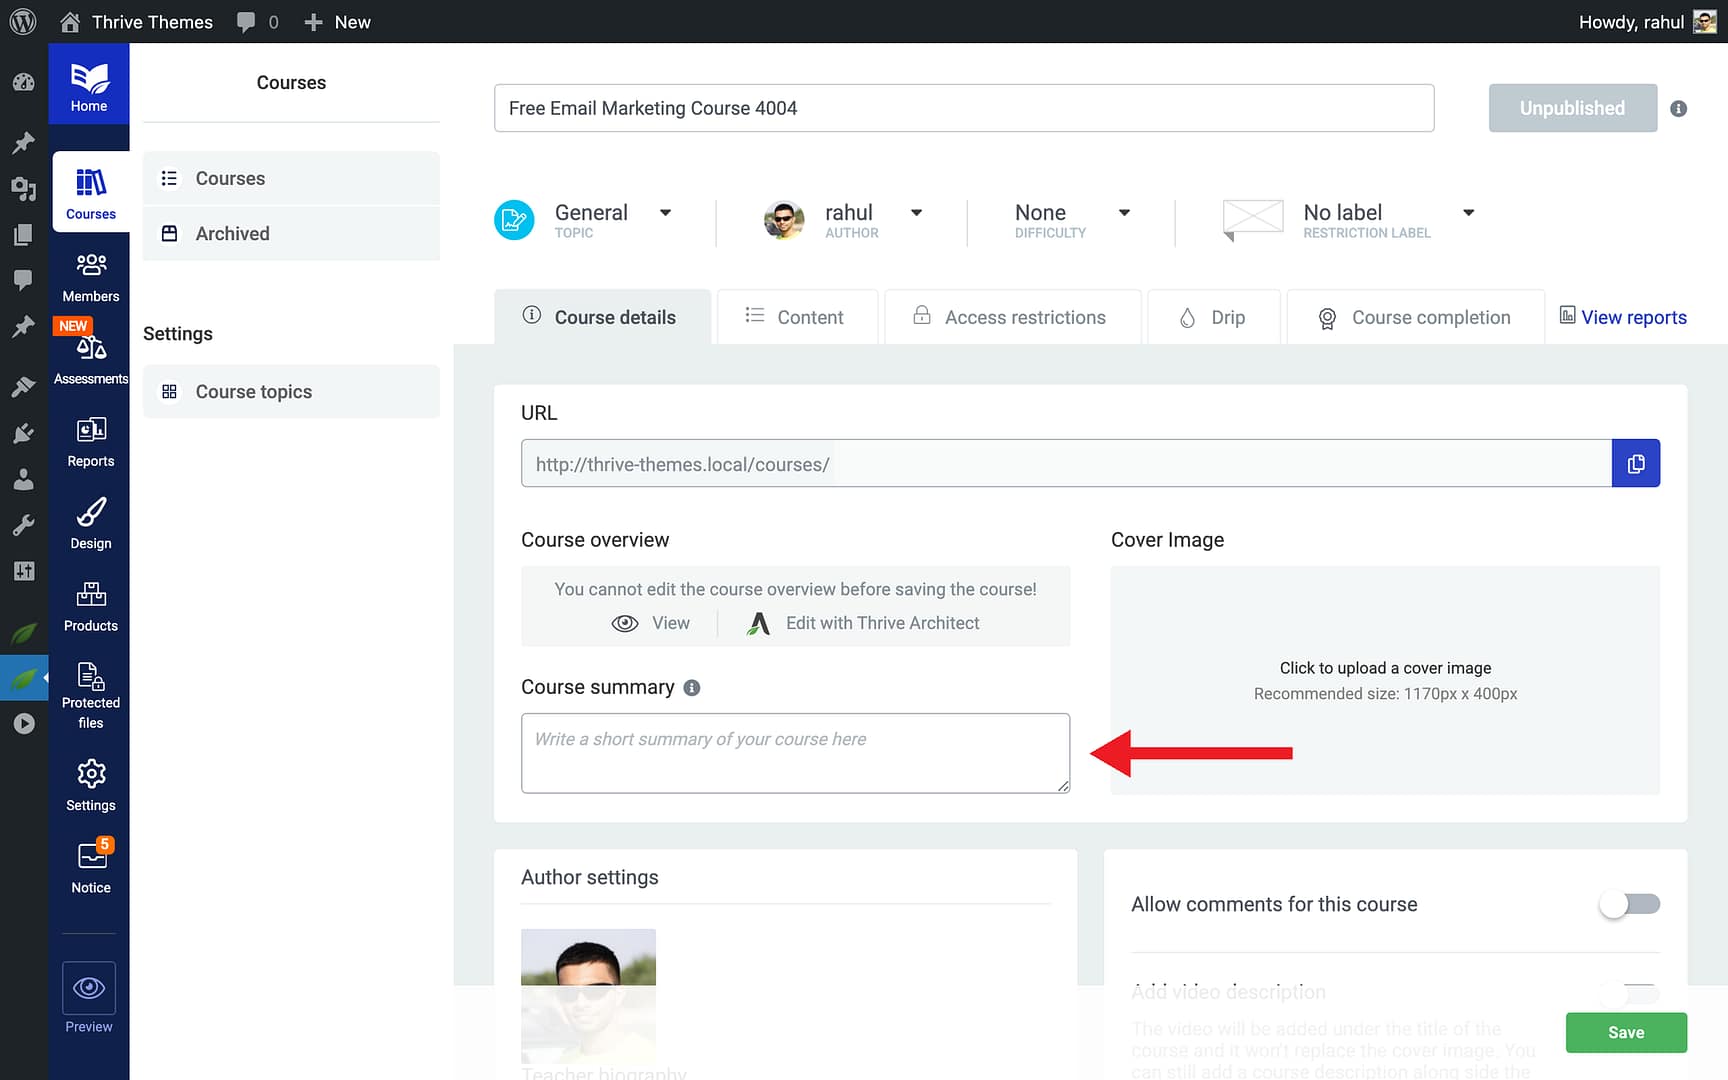
- Enter a compelling name in the Course name field.
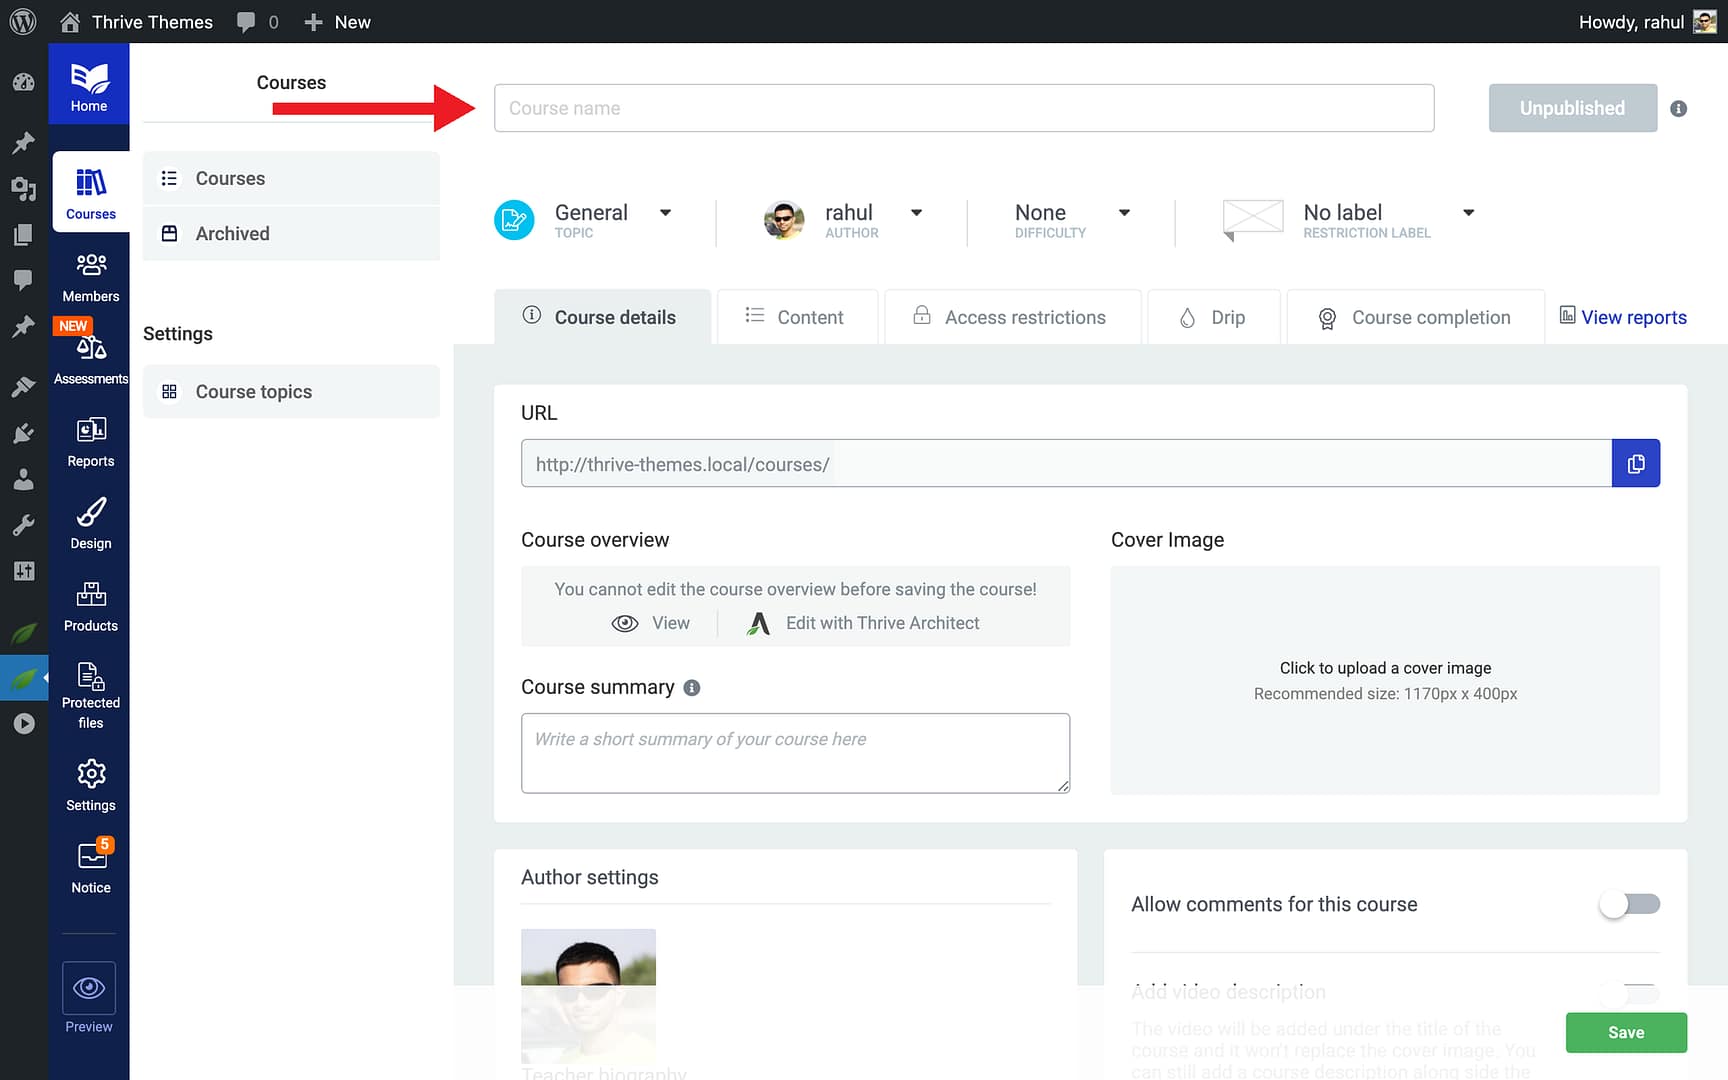
- Write a brief summary in the Course summary field that highlights what students will learn.
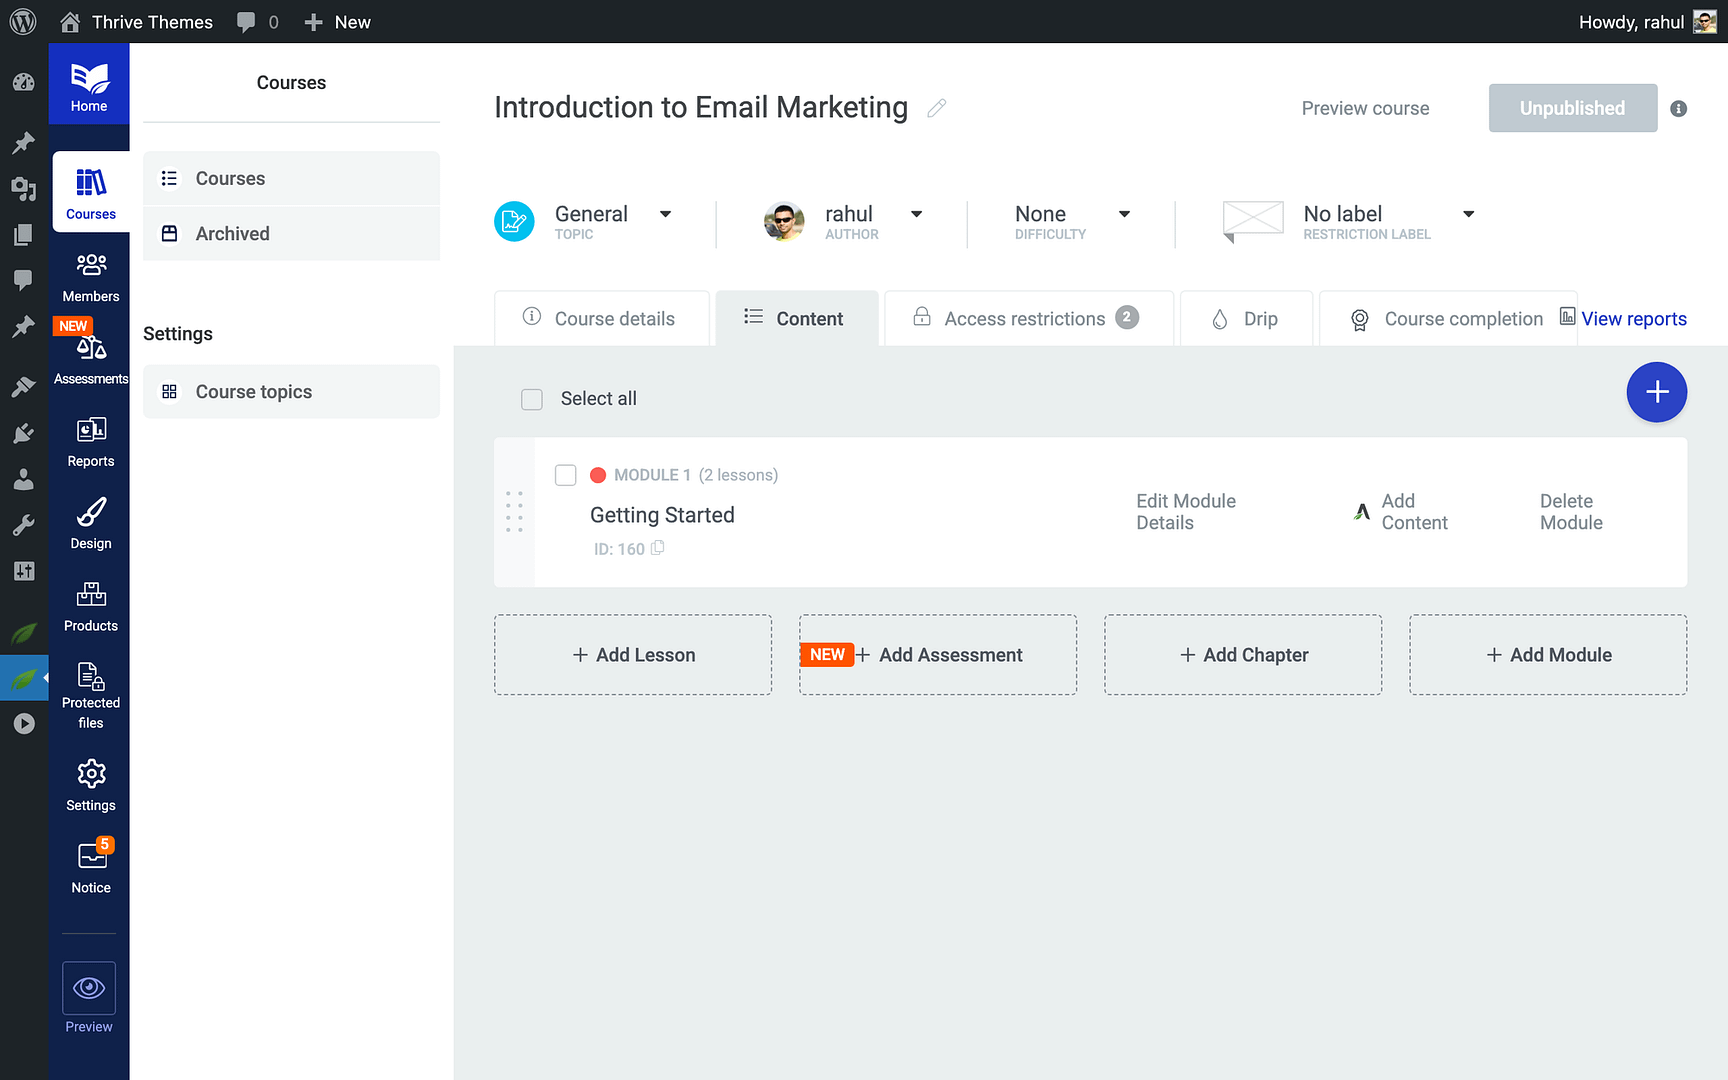
- Click the Content tab to start building your course structure.
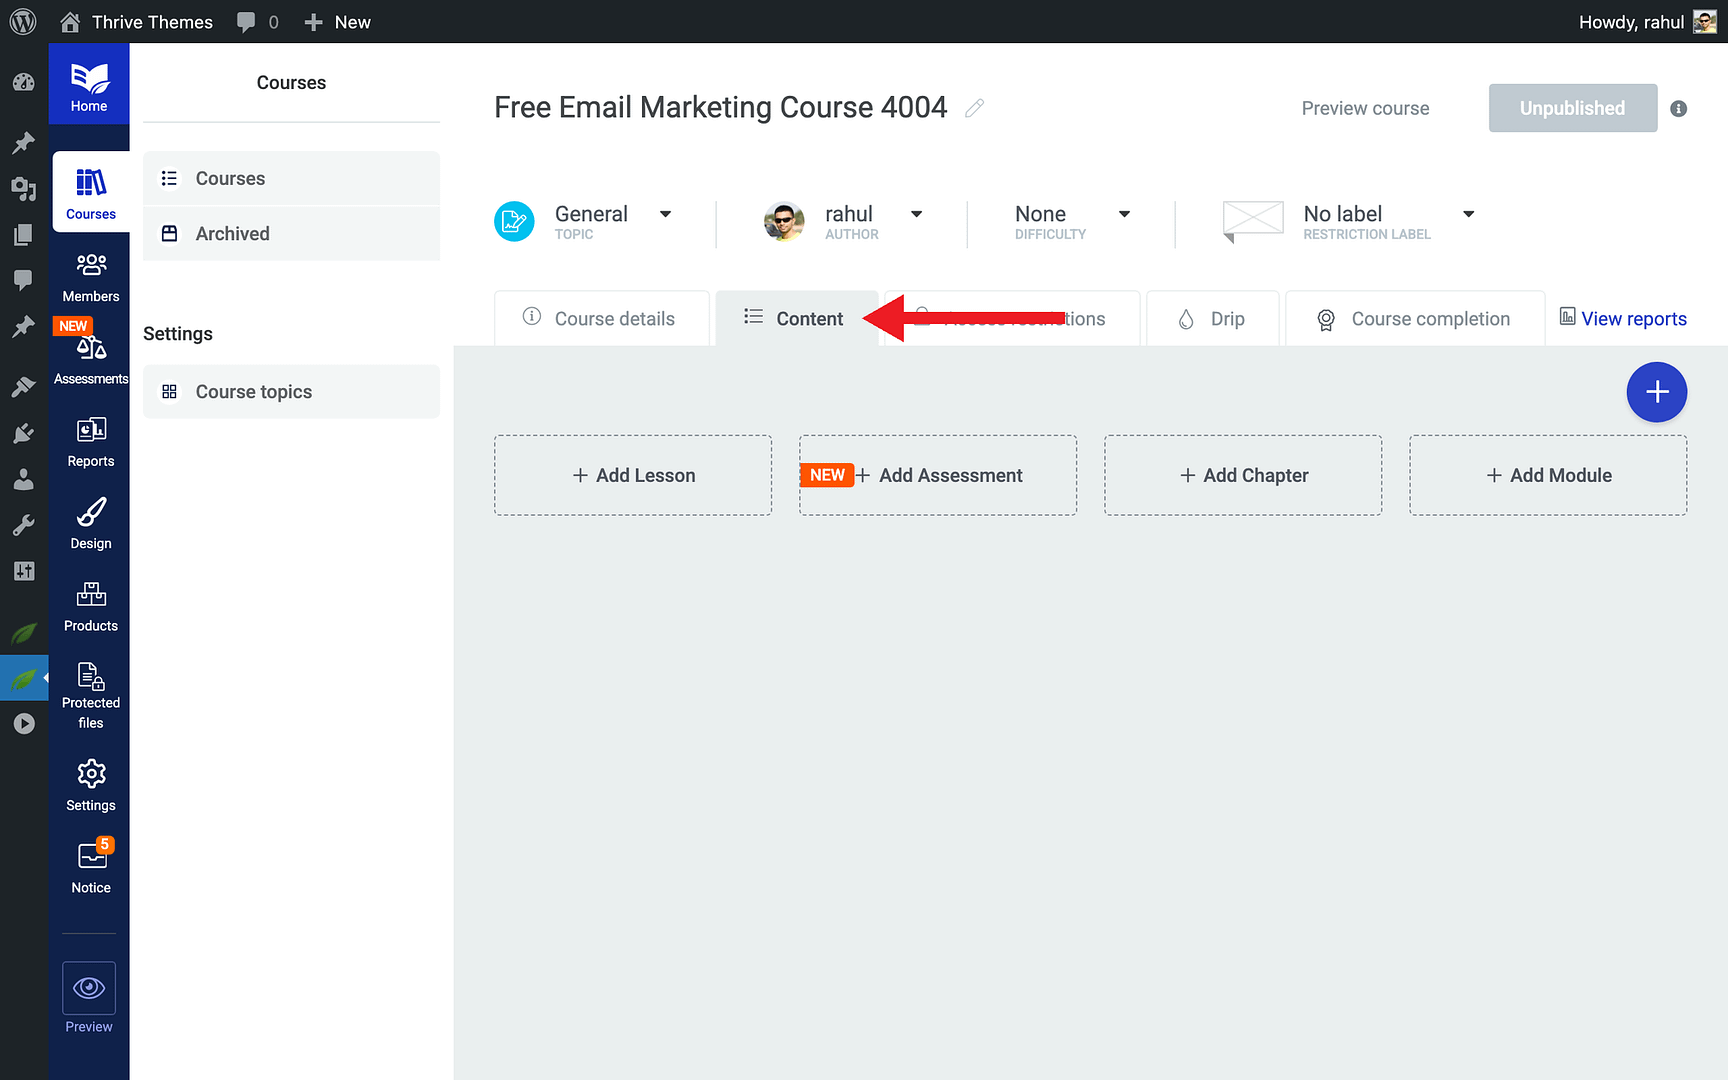
- Add your lessons using the lesson editor. Keep your free course focused—three to five lessons work well.
Tip: You want to deliver enough value to impress your audience without giving away everything you have to offer. Think of the free course as a preview of your expertise.
Keeping the Course Free (No Product Needed)
By default, a course in Thrive Apprentice that is not linked to any product is accessible to logged-in users. To keep your course free, simply do not associate it with a paid product:
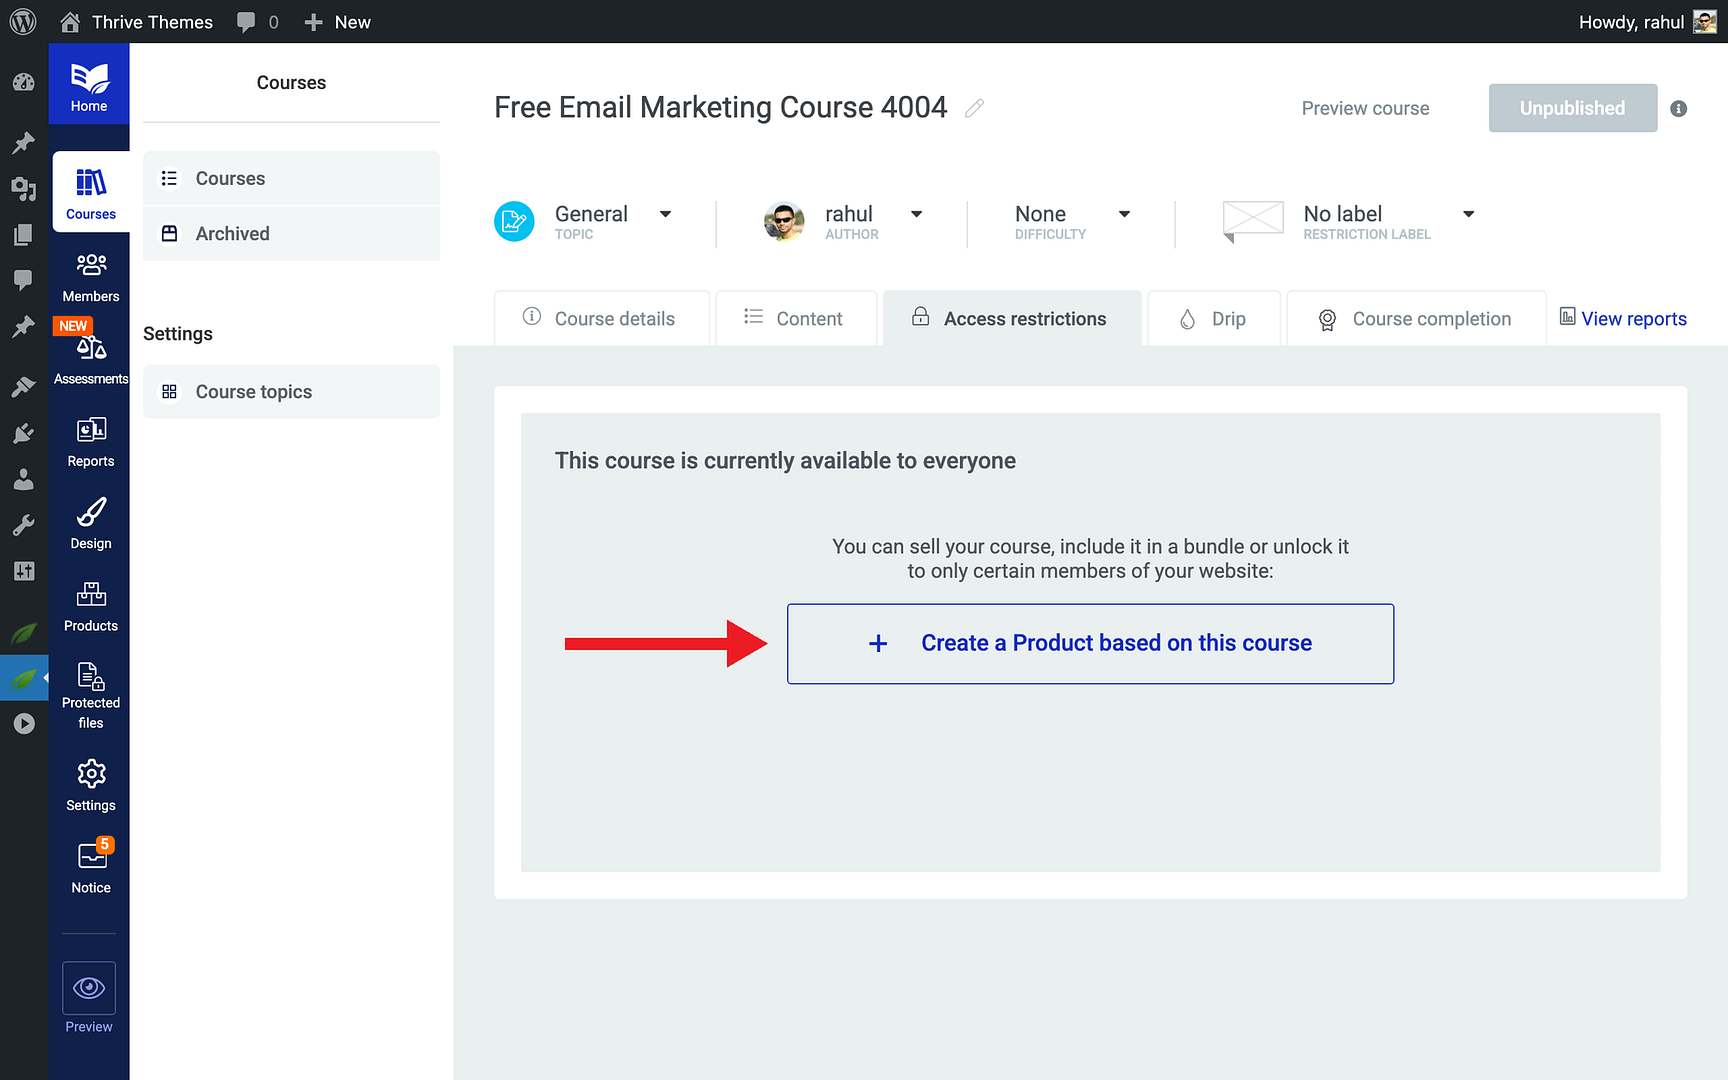
- Click the Access restrictions tab in the course editor.
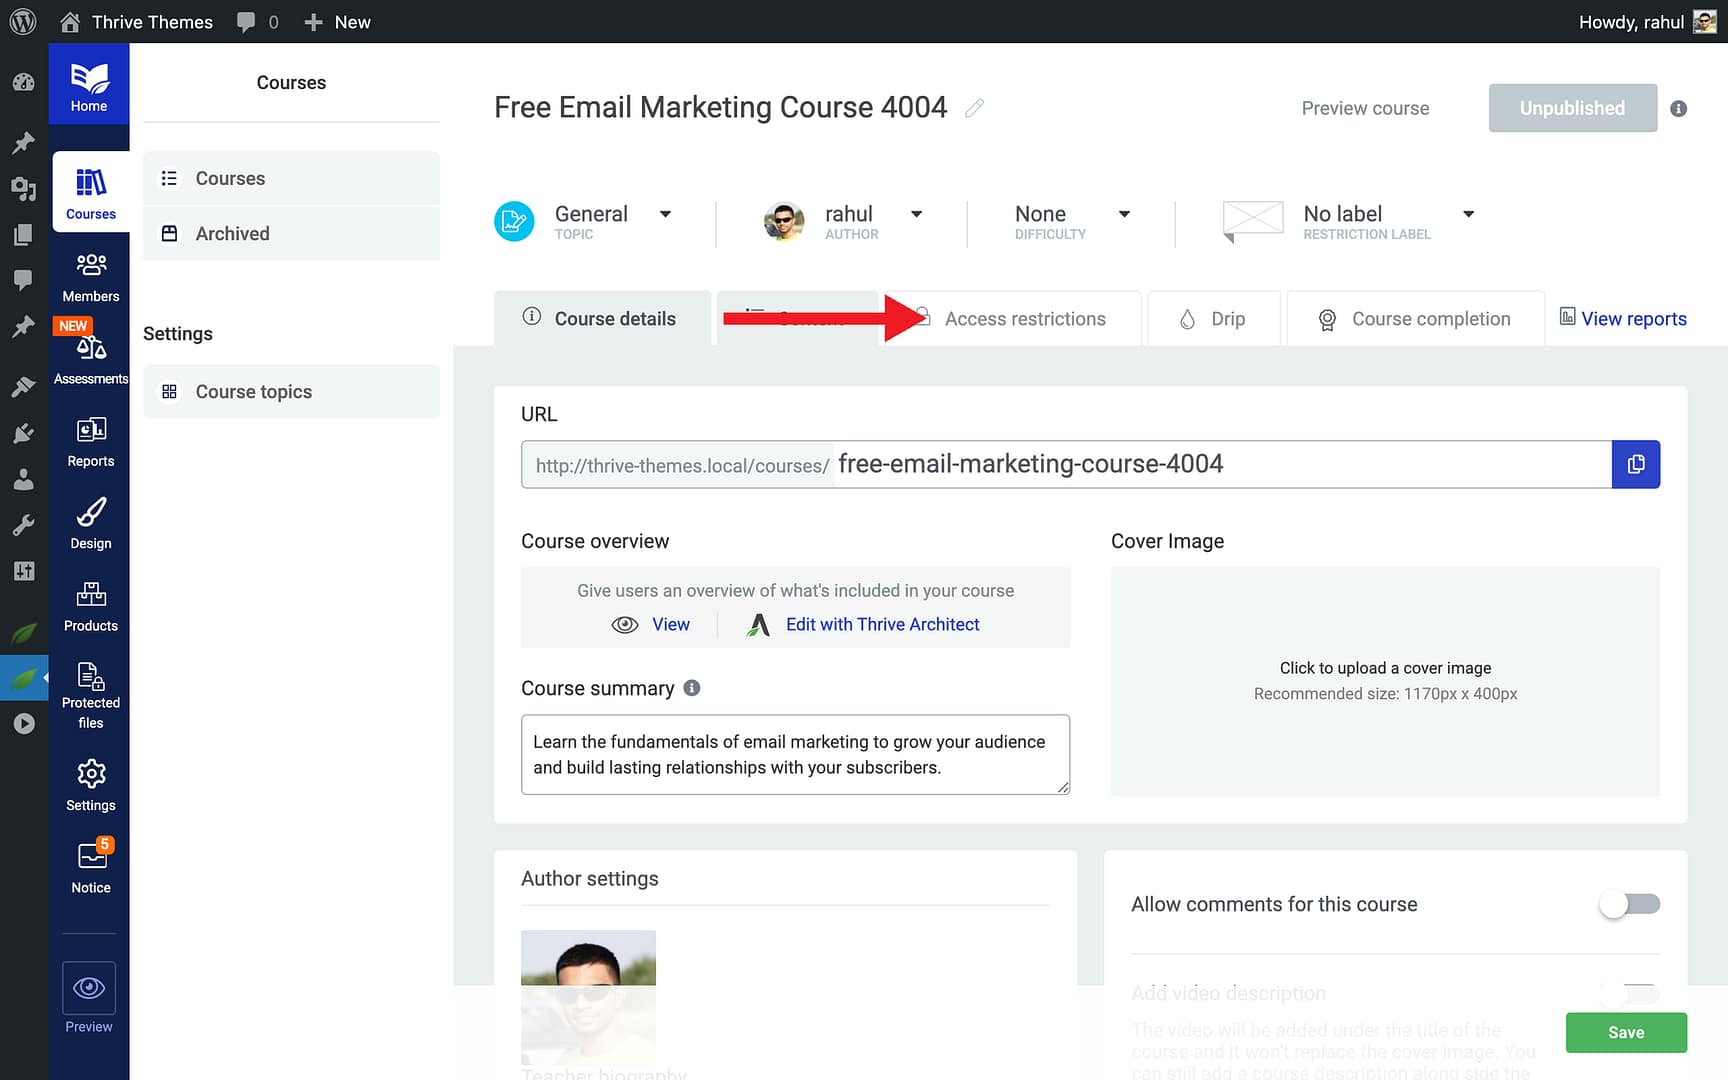
- Verify that no product is linked to this course. If there are no access restrictions, any logged-in WordPress user can view the content.
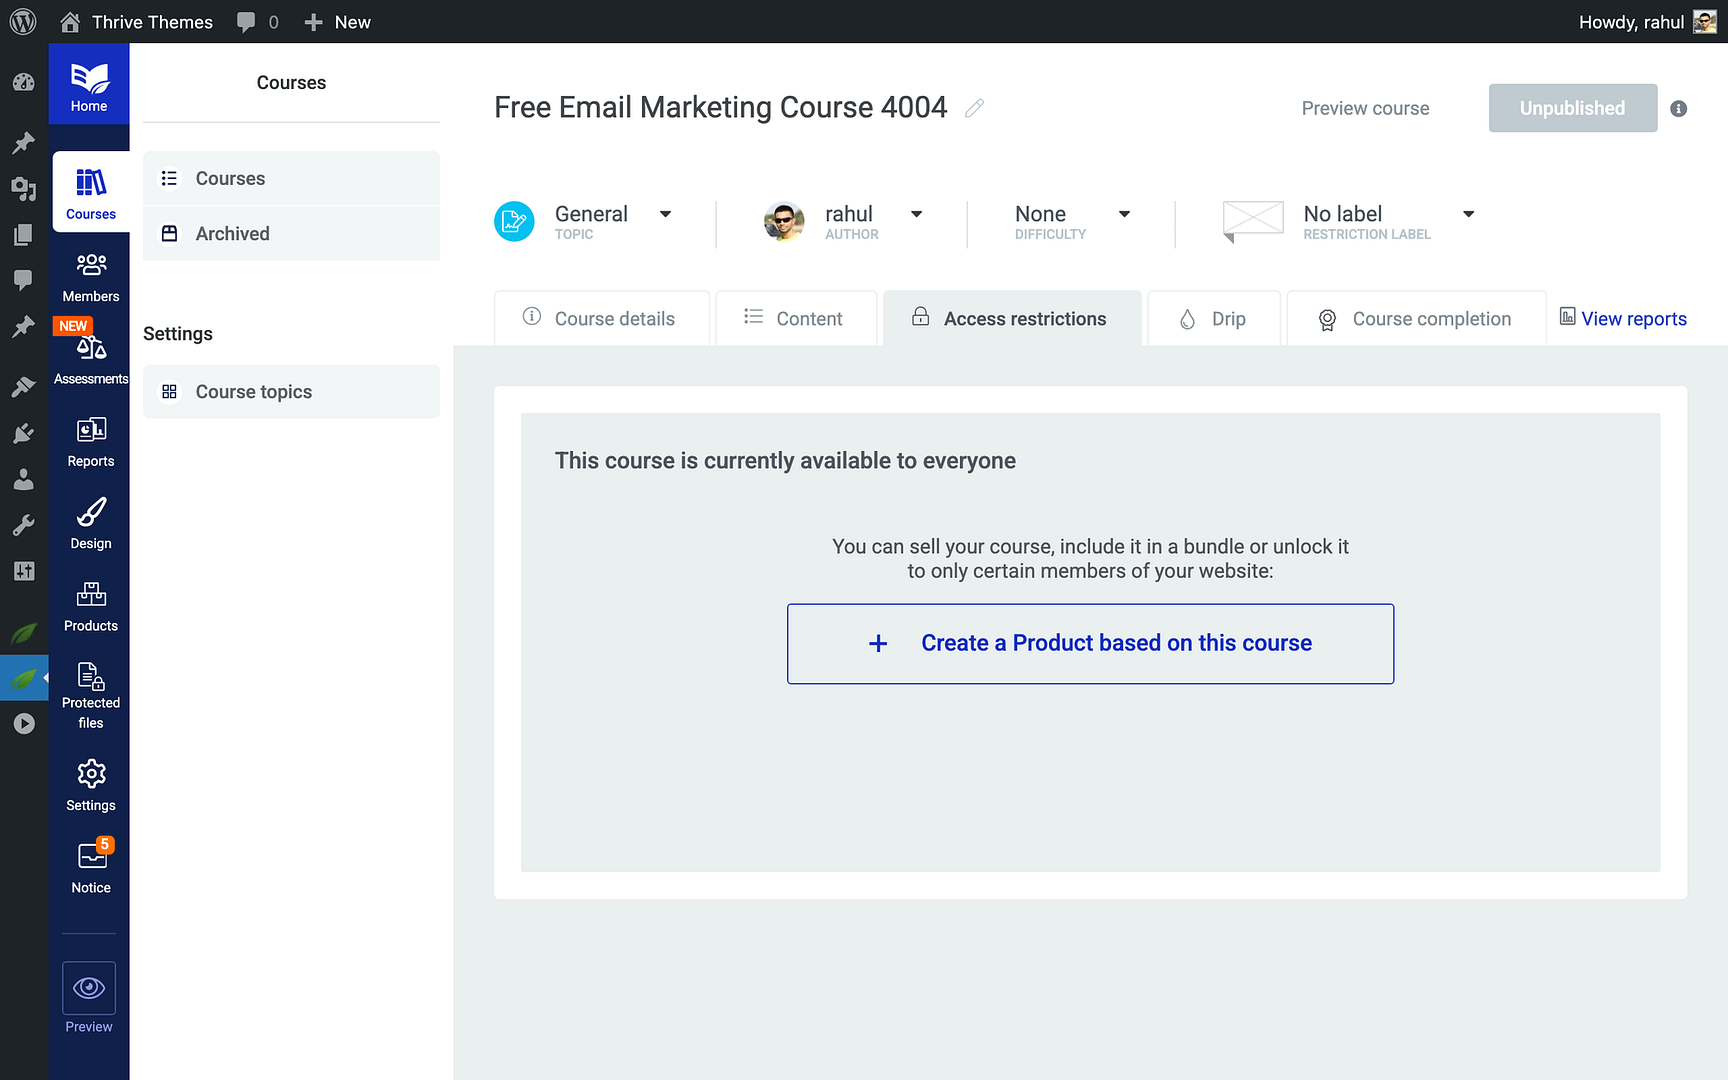
- Leave the access restrictions empty—this ensures the course remains free for all registered users.
Note: New students will be created as WordPress users when they sign up through your opt-in form. Once logged in, they will automatically have access to the free course.
Connecting Your Email Service
To capture email addresses, you need an email marketing service connected to your Thrive tools:
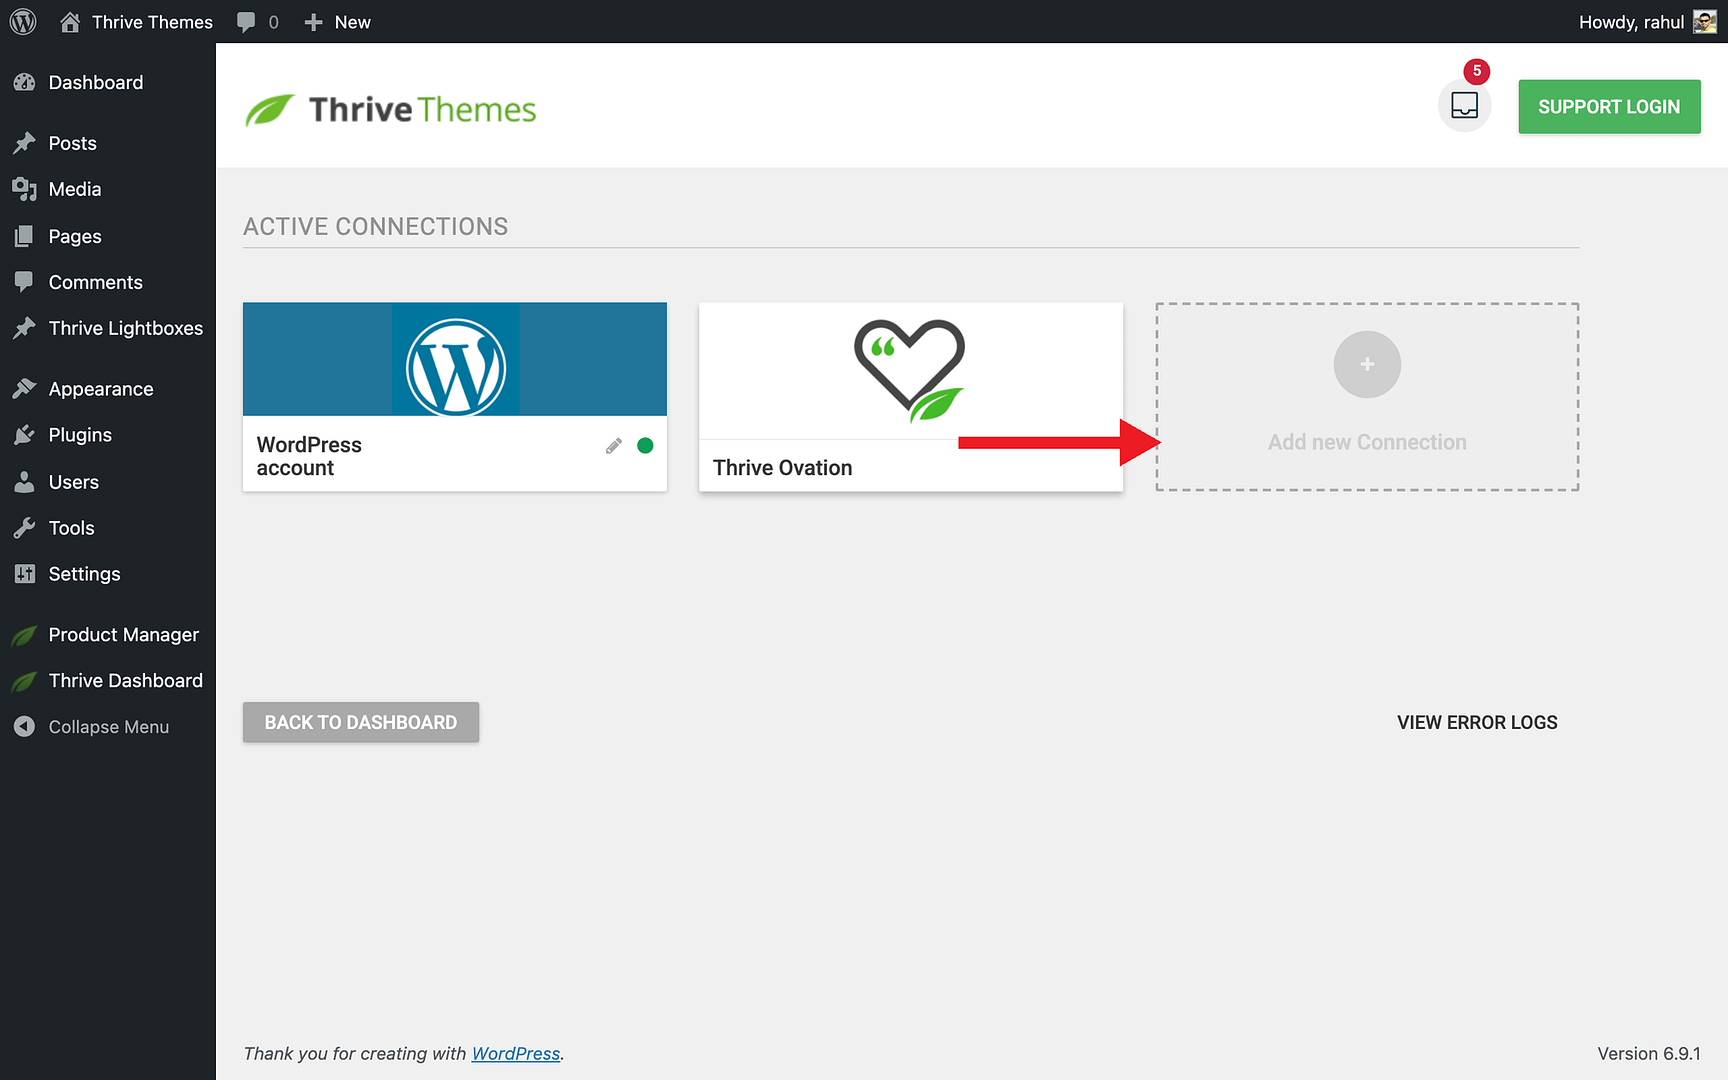
- Go to Thrive Dashboard in your WordPress admin sidebar.
- Click API Connections from the Thrive Dashboard page.
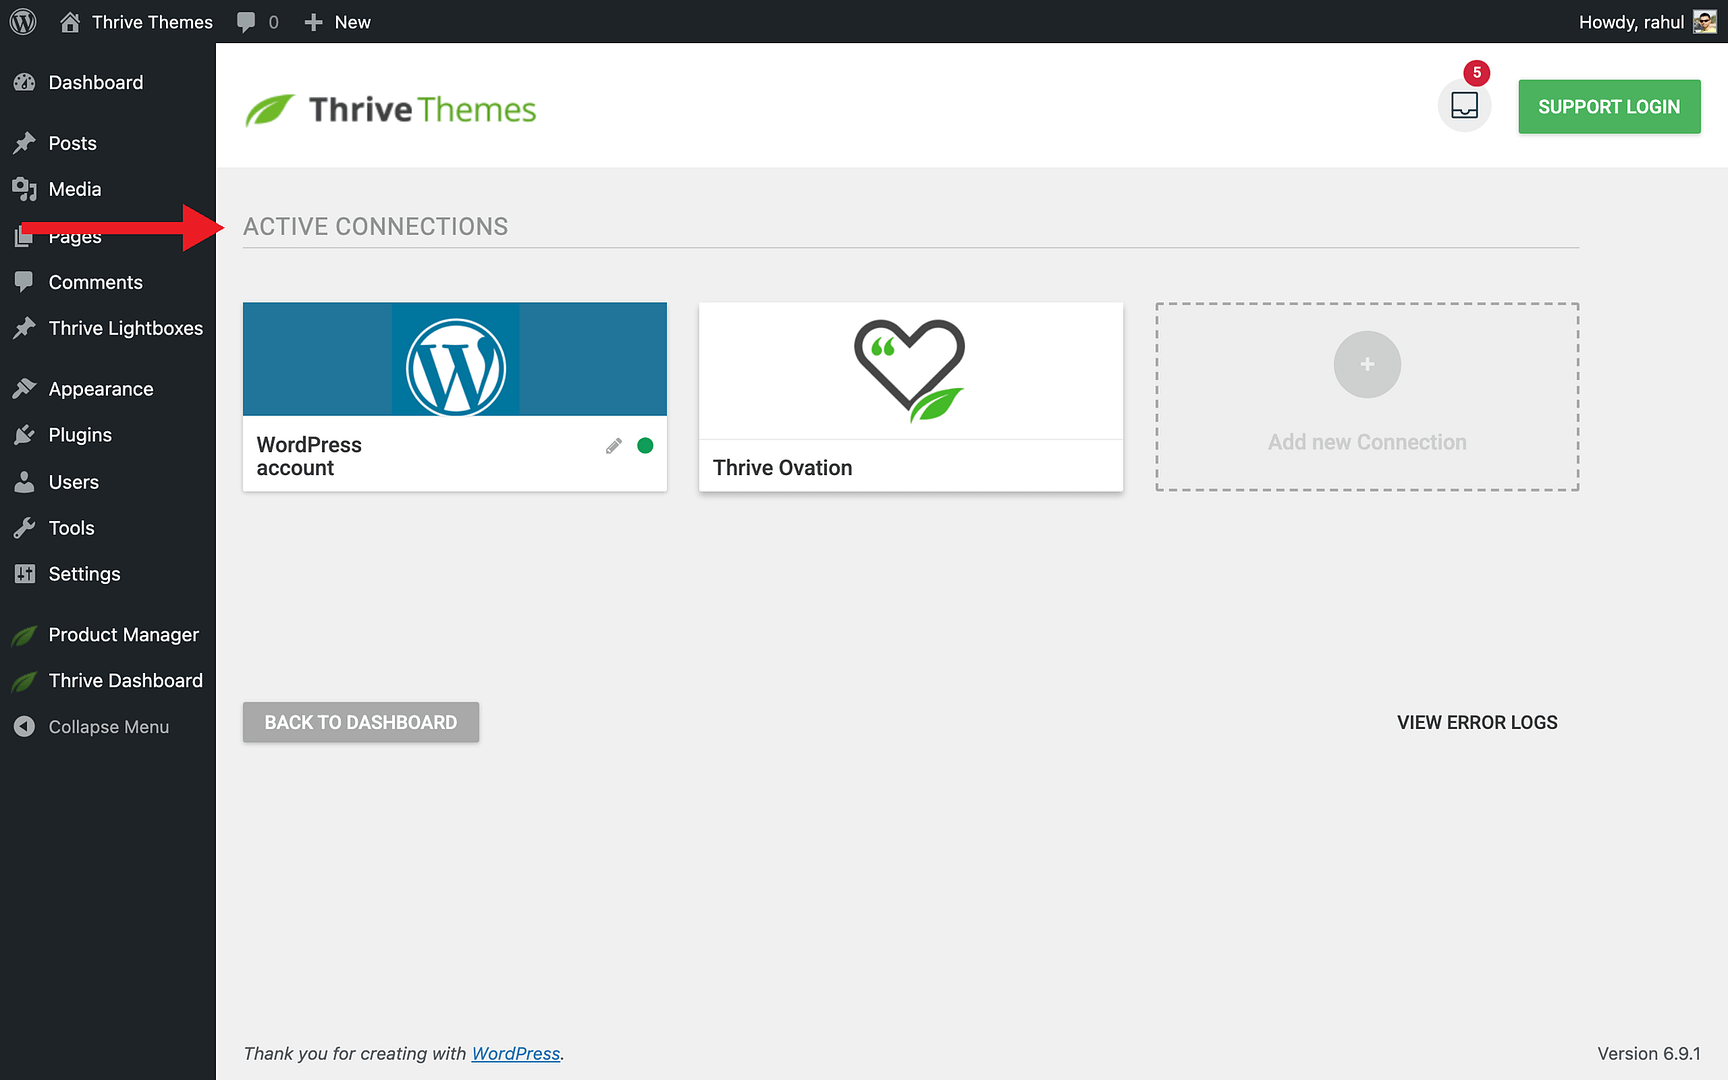
- Click the Add new Connection button.
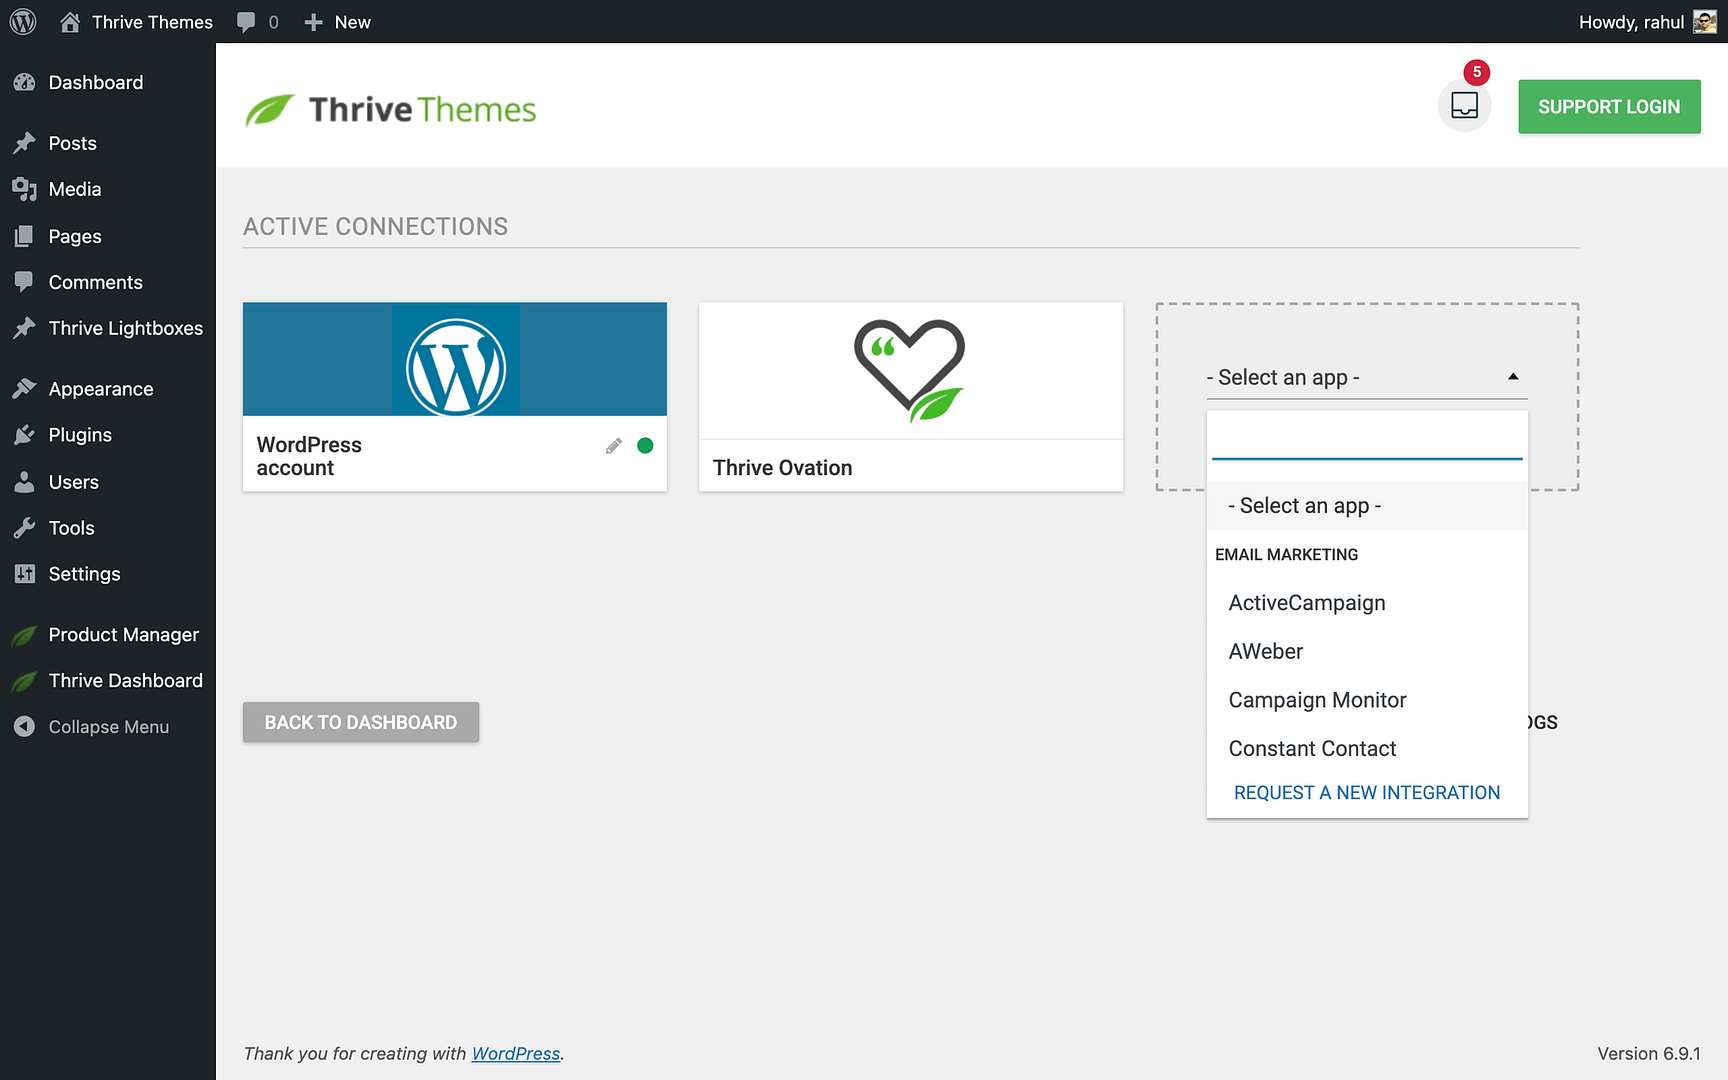
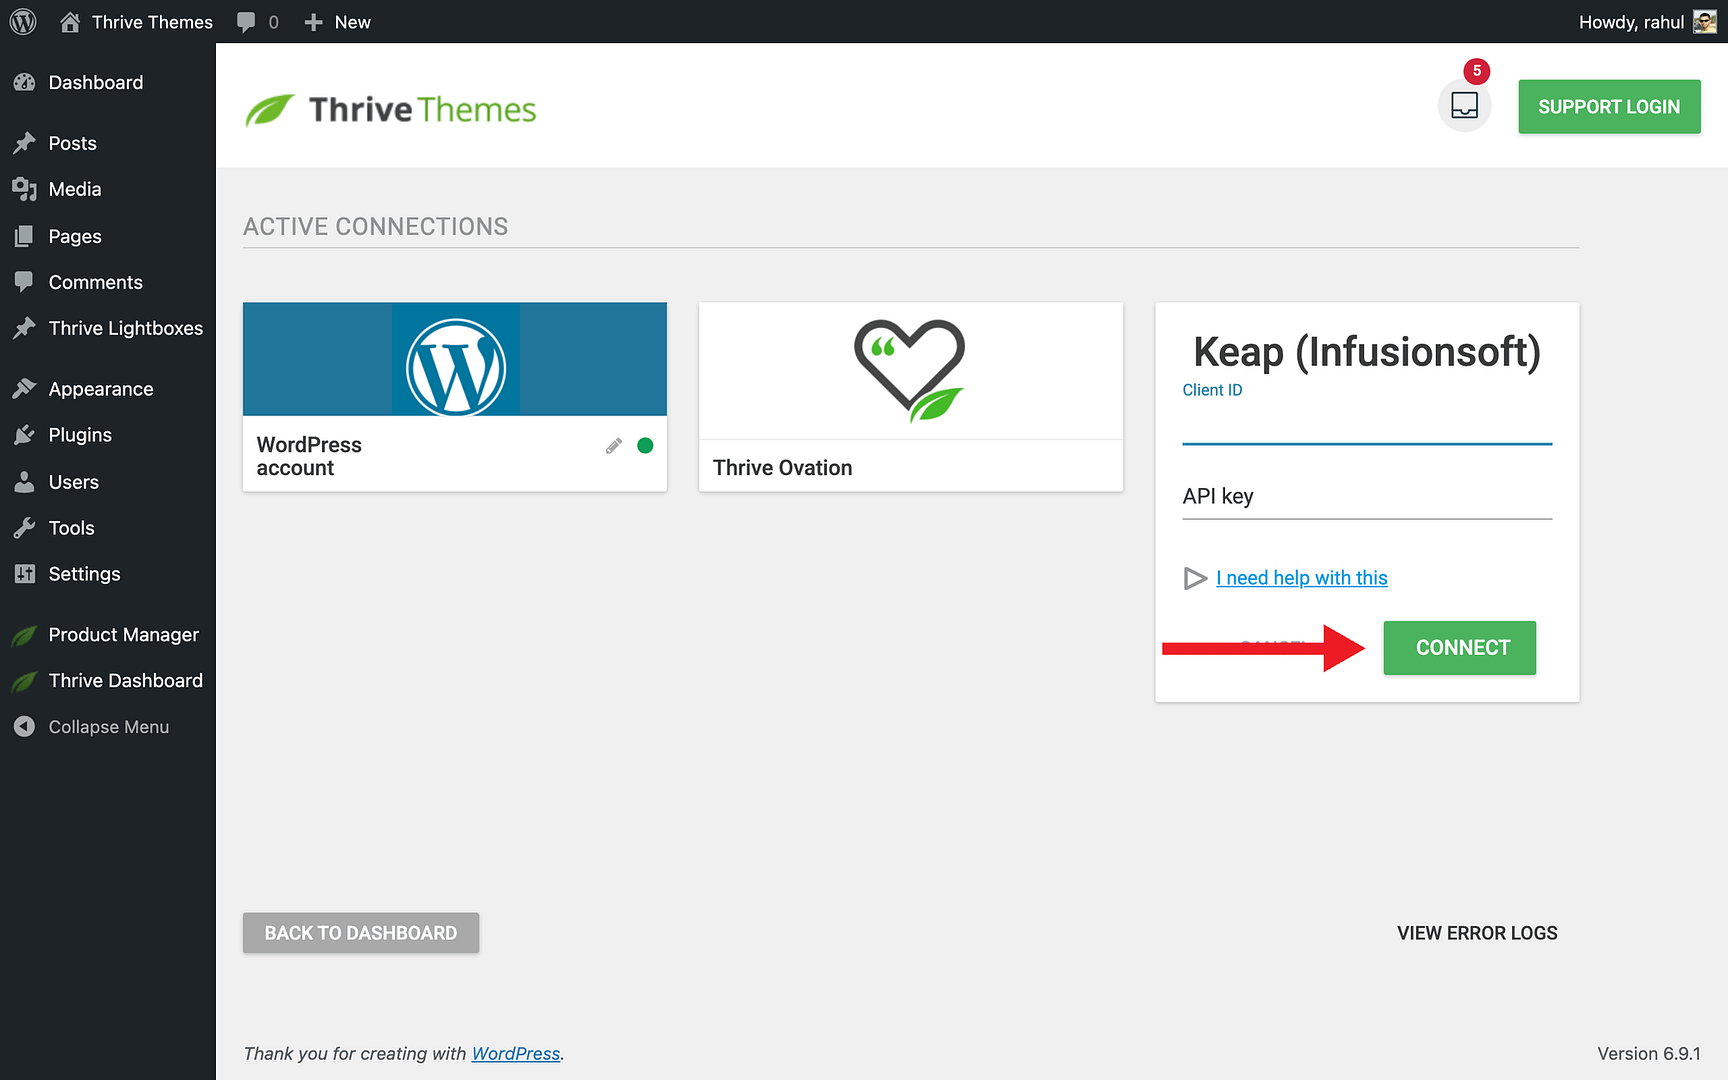
- Select your email service provider from the list and enter your API key or credentials.
- Click Connect to save the connection.
Building a Landing Page with Thrive Architect
With your course created and email service connected, the next step is to build a landing page where visitors can opt in. This is done in Thrive Architect:
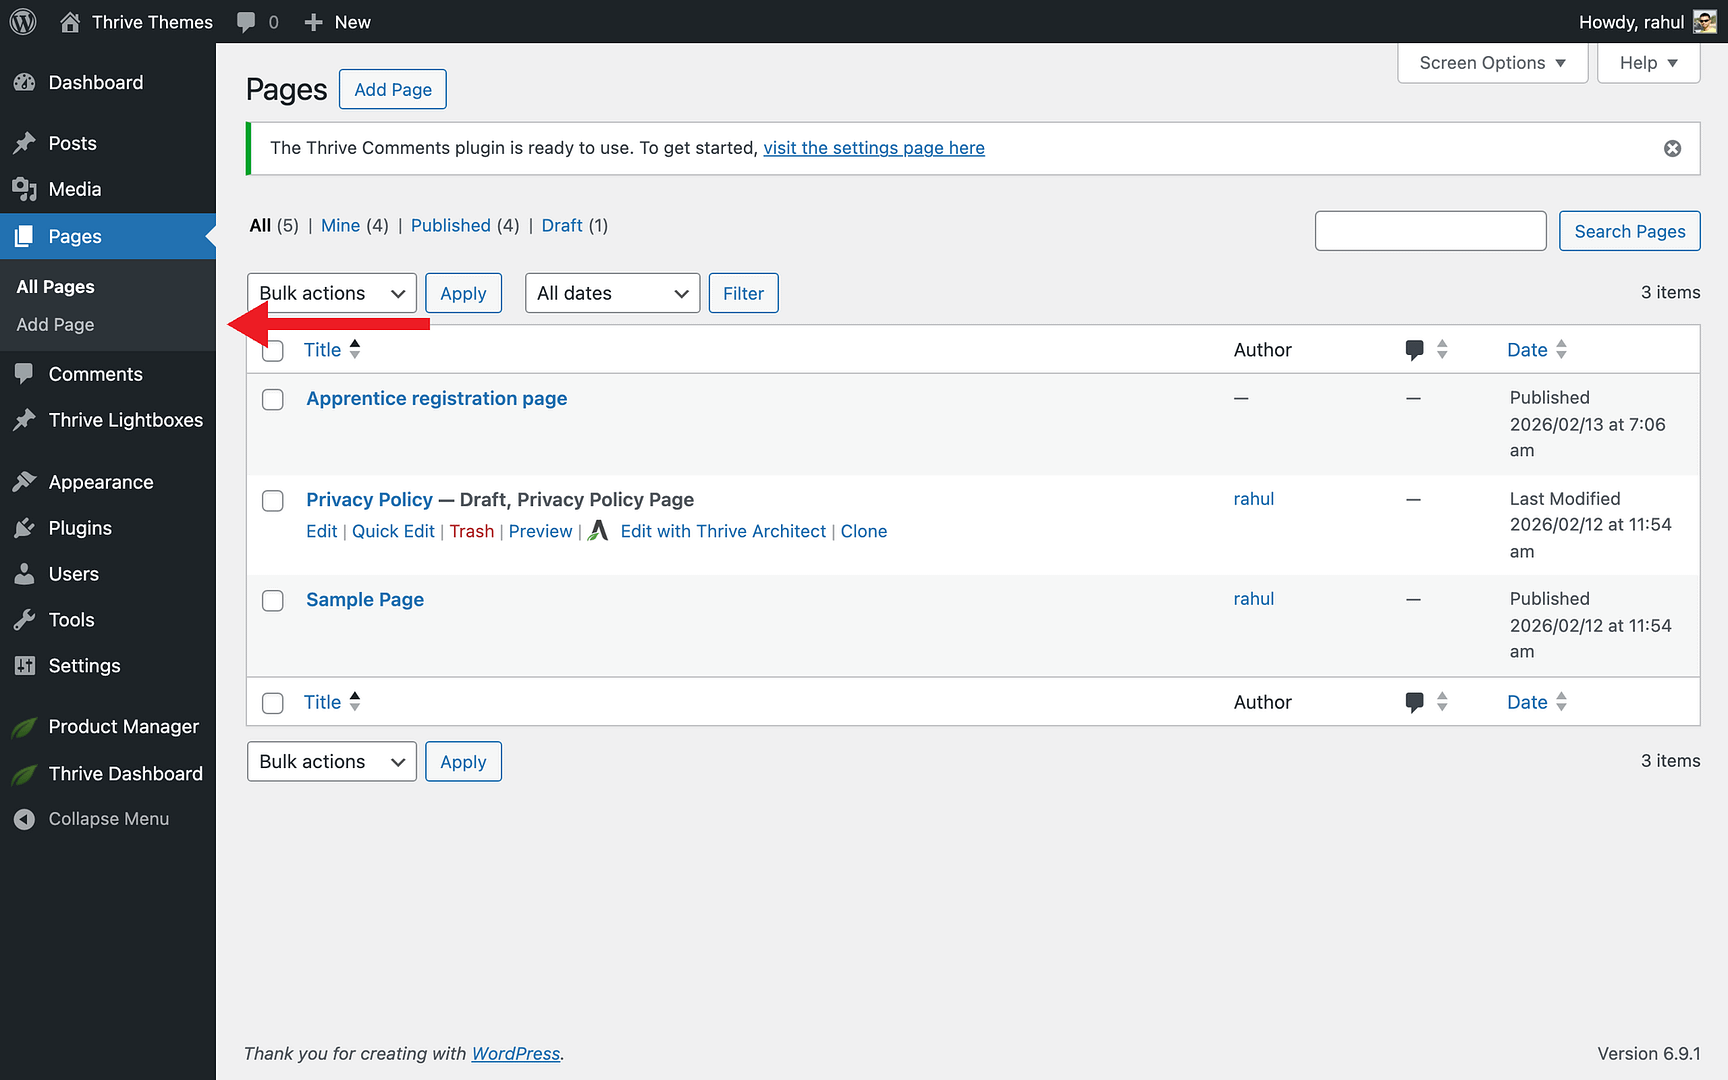
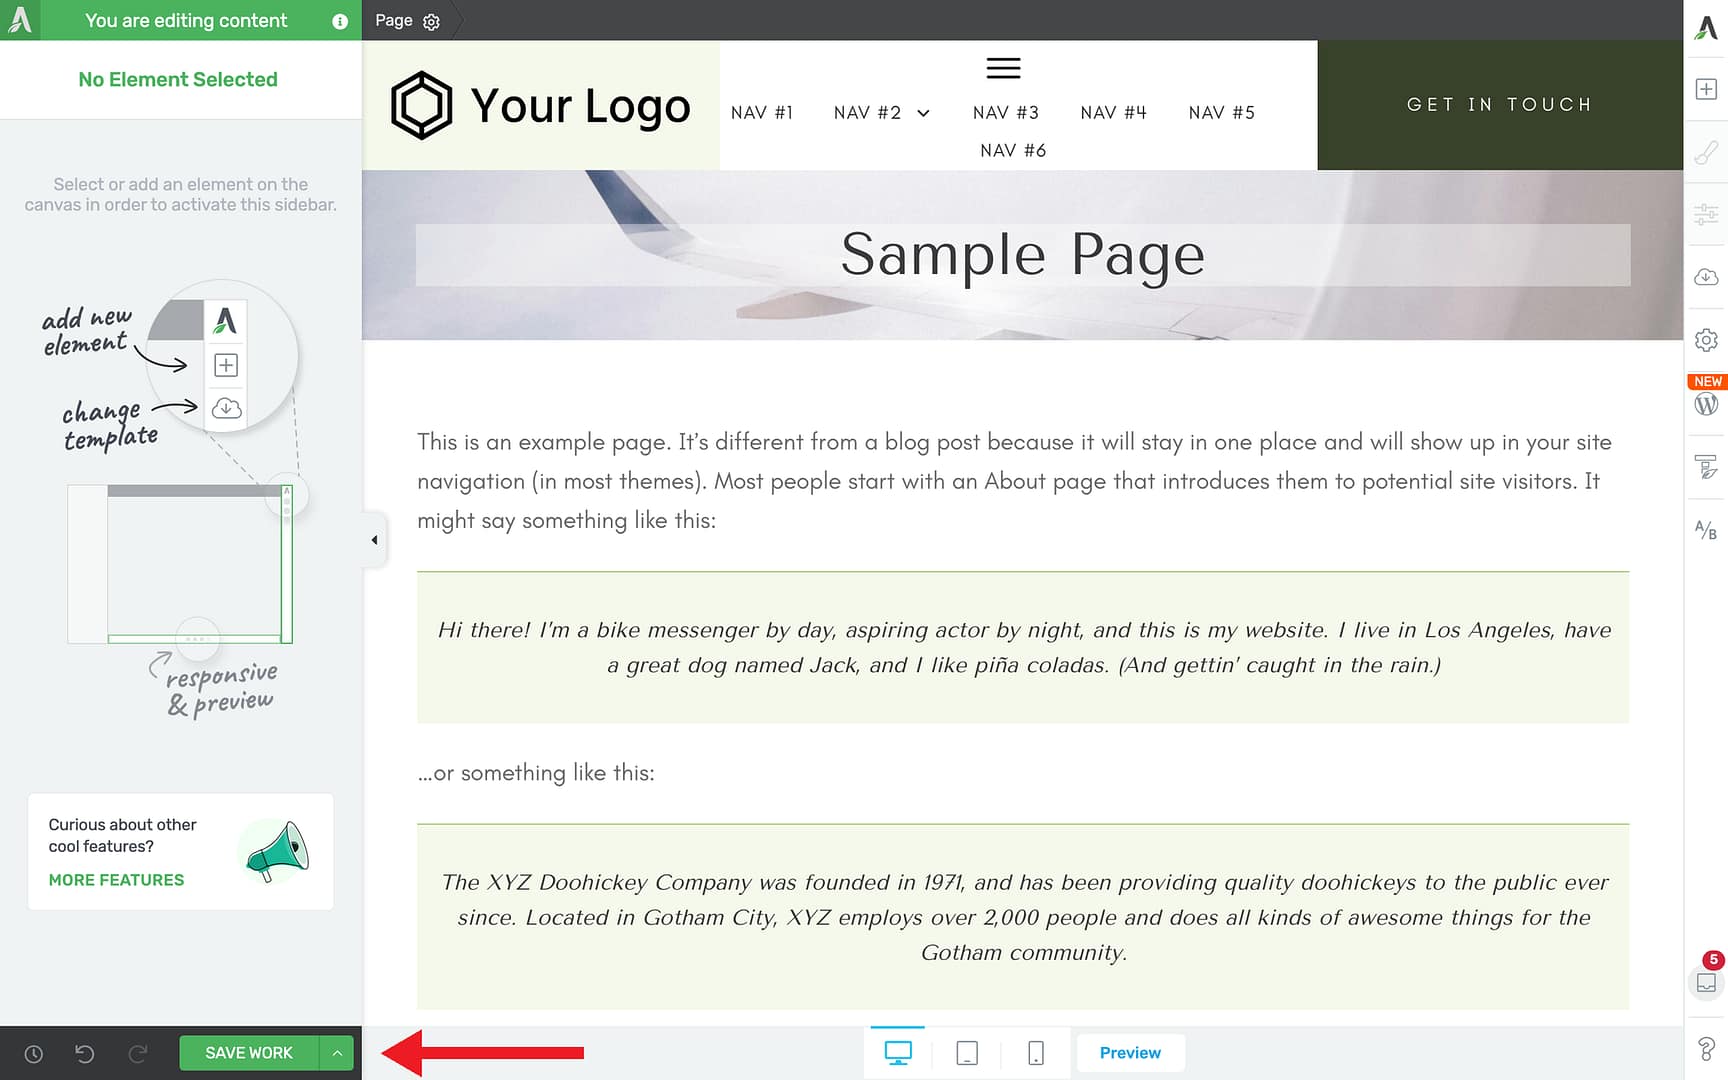
- Create a new page in WordPress by going to Pages > Add Page.
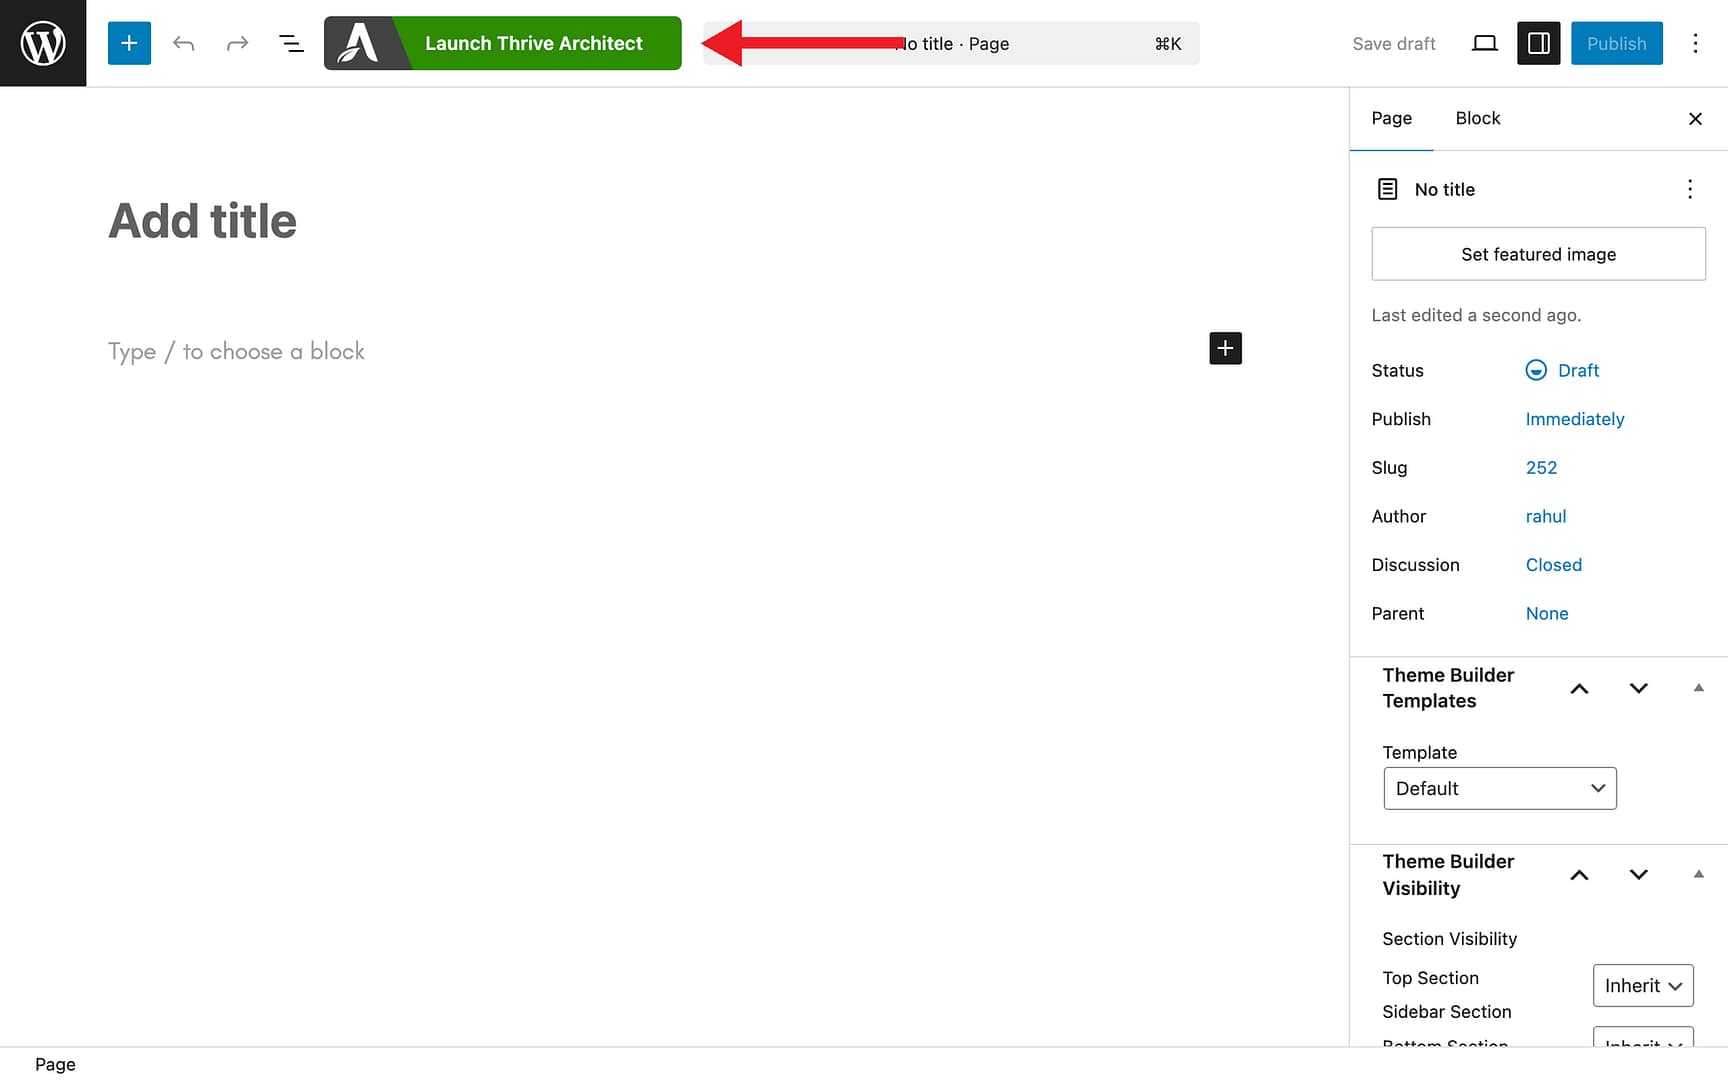
- Save the page draft and click Launch Thrive Architect to open the visual editor.
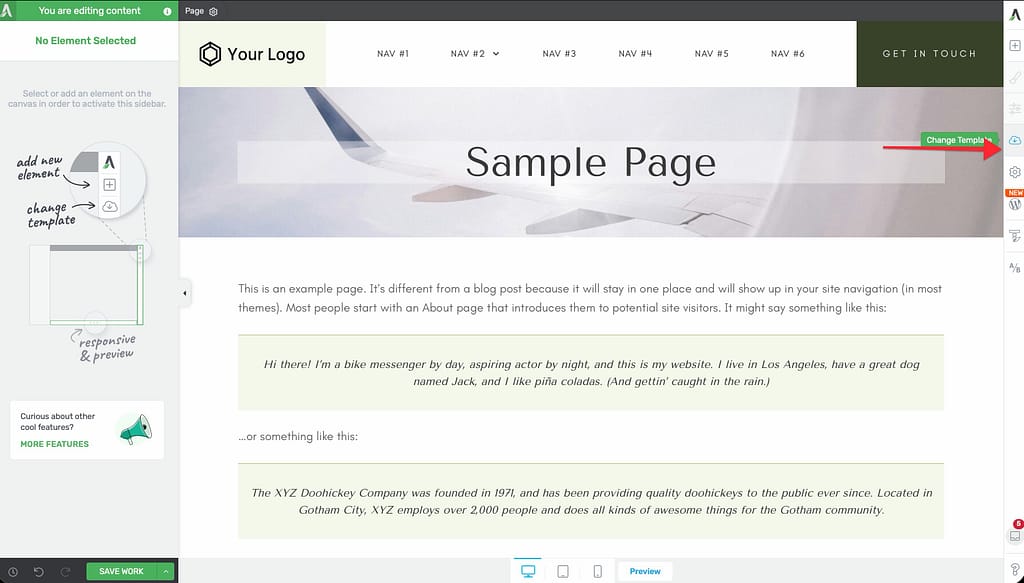
- Choose a landing page template or start from scratch.
- Add a compelling headline, bullet points listing what students will learn, and any social proof elements you have available.

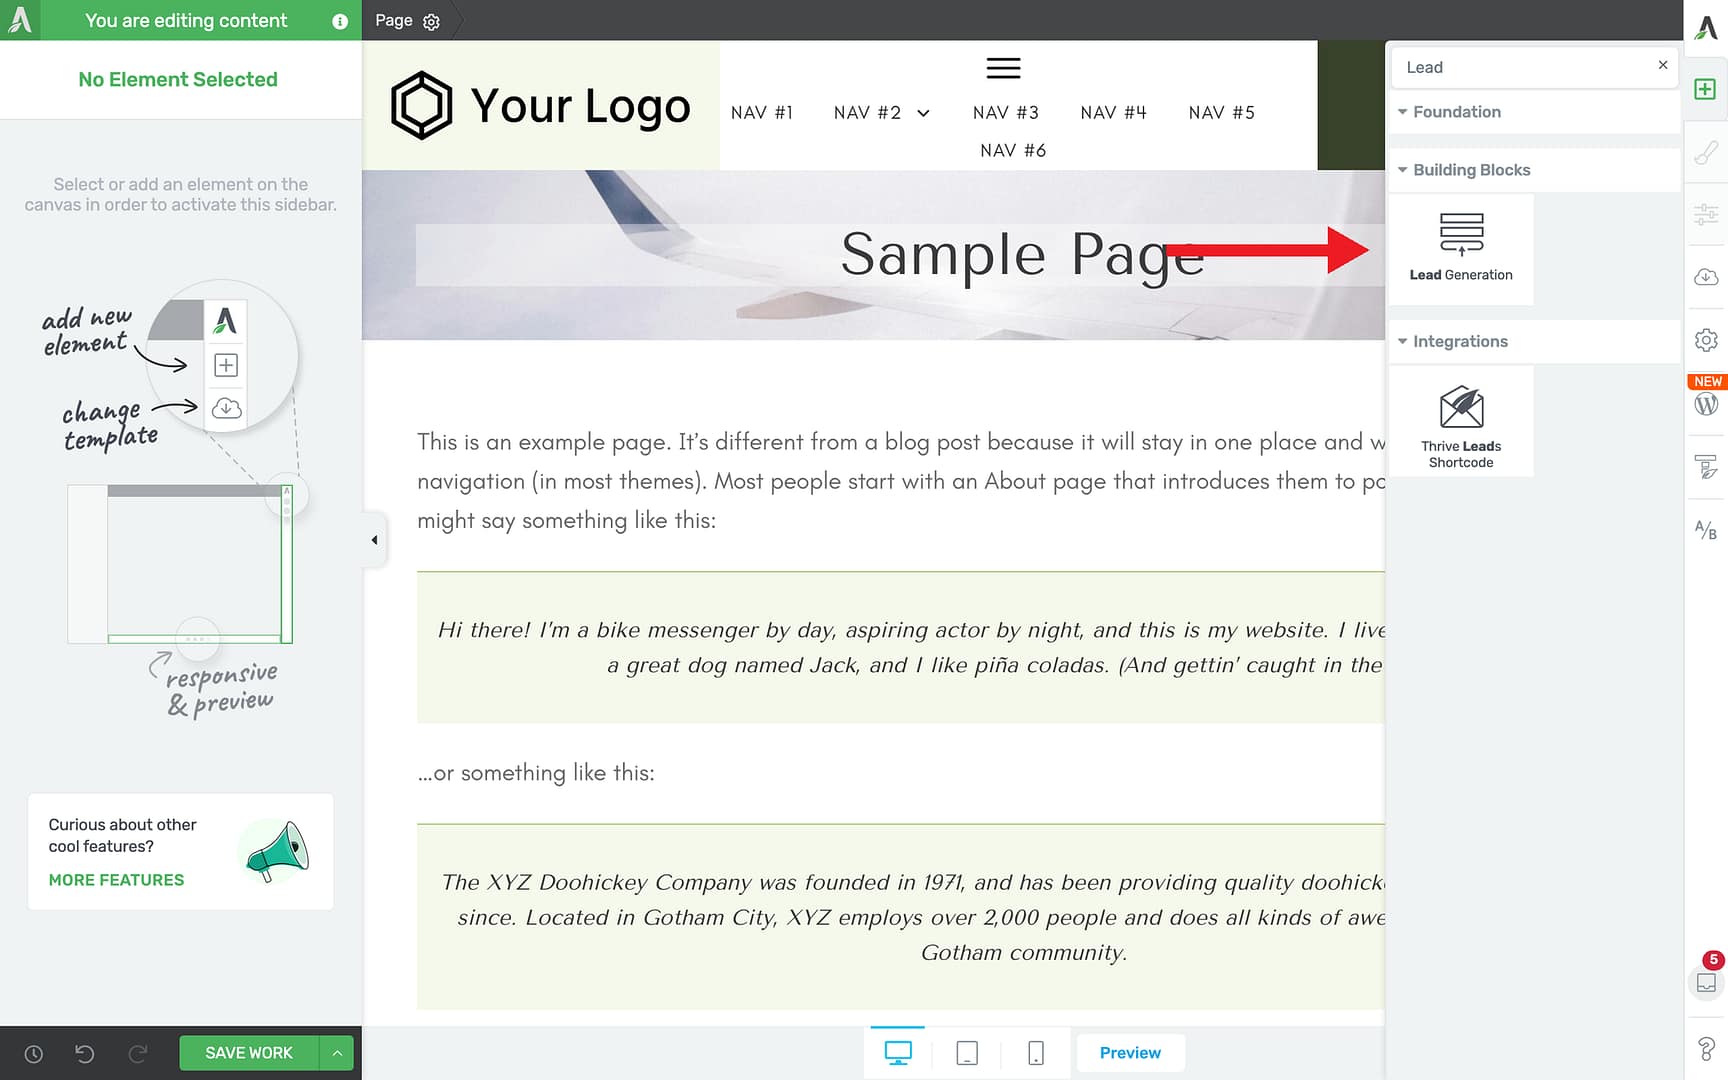
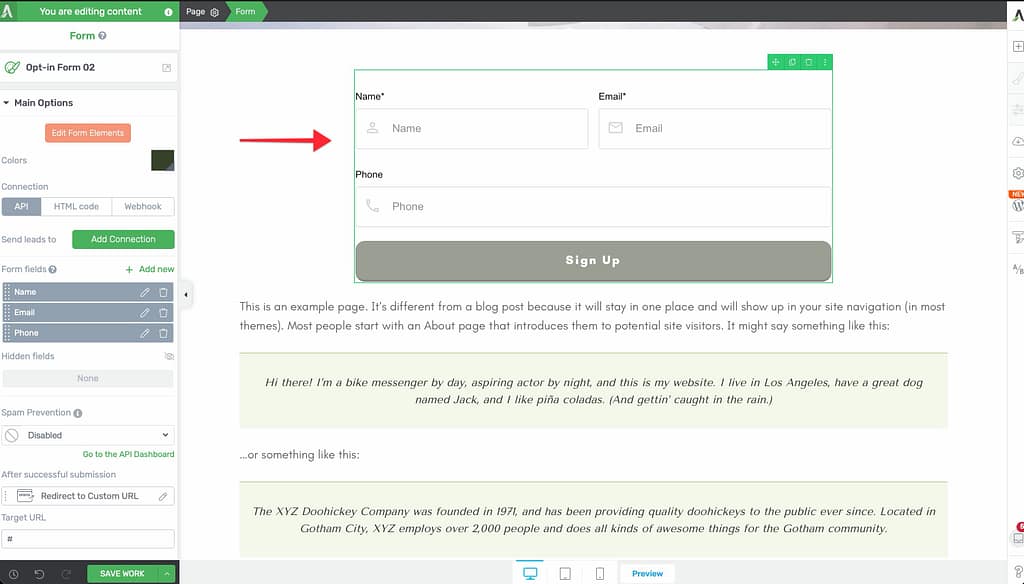
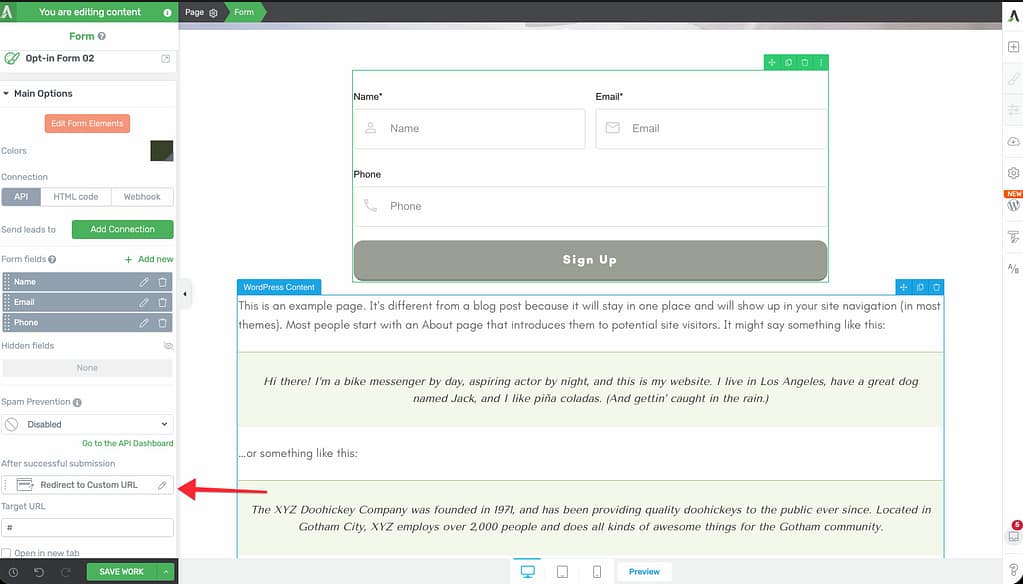
- Add a Lead Generation element to your page and connect it to your email marketing service.
- Configure the form fields—at minimum, collect the student’s name and email address.
- Set the After Submission action to redirect students to the course page.
- Save and publish your landing page.
For detailed guidance on building pages with Thrive Architect, see the Thrive Architect documentation.
Testing the Funnel
Before promoting your funnel, test every step of the process:
- Visit your landing page as a logged-out user (use an incognito window).
- Submit the opt-in form with a test email address.
- Confirm you receive the welcome email from your email marketing service.
- Verify the redirect takes you to the course page.
- Log in as the test user and confirm you can access all course lessons.
That’s it! You’ve successfully created a free course funnel that captures leads, grows your email list, and delivers valuable content to your new subscribers.
Related Resources
- Creating Your First Course — Learn how to create your first Thrive Apprentice course from scratch.
- Course Bundles — Learn how to create course bundles to package and sell multiple courses together.
- Thrive Architect Landing Pages — Explore the Thrive Architect documentation for advanced landing page design.