In this article, you’ll learn how to create a student profile page in Thrive Apprentice—giving your students a dedicated space to view and manage their account information directly on your website.
Why Students Need a Profile Page
A student profile page gives your enrolled users a central hub to manage their account. Without one, students have no easy way to update their name, change their email address, or reset their password—leading to more support requests for you and a frustrating experience for them.
With a profile page in place, students can:
- View their account details at a glance.
- Update their name, email address, and password.
- Feel more connected to your online school as a polished, professional platform.
Prerequisites
Before you begin, make sure you have:
- Thrive Apprentice installed and activated on your WordPress site.
- Thrive Architect installed for building and editing pages.
Understanding the Two Profile Page Types
Thrive Apprentice supports two types of profile pages, and you’ll typically want to create both:
- My Profile Page (Read-Only) — Displays the student’s account information in a view-only format. Students can see their name, email, and other details but cannot make changes on this page.
- Edit Profile Page (Interactive) — Includes the User Profile element from Thrive Architect, which lets students actively update their information, change their password, and modify their account settings.
Step 1: Create the “My Profile” Page (Read-Only View)
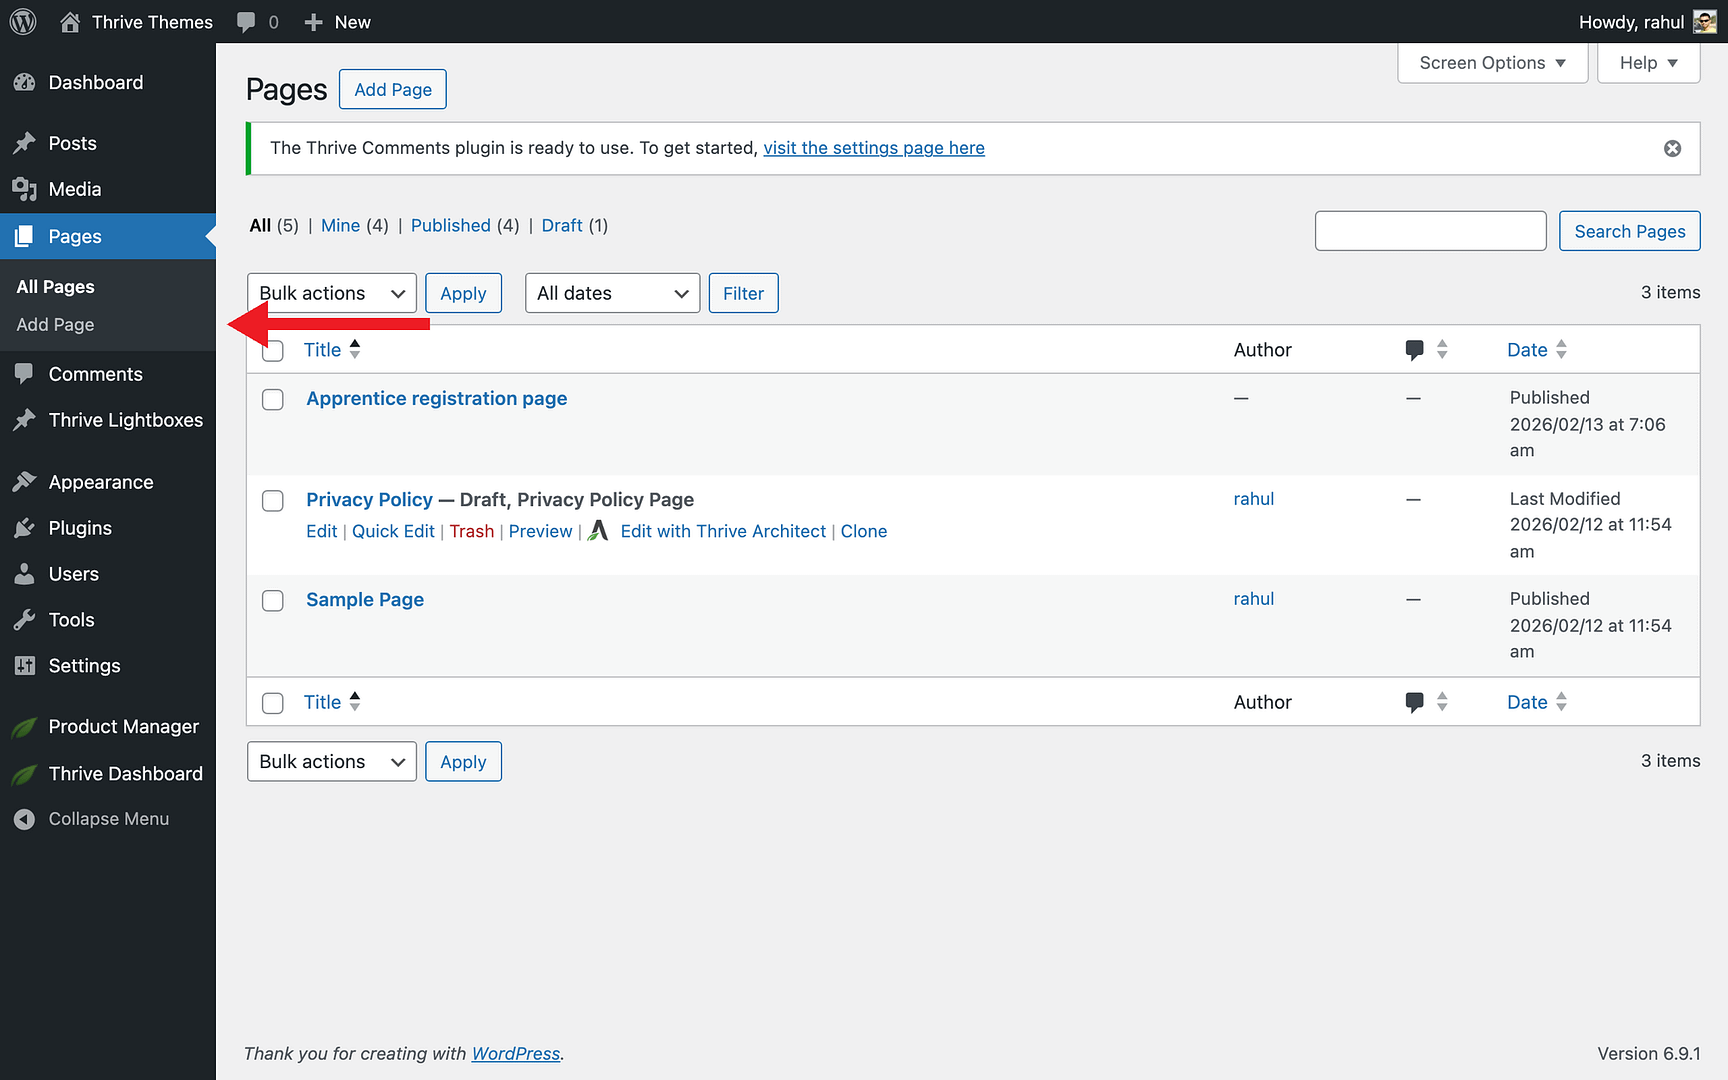
- In your WordPress dashboard, go to Pages > Add New.
- Enter a page title such as “My Profile” or “My Account.”
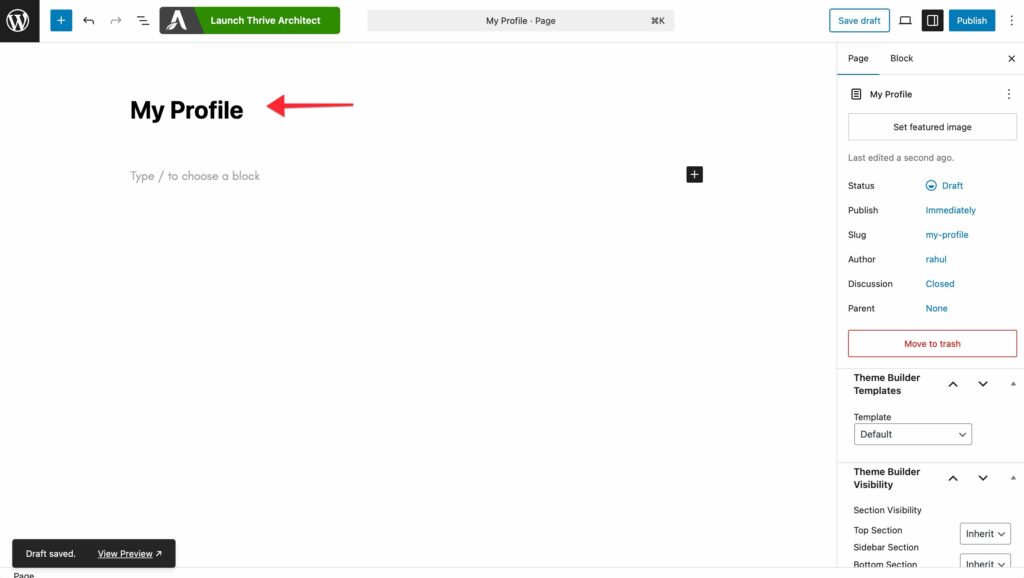
- Save the page draft and click Launch Thrive Architect to open the visual editor.
- Design the page layout to display the student’s information. You can use dynamic text fields to show the logged-in user’s name and email address.

- Keep this page read-only—do not add editable form fields here.

- Click Save Work when you’re finished, then click Done to return to WordPress.
- Publish the page.
Step 2: Create the “Edit Profile” Page (Interactive)
- In your WordPress dashboard, go to Pages > Add New.
- Enter a page title such as “Edit Profile” or “Account Settings.”
- Click Launch Thrive Architect to open the visual editor.
- From the right sidebar, search for the User Profile element and drag it onto the page.

- The User Profile element automatically provides editable fields for the student’s name, email, and password. Configure the element settings to match your preferences.
- Click Save Work when you’re finished, then click Done to return to WordPress.
- Publish the page.
Step 3: Add a Menu Link to the Profile Page
Once both pages are created, you need to make them accessible to your students by adding a link in your site’s navigation:
- In your WordPress dashboard, go to Appearance > Menus.
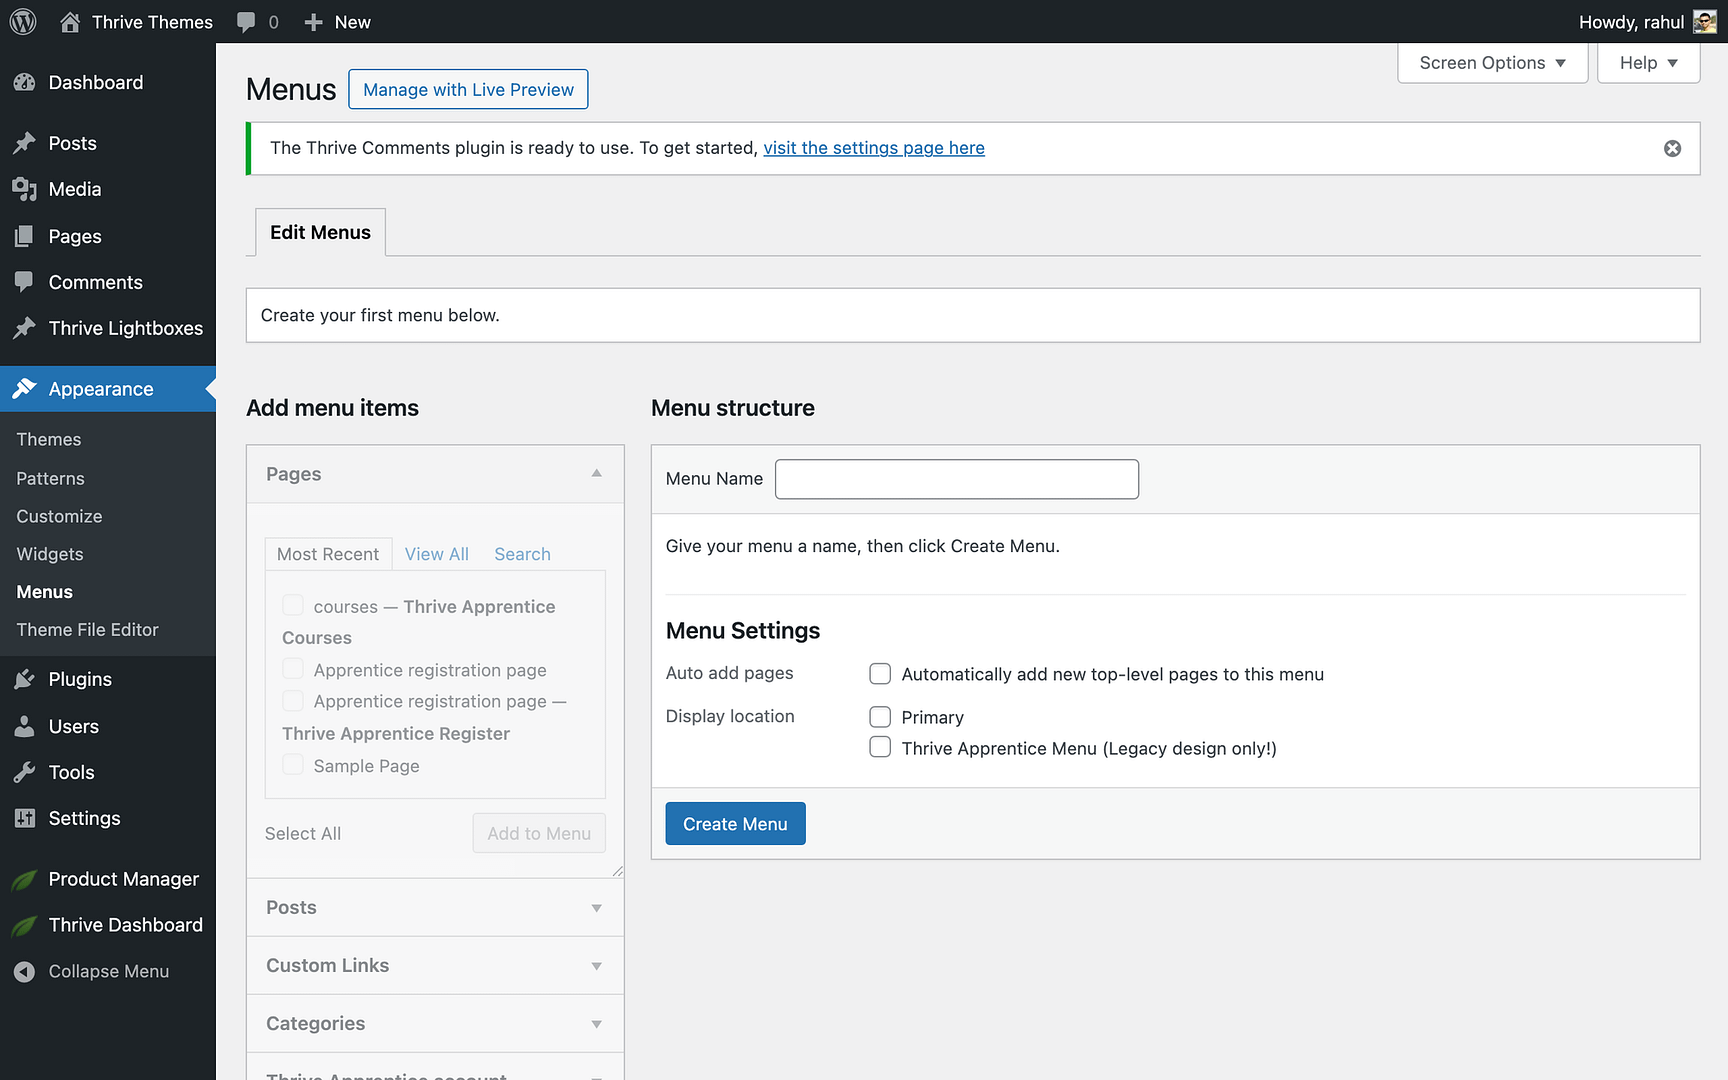
- Select the menu you want to edit (typically your primary navigation menu).

- Under Pages, find your “My Profile” or “My Account” page and click Add to Menu.
- Optionally, add the “Edit Profile” page as a sub-menu item beneath the main profile link.
- Click Save Menu.
That’s it! You’ve successfully created a student profile page with both a read-only view and an interactive edit page, and linked them in your site’s navigation so students can easily manage their accounts.
Related Resources
- Creating Your First Course: Learn how to create your first Thrive Apprentice course from scratch.
- Dynamic Text: Learn how to use dynamic text in Thrive Apprentice to personalize content for each student.
- Thrive Architect Elements: Explore the Thrive Architect documentation for more elements and design options.
- Thrive Apprentice Knowledge Base: Browse the full Thrive Apprentice Knowledge Base for more tutorials.