In this article, you’ll learn how to customize the WooCommerce Cart, Checkout, and Account templates in Thrive Theme Builder.
Customizing the Cart Template
The Cart template controls the appearance of the shopping cart page where customers review their selected products before proceeding to checkout.
Opening the Cart Template
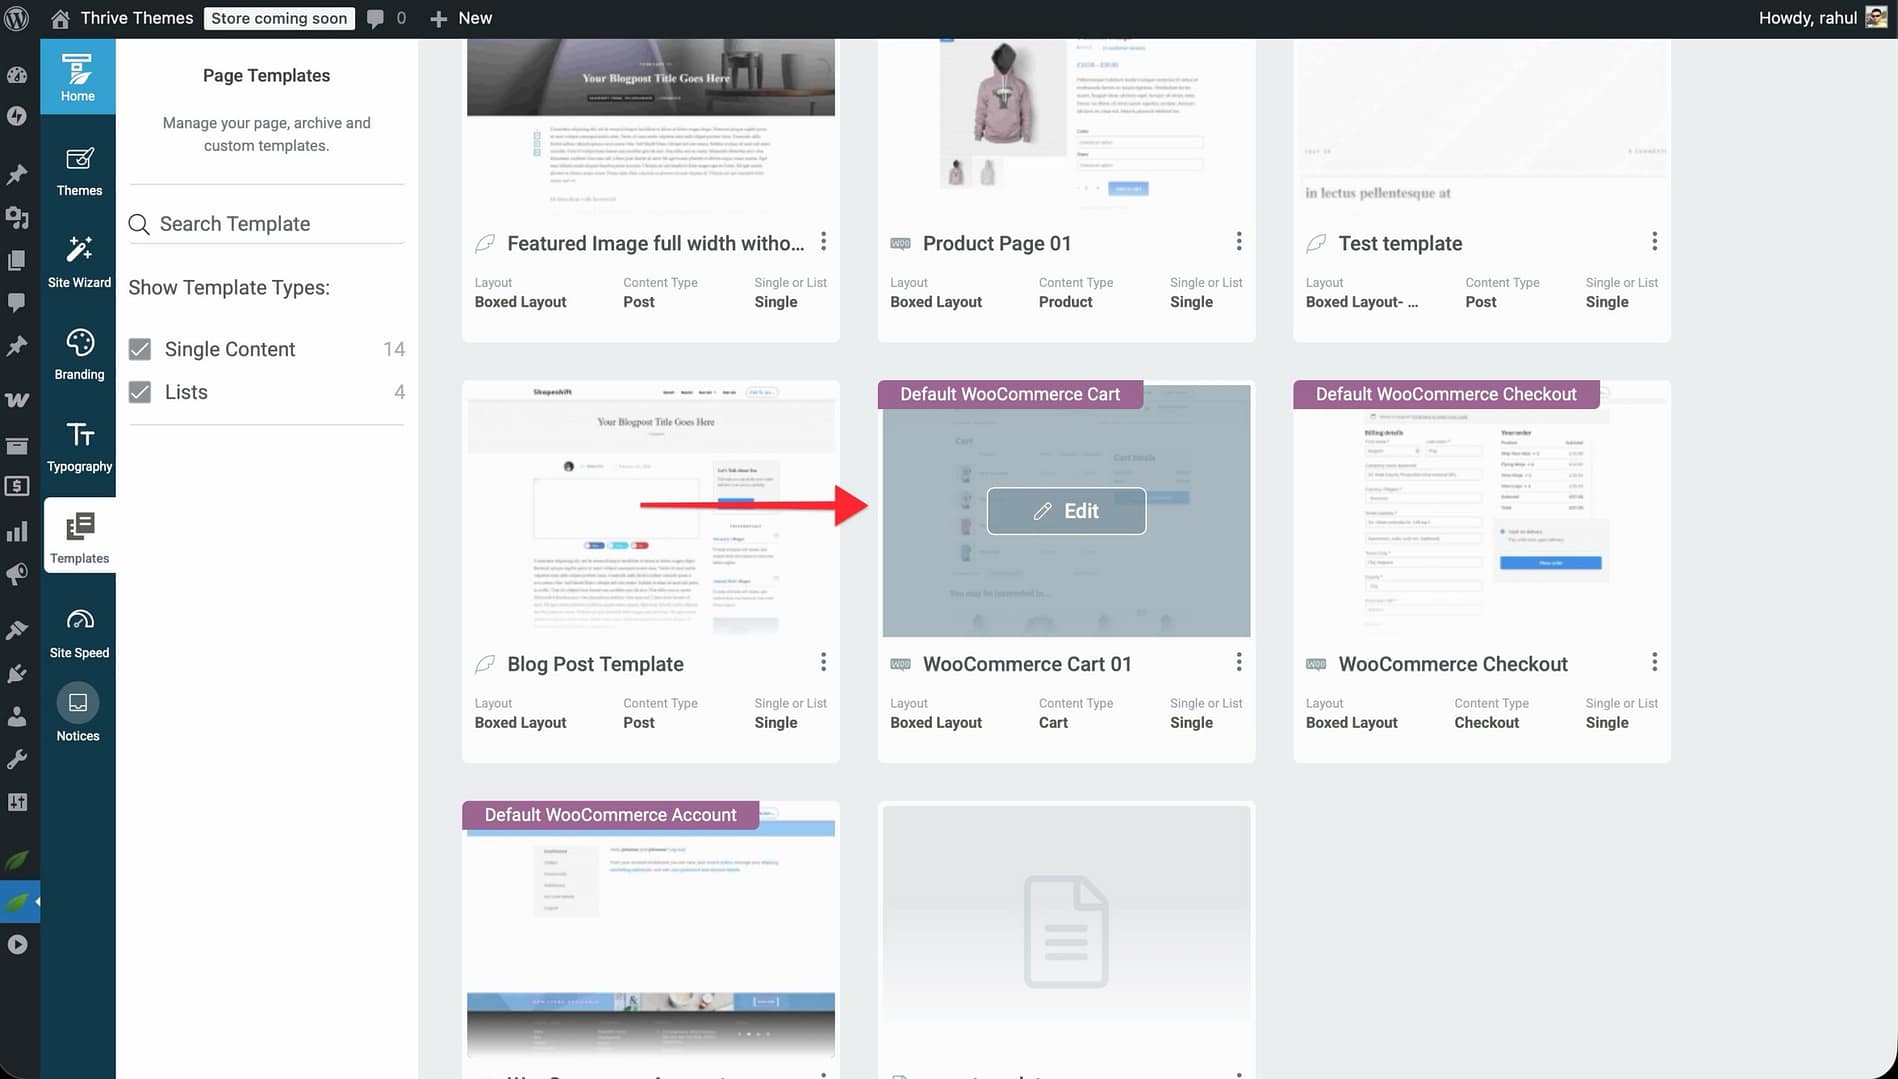
- In the Thrive Theme Builder dashboard, click Templates in the left sidebar.
- Locate the WooCommerce Cart template.
- Hover over it and click Edit.
Cart Options
When you click on the cart area inside the template, a Cart Options panel appears in the left sidebar with an Edit Design button. Click this button to enter edit mode, where you can click on individual cart elements to style them.
Stylable Cart Elements
In edit mode, you can click on any of the following elements to customize their typography, colors, and spacing:
- Cart table headers : Column labels (Product, Price, Quantity, Subtotal).
- Product image : The thumbnail of each product in the cart.
- Product name : The product title, linked to the product page.
- Product price : The unit price.
- Quantity selector : The quantity input field.
- Remove button : Allows customers to remove items from the cart.
- Coupon input : Input field for coupon codes.
- Apply Coupon button : Submits the coupon code.
- Update Cart button : Saves quantity changes.
- Cart totals : The totals section including subtotal, shipping, and total.
- Proceed to Checkout button : Links to the checkout page.
- Shipping method : Shipping option selection.
- Shipping address : The shipping destination display.
- Change address link : Allows customers to update their shipping address.
- Cross-sell products : Related product images, titles, prices, and add-to-cart buttons.
Customizing the Checkout Template
The Checkout template controls the page where customers complete their purchase by entering billing/shipping information and selecting a payment method.
Opening the Checkout Template
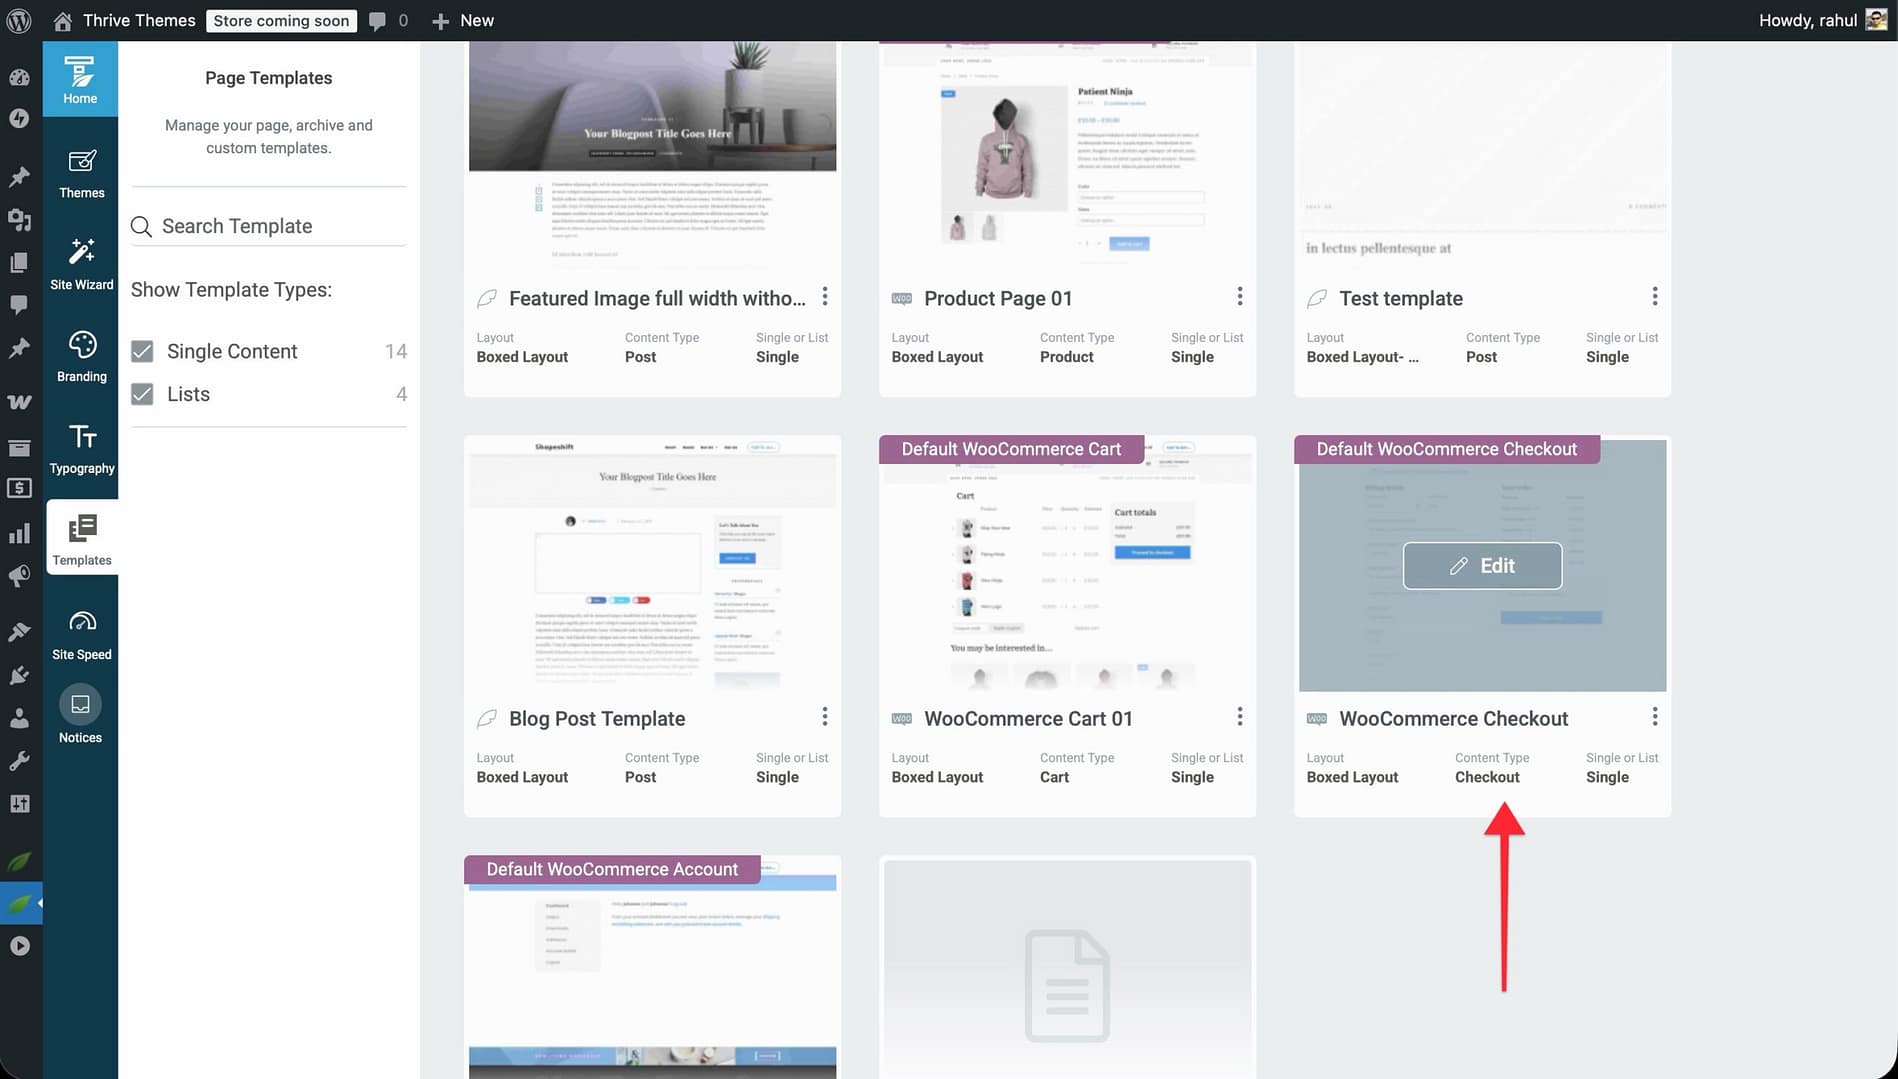
- In the Templates section, locate the WooCommerce Checkout template.
- Hover over it and click Edit.
Checkout Options
When you click on the checkout area inside the template, a Checkout Options panel appears in the left sidebar with an Edit Design button and a Display options section.
Display Options and Managing Checkout Fields
The Display options section provides a list of all checkout fields. You can:
- Show or hide fields : Toggle individual fields on or off.
- Reorder fields : Drag fields to change their order (first name and last name always stay first; order comments always stay last).
- Set fields as required or optional : Some fields like first name, last name, country, and email are always required and cannot be made optional.
Stylable Checkout Elements
Click Edit Design to enter edit mode, then click on individual elements to style them:
- Input fields : Text inputs for billing and shipping details.
- Input labels : Field labels above each input.
- Dropdowns : Country and state selectors.
- Textarea : Order notes/comments field.
- Section headers : Headers like “Billing Address” and “Shipping Address”.
- Active shipping method : The currently selected shipping option.
- Inactive shipping methods : Alternative shipping options.
- Selected payment method : The active payment option (highlighted).
- Unselected payment methods : Other available payment options.
- Payment descriptions : Additional information about each payment method.
- Order summary : Product names, prices, and order total.
- Place Order button : The submit button that completes the purchase.
- Privacy policy : Privacy policy checkbox and link.
Customizing the Account Template
The Account template controls the “My Account” page where customers manage their account, view orders, and update their profile.
Opening the Account Template
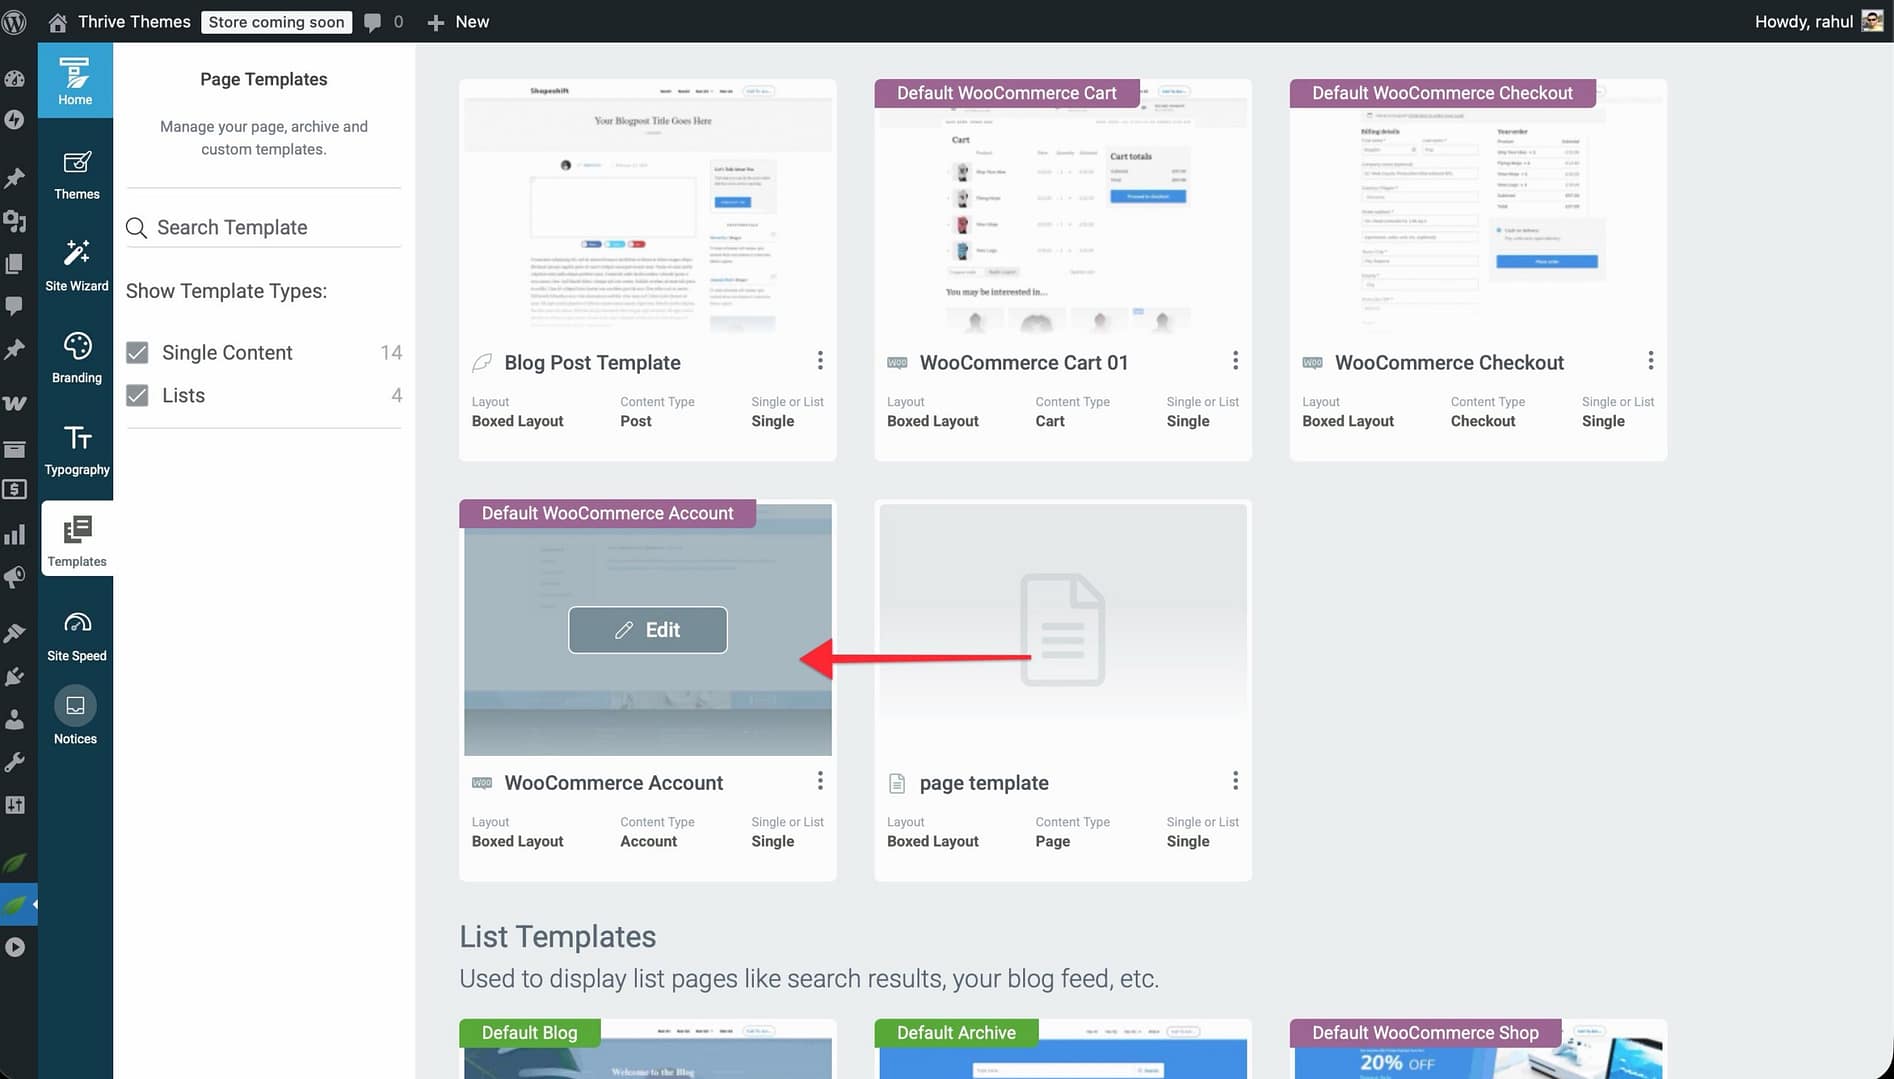
- In the Templates section, locate the WooCommerce Account template.
- Hover over it and click Edit.
Account Template Styling
The Account template is a wrapper around WooCommerce’s default My Account page. Unlike the Cart and Checkout templates, it does not have an “Edit Design” mode or stylable sub-elements.
You can customize the template’s overall layout and background, but the content inside — the account dashboard navigation (Dashboard, Orders, Downloads, Addresses, Account Details, Logout) — is rendered by WooCommerce and styled through your theme’s CSS.
Creating Additional WooCommerce Templates
You can create multiple versions of any WooCommerce template:
- In the Templates section, click Add New.
- Select the appropriate WooCommerce template type.
- Choose to start from scratch or use a pre-designed template from the library.
- Customize the template.
- Set it as the default or assign it to specific pages.
This is useful if you want different checkout designs for different campaigns or seasonal layouts for your shop.
Best Practices
- Keep the cart page clean — The cart page should clearly show what customers are buying and make it easy to proceed to checkout. Avoid clutter.
- Minimize checkout friction — Reduce the number of required fields to what’s essential. A simpler checkout form leads to fewer abandoned carts.
- Make the Place Order button prominent — Use a contrasting color and make the button large enough to be easily clickable on all devices.
- Test the full purchase flow — After customizing these templates, test the entire flow from adding a product to cart through completing a purchase.
- Check mobile responsiveness — Cart and checkout pages are frequently used on mobile devices. Ensure forms, buttons, and tables are usable on small screens.
Related Resources
- Getting Started with WooCommerce: Learn how to set up WooCommerce with Thrive Theme Builder.
- Customizing WooCommerce Shop & Product Templates: Learn how to customize shop and product templates.
- Creating WooCommerce Buttons: Learn how to create dynamic WooCommerce buttons.