In this article, you’ll learn how to showcase your collected social proof using the Display Testimonials element in Thrive Architect or via WordPress shortcodes. This guide covers how to filter your content, choose layout styles like grids and carousels, and save testimonial sets for reuse.
Thrive Ovation offers two primary ways to display your testimonials:
- Thrive Architect Element: The most flexible method, allowing for visual editing and advanced layouts.
- WordPress Shortcodes: Ideal for adding testimonials to standard WordPress posts, widgets, or areas not built with Architect.
1. Displaying Testimonials with Thrive Architect
The Display Testimonials element is the most powerful way to show off your social proof. It functions similarly to a post list, pulling content dynamically from your Ovation library.
Add the Element
- Open your page or post with Thrive Architect.
- Click the Plus (+) icon in the right sidebar.
- Search for Display Testimonials and drag the element onto your page.

- A template library will open. Select the design that best fits your website’s look and click Choose Template.
Choose Which Testimonials to Show
After choosing a template, a window will pop up asking you to select your content:

- Specific Testimonials: Manually select individual testimonials by ticking the checkbox next to their names.
- Dynamic List: Automatically display testimonials based on specific criteria (like tags). This is great if you want the list to update automatically as you add new testimonials to a tag.
Filtering and Ordering
In the selection window, you can further refine your list:
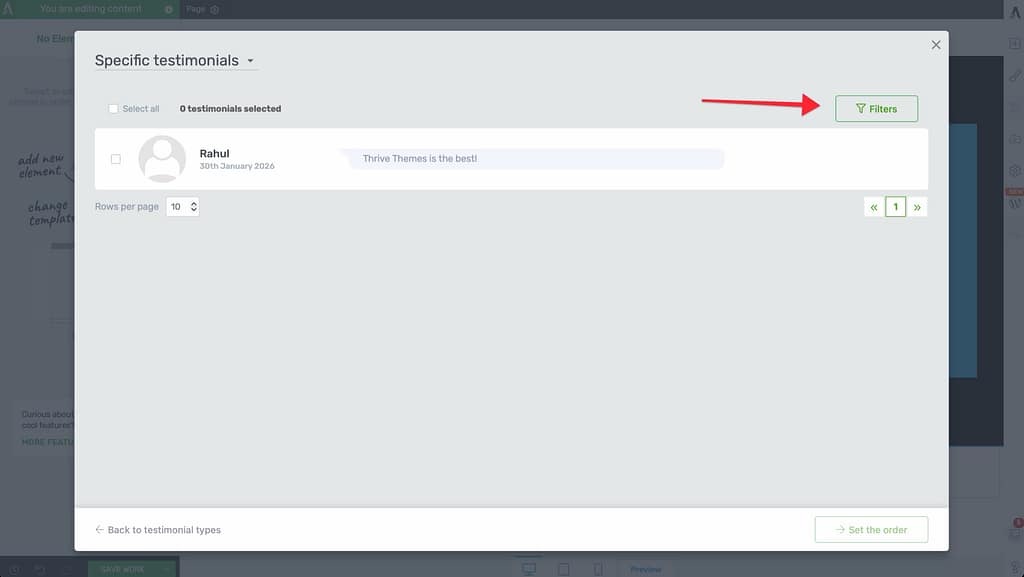
- Filters: Use the Filter button to narrow down testimonials by Word Count, Tags, or whether they have an Image.
- Set Order: Click the Set Order button to arrange testimonials. You can choose Date Published or select Manual to drag and drop them into your preferred sequence.
Tip: If you’re happy with a specific filter and order, enter a name in the Save as Testimonial Set field. You can then quickly reuse this exact configuration on other pages.
2. Customizing the Display Layout
Once your testimonials are on the page, you can use the Main Options in the left sidebar to change their appearance.
Display Types
Choose how the testimonials are structured on the page:
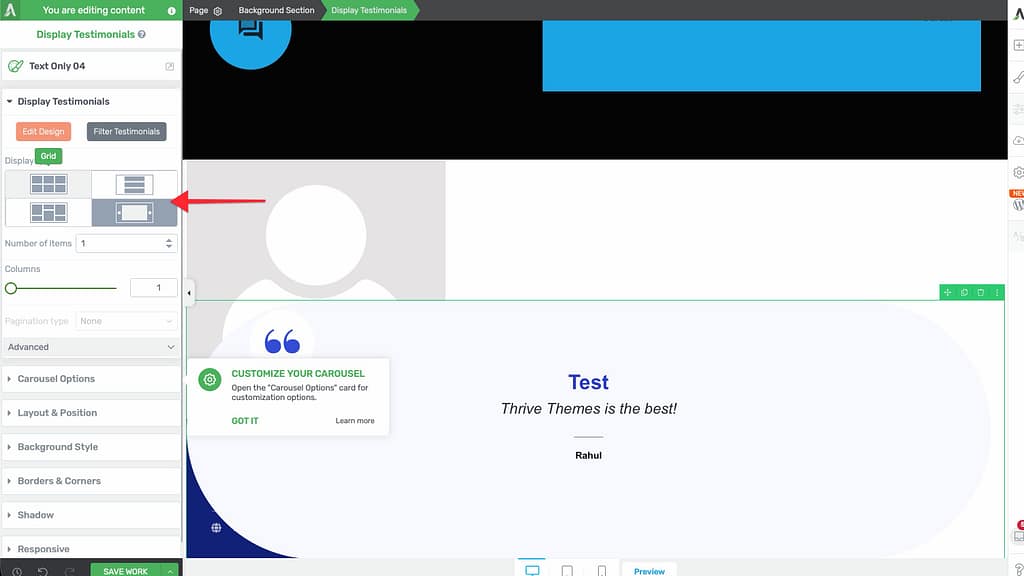
- List: Shows testimonials one after another in a single column.
- Grid: Arranges them in a series of side-by-side columns with fixed heights.
- Masonry: Similar to a grid, but columns have irregular heights based on content length—perfect for a modern, “Pinterest-style” look.
- Carousel: Turns your testimonials into a sliding gallery. When selected, you’ll see additional Carousel Options to control navigation arrows, dots, and autoplay.
Pagination and Loading
If you have a large number of testimonials, use the Pagination Type setting to keep your page clean:
- None: Shows all selected testimonials at once.
- Numeric: Adds page numbers (1, 2, 3…) below the list.
- Load More: Adds a button that users click to reveal more testimonials.
3. Displaying Testimonials using Shortcodes
If you are not using Thrive Architect for a specific part of your site, you can still display testimonials using shortcodes.
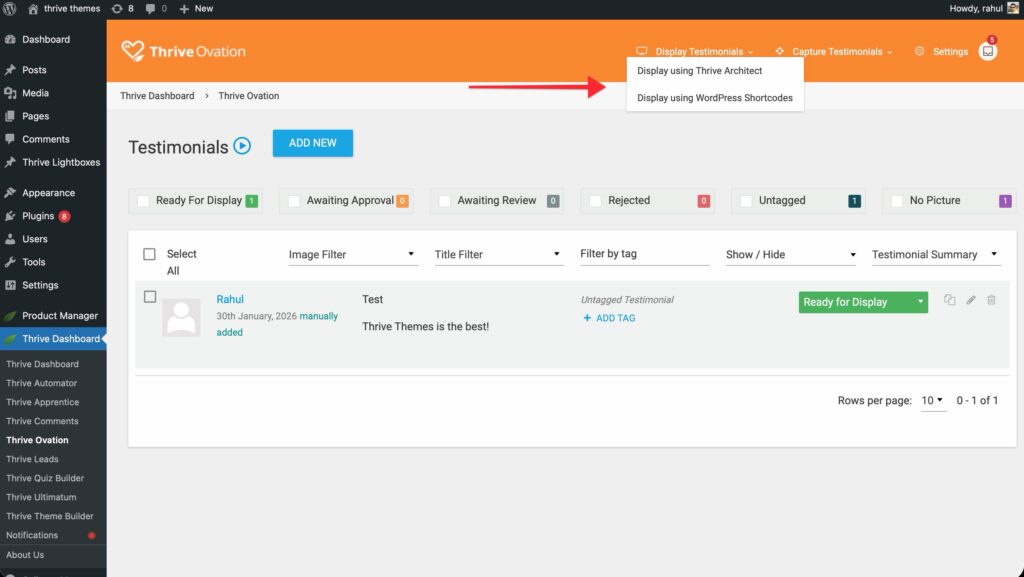
- Navigate to the Thrive Ovation dashboard.
- In the top menu, hover over Display Testimonials and select Display using WordPress Shortcodes.
- Click the Add New button to create a new shortcode configuration.
- Configure your display settings (template, tags, and number of items) in the setup window.
- Once saved, copy the generated shortcode (e.g.,
[thrive_ovation_shortcode id='123']) and paste it into any WordPress post, page, or text widget.
Related Resources
- Getting Started Guide: Learn how to navigate the Thrive Ovation dashboard.
- Collection Guide: Learn how to collect testimonials from your visitors.
- Advanced Display: Discover how to use Tag Dynamic Content for advanced rotating testimonials.