In this article, you’ll learn how to access and use the Thrive Apprentice Visual Editor, switch from the Legacy Editor to the new Visual Editor, switch back to the Legacy Editor if needed, and perform basic customization using the Legacy Editor.
The Visual Editor gives you full control over the look and feel of your online school. You can create a unique brand identity for your learning environment—separate from the rest of your website—with its own logo, color scheme, and layout. Whether you are starting fresh or migrating from the Legacy Editor, this guide covers everything you need to know.
Accessing the Visual Editor
To open the Visual Editor, follow these steps:
- From your WordPress admin area, navigate to Thrive Dashboard > Thrive Apprentice.

- Click on the Design tab in the left sidebar.

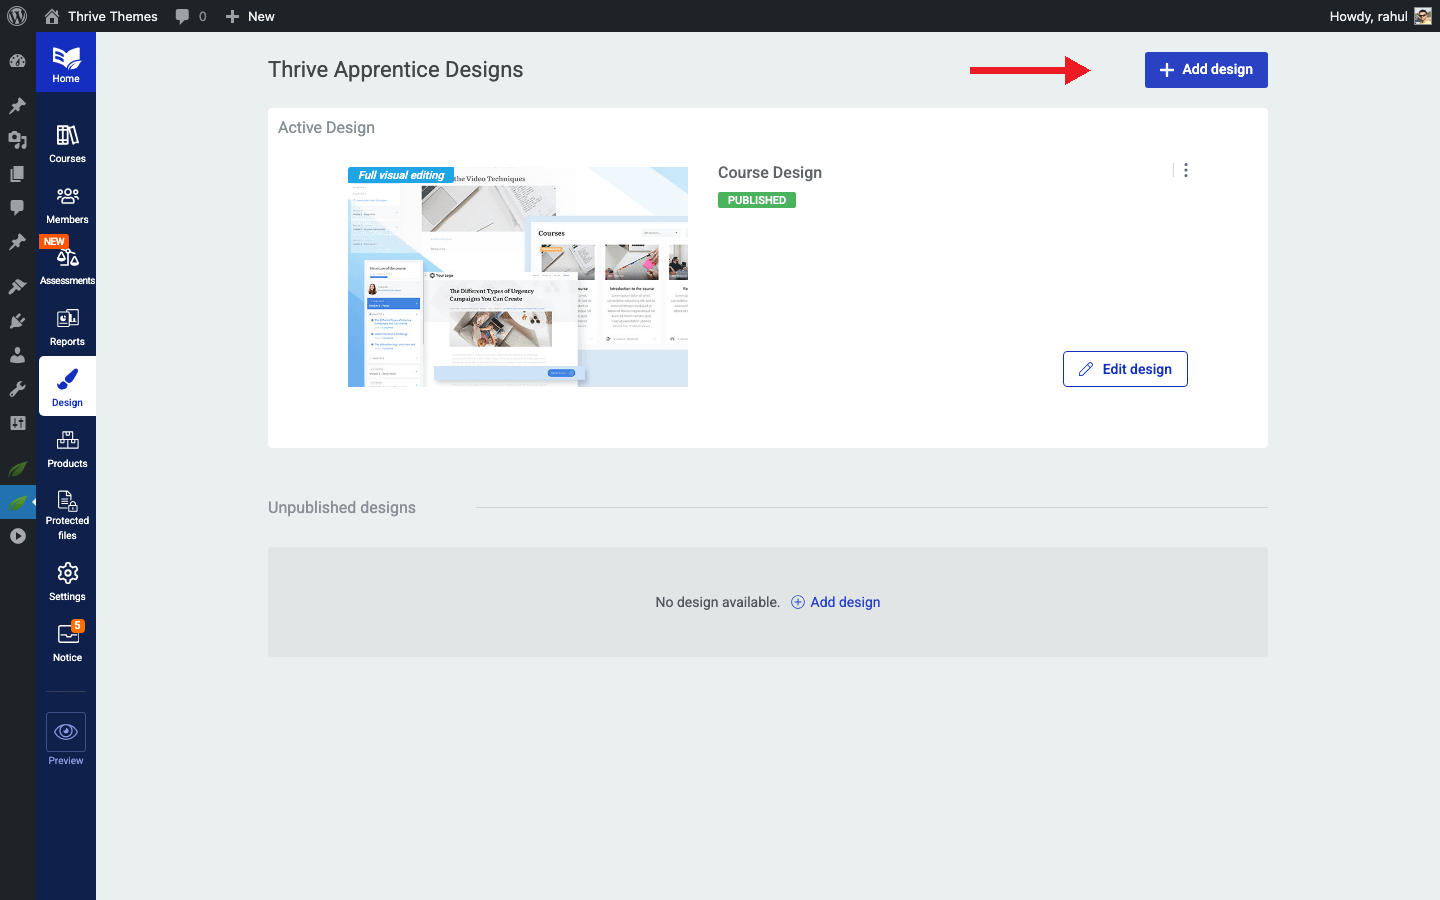
- You will see the Design dashboard, which displays all your published and unpublished designs.
- Click Edit Design on the active design block to open the Visual Editor.

Once inside the editor, you can customize every element of your school—including course overview pages, lesson templates, module layouts, and more.
Key Features of the Visual Editor
- Independent Branding — Set up a separate logo, color palette, and typography for your school that differs from your main website.
- Pre-built Designs — Choose from professionally designed templates as a starting point, then customize them to match your vision.
- Template-level Control — Edit individual templates for courses, lessons, modules, completion pages, restricted access pages, and more.
- Live Preview — See your changes in real time before publishing them to your students.
- Publish When Ready — Your new design only goes live on the front end after you explicitly click Publish, so you can experiment freely.
Switching from the Legacy Editor to the Visual Editor
If you have been using the Legacy Editor and want to upgrade, your existing courses and their current designs will not be affected until you choose to publish a new design. Here is how to make the switch:
- Go to Thrive Dashboard > Thrive Apprentice.
- Click on the Design tab.
- You will see both the Legacy design and any new designs available in the dashboard.
- Click +Add Design to create a new design, or select one of the pre-built designs offered by the Visual Editor.
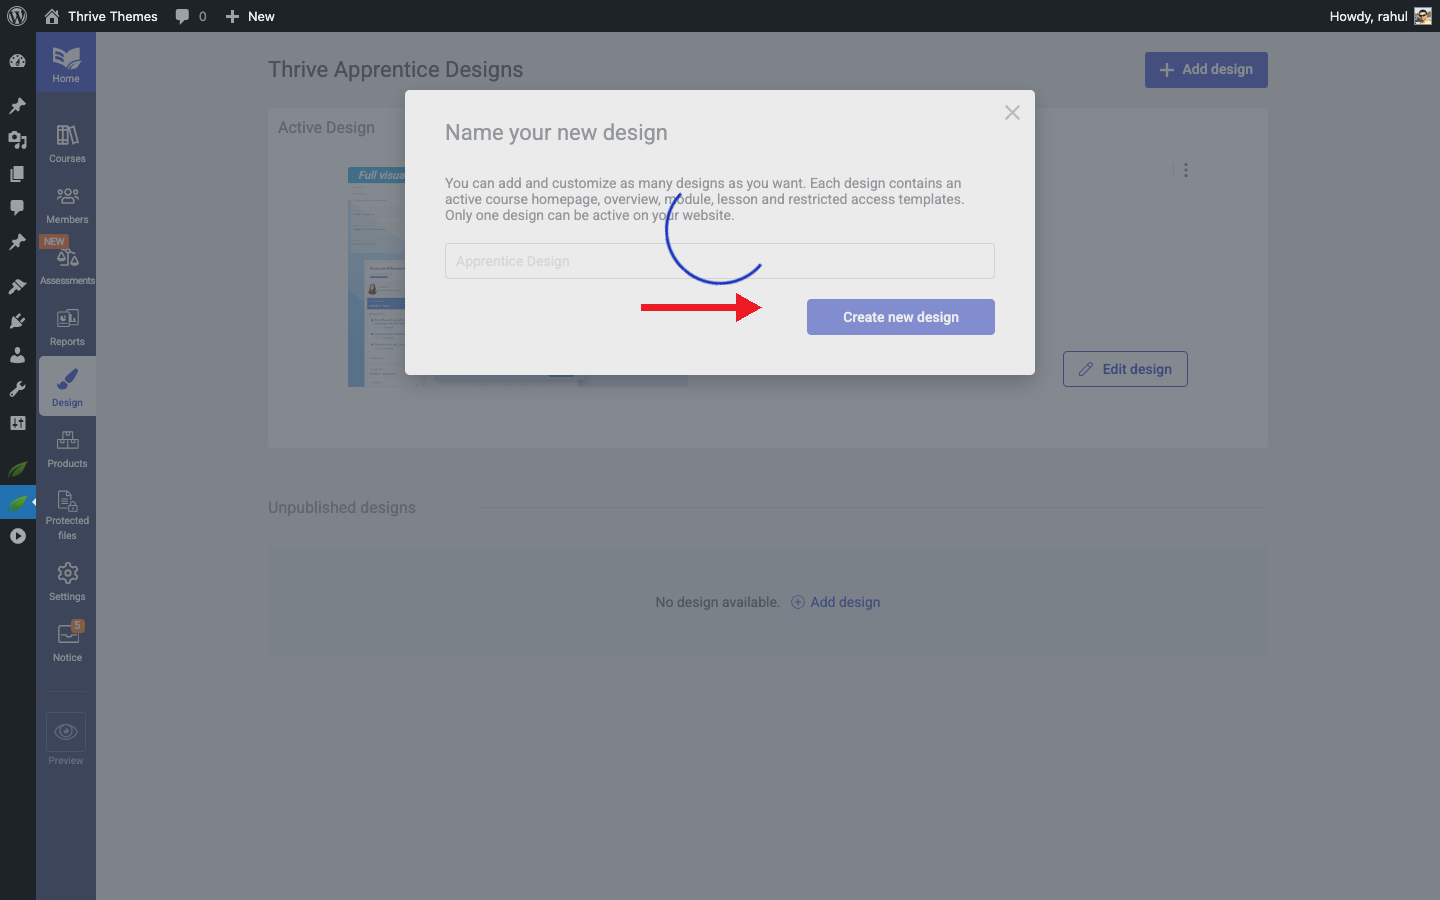
- Give your new design a name and click Create New Design.
- Customize the design to your liking using the Visual Editor’s drag-and-drop interface.
- When you are satisfied, click Publish to make the new design live on your school’s front end.
Switching Back to the Legacy Editor
If you need to return to the Legacy Editor after trying the Visual Editor, you can do so at any time:
- Navigate to Thrive Dashboard > Thrive Apprentice.
- Click on the Design tab.
- Scroll down to the Unpublished Designs section and locate the Legacy design.
- Hover over the Legacy design and click the Publish button.
The Legacy Editor will immediately become your active design, and your school’s front end will revert to its previous appearance.
Basic Customization in the Legacy Editor
Note: The Legacy Editor is only available if you had Thrive Apprentice installed before the Visual Editor was introduced. If you installed Thrive Apprentice fresh, you will only have access to the new Visual Editor.
For those still using the Legacy Editor, you can perform basic customization by following these steps:
- Go to Thrive Dashboard > Thrive Apprentice.
- Click on the Design tab to view your active design.
- Click Edit Design on the Legacy design block.
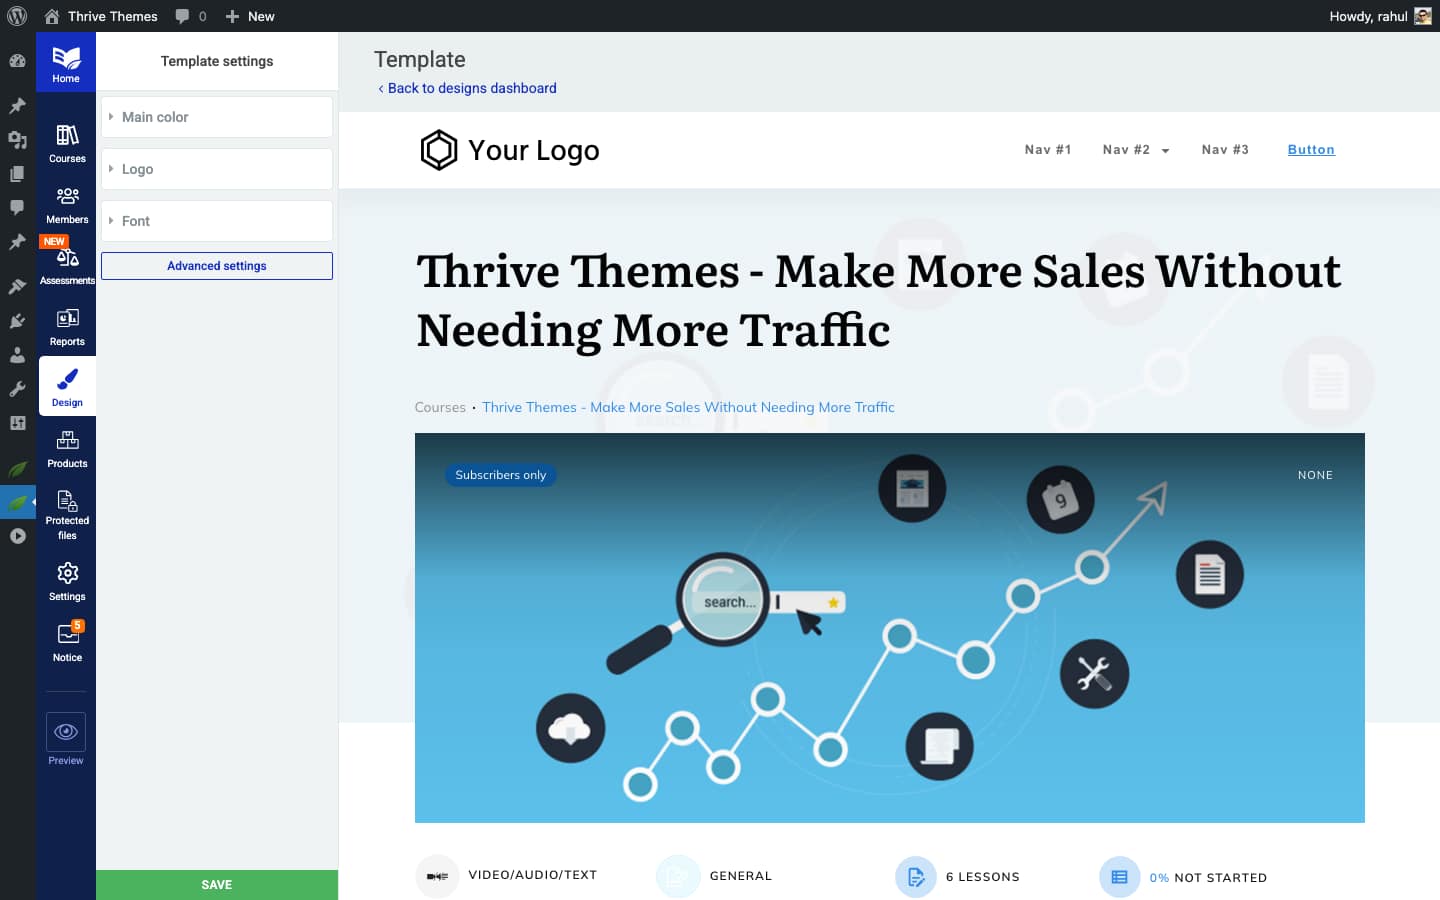
- Use the available options to adjust colors, fonts, and layout settings for your course pages.
- Save your changes when finished.
Conclusion
That’s it! You’ve successfully learned how to access the Thrive Apprentice Visual Editor, switch between the Visual Editor and the Legacy Editor, and perform basic customization in either editor. The Visual Editor offers significantly more design flexibility, so we recommend making the switch when you are ready.
Related Resources
- Creating and Managing Templates — Learn how to create, edit, duplicate, and delete templates in the Design section.
- Template Types Reference — Explore the different template types available in Thrive Apprentice, including Course Overview, Lesson, Module, and more.
- Working with Video in Thrive Apprentice — Add video descriptions, control video placement, and require video completion before lesson progress.