In this article, you’ll learn how to install and activate Thrive Theme Builder on your WordPress website. This guide covers the full installation process—from updating your plugins to activating your first theme.
Thrive Theme Builder is a visual WordPress theme that lets you design every part of your website without writing code. It works together with Thrive Architect (the visual editor) and comes with a default skin that you can customize, plus additional themes available in the cloud.
Note: Thrive Theme Builder is included with every Thrive Suite subscription. You do not need to purchase it separately.
Prerequisites
Before you begin, make sure your website meets these requirements:
- PHP 7.4 or higher
- WordPress 4.9 or higher
- Thrive Product Manager plugin installed and up-to-date
- Thrive Architect plugin installed and up-to-date
Important: If your PHP or WordPress versions are below these minimums, Thrive Theme Builder will not activate. Update them before proceeding.
For Existing Thrive Suite Customers
If you already have a Thrive Suite subscription, the Thrive Product Manager is likely installed on your website. Follow the steps below to install Thrive Theme Builder.
Step 1: Update the Thrive Product Manager
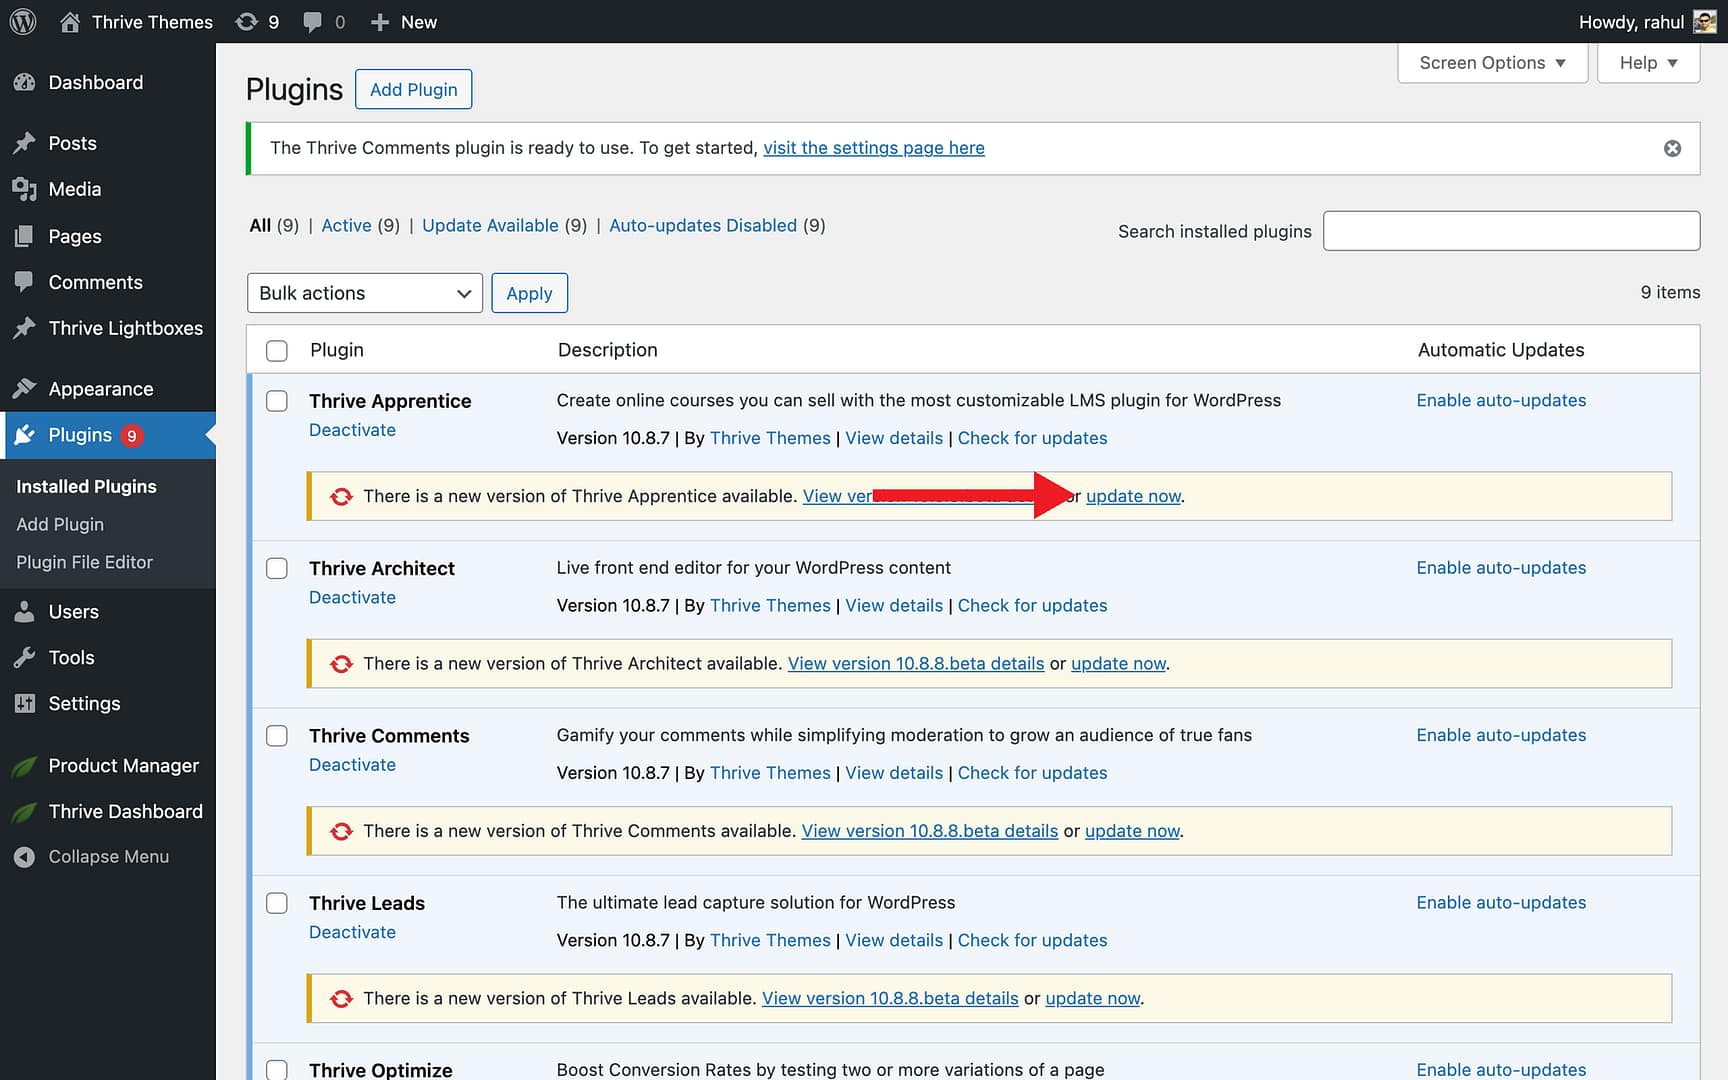
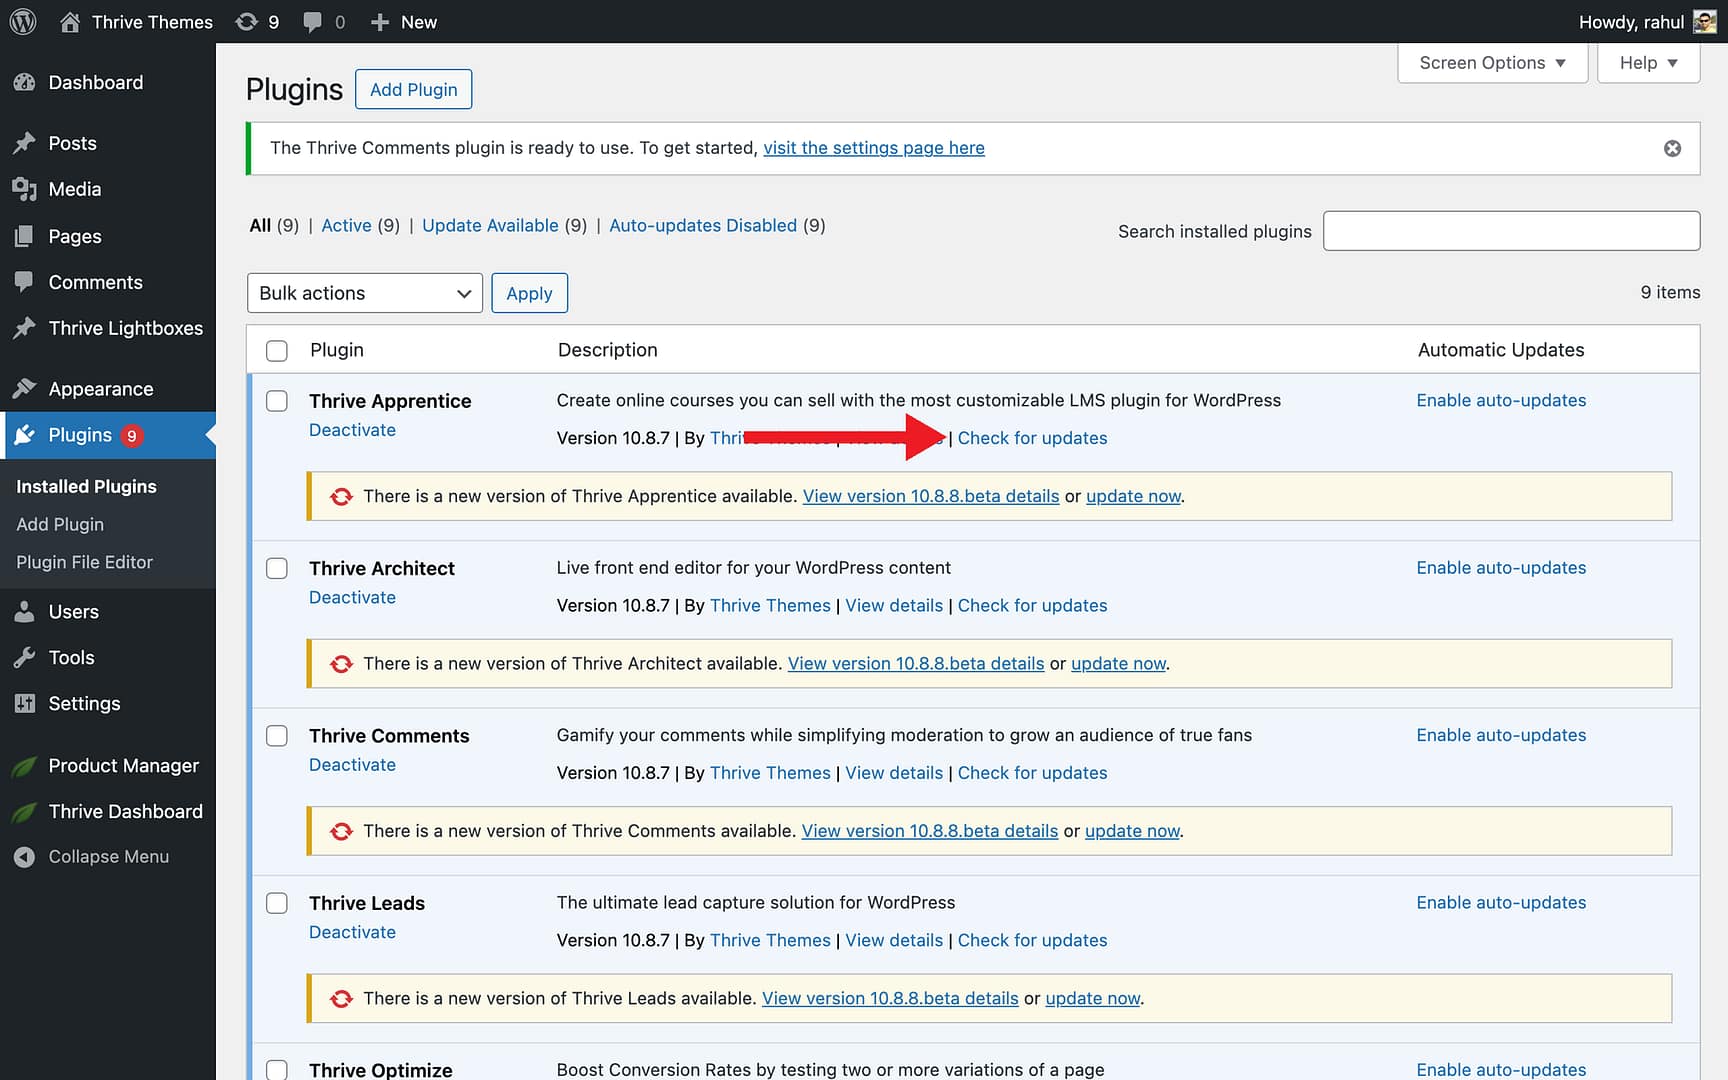
- Go to your WordPress admin dashboard and click on Plugins in the left sidebar.
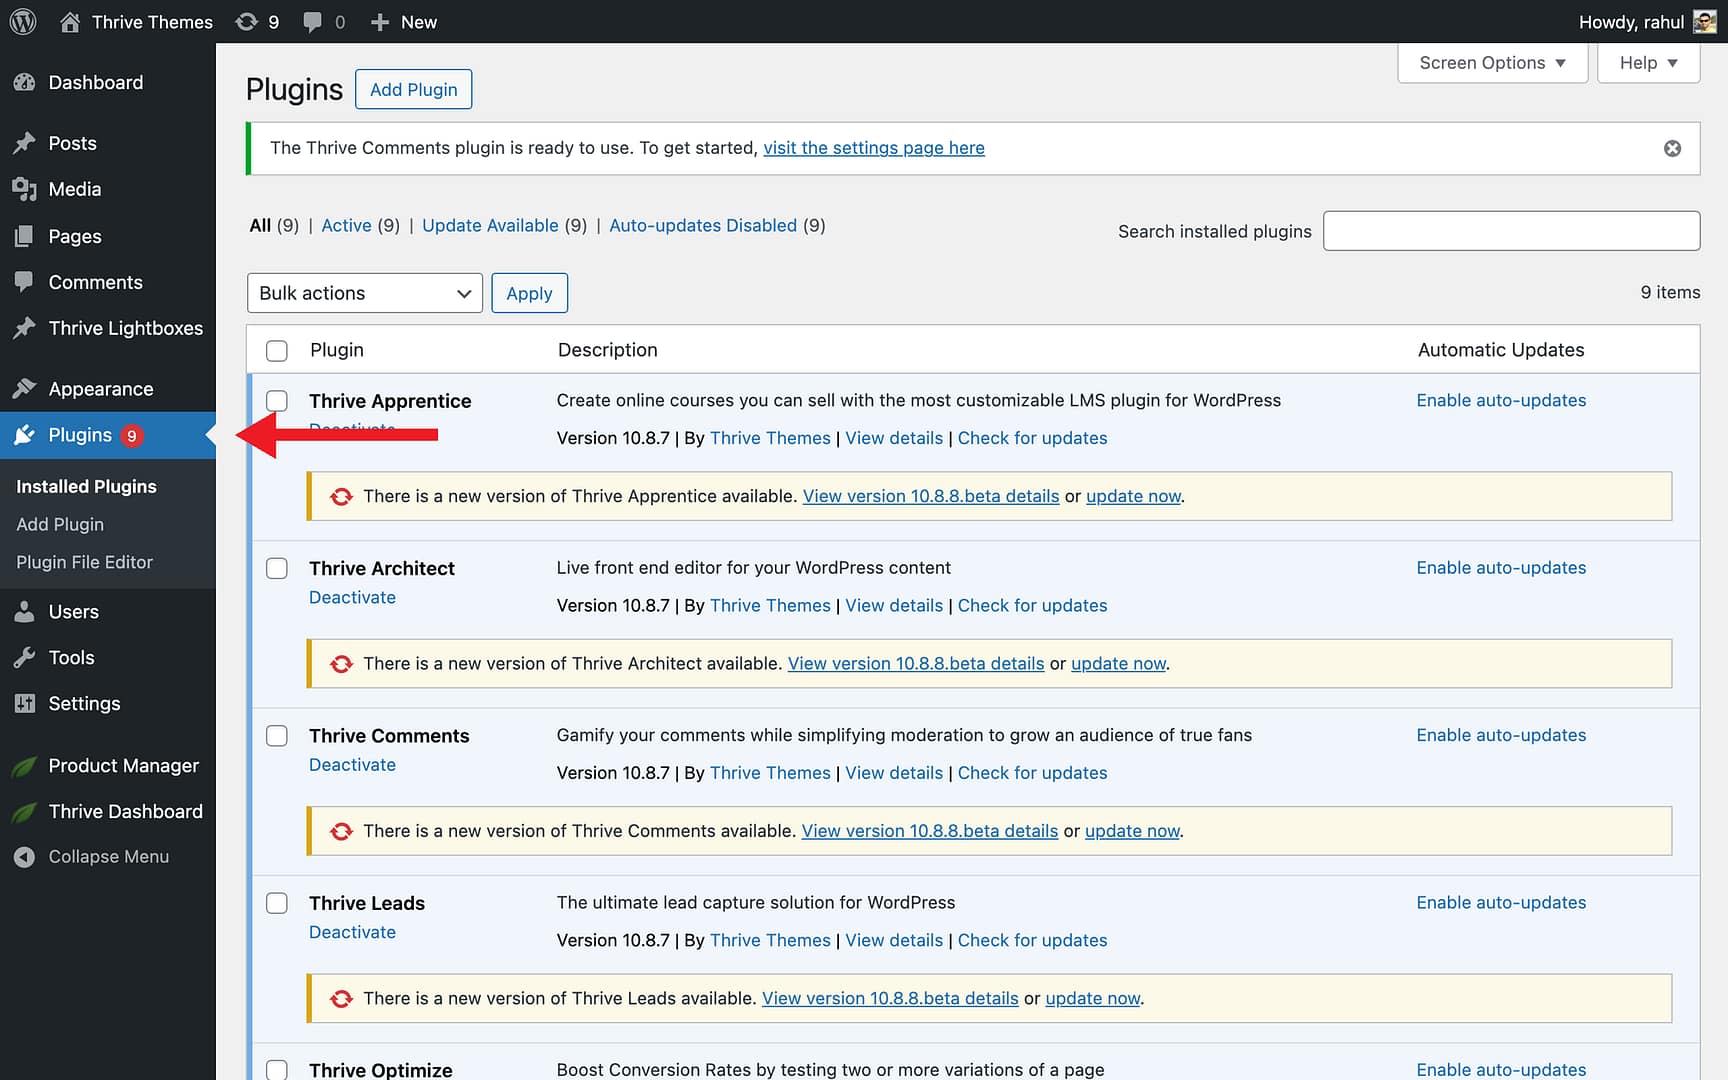
- Find the Thrive Product Manager plugin in the list.
- If you see a notification that a new version is available, click update now to update the plugin.
- If no notification appears, click Check for updates below the plugin description to verify you have the latest version.

Step 2: Update Thrive Architect
Thrive Theme Builder requires Thrive Architect to function. You’ll need to make sure it’s up-to-date as well.
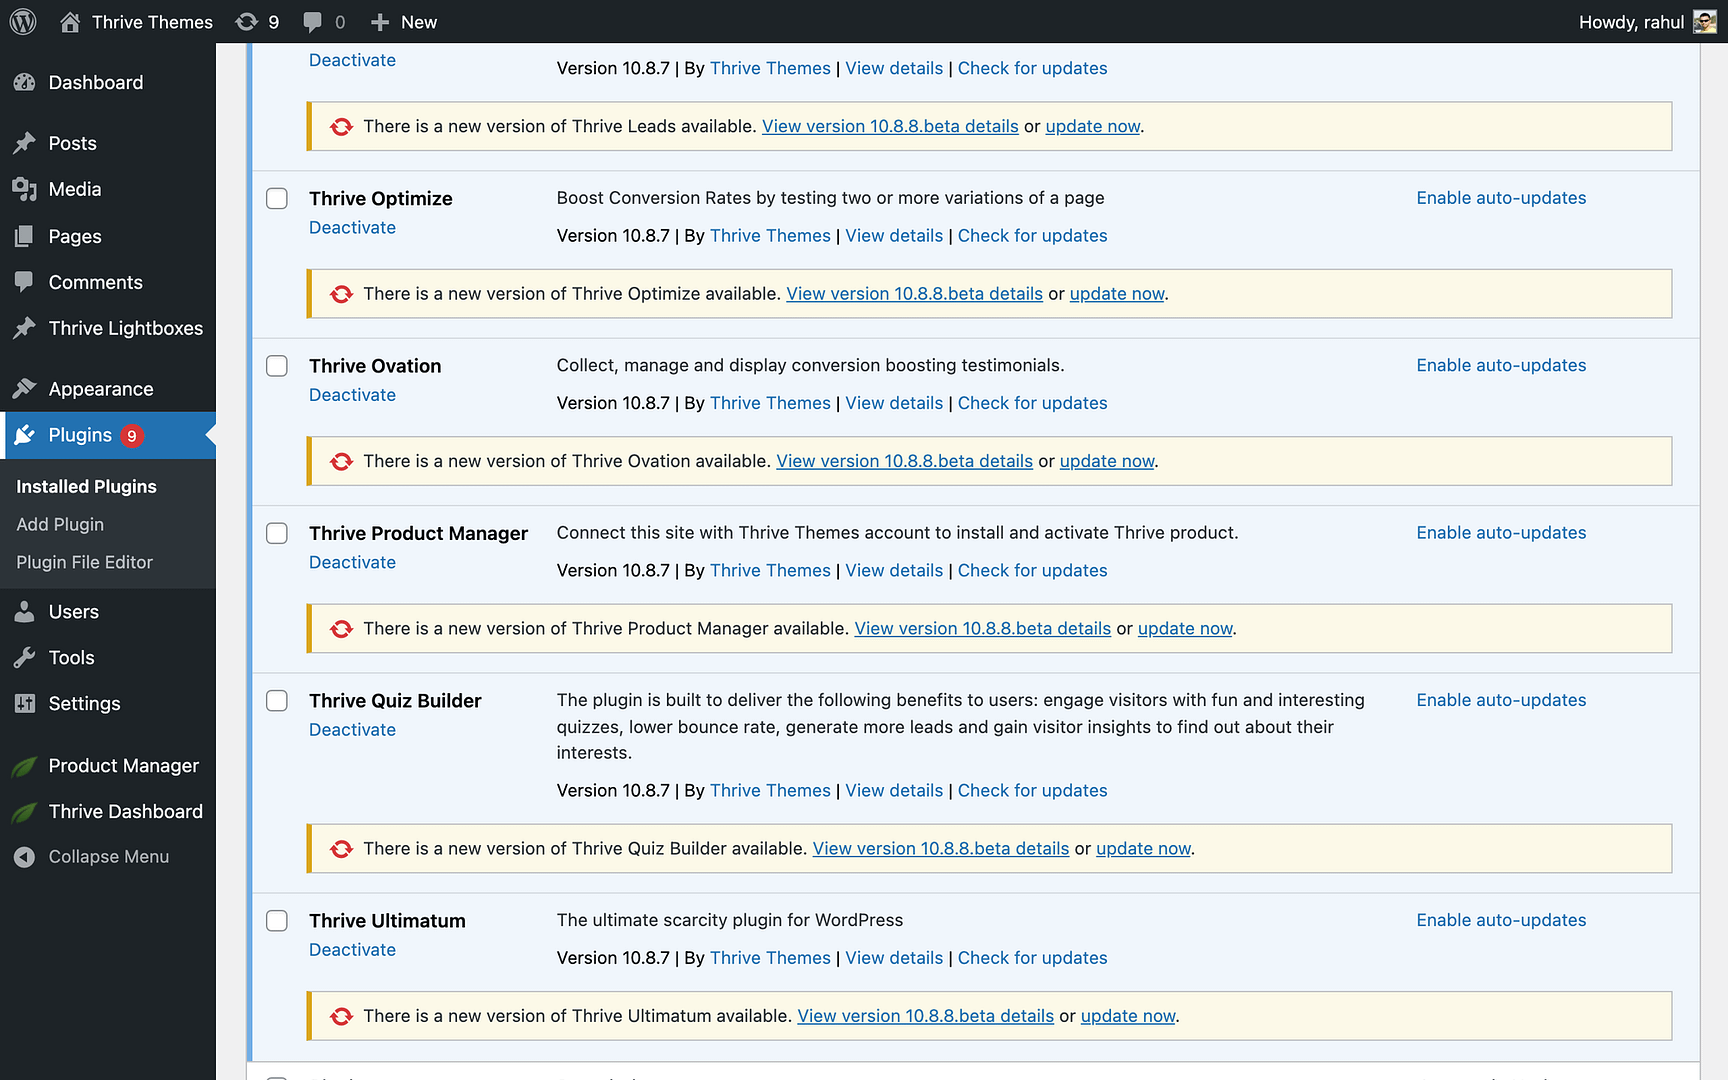
- On the same Plugins page, find the Thrive Architect plugin.

- If an update is available, click update now to update the plugin.

- If no update notification appears, click Check for updates to confirm you have the latest version.
Step 3: Install and Activate the Theme
- In the left sidebar, click Product Manager to open the Thrive Product Manager dashboard.
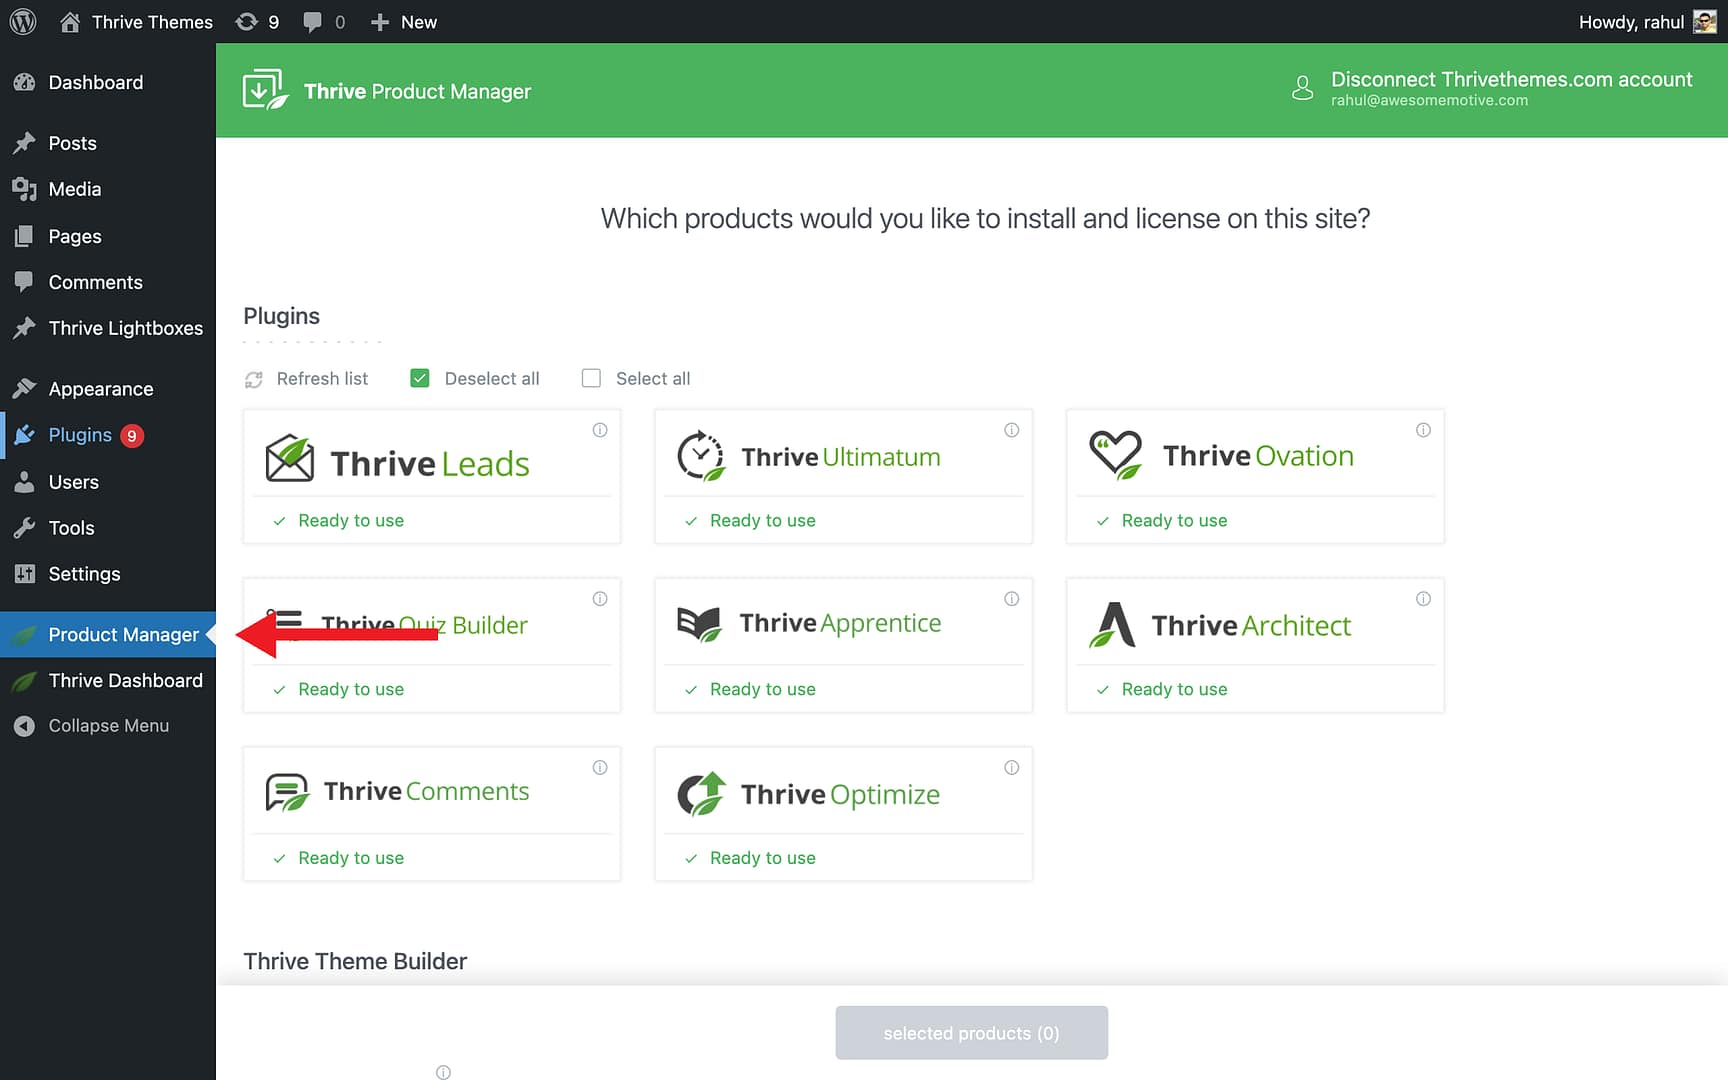
- Find the Thrive Theme Builder section in the dashboard.
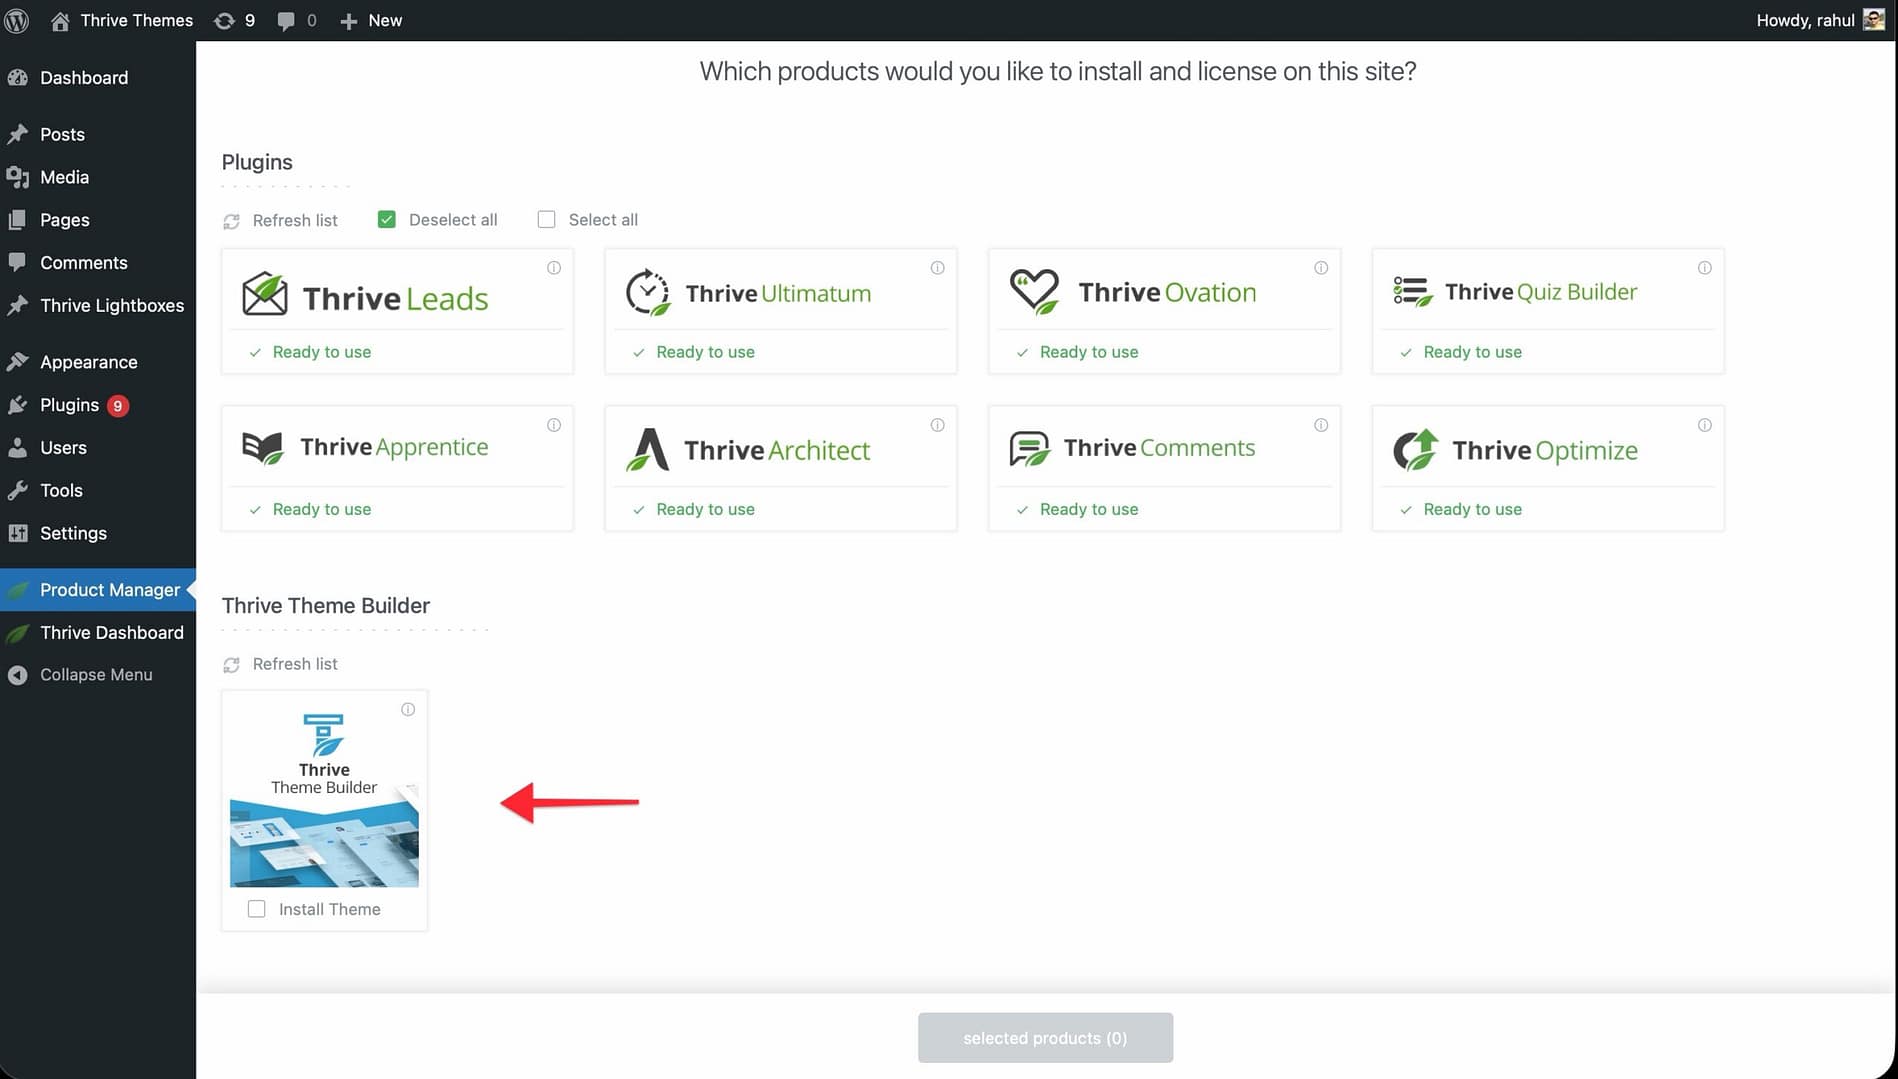
- Click Install Theme to install Thrive Theme Builder along with its default skin.
- Click the Install selected products button at the bottom of the page.

- Once the installation is complete, click the Activate Thrive Theme Builder button to activate the theme on your website.
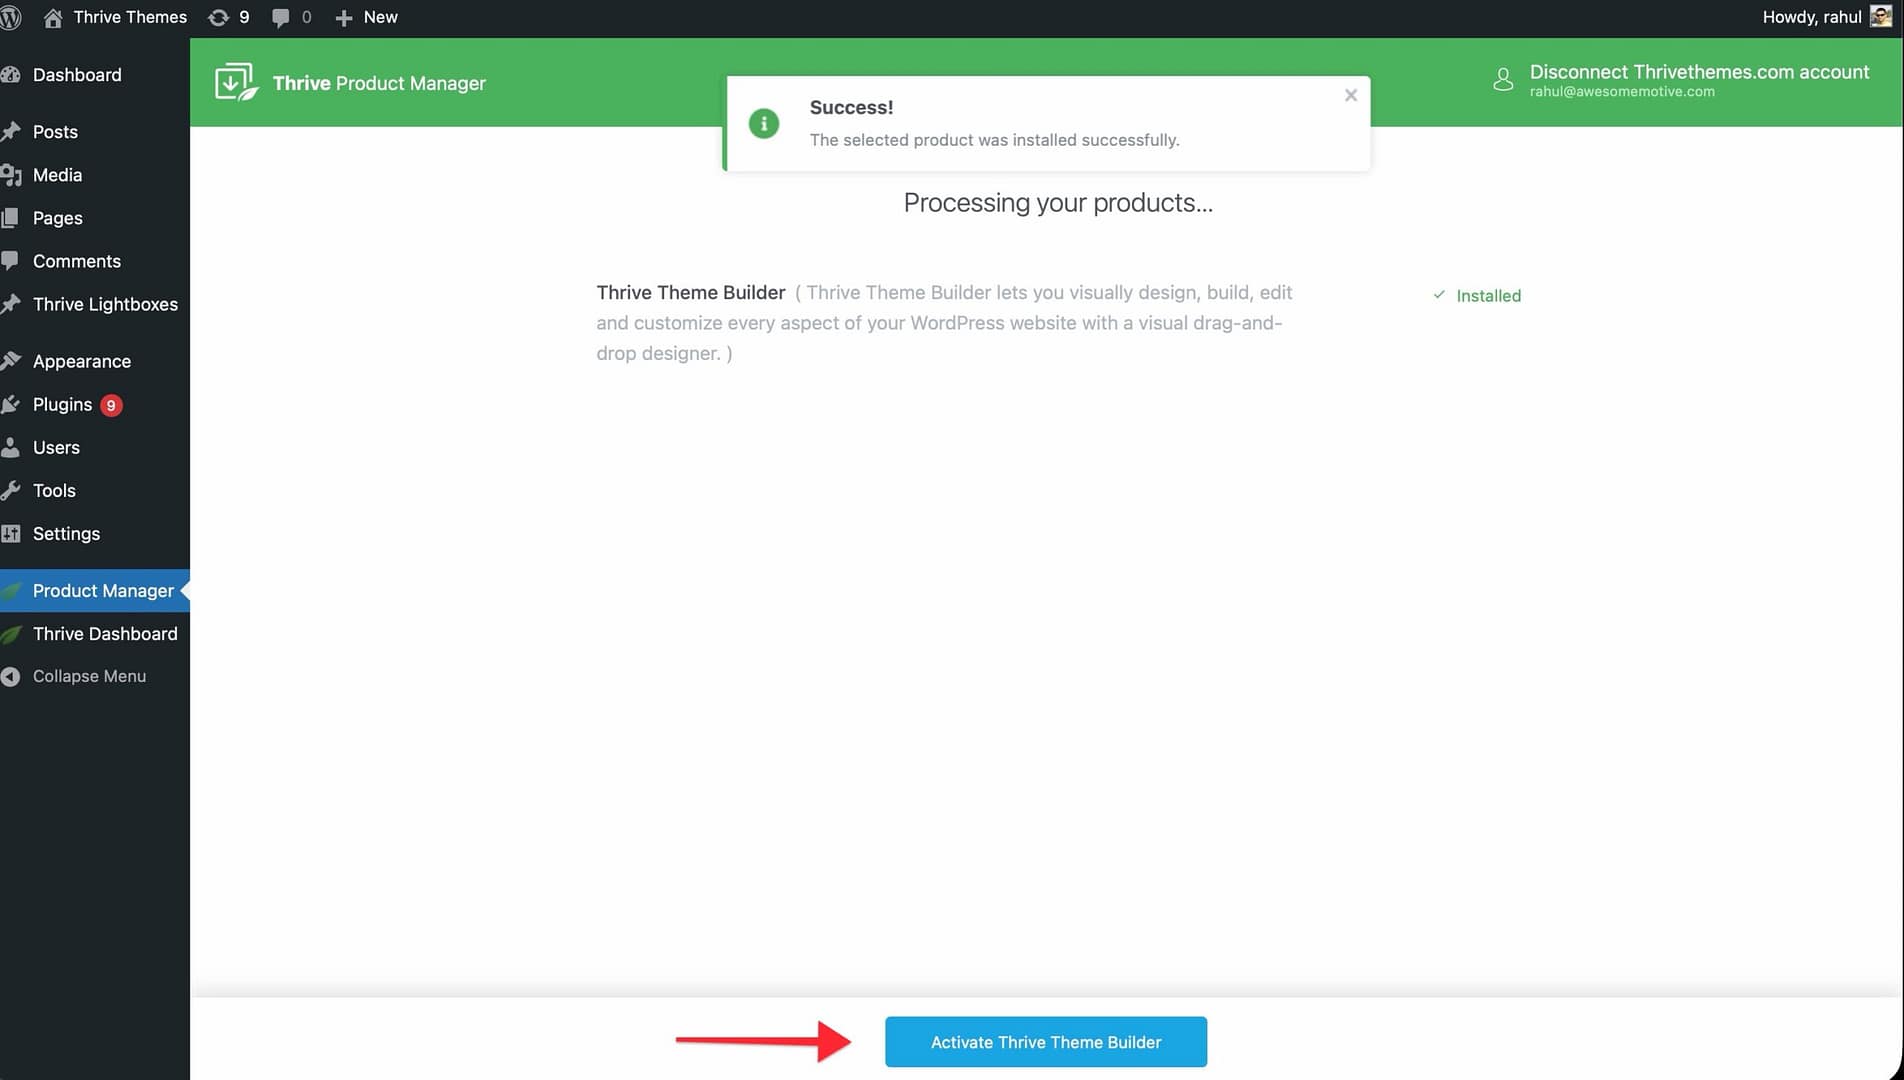
After activation, the product status will change to Active. Click the Go to the Theme Builder Dashboard button to start customizing your website.
For New Customers
If you don’t have a Thrive Suite subscription yet, follow these steps.
Step 1: Purchase Thrive Suite
Visit the Thrive Suite pricing page to purchase a subscription. This gives you access to Thrive Theme Builder and all other Thrive products.
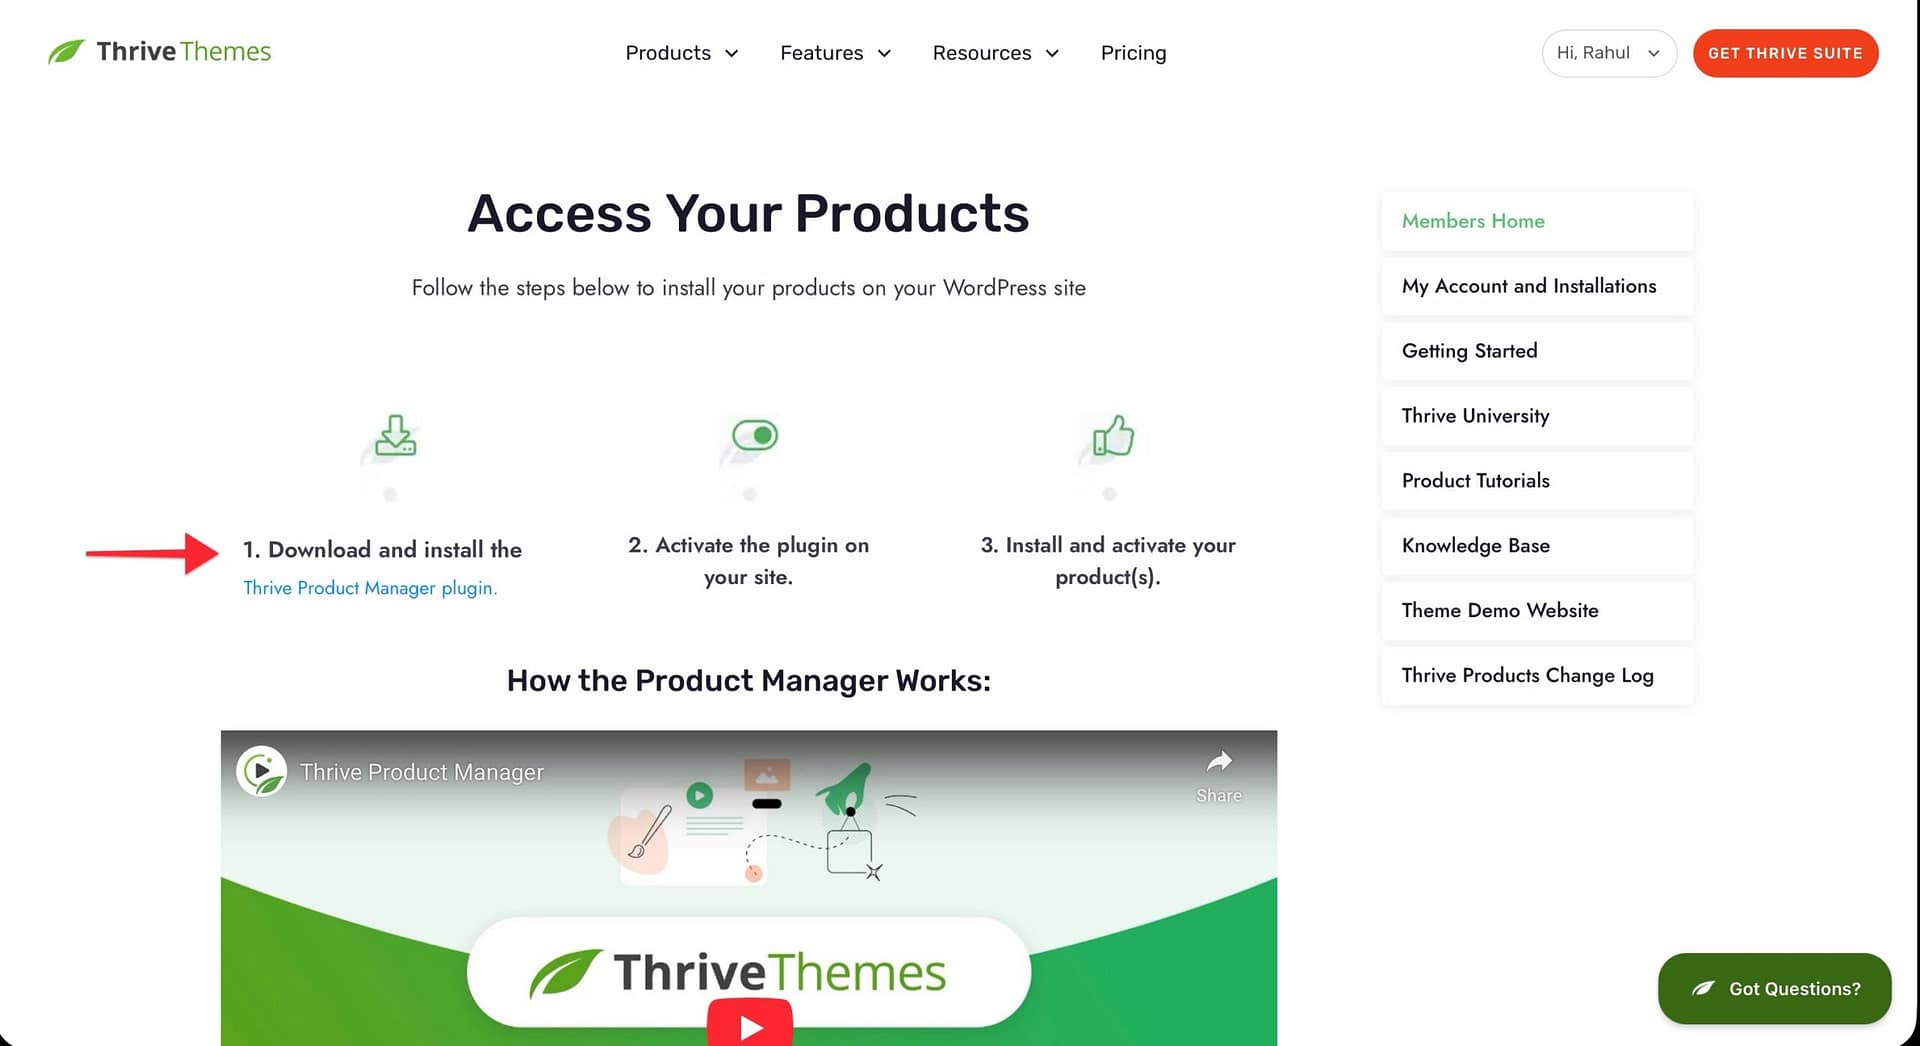
Step 2: Install the Thrive Product Manager
- Log in to your Thrive Themes Member Dashboard.
- Find and click the Download and install the Thrive Product Manager plugin link.
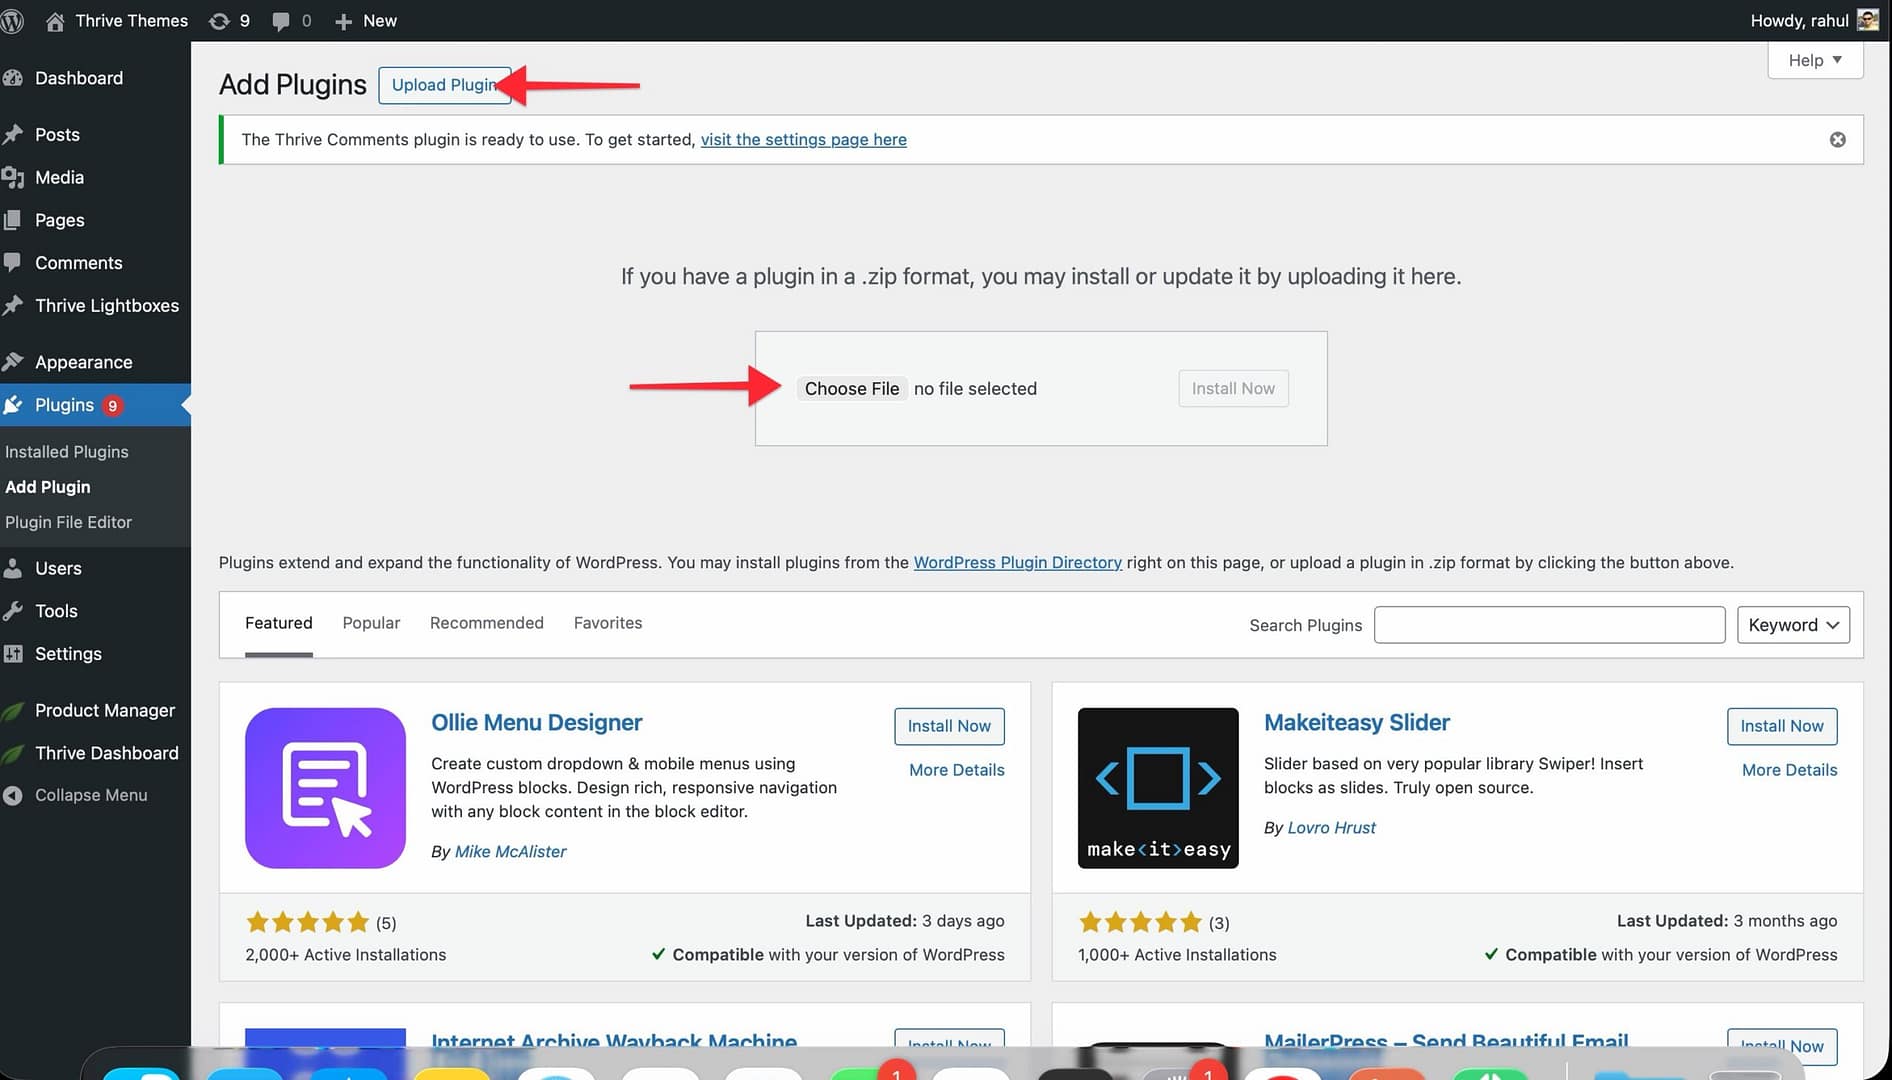
- Upload and install the downloaded plugin on your WordPress website via Plugins > Add New > Upload Plugin.
- Activate the Thrive Product Manager plugin.
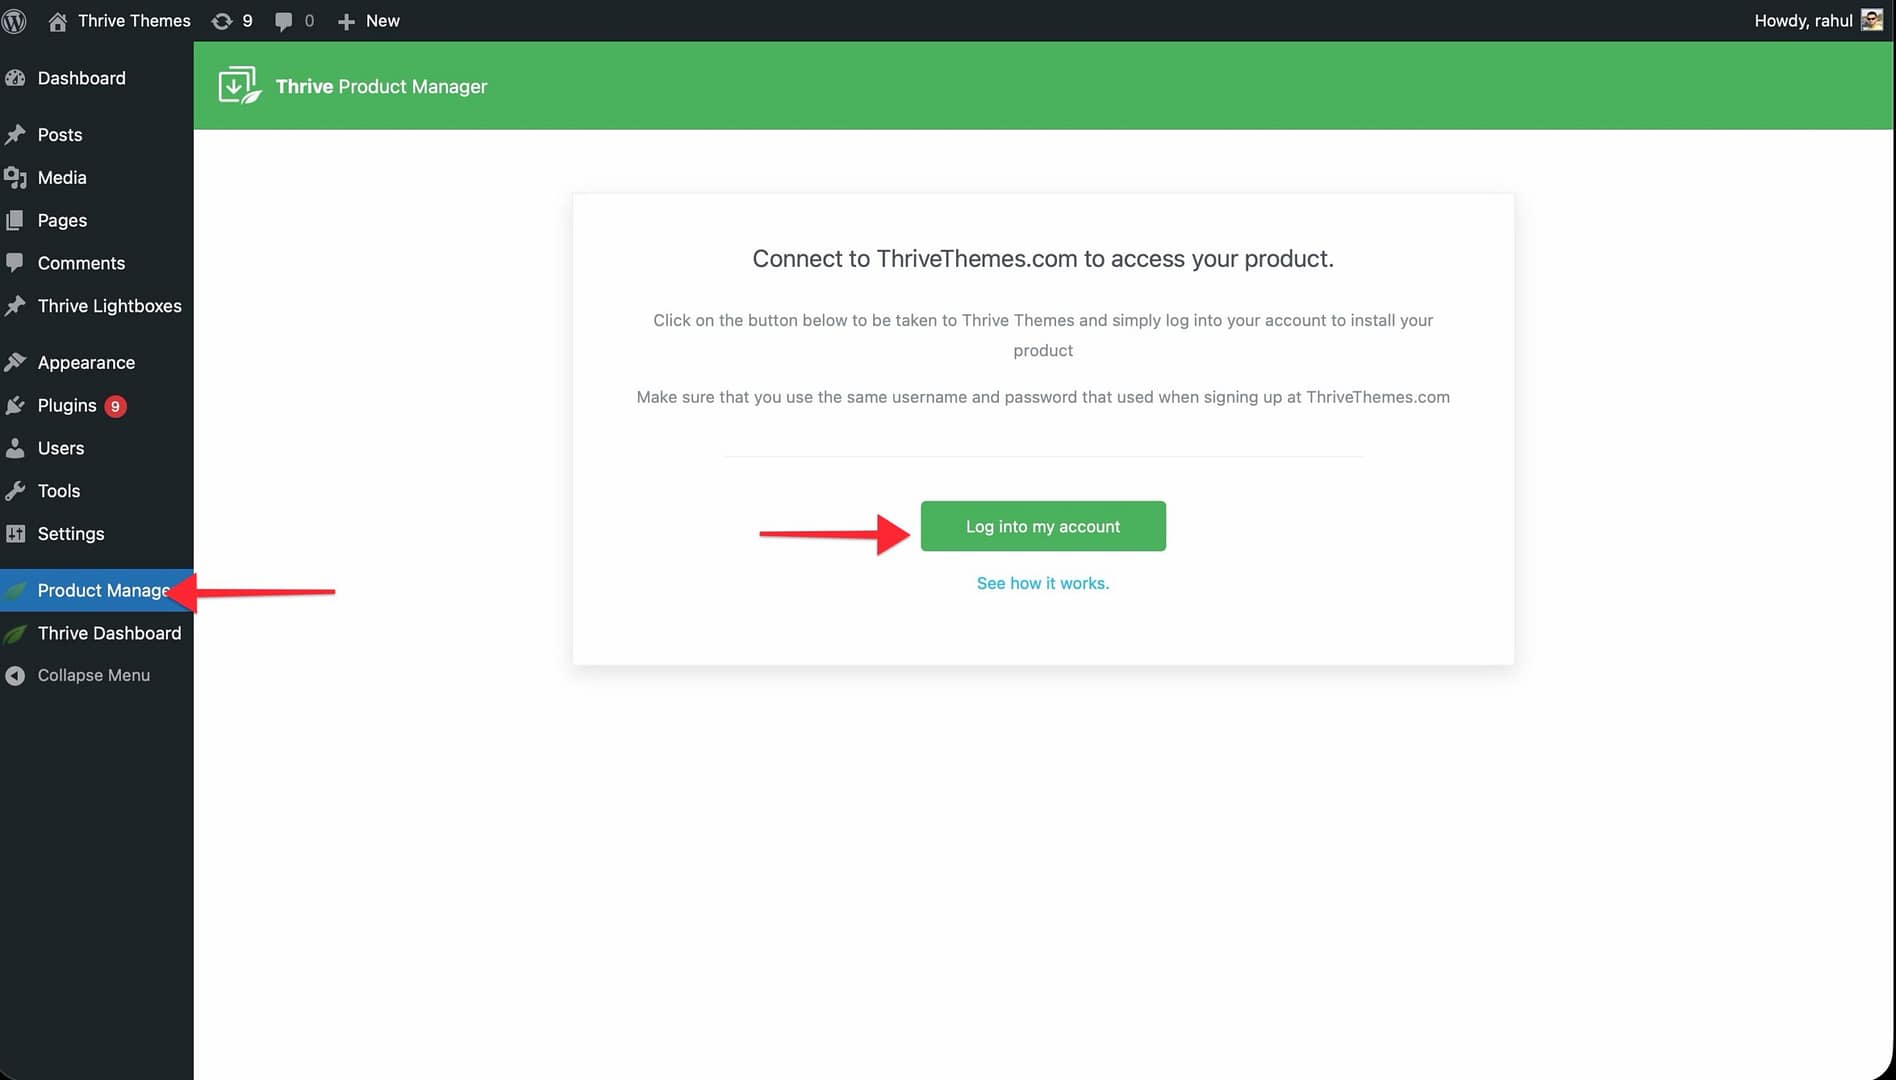
- Open the Product Manager from the left sidebar and log in with your Thrive Themes account credentials to connect it.
Step 3: Install and Activate the Theme
Once you’ve connected your account, you’ll see all available Thrive products in the dashboard—including Thrive Theme Builder.
Follow the same steps outlined in Step 3 of the existing customers section above to install and activate the theme.
What Happens After Activation
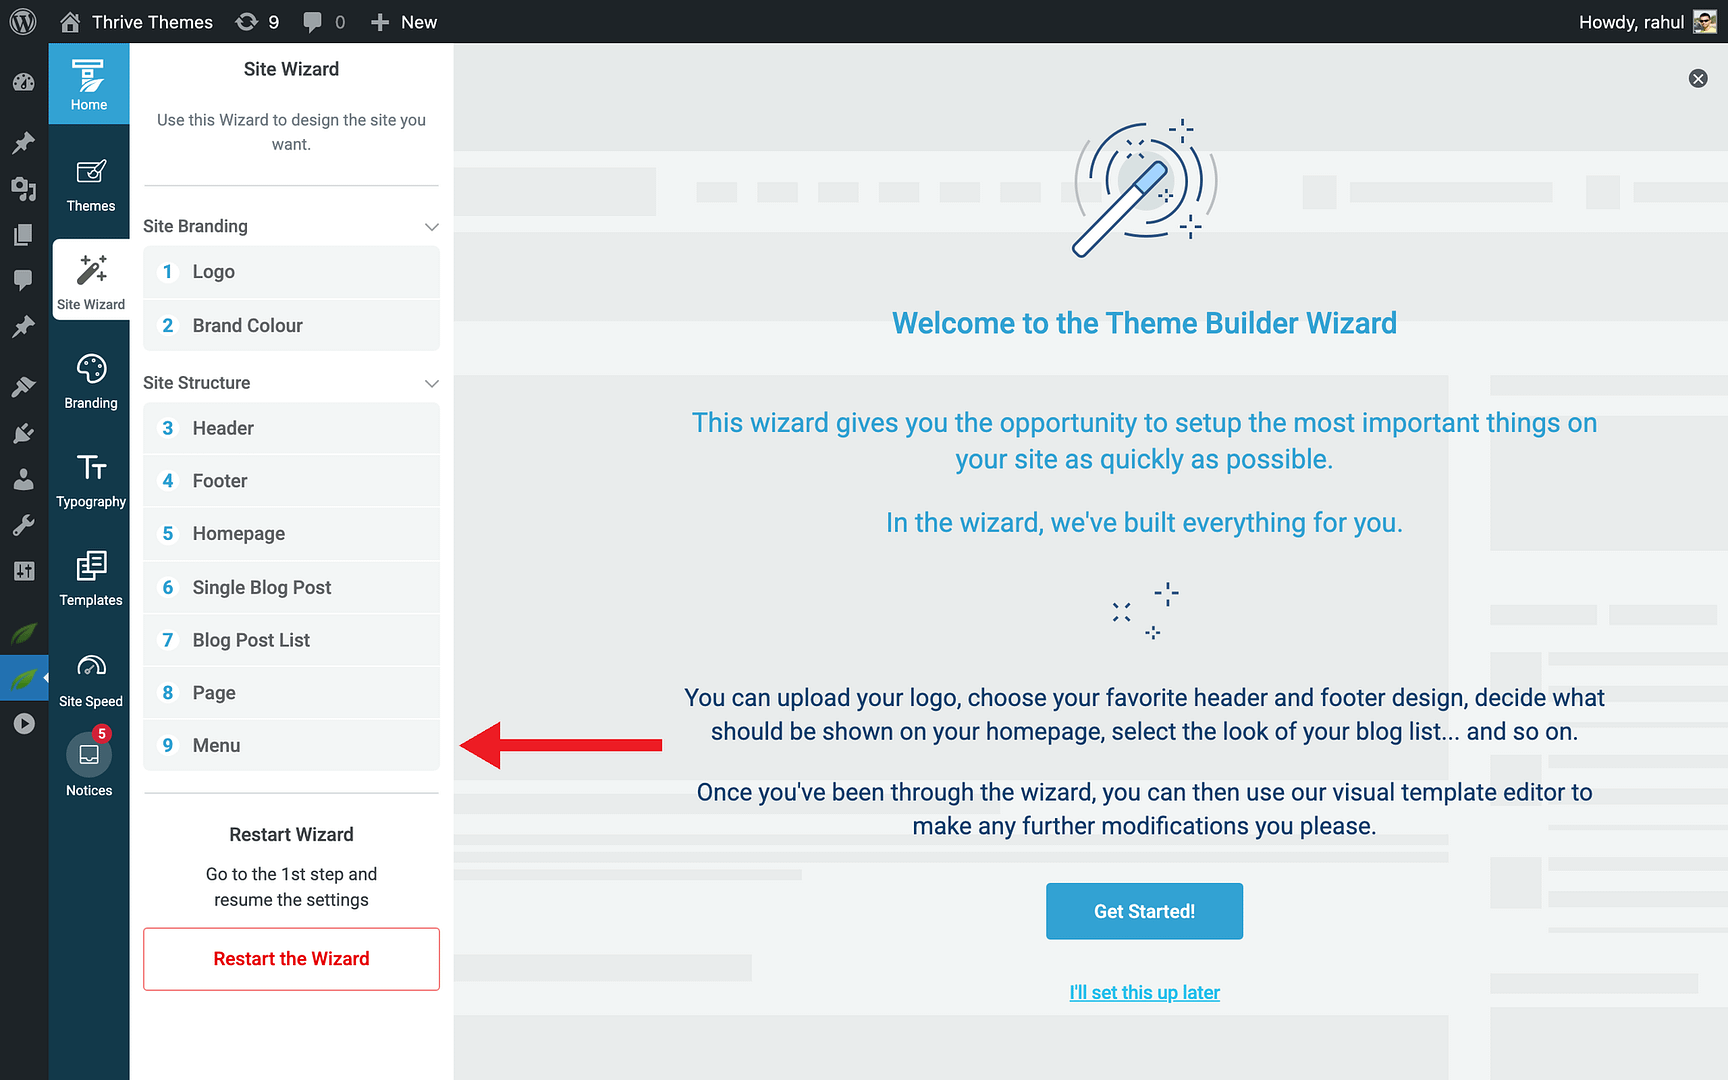
Once Thrive Theme Builder is active, you’ll be taken through the Site Wizard—a guided setup that helps you configure the key parts of your website:
- Logo — Upload your website logo
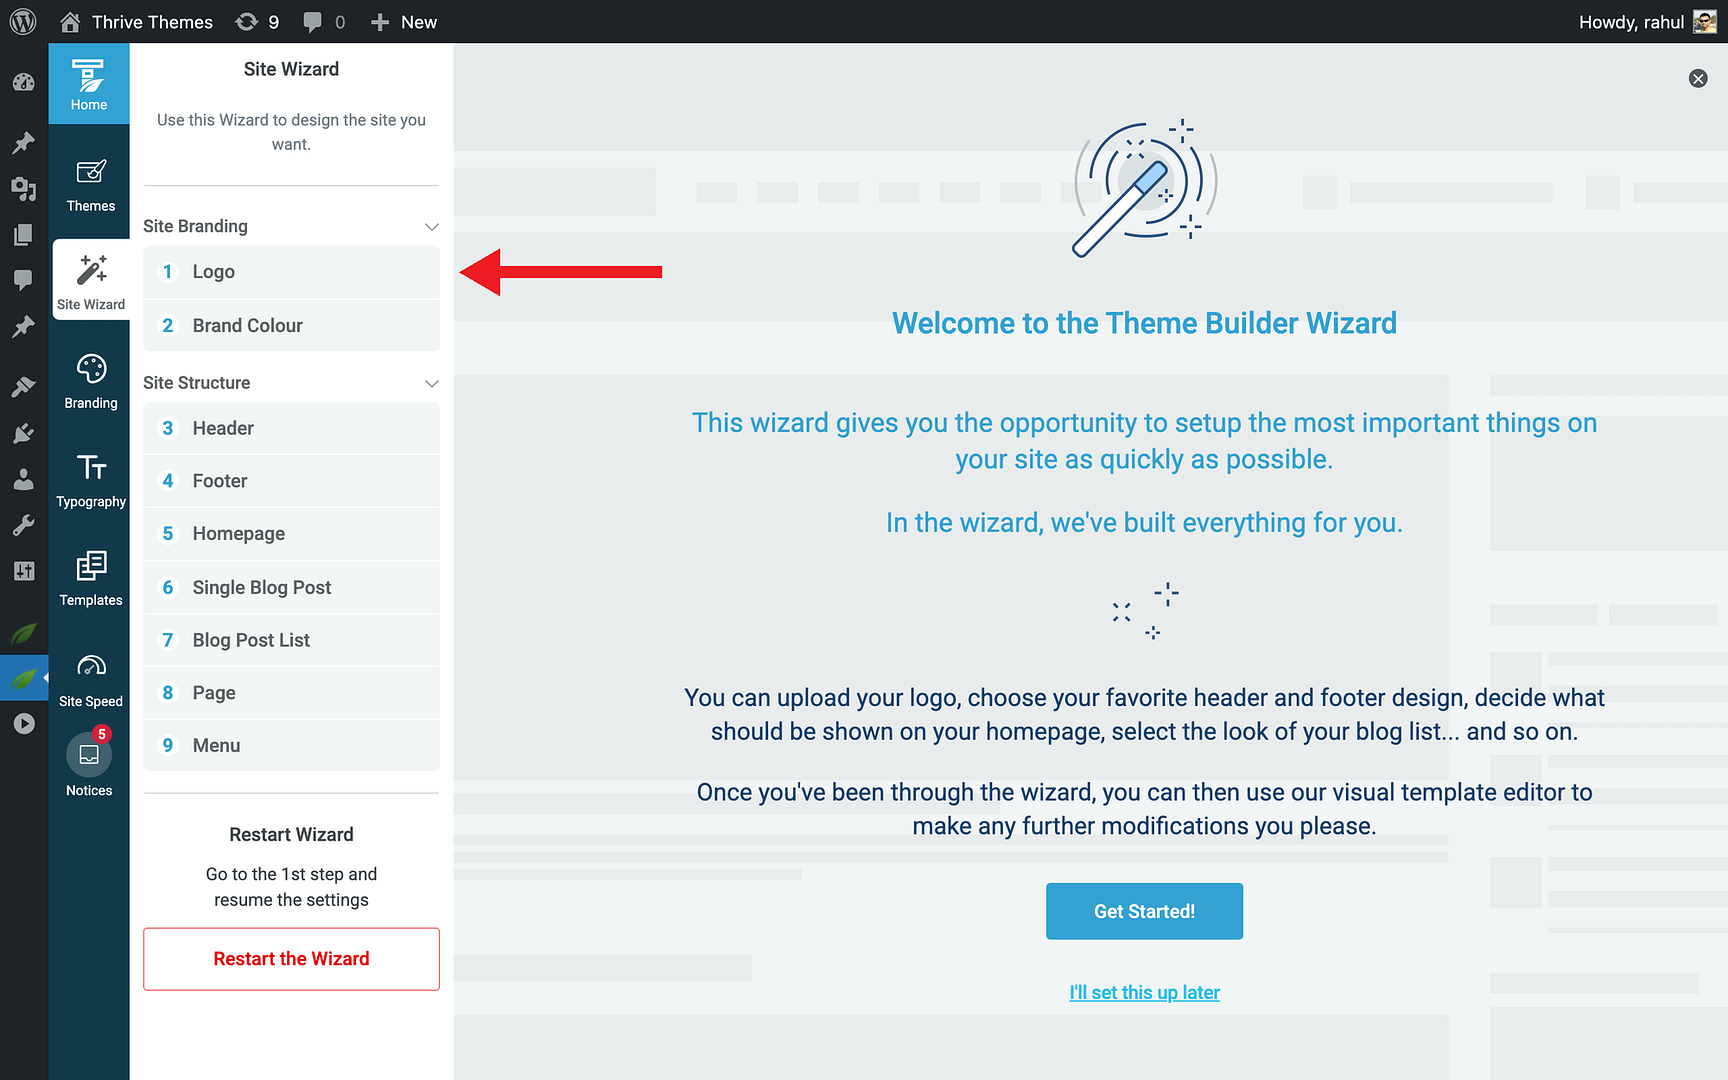
- Brand Colour — Set your primary brand color
- Header — Choose a header template
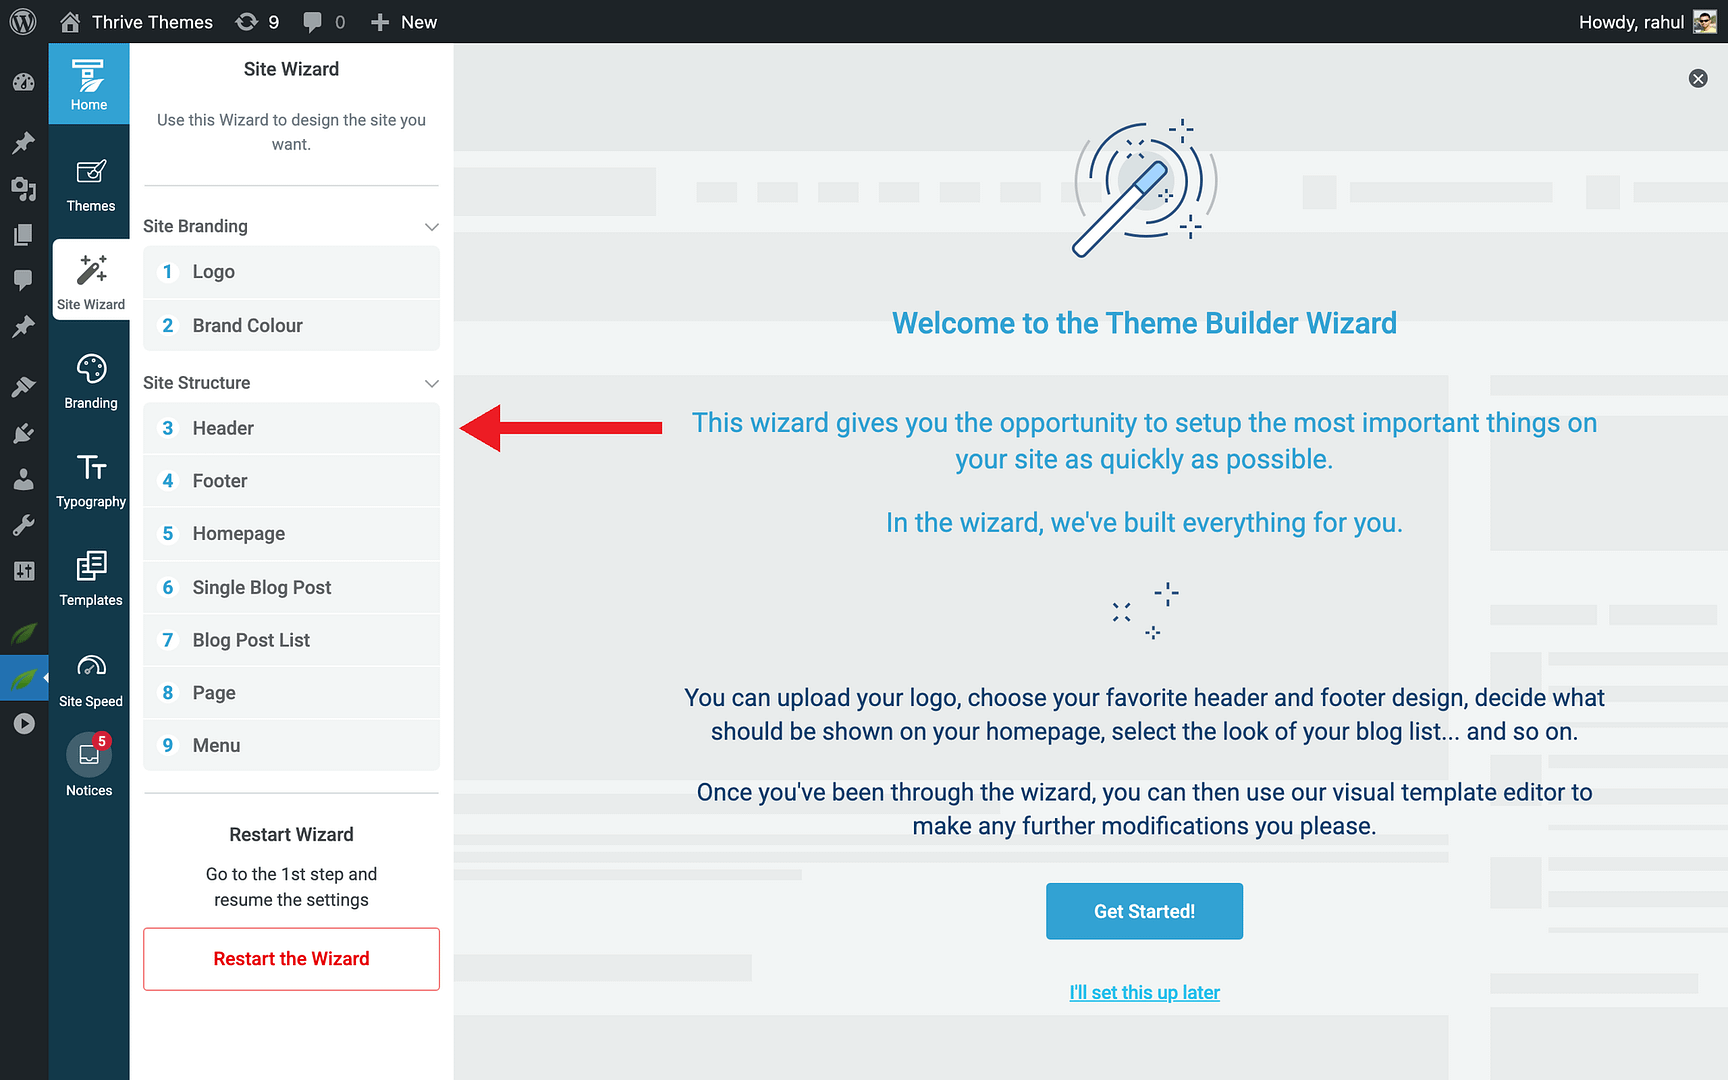
- Footer — Choose a footer template
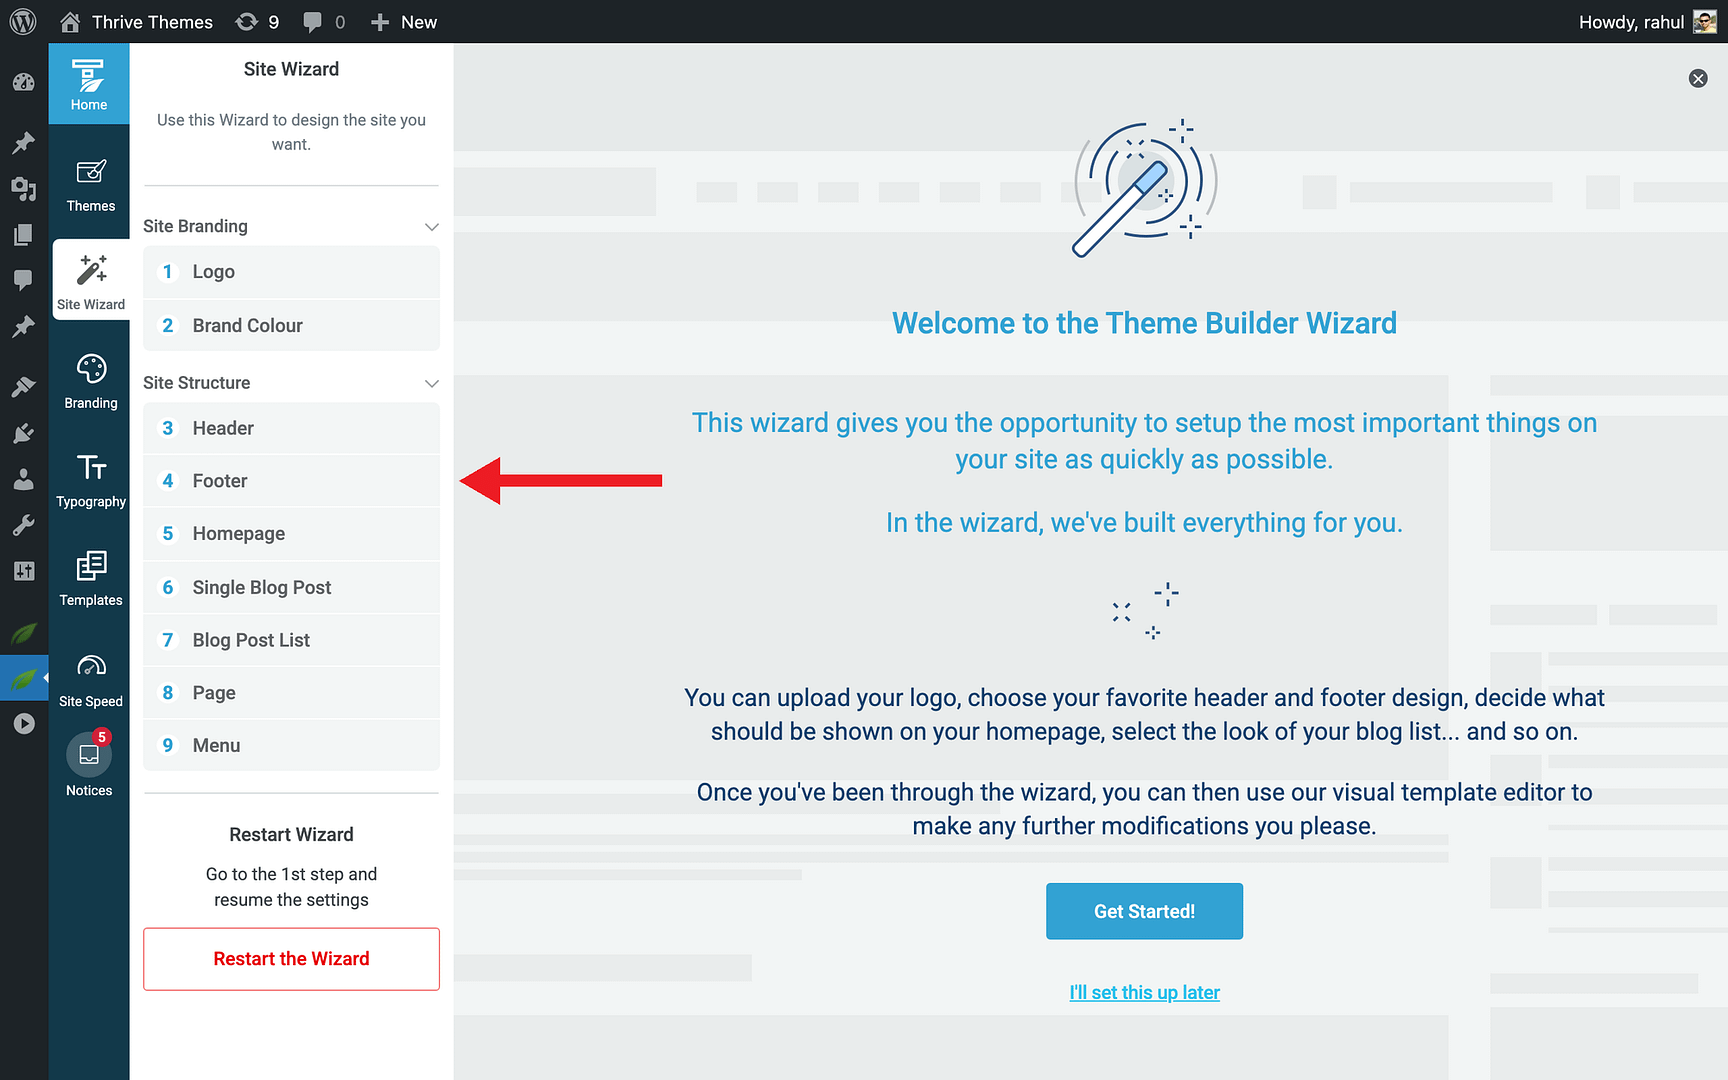
- Homepage — Select or create your homepage
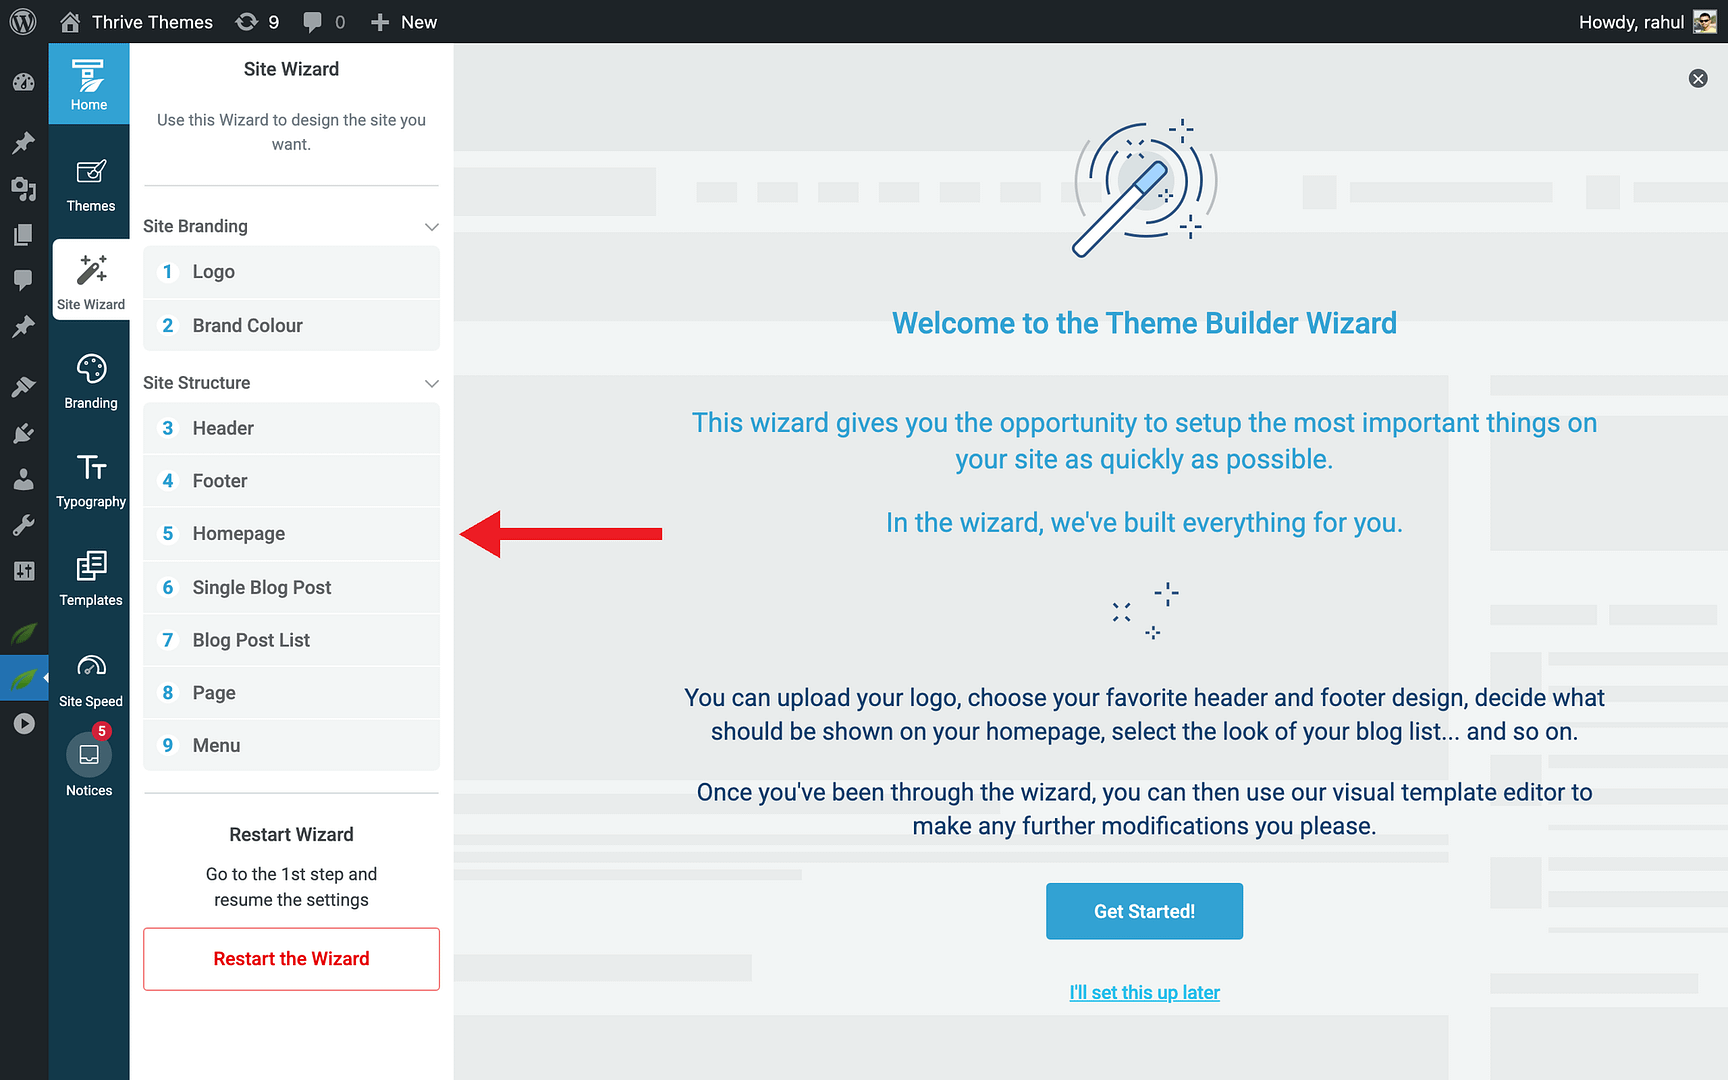
- Single Blog Post — Choose a blog post template
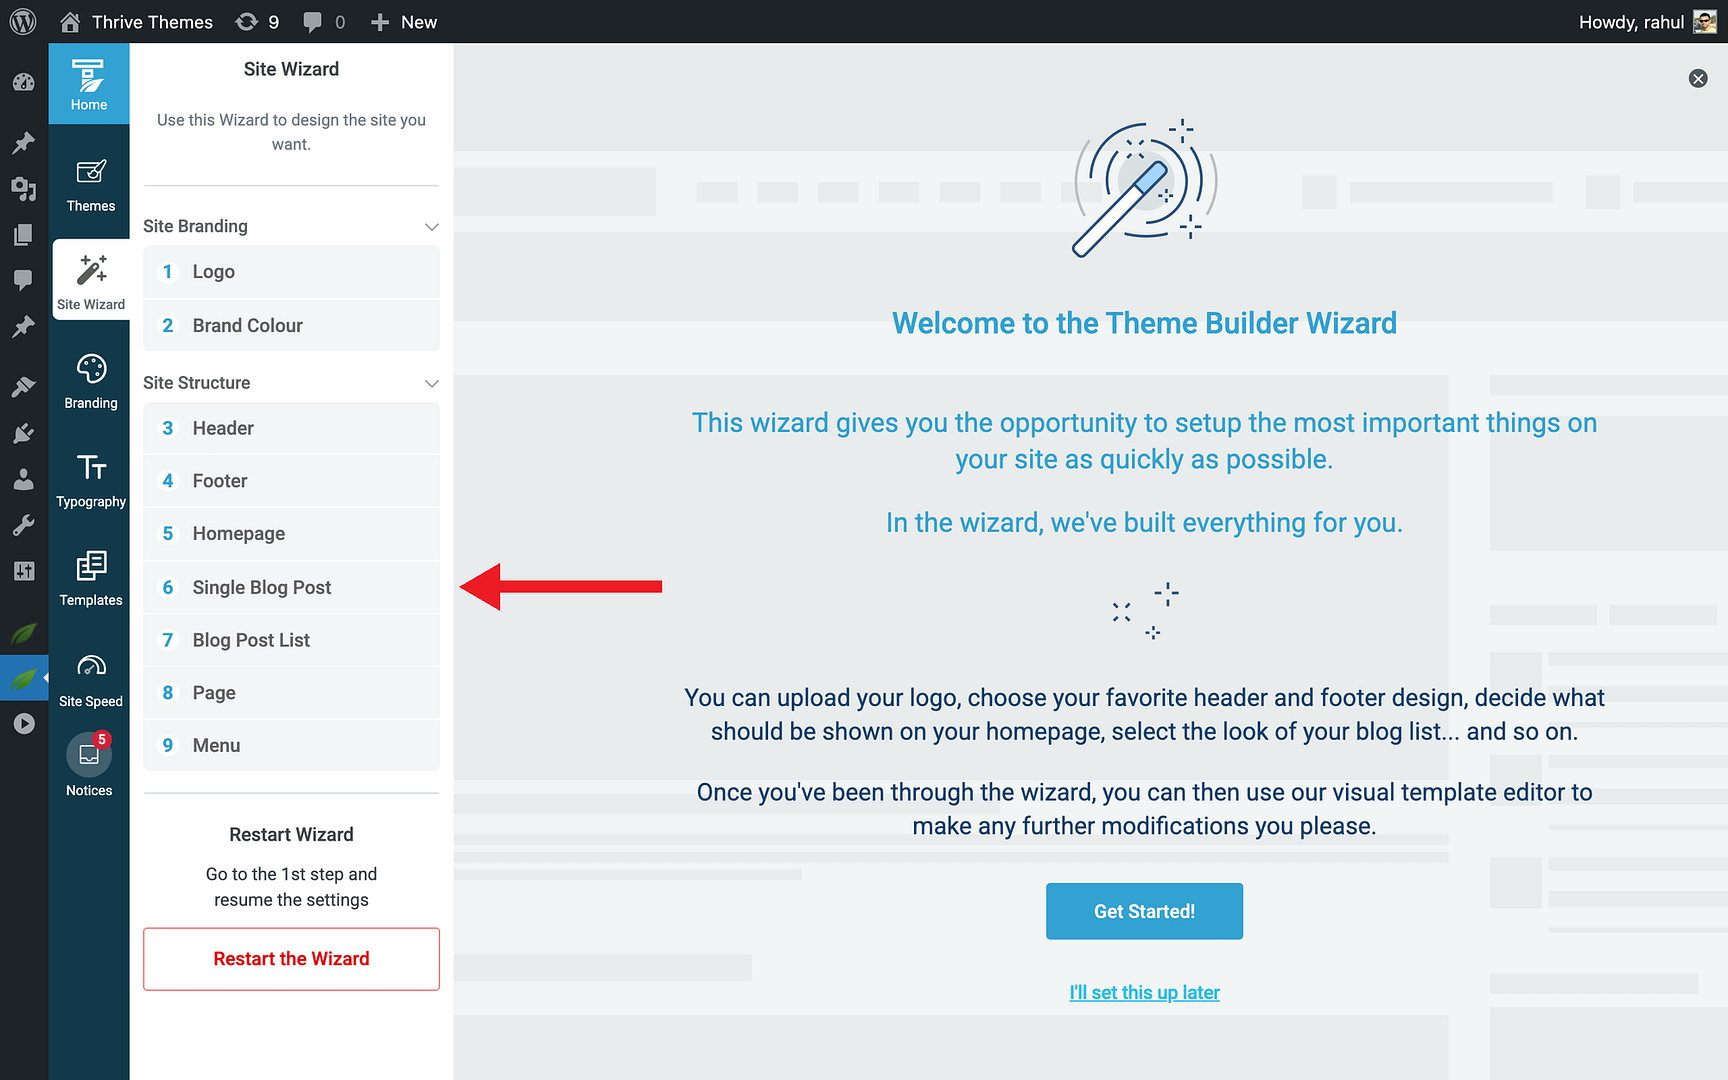
- Blog Post List — Choose a blog list template
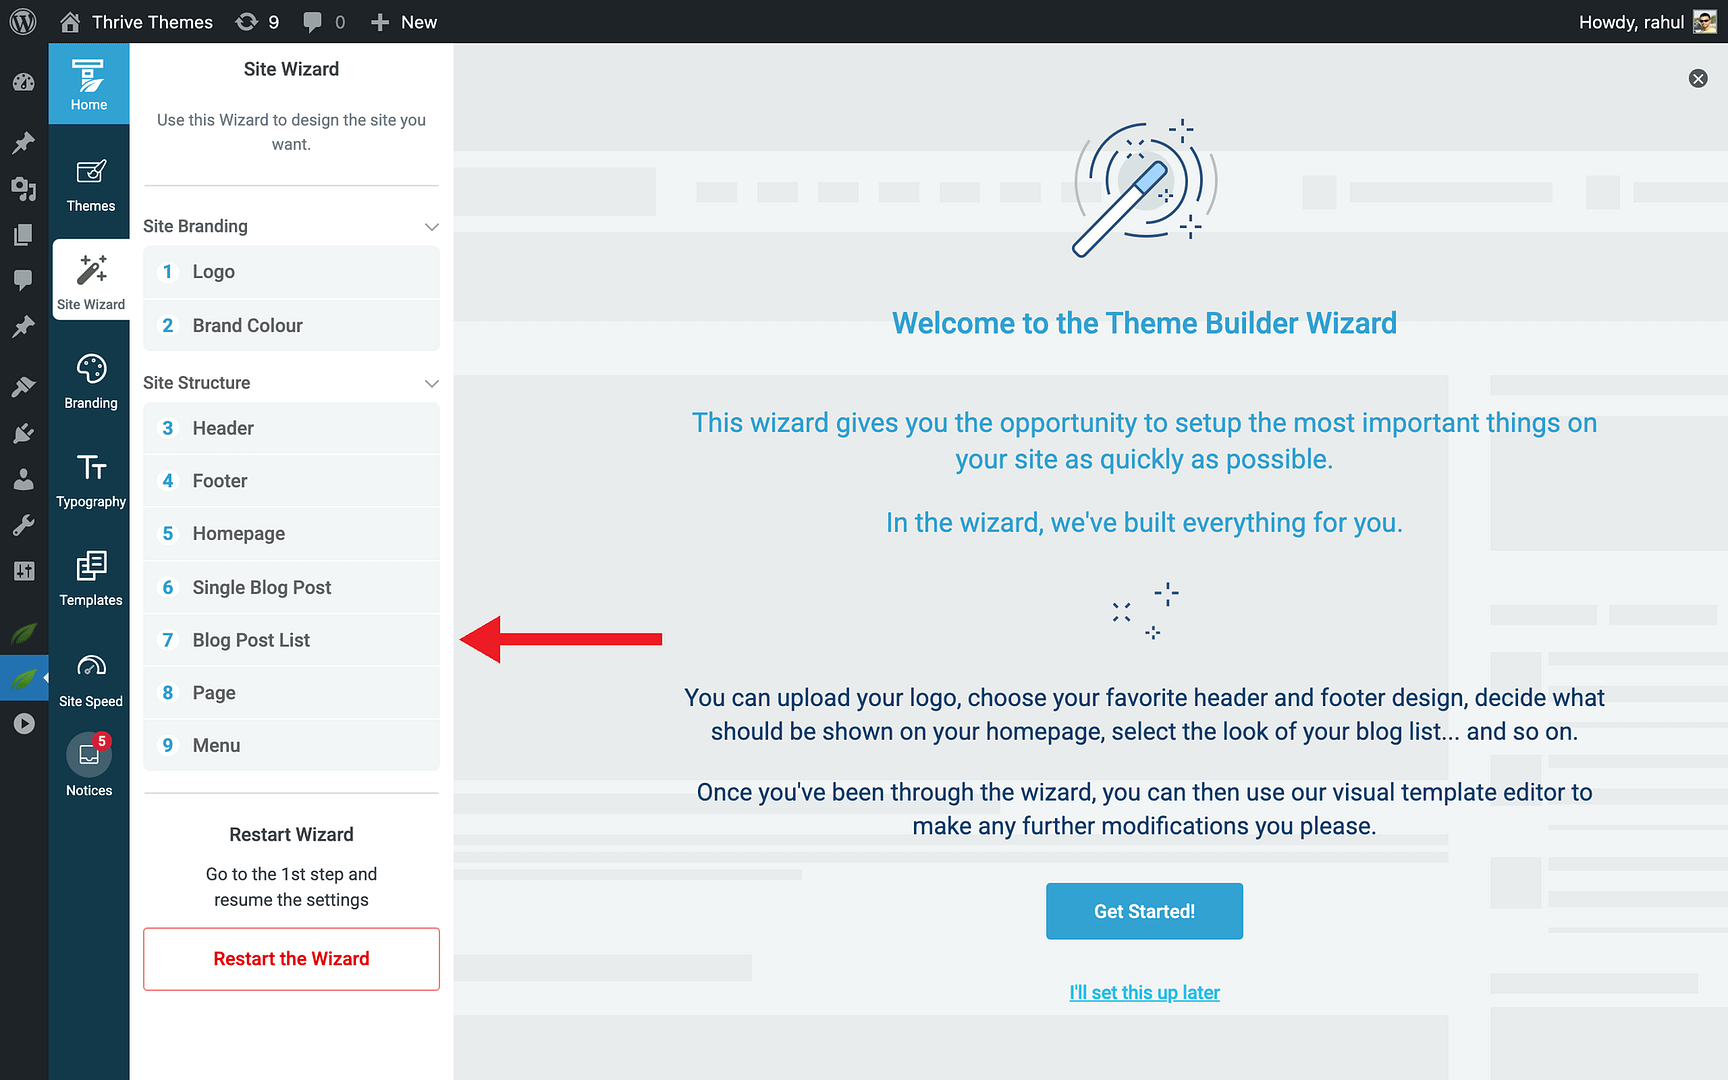
- Page — Choose a page template

- Menu — Set up your navigation menu
Related Resources
- Getting Started with Thrive Theme Builder: Learn how to use the Thrive Theme Builder dashboard and its features.
- Managing Themes: Learn how to add, switch, and manage companion themes in Thrive Theme Builder.
- Using the Site Wizard: Walk through the full Site Wizard setup process step by step.