Once you’ve started collecting social proof, the Thrive Ovation dashboard becomes your central hub for organizing, filtering, and moderating your content. In this article, you’ll learn how to use statuses to manage your workflow, filter your library to find specific testimonials, and organize your tags.
1. Understanding Testimonial Statuses
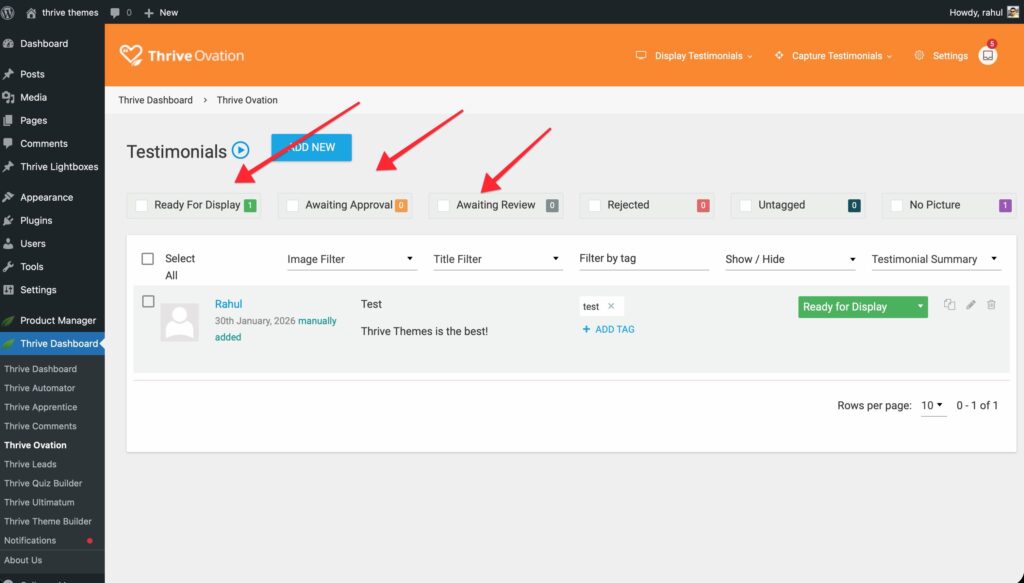
Every testimonial in your library is assigned a status that determines if it can be displayed on your website.
- Ready for Display: These testimonials are live and will appear in any display elements or dynamic lists on your site.
- Awaiting Review: Testimonials captured via on-page forms begin here. You must review and approve them before they can be displayed.
- Awaiting Approval: Used when you’ve converted a comment into a testimonial and are waiting for the customer to give permission (via the Customer Approval workflow).
- Rejected: Testimonials that you have decided not to use. They remain in your database but will never be shown on the front end.
2. Filtering and Searching Your Library
As your testimonial library grows, you can use the built-in filtering options to quickly find exactly what you need.
Dashboard Filters
At the top of the testimonial list, you can filter by:
- Status: Show only “Ready for Display” or “Awaiting Review” items.
- Image: Filter by whether a testimonial has an author image or not.
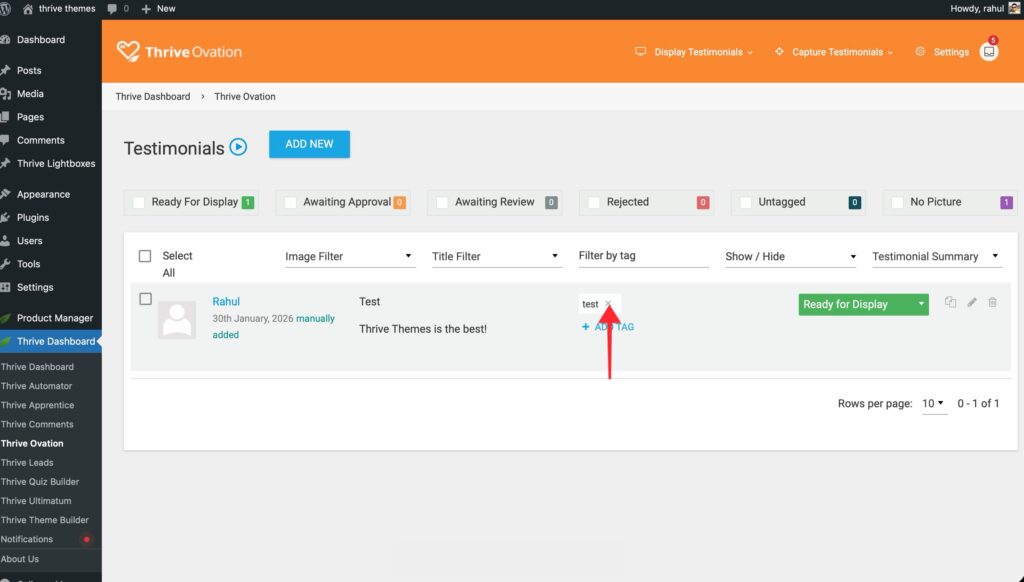
- Title/Tag: Search for specific keywords in the testimonial title or use the tag filter to show items with matching labels.
Display Options
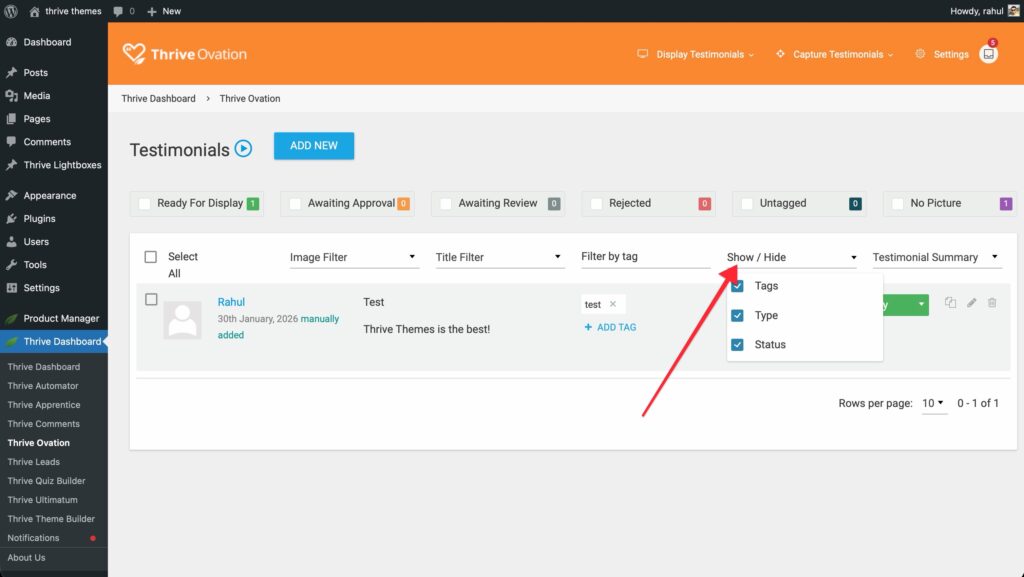
Click the Show/Hide field to customize which columns appear in your dashboard list. You can toggle Tags, Type (how it was collected), and Status to keep your view clean.
3. Managing and Editing Tags
Thrive Ovation does not have a standalone “Tag Manager” screen. Instead, you manage your tags directly from the dashboard and the testimonial editor.
Managing Tags in Bulk
You can assign tags to multiple testimonials at once from the main dashboard:
- Select the testimonials you want to organize using the checkboxes on the left.
- Click the Tags icon in the toolbar (tooltip: “Define tags for selected testimonials”).
- In the dropdown that appears, you can search and select existing tags or see which ones are already applied to your selection.
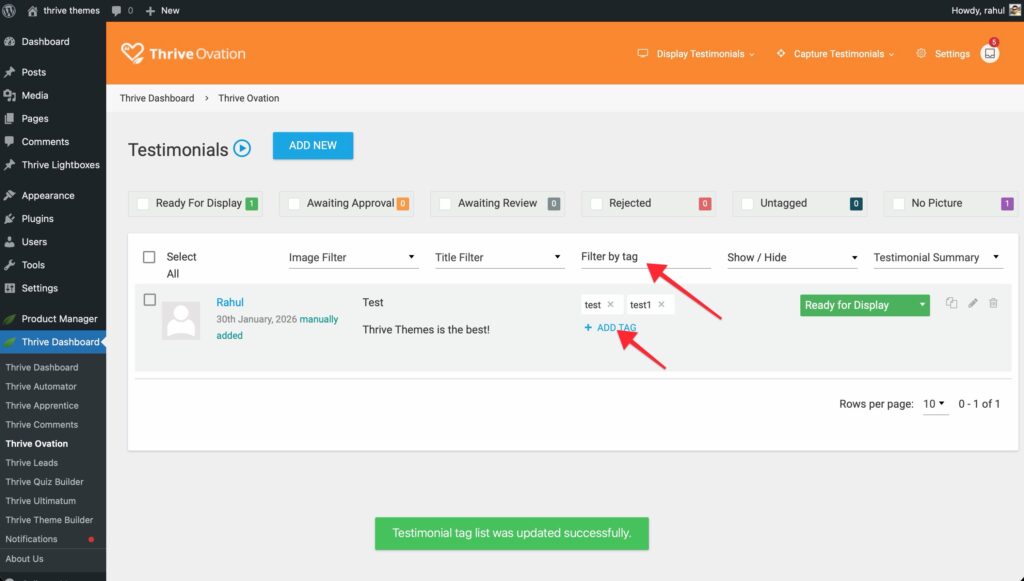
Managing Individual Tags
When you add a testimonial manually, import one, or edit an existing entry, you will see a Tags section in the form:
- Assign Tags: Type in the field to select from your list of existing tags.
- Create New Tags: If you type a name that doesn’t exist yet, Thrive Ovation’s autocomplete will allow you to create the new tag on the fly.
4. Bulk Actions and Individual Edits
Next to each testimonial, you will find options to Edit, Duplicate, or Delete individual items.
If you need to manage multiple items at once:
- Use the checkboxes on the left to select several testimonials.
- Use the Bulk Actions dropdown (at the top or bottom of the list) to change statuses or delete items in one click.
Related Resources
- Display Guide: Learn how to showcase testimonials on your site.
- Automation Guide: Use tags to set up rotating dynamic content.
- Settings Guide: Learn how to automate approval requests via email.