In this article, you’ll learn how to configure the upload settings for assessments in Thrive Apprentice. This includes connecting a cloud storage service, selecting allowed file types, setting size limits, and managing student submissions through the review process.
Why You Need Upload Settings
When you enable upload-type assessments, students submit files directly through your course. Those files need a storage destination. Thrive Apprentice integrates with Google Drive and Dropbox to securely store submitted files, so you’ll need an active API connection with one of these services before students can upload anything.
Prerequisites
Before configuring upload settings, make sure you have:
- Thrive Apprentice version 5.8 or later
- Assessments enabled for at least one lesson (see How to Enable Assessments)
- A Google Drive or Dropbox account ready for API connection
Step 1: Connect Your Cloud Storage Service
- Navigate to Thrive Dashboard > Thrive Apprentice.
- Click Settings in the left sidebar.
- Locate the Assessment Uploads section.
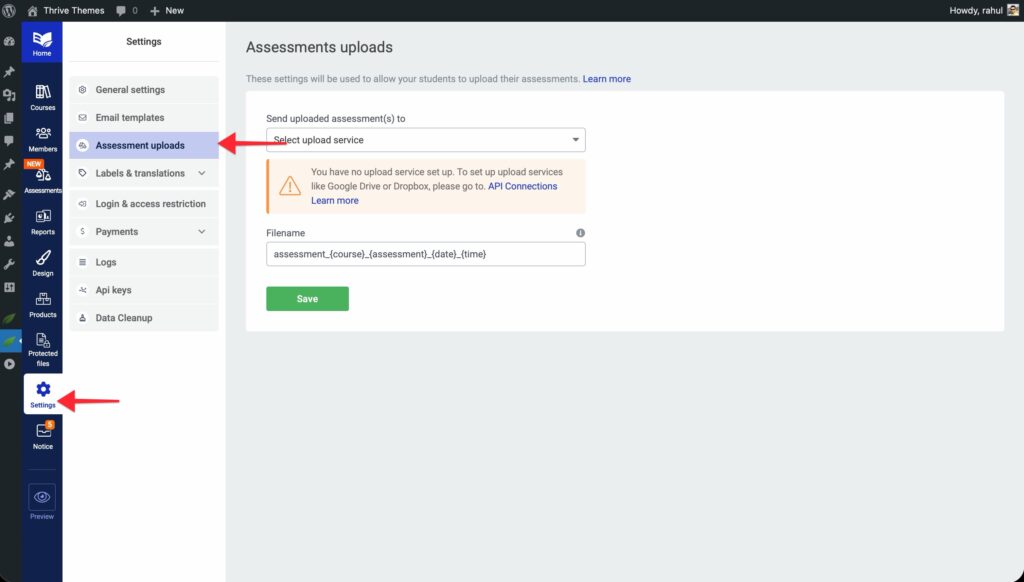
- Click API Connrctions and choose either Google Drive or Dropbox as a file service.
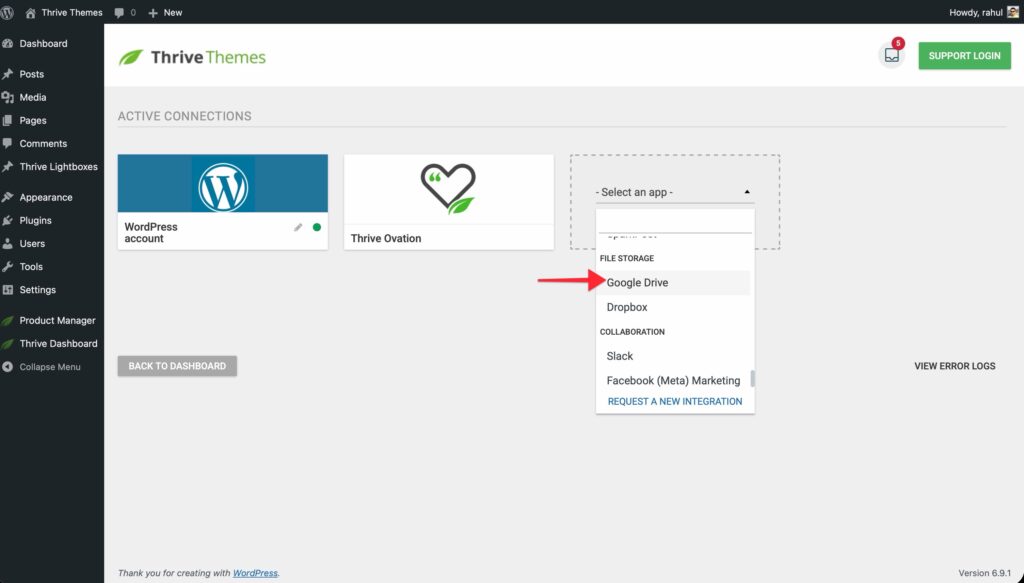
- Follow the on-screen prompts to authorize Thrive Apprentice to access your cloud storage account.
- Once connected, you’ll see a confirmation message with the connected service name.
Step 2: Configure File Type and Size Limits
After connecting your storage service, you can control what students are allowed to upload:
- In the Assessment Uploads section, locate the Allowed File Types setting.
- Select the file extensions you want to accept. Common options include:
Documents: .pdf, .doc, .docx, .txt
Spreadsheets: .xls, .xlsx, .csv
Presentations: .ppt, .pptx
Images: .jpg, .png, .gif
Archives: .zip - Set the Maximum File Size limit. Choose a value that accommodates your expected submissions without overloading your storage (e.g., 10 MB, 25 MB, or 50 MB).
- Click Save to apply the settings.
Step 3: Choose a Storage Destination Folder
- In the Assessment Uploads section, click Select Folder.
- Browse your connected Google Drive or Dropbox account and choose the folder where you want student submissions stored.
- Click Confirm to set the destination.
All student uploads will be saved to this folder. Thrive Apprentice organizes files by course and student name, making it easy to locate specific submissions.
Managing Student Submissions
Once students begin submitting assessments, you can manage their uploads from the Thrive Apprentice dashboard:
- Navigate to Thrive Dashboard > Thrive Apprentice > Assessments.
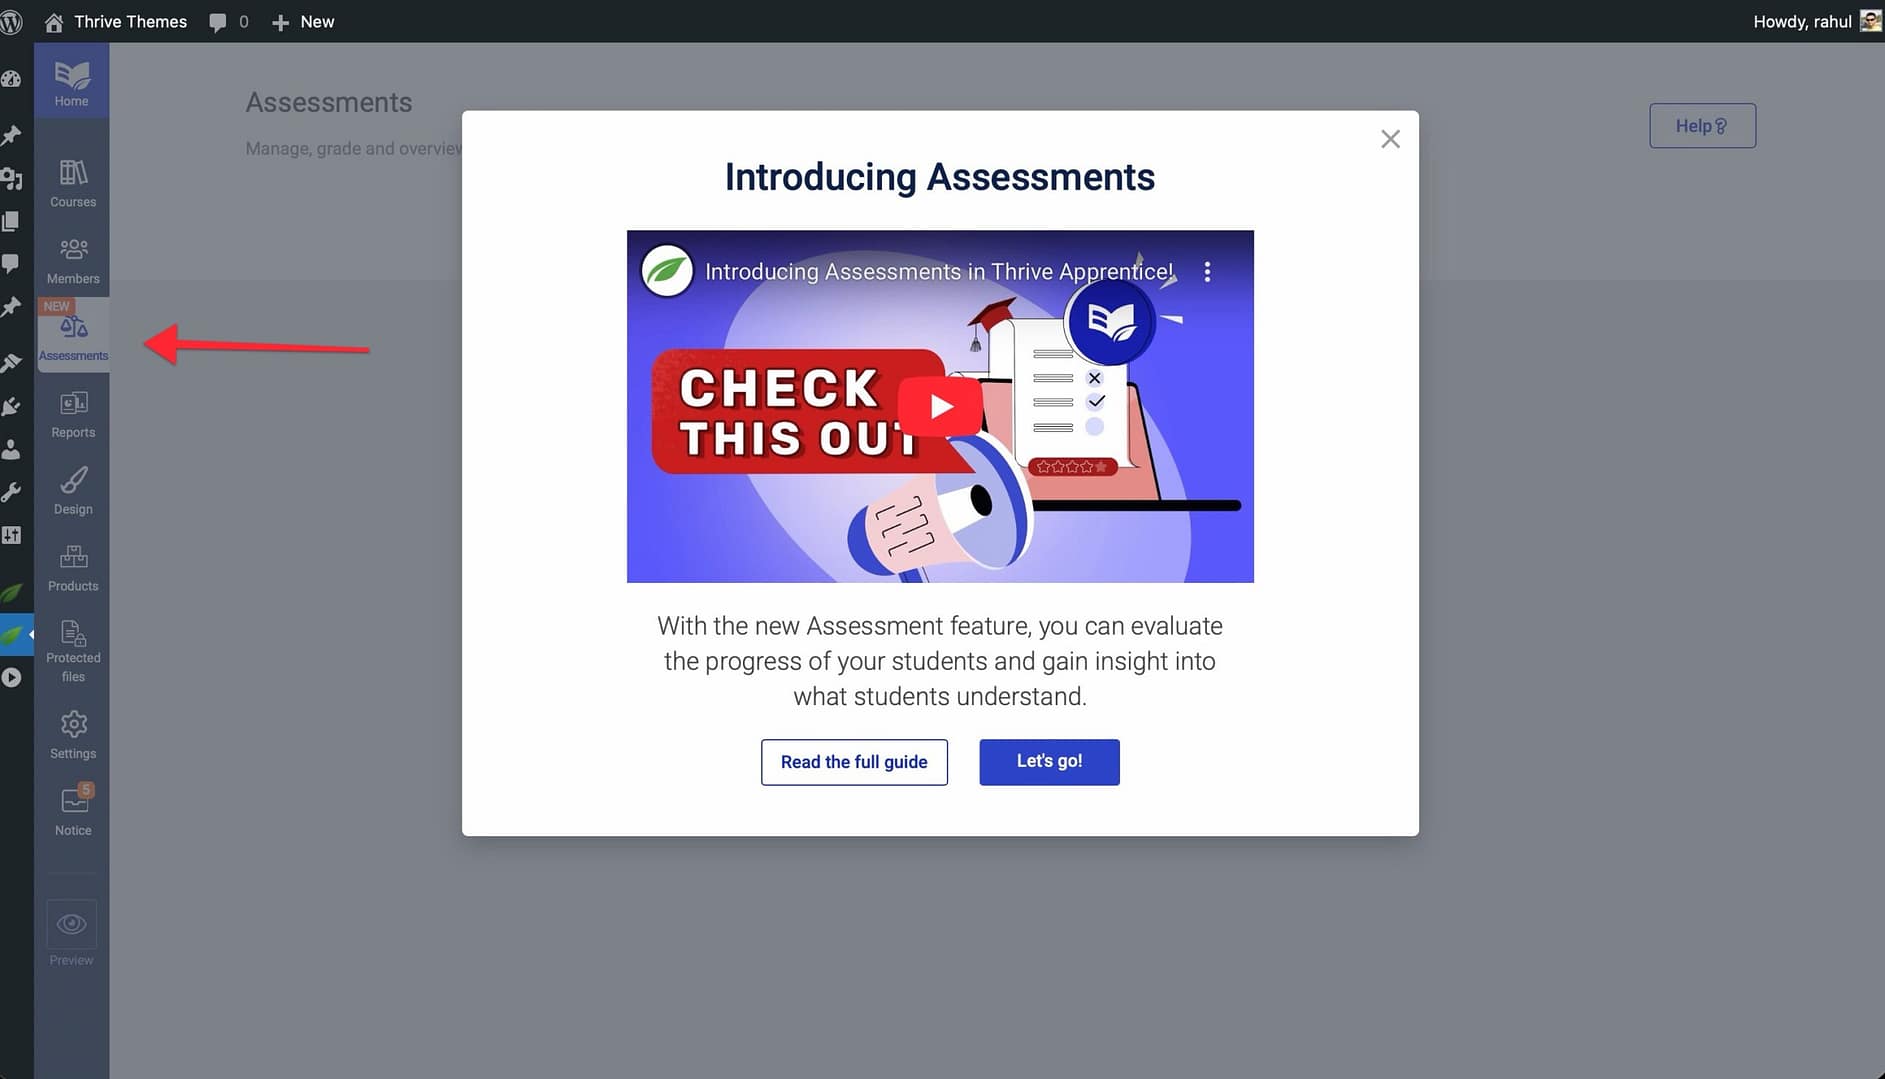
- You’ll see a list of all submissions with their current status: Pending, Passed, or Failed.
- Click on any submission to open the review panel.
- From the review panel, you can:
View or download the uploaded file directly from your connected cloud storage
Mark as Passed or Mark as Failed
Add feedback comments for the student - Click Save to finalize the review.
Troubleshooting Common Issues
- Upload button is grayed out: The cloud storage API connection is missing or expired. Reconnect your Google Drive or Dropbox under Settings > Assessment Uploads.
- File rejected on upload: The student’s file type or size exceeds the limits you configured. Adjust the settings or ask the student to compress/convert their file.
- Files not appearing in storage: Verify the destination folder still exists and that the API connection has the correct permissions.
Conclusion
That’s it! You’ve successfully configured assessment upload settings in Thrive Apprentice. With cloud storage connected and file limits in place, your students can submit their work and you can review it—all from within your WordPress dashboard.
Related Resources
- Enabling assessments: How to Enable Assessments in Thrive Apprentice
- Template refresh: How to Refresh Templates After Adding Assessments
- Google Drive API setup: Connecting Google Drive to Thrive Apprentice
- Dropbox API setup: Connecting Dropbox to Thrive Apprentice