In this article, you’ll learn how to manage course statuses in Thrive Apprentice—including publishing, hiding, and archiving courses—as well as how to schedule lessons and use bulk actions to manage multiple items at once.
Understanding Course Status Options
Every course in Thrive Apprentice has a status that controls its visibility and accessibility. Here are the available statuses:
- Published — The course is live and visible to all visitors on your site. Students with access can enroll and start learning.
- Unpublished — The course is not visible to anyone except administrators. Use this status while you’re still building or editing your course content.
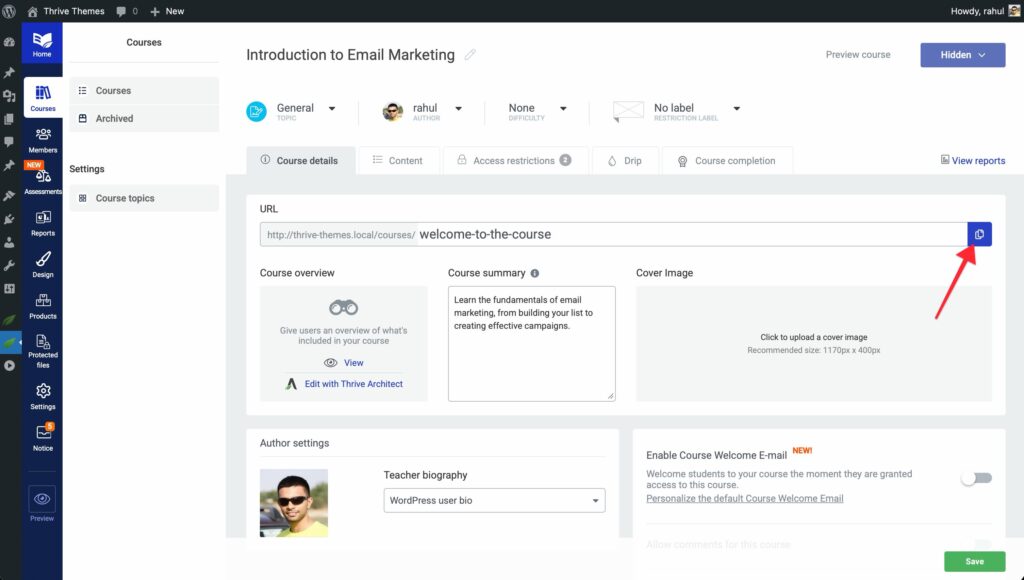
- Hidden — The course is not listed publicly, but users with a direct link can still access it. This is ideal for exclusive or invite-only courses.
- Archived — The course is removed from public listings and is no longer accessible to new students. Archived courses appear on a separate Archives page in your dashboard.
How to Change a Course’s Status
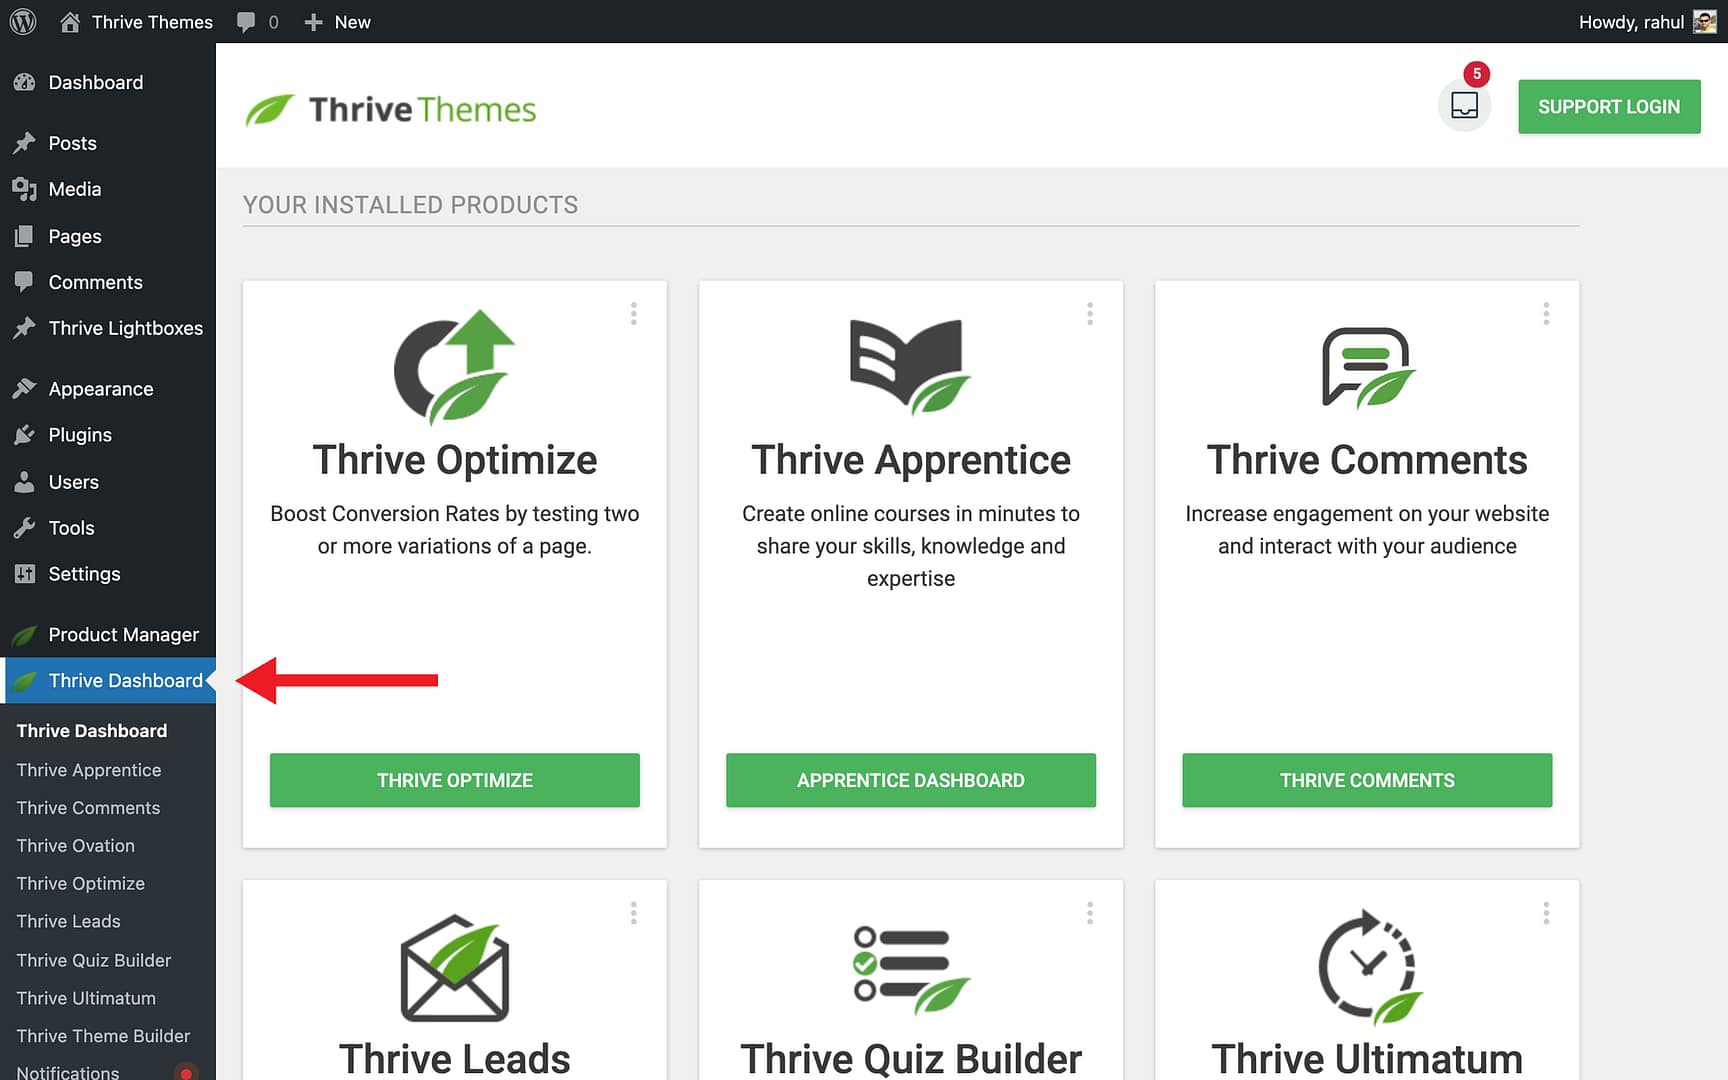
- Navigate to Thrive Dashboard > Thrive Apprentice.
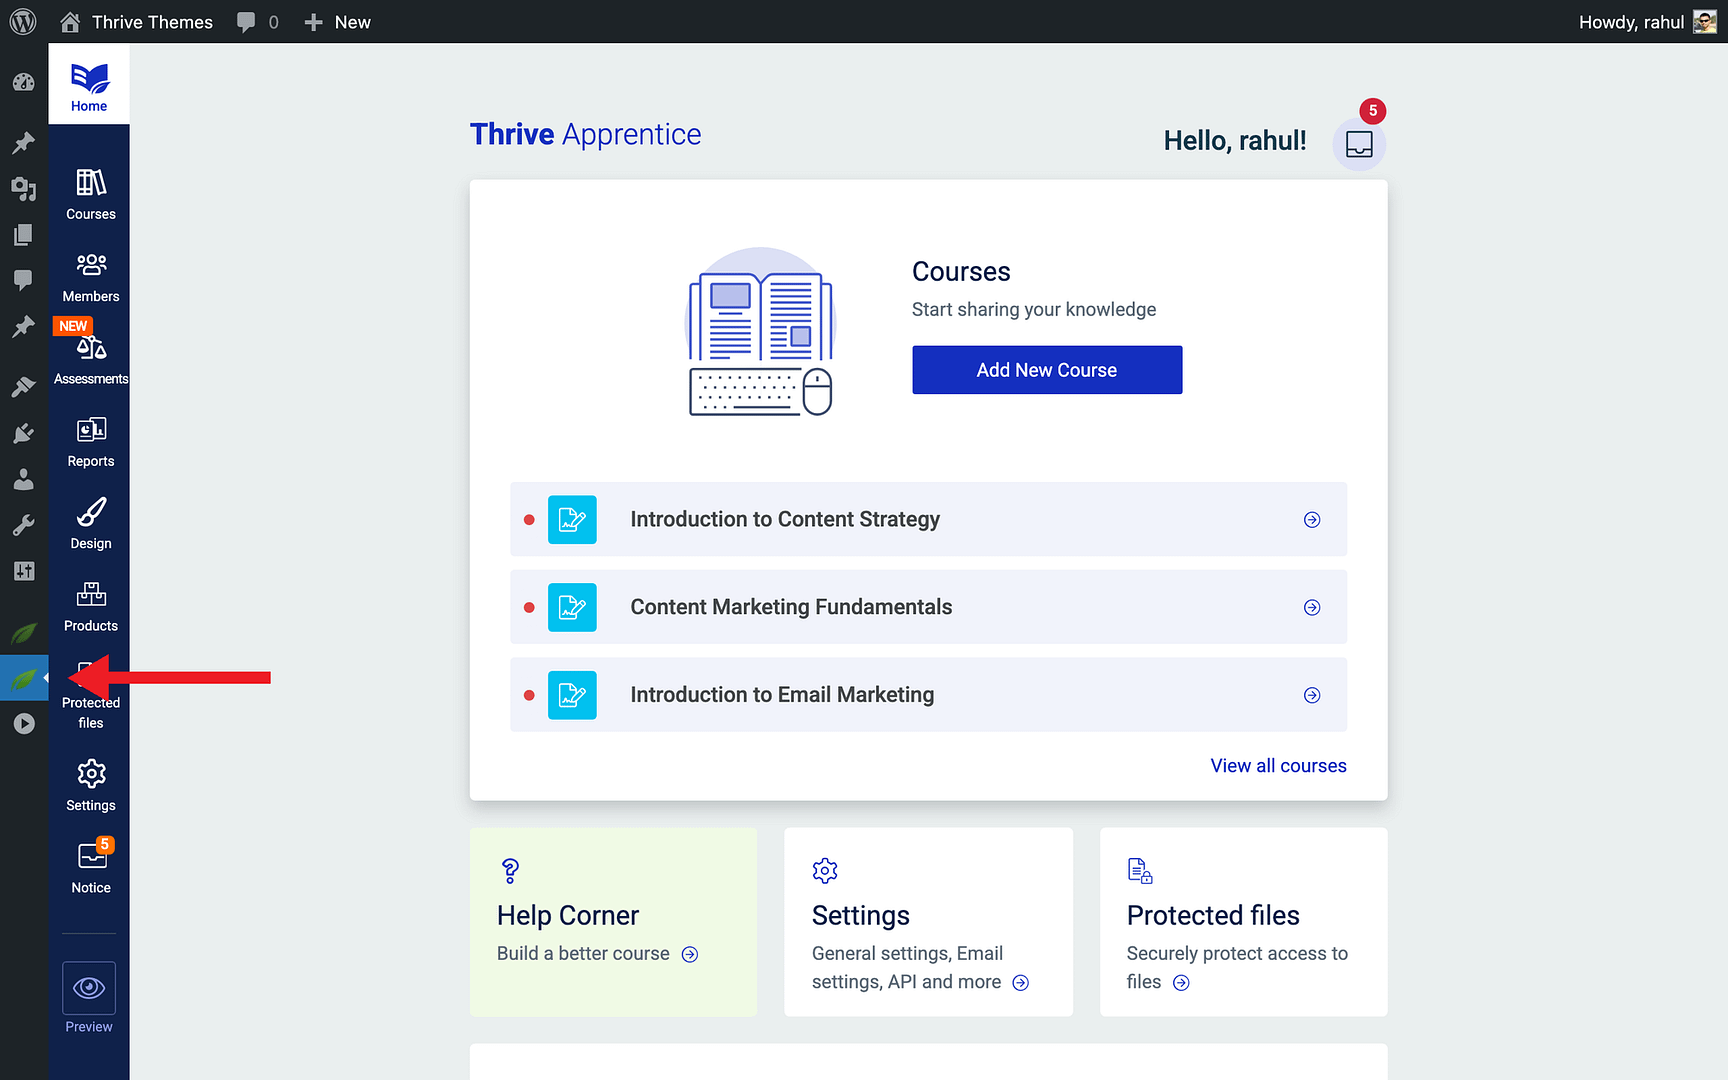
- Click Courses in the left sidebar to view your course list.
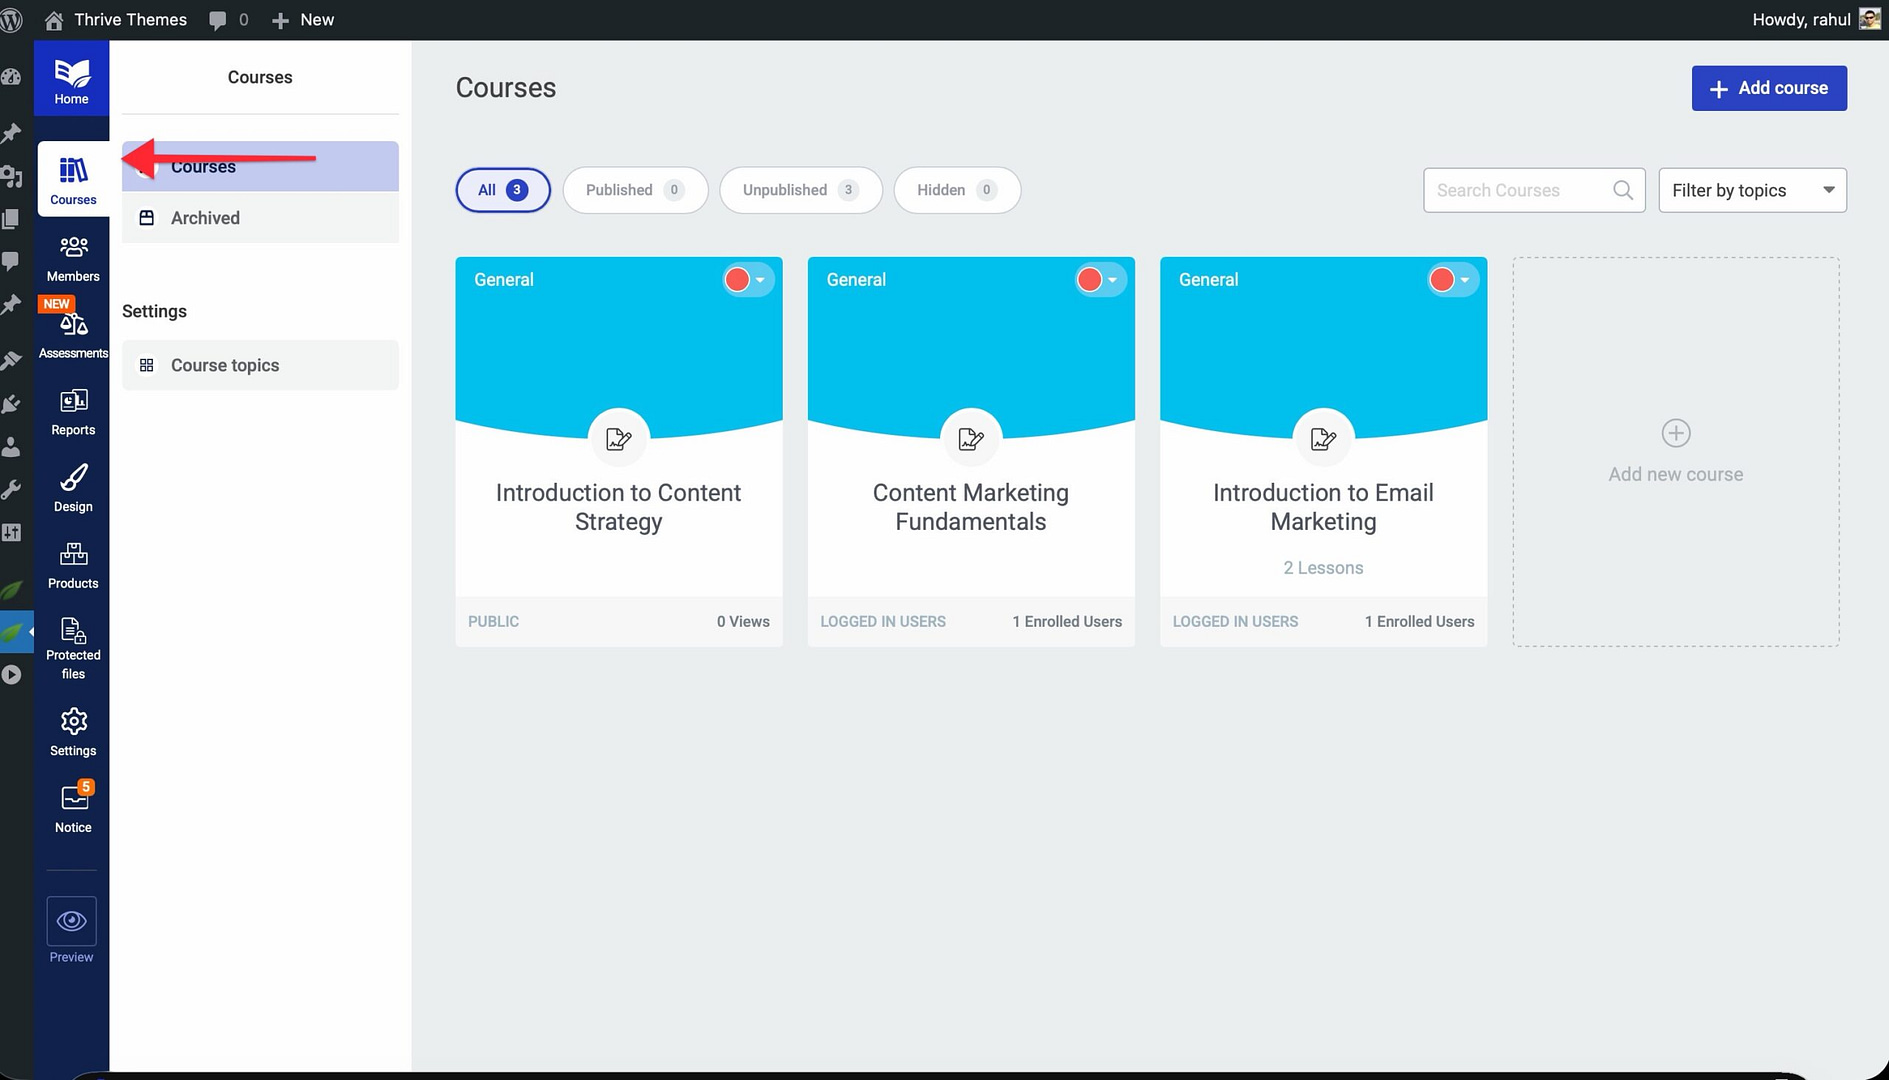
- Hover over the course you want to modify.
- Click the status dropdown on the course card.

- Choose the desired action: Publish, Unpublish, Hide, or Archive.
- The status change applies immediately.
Scheduling a Course for Future Publication
The scheduling feature lets you set a course—or individual modules and lessons—to publish automatically at a specific date and time. This is perfect for drip content strategies or coordinated launch events.
- Navigate to Thrive Dashboard > Thrive Apprentice and open the course you want to schedule.

- Click the Course of your choice to view all modules and lessons.
- Hover over the Publish icon next to the lesson or module you want to schedule.
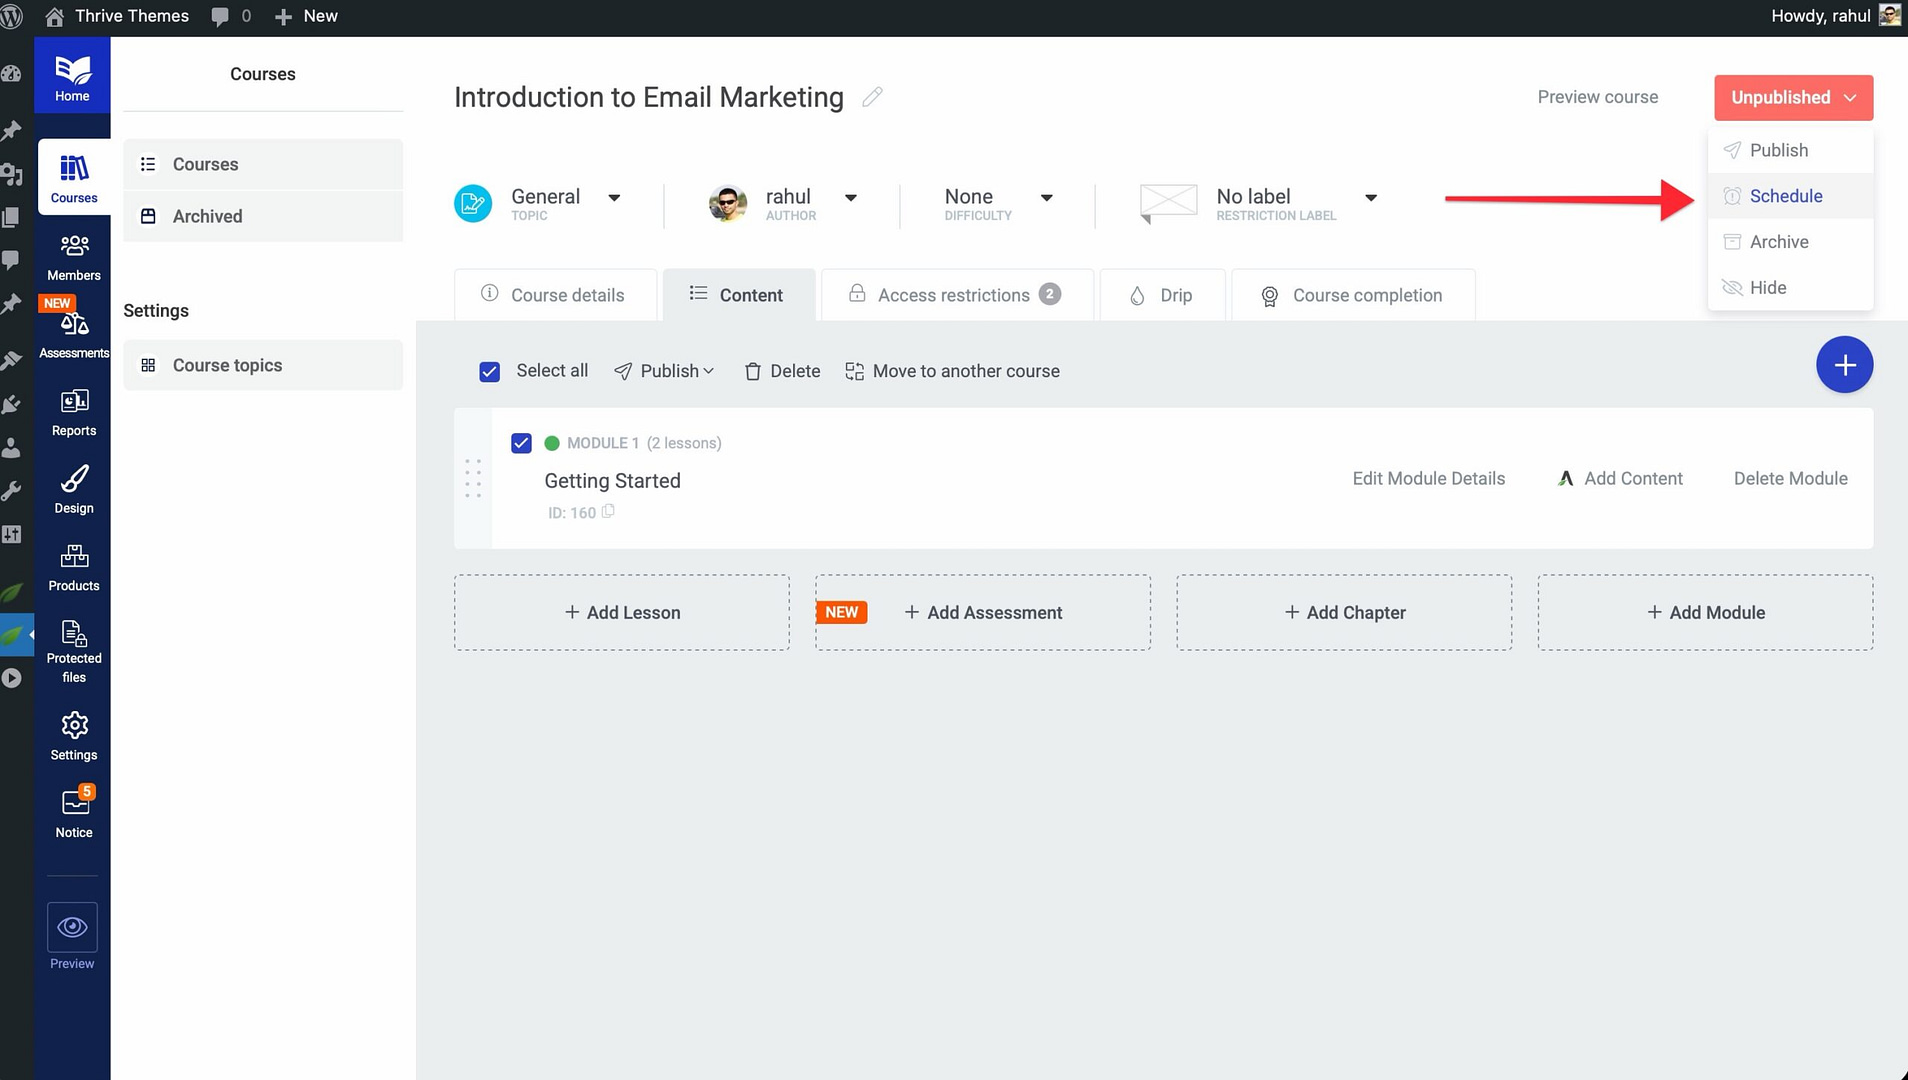
- Select Schedule from the options that appear.
- Set the date and time you want the content to go live.
- Click Save to confirm the schedule.
Once the scheduled date arrives, Thrive Apprentice automatically publishes the content—no manual action required on your part.
Hiding Premium Courses from the Course List
If you offer premium courses that should only be visible to specific users or members, you can hide them from the public course list. This keeps your premium content exclusive while still allowing authorized users to access it via a direct link or through their member dashboard.
- Go to Thrive Dashboard > Thrive Apprentice > Courses.
- Open the premium course you want to hide.
- Change the course status to Hidden.
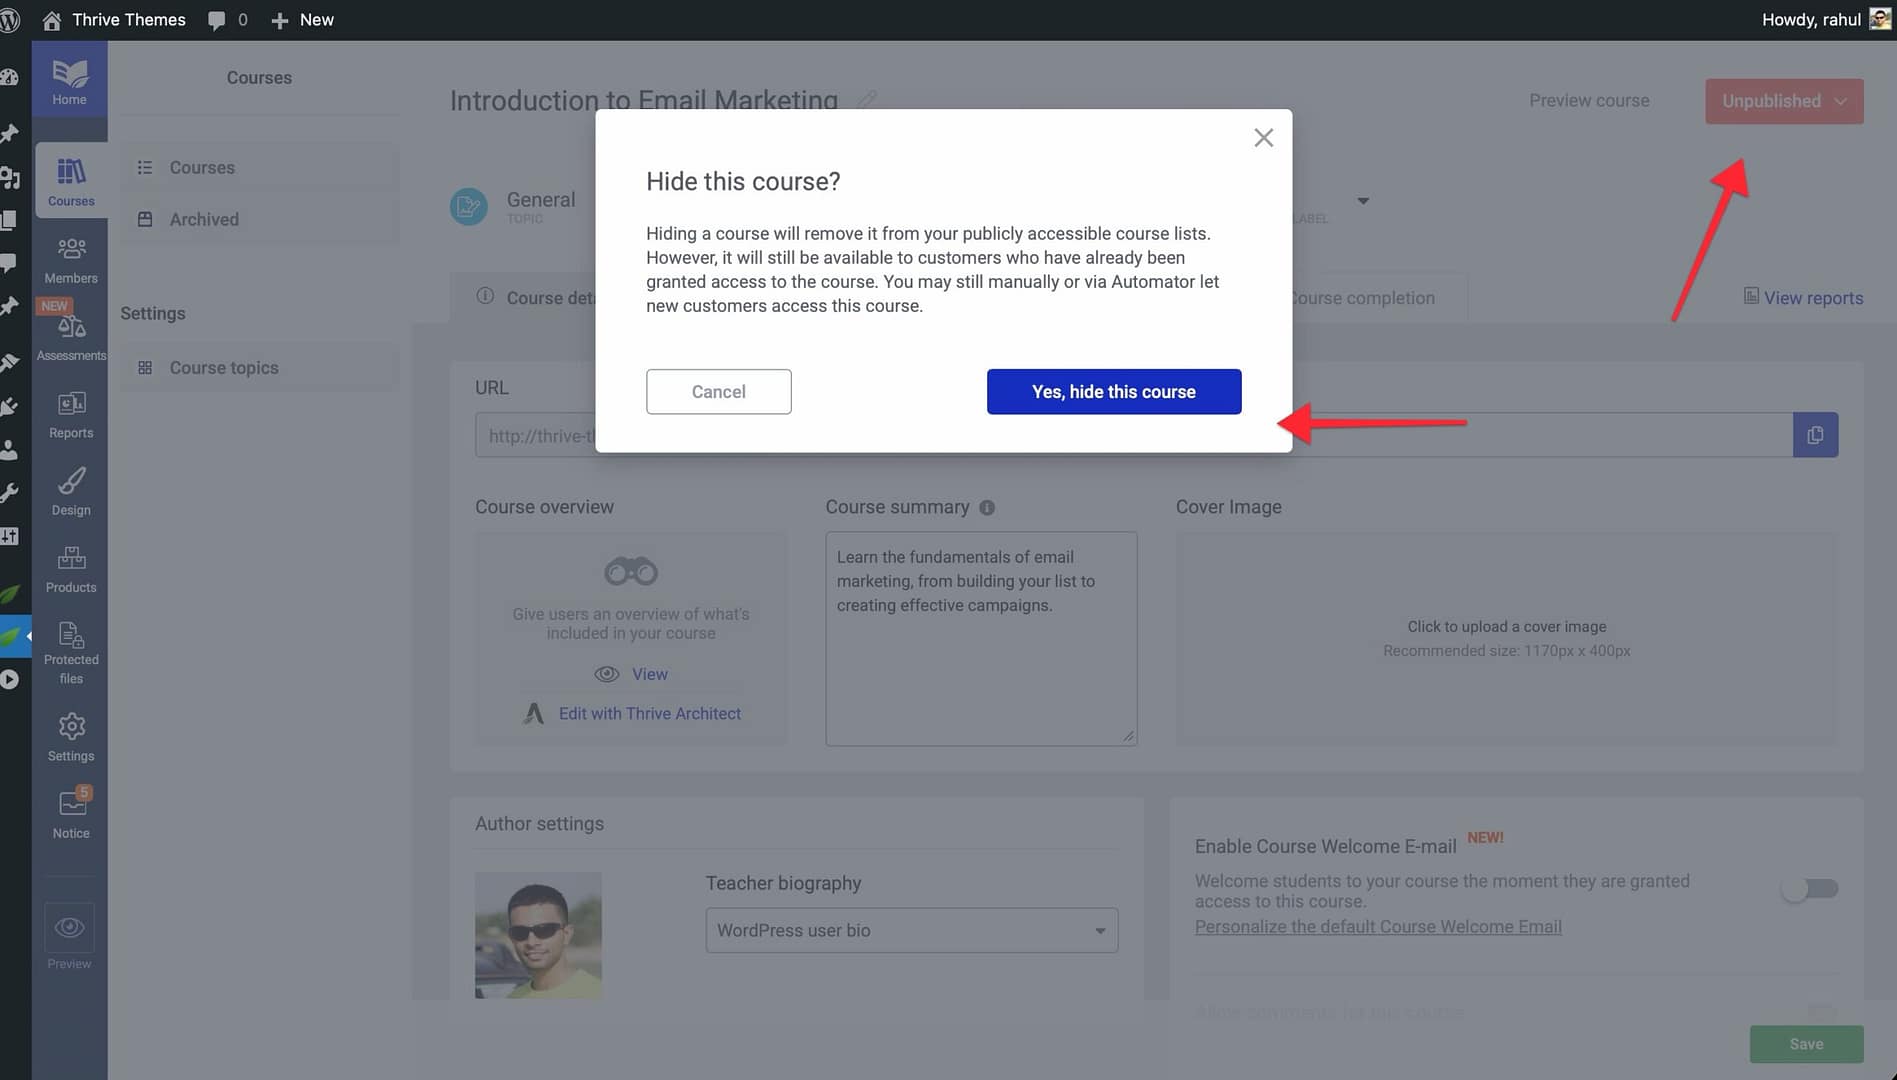
- Share the direct course URL only with authorized members or use your product access settings to control visibility.
Using Bulk Actions to Manage Multiple Courses
When you need to make changes to several lessons, chapters, or modules at once, bulk actions save you significant time. Instead of editing each item individually, you can select multiple items and apply changes in a single operation.
How to Use Bulk Actions
- Navigate to Thrive Dashboard > Thrive Apprentice.

- Open the course you want to manage and click the Content tab.
- Select the checkboxes next to the lessons, modules, or chapters you want to modify.
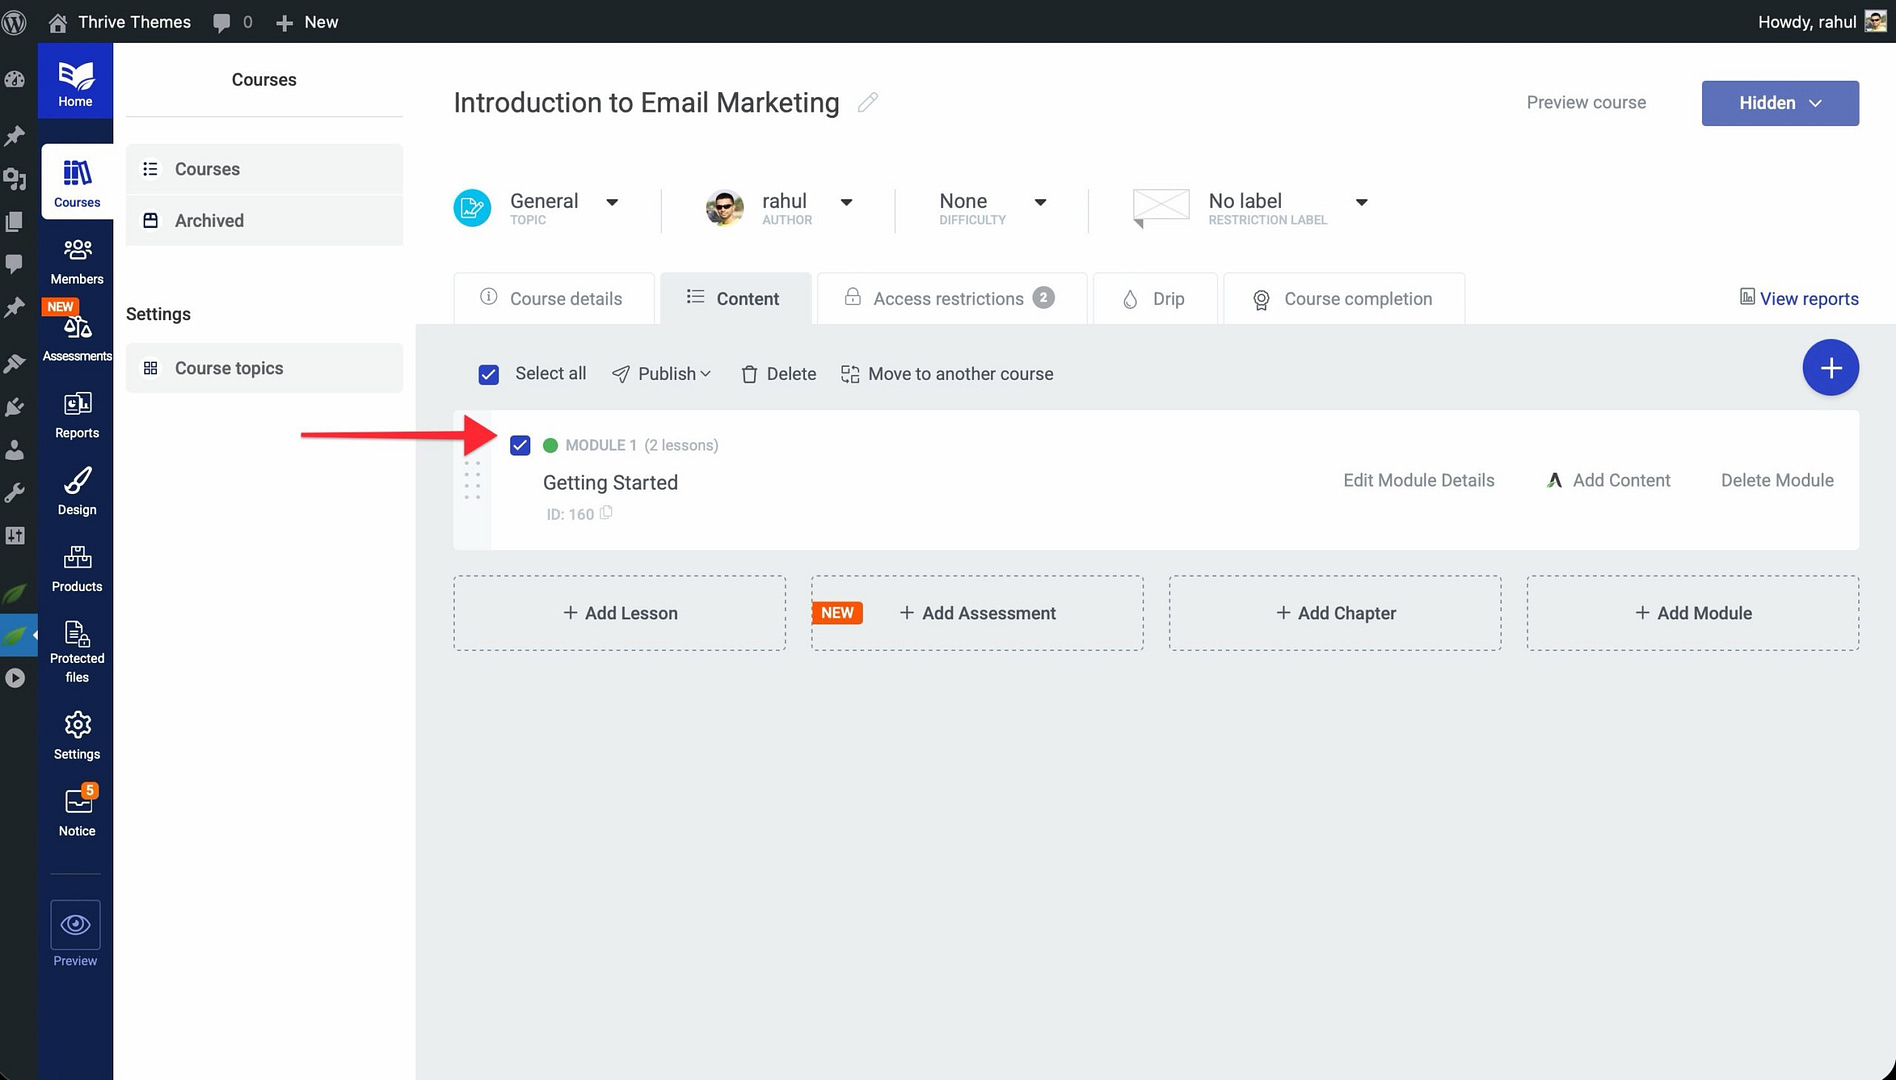
- A Bulk Actions toolbar appears at the top of the content list.
- Choose the action you want to apply from the toolbar options.
- Confirm the action to apply it to all selected items.
Available Bulk Actions
- Move — Relocate selected lessons or modules to a different position within the course.
- Group into Chapter — Organize selected lessons into a new or existing chapter.
- Group into Module — Organize selected items into a new or existing module.
- Publish — Publish all selected items at once.
- Unpublish — Unpublish all selected items at once.
- Schedule — Set a future publish date for all selected items.
- Delete — Remove selected items from the course.
Conclusion
That’s it! You’ve successfully learned how to manage course statuses, schedule future publications, hide premium courses, and use bulk actions to streamline your workflow. These tools give you complete control over how and when your course content appears to students.
Related Resources
- Settings configuration — How to Navigate and Configure Thrive Apprentice Settings
- Access restrictions — How to Set Up Login, Registration, and Access Restrictions
- Lesson organization — How to Organize Lessons in Chapters