In this article, you’ll learn how to control the visibility of page and post titles in Thrive Theme Builder—both at the template level (for all content using that template) and at the individual page or post level.
Two Levels of Title Control
Thrive Theme Builder provides two ways to manage title visibility:
- Template level — Apply title settings to all pages or posts that use a specific template. This is useful for setting a consistent default across your site.
- Page/Post level — Override the template setting for individual pages or posts. This gives you granular control over specific content.
Page-level settings take priority over template settings. If you hide the title at the template level but show it on a specific page, that page will display its title.
Controlling Titles at the Template Level
Use this approach when you want to show or hide titles for all content using a particular template.
How to Configure
- In the Thrive Theme Builder dashboard, click Templates in the left sidebar.
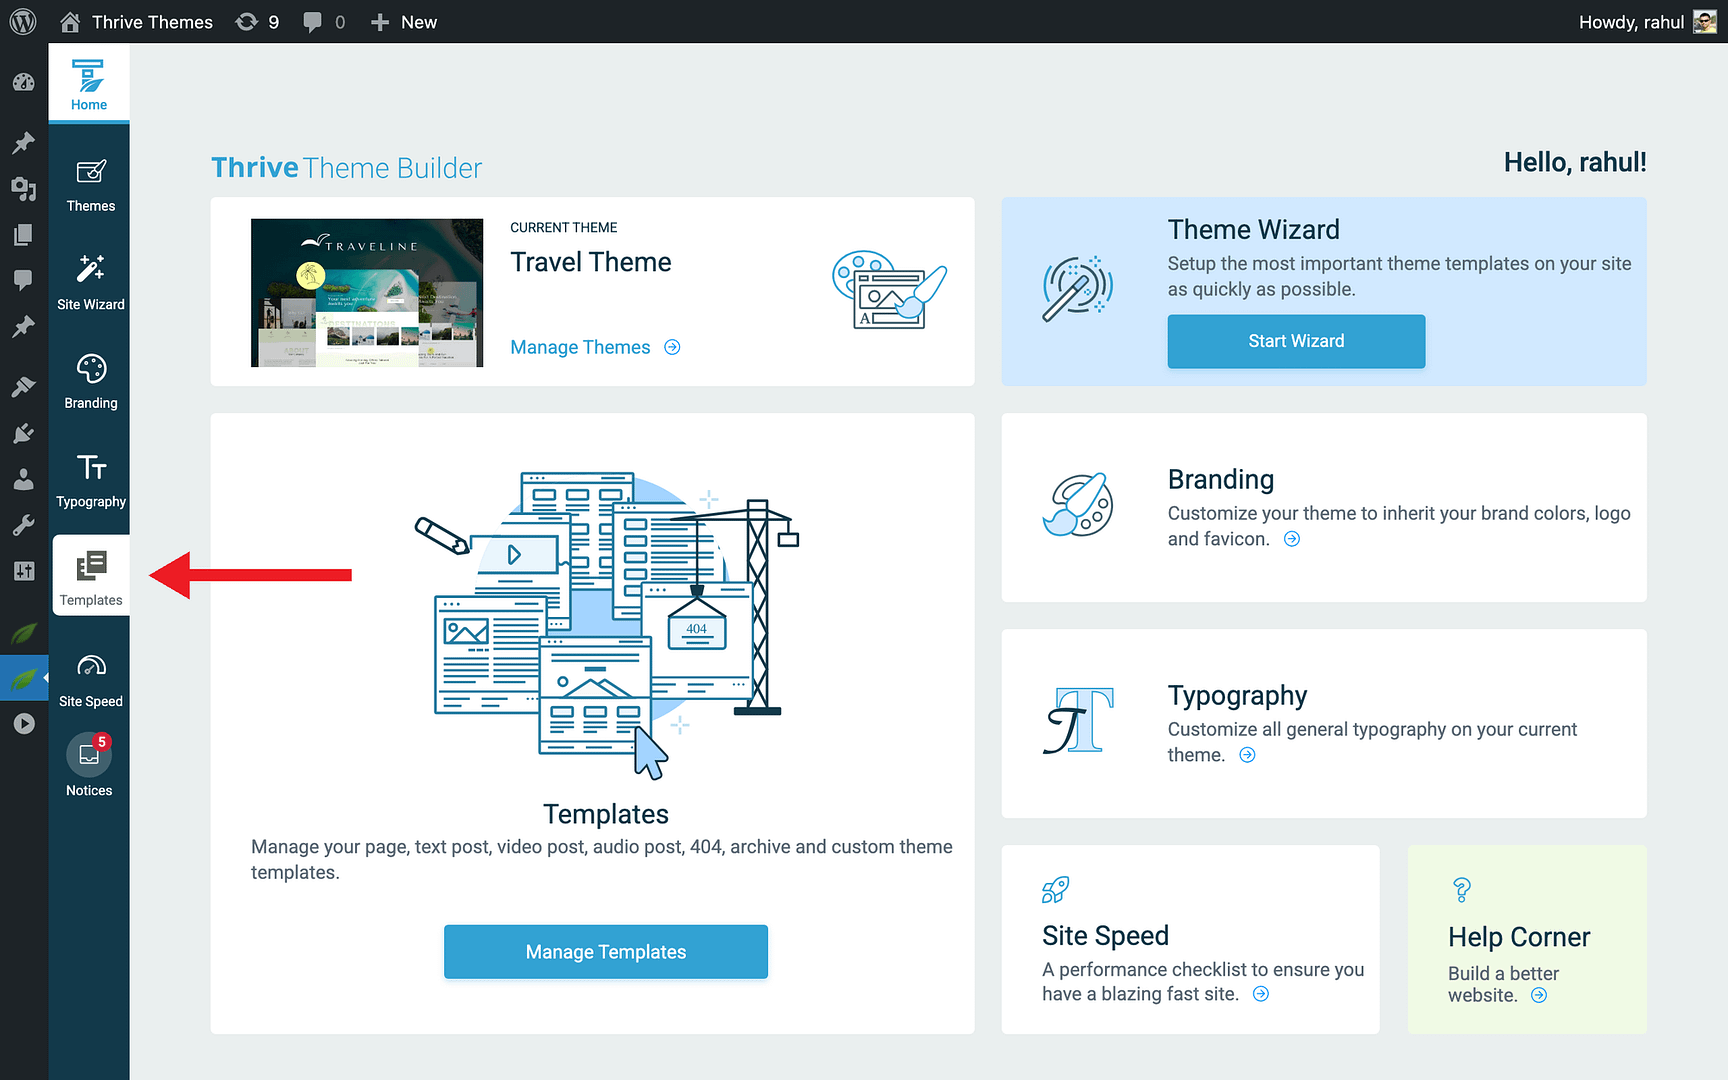
- Hover over the template you want to modify and click Edit.
- The template opens in the Thrive Theme Builder editor.
- Locate the title element in the template design.
- Use the element’s visibility settings to show or hide the title.
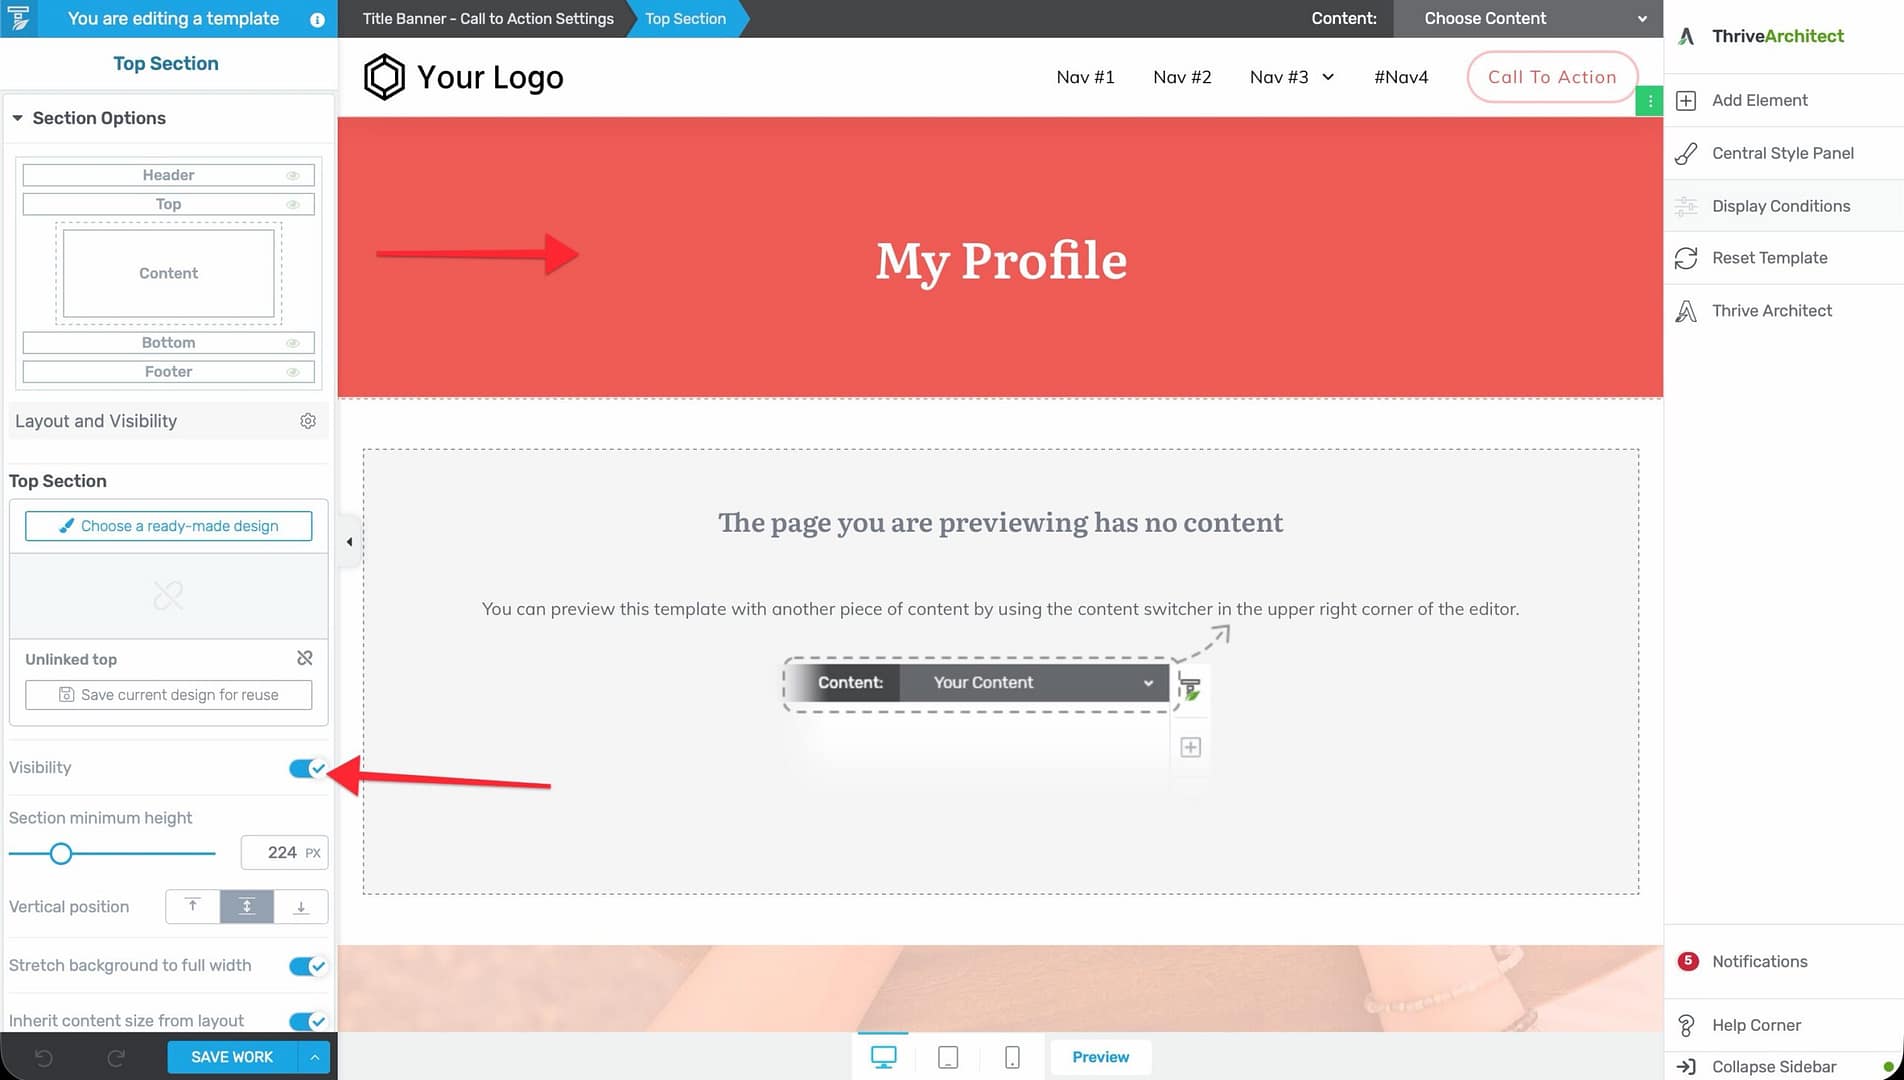
When you change the title visibility at the template level, the setting applies to every page or post that uses that template—unless overridden at the individual content level.
Common Use Cases
- Hide titles on homepage templates — Homepages typically don’t need a page title displayed since the design itself communicates the page’s purpose.
- Show titles on blog post templates — Blog posts generally benefit from a visible title to clearly identify the content.
- Hide titles on landing page templates — Custom landing pages often use their own headline elements instead of the default page title.
Controlling Titles at the Page or Post Level
Use this approach when you want to override the template’s title setting for a specific page or post.
How to Configure
- Open the individual page or post in the WordPress editor.
- In the right sidebar, look for the Theme Builder Visibility metabox.
- Under the Element Visibility section, find the Post Title checkbox.
- Uncheck Post Title to hide the title, or check it to show the title.
- Save or update the page.
This override applies only to that one page or post. All other content using the same template continues to follow the template-level setting.
Note: The Theme Builder Visibility metabox also lets you control visibility of other template elements on a per-page basis, such as the Featured Image, About the Author section, Breadcrumbs, Comments, Header, Footer, and Sidebar.
Common Use Cases
- Hide the title on a specific page — If most pages show their title but you want one particular page to hide it (e.g., a custom “About” page with its own headline design).
- Show the title on a specific page — If the template hides titles by default but you want one page to display its title.
Best Practices
- Set defaults at the template level — Configure title visibility at the template level for broad consistency, then use page-level overrides only where needed.
- Be consistent within content types — Visitors expect a consistent experience. If most blog posts show titles, avoid hiding them on a few individual posts without good reason.
- Use the title element intentionally — If you hide the page title, make sure the page still has a clear heading through other elements (e.g., a custom text element or banner).
- Check both desktop and mobile — Title visibility settings may render differently on mobile devices. Preview on both viewports.
Related Resources
- Template Settings & Defaults: Learn how to configure template settings.
- Creating Page Templates: Learn how to create and customize page templates.
- Creating Post Templates: Learn how to create and customize post templates.