In this article, you’ll learn how to use Thrive Apprentice’s Protected Files feature to prevent unauthorized downloading of your course resources, PDFs, and other downloadable materials—and how to grant file access to the right students and customers.
What Are Protected Files?
Protected files are downloadable resources—such as PDFs, worksheets, templates, or audio files—that are shielded from unauthorized access. Without protection, anyone who obtains a direct download link could share it freely, allowing non-paying users to access your premium materials.
Thrive Apprentice’s Protected Files feature ensures that only users who have purchased or been granted access to a product can download the associated files. If someone without access tries to use a shared download link, they’re blocked.
Protecting Files in Thrive Apprentice
To set up file protection:
- Navigate to Thrive Dashboard > Thrive Apprentice.
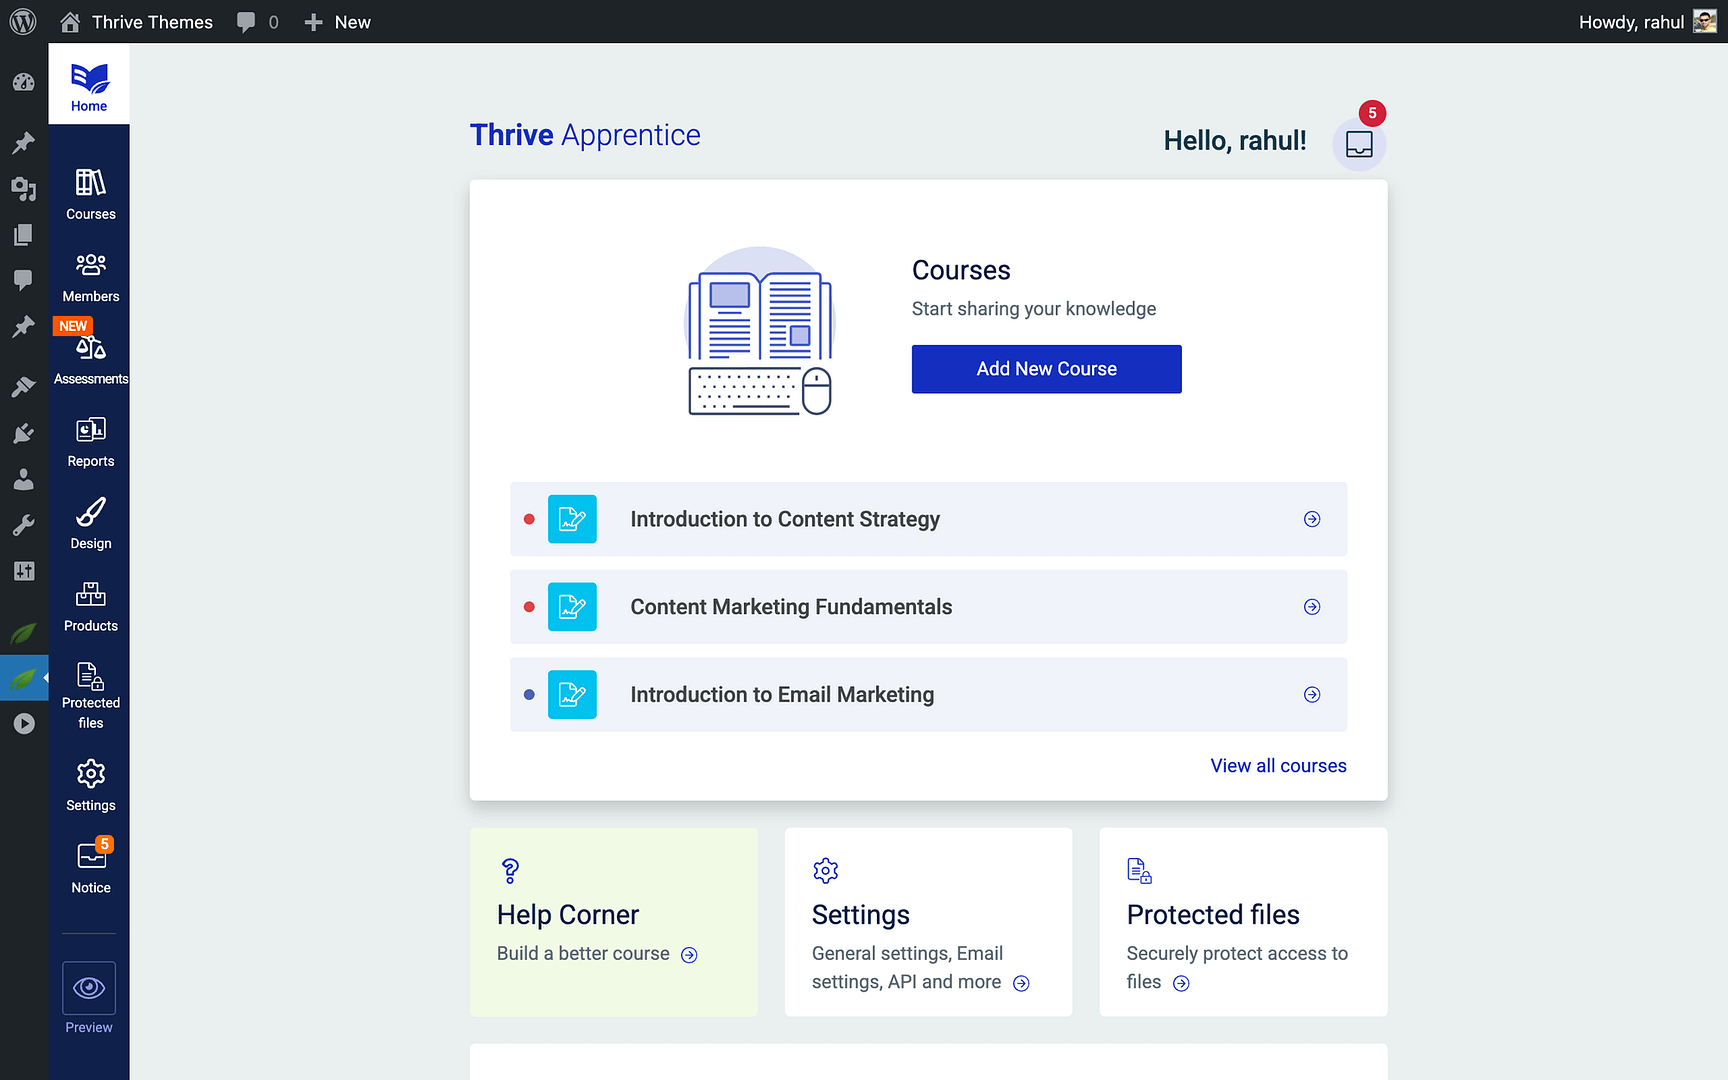
- Click Protected Files in the left sidebar.

- Click + Add New File to upload a file or select one from your WordPress media library.

- Enter a descriptive name for the file so you can easily identify it later.

- Click Save to add the file to your protected files library.

Once a file is added to the Protected Files section, its download link is secured. Only users who meet the access requirements you define can download it.
How File Access Works
Protected file access is controlled entirely through product assignment. When you create or edit a protected file, you select which products it belongs to using the “Access to this file is protected by” dropdown. Any user who has access to one of those products can download the file. If a user without access tries to use a shared download link, they’re blocked.
There are two ways users can reach a protected file:
- Through products — When you assign a file to one or more products, any user with access to those products can download it. This is the primary access method.
- As a lesson resource — You can attach protected files as downloadable resources within a lesson. Access follows the lesson’s and course’s restriction rules.
Note: If you don’t assign any products to a file, a warning appears: “Currently, this file is not protected by any product.” The file will only be accessible when added as a resource in a lesson.
Adding Protected Files to Your Content
After protecting a file, you can make the download link available to students in several ways:

- In lesson content via Dynamic Links — In Thrive Architect, select a button or text element, open the link settings, activate the Dynamic link option, choose Protected file as the type, and select your file from the dropdown. Thrive Apprentice generates a secure shortcode that checks access on every click.
- As a lesson resource — In the course structure, edit a lesson and click Add resources. Select the protected file type and choose your file. It appears in the lesson’s resource sidebar as a downloadable item.
- On pages or posts — Use the same Dynamic Link feature in Thrive Architect on any WordPress page or post. The generated link validates access every time it’s clicked, so even if someone shares the URL, unauthorized users cannot download the file.
Managing Your Protected Files
To manage your existing protected files:
- Navigate to Thrive Dashboard > Thrive Apprentice > Protected Files.
- Browse or search the list of files you’ve added.
- Click on any file to edit its name, update the source file, or modify access rules.
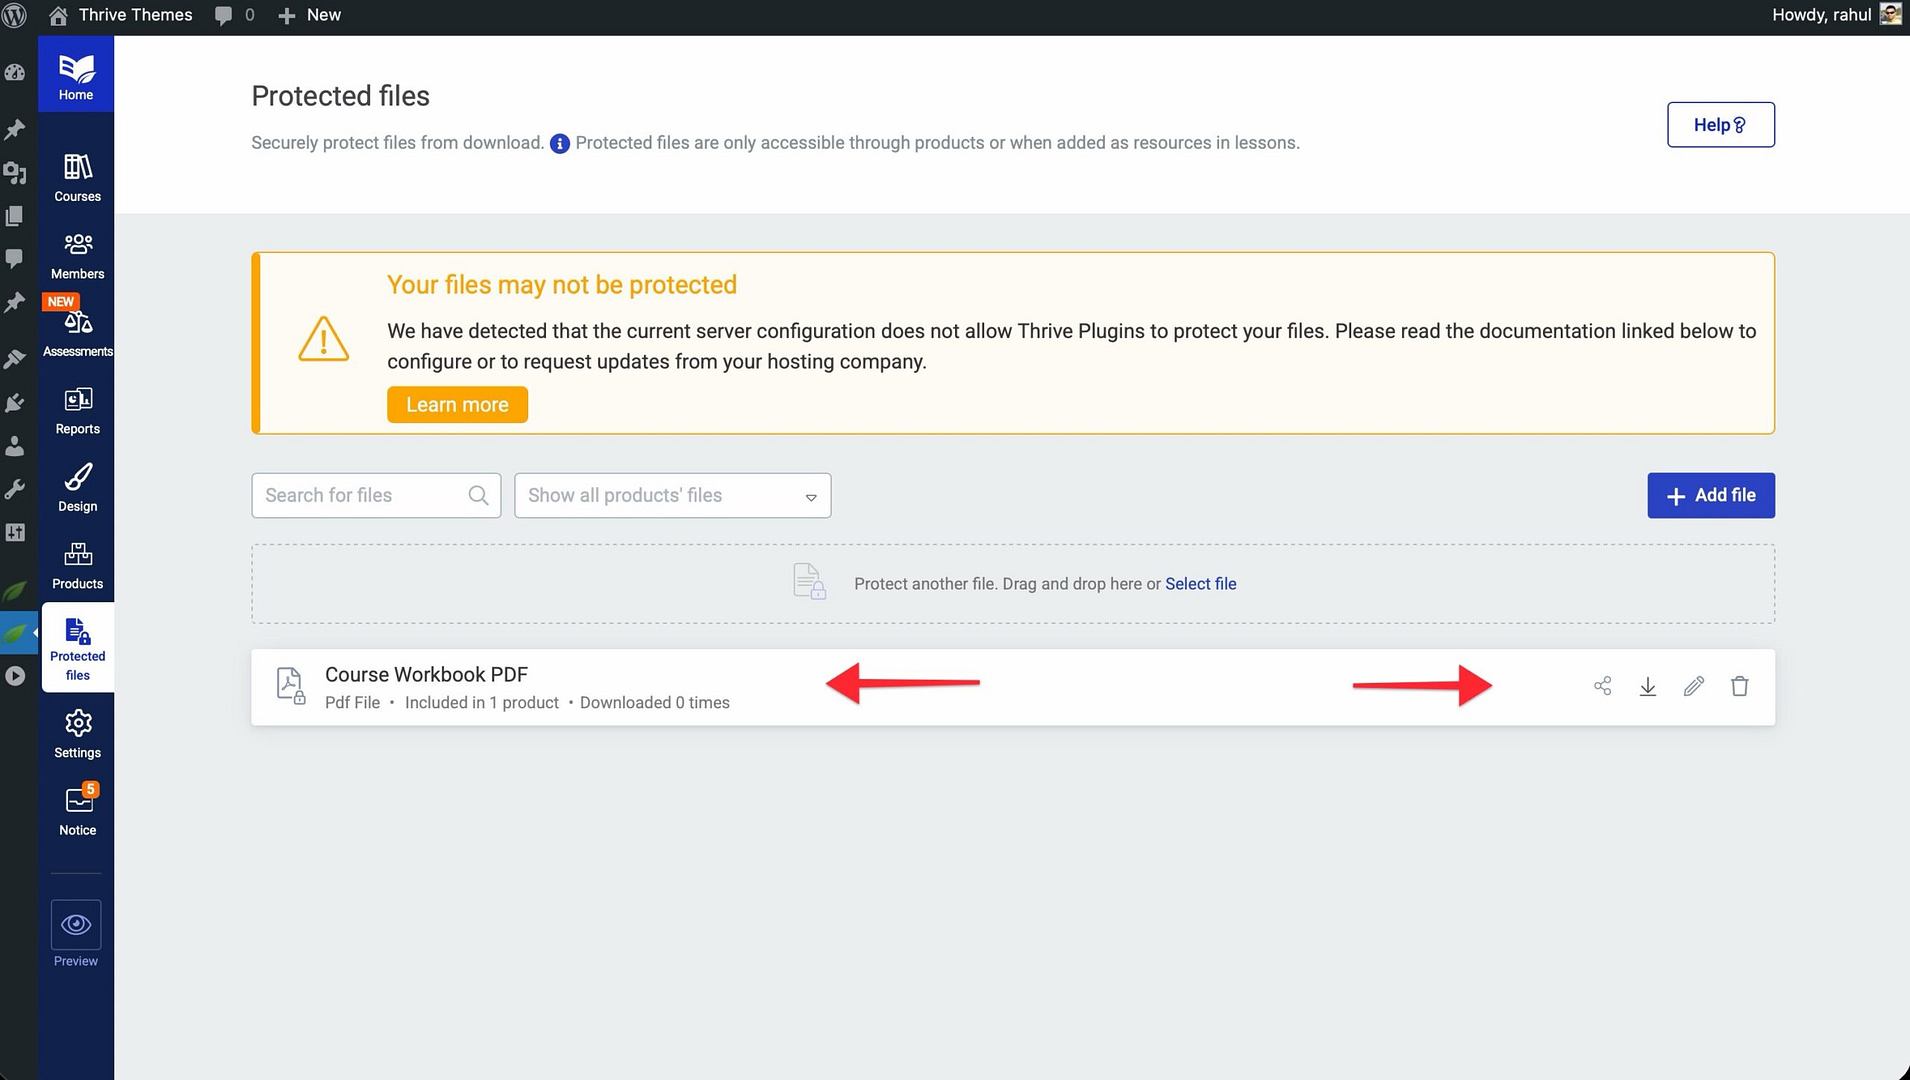
- To remove protection, delete the file entry from the Protected Files section.
Conclusion
That’s it! You’ve successfully learned how to protect your downloadable files, set access rules, and grant file access to specific products and courses in Thrive Apprentice. This ensures that only paying customers or enrolled students can download your premium resources.
Related Resources
- Products — How to Use the Products Section in Thrive Apprentice
- Access Restrictions — How to Set Up Access Restrictions and Rules in Thrive Apprentice
- Access Expiry — How to Manage Product Access Expiry in Thrive Apprentice