In this article, you’ll learn how to create a dedicated WordPress navigation menu for your Thrive Apprentice courses and lessons—so students can easily browse your learning content without cluttering your main site menu.
Why Use a Separate Menu for Courses?
Your main website navigation is designed for general visitors. A dedicated course menu lets you tailor the navigation experience specifically for students, highlighting courses, lessons, and resources that matter most to learners.
Creating a New Menu
- In your WordPress dashboard, go to Appearance > Menus.
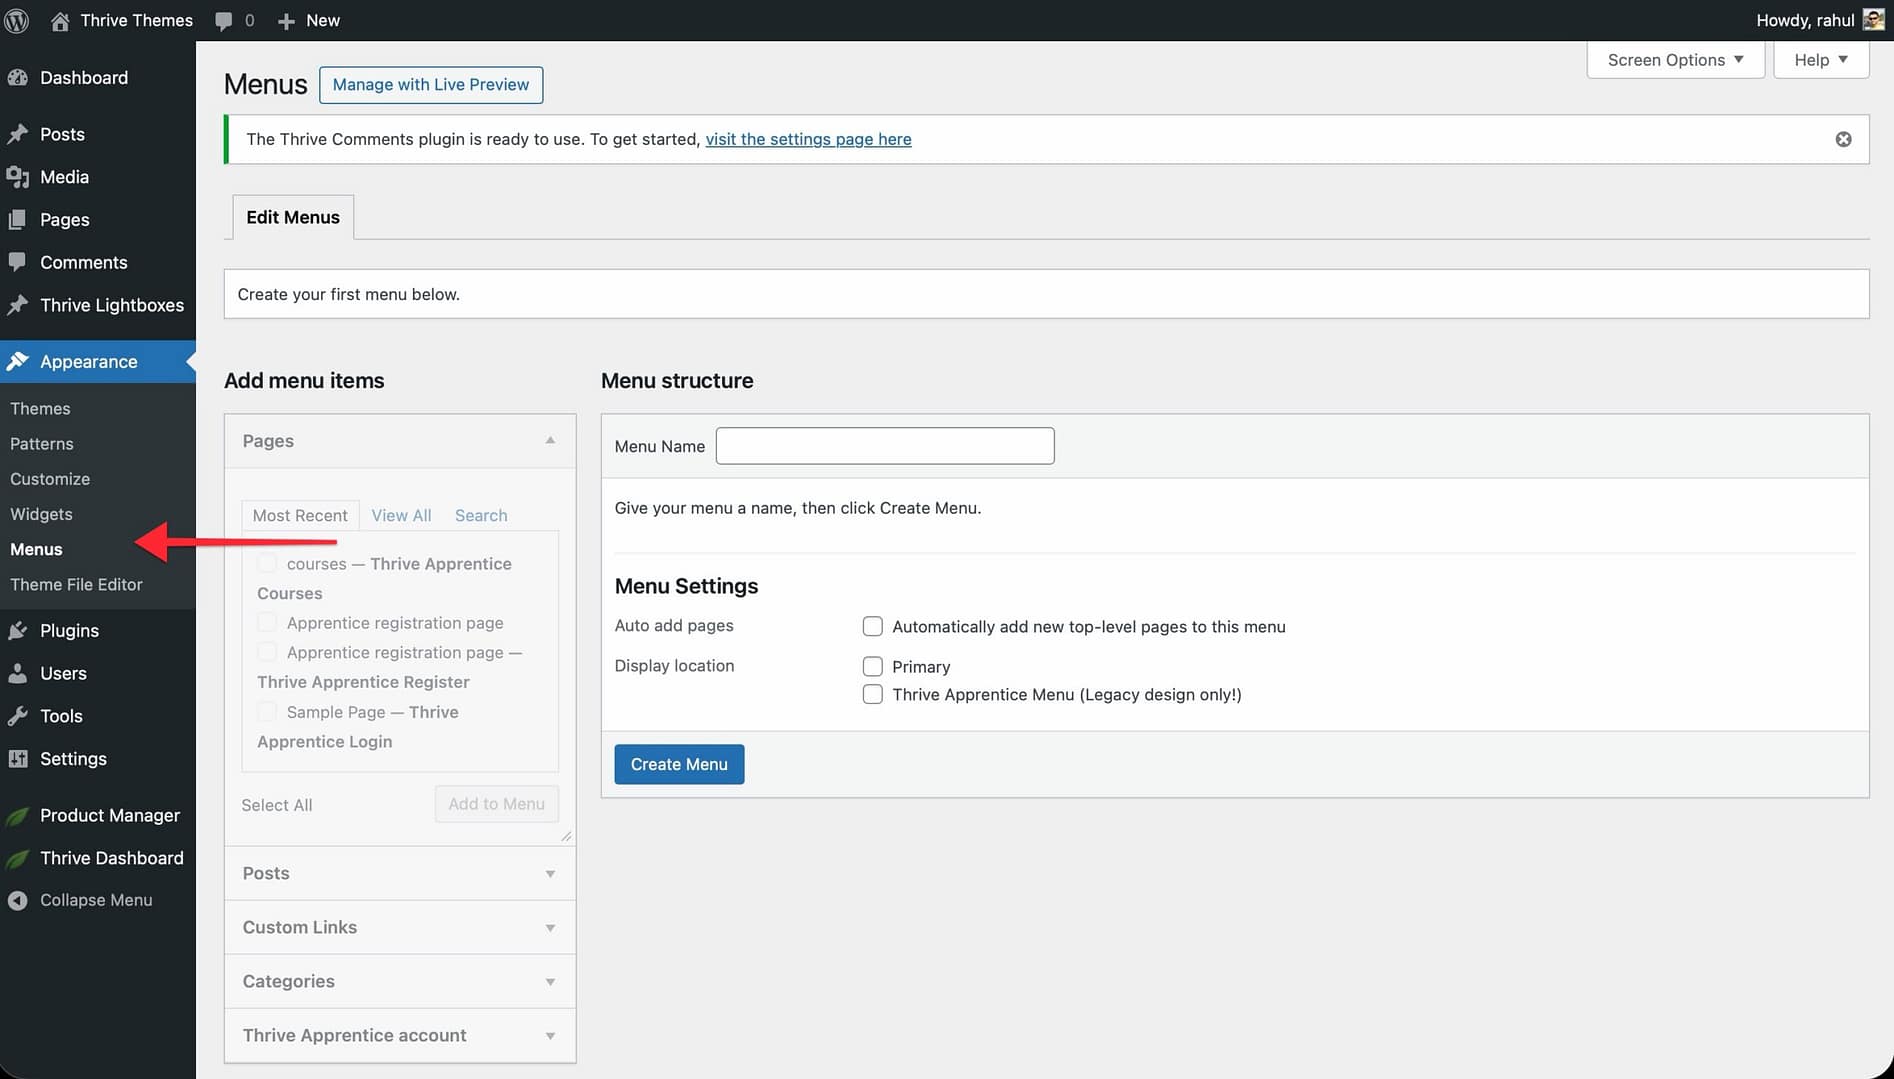
- Click the create a new menu link near the top of the page.
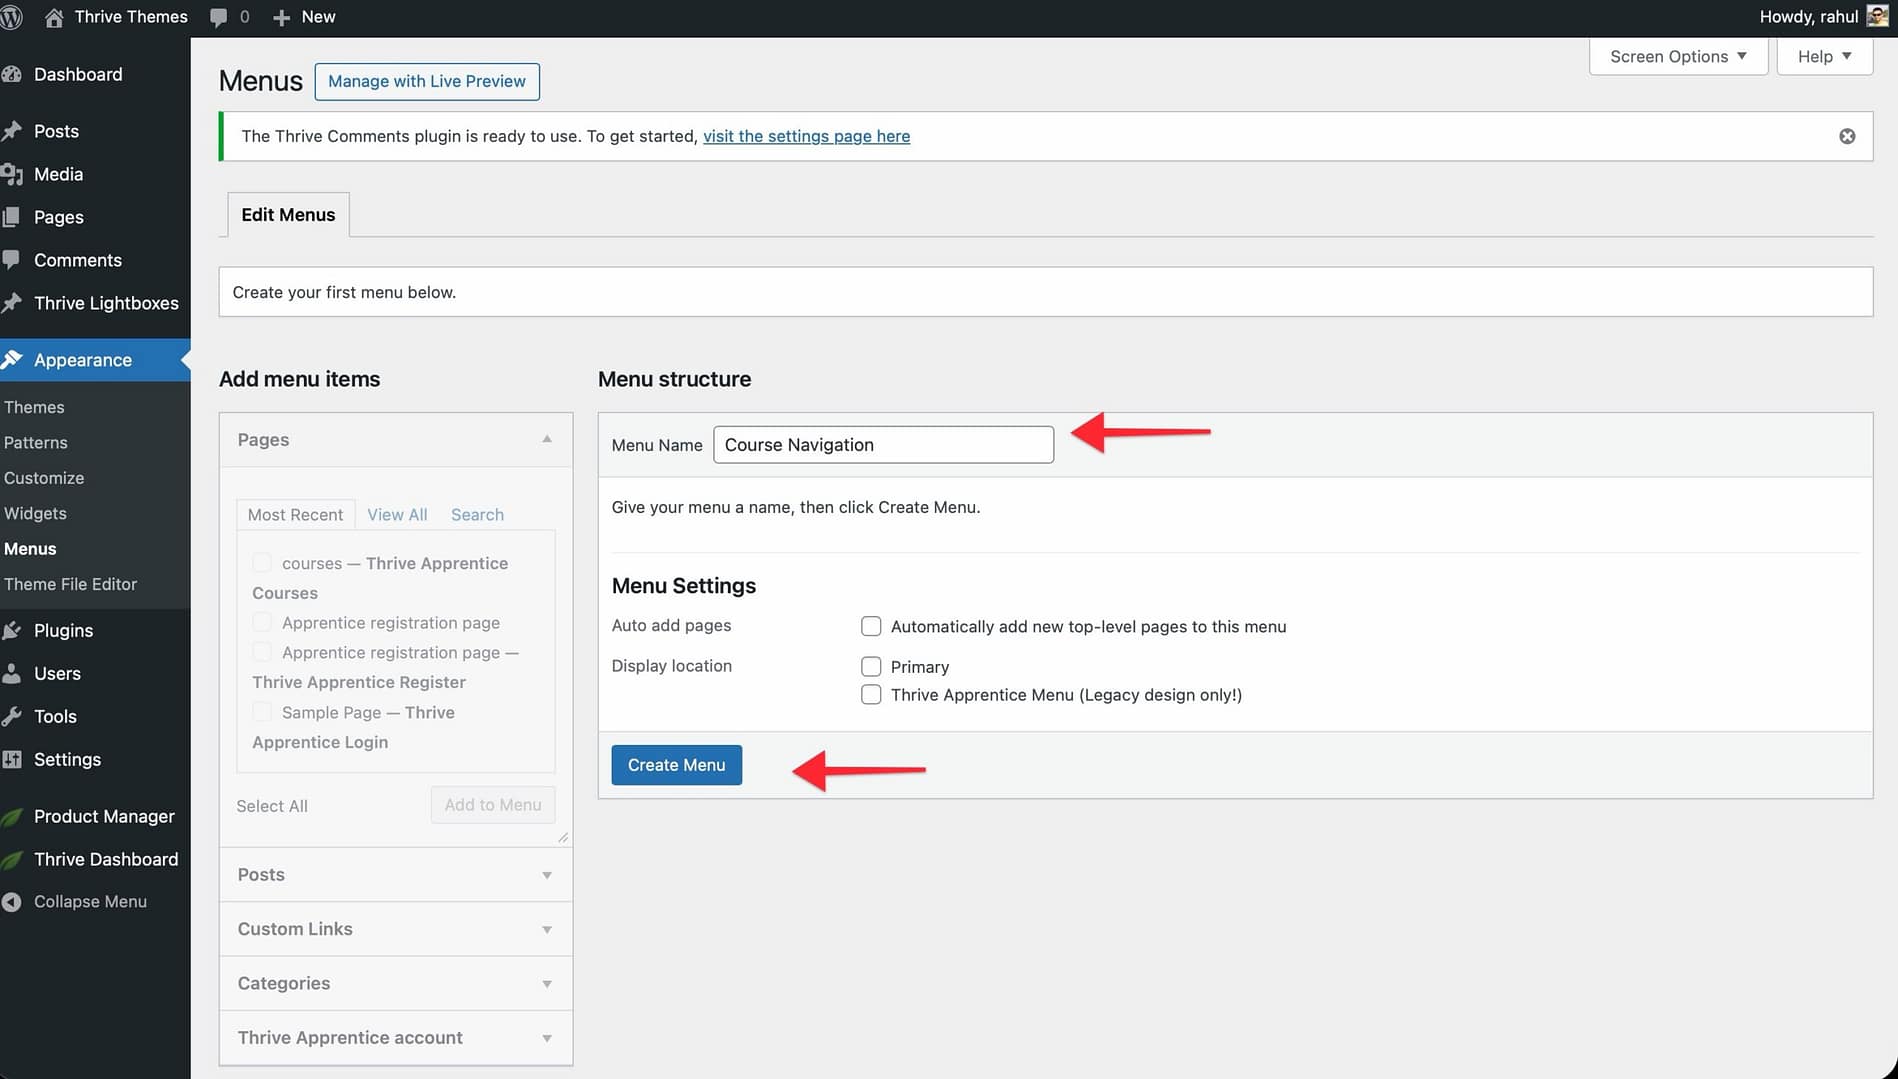
- Click Create Menu to save it.
Adding Course and Lesson Links
With your new menu created, you can now add items to it.
- On the left side of the Menus screen, locate the Pages, Custom Links, or Categories panels.

- To add your main courses page, check the box next to it under Pages and click Add to Menu.
- To add individual course or lesson links, use the Custom Links panel—enter the URL and link text, then click Add to Menu.
- Drag and drop menu items to reorder them or create dropdown sub-menus by nesting items.
- Click Save Menu when you’re finished.
Assigning the Menu to Your Course Pages
After building your menu, you need to tell WordPress where to display it.
- Scroll down to the Menu Settings section at the bottom of the Menus page.
- Under Display location, check the box that corresponds to the menu position you want (this depends on your theme—common options include Primary Menu, Header Menu, or Secondary Menu).
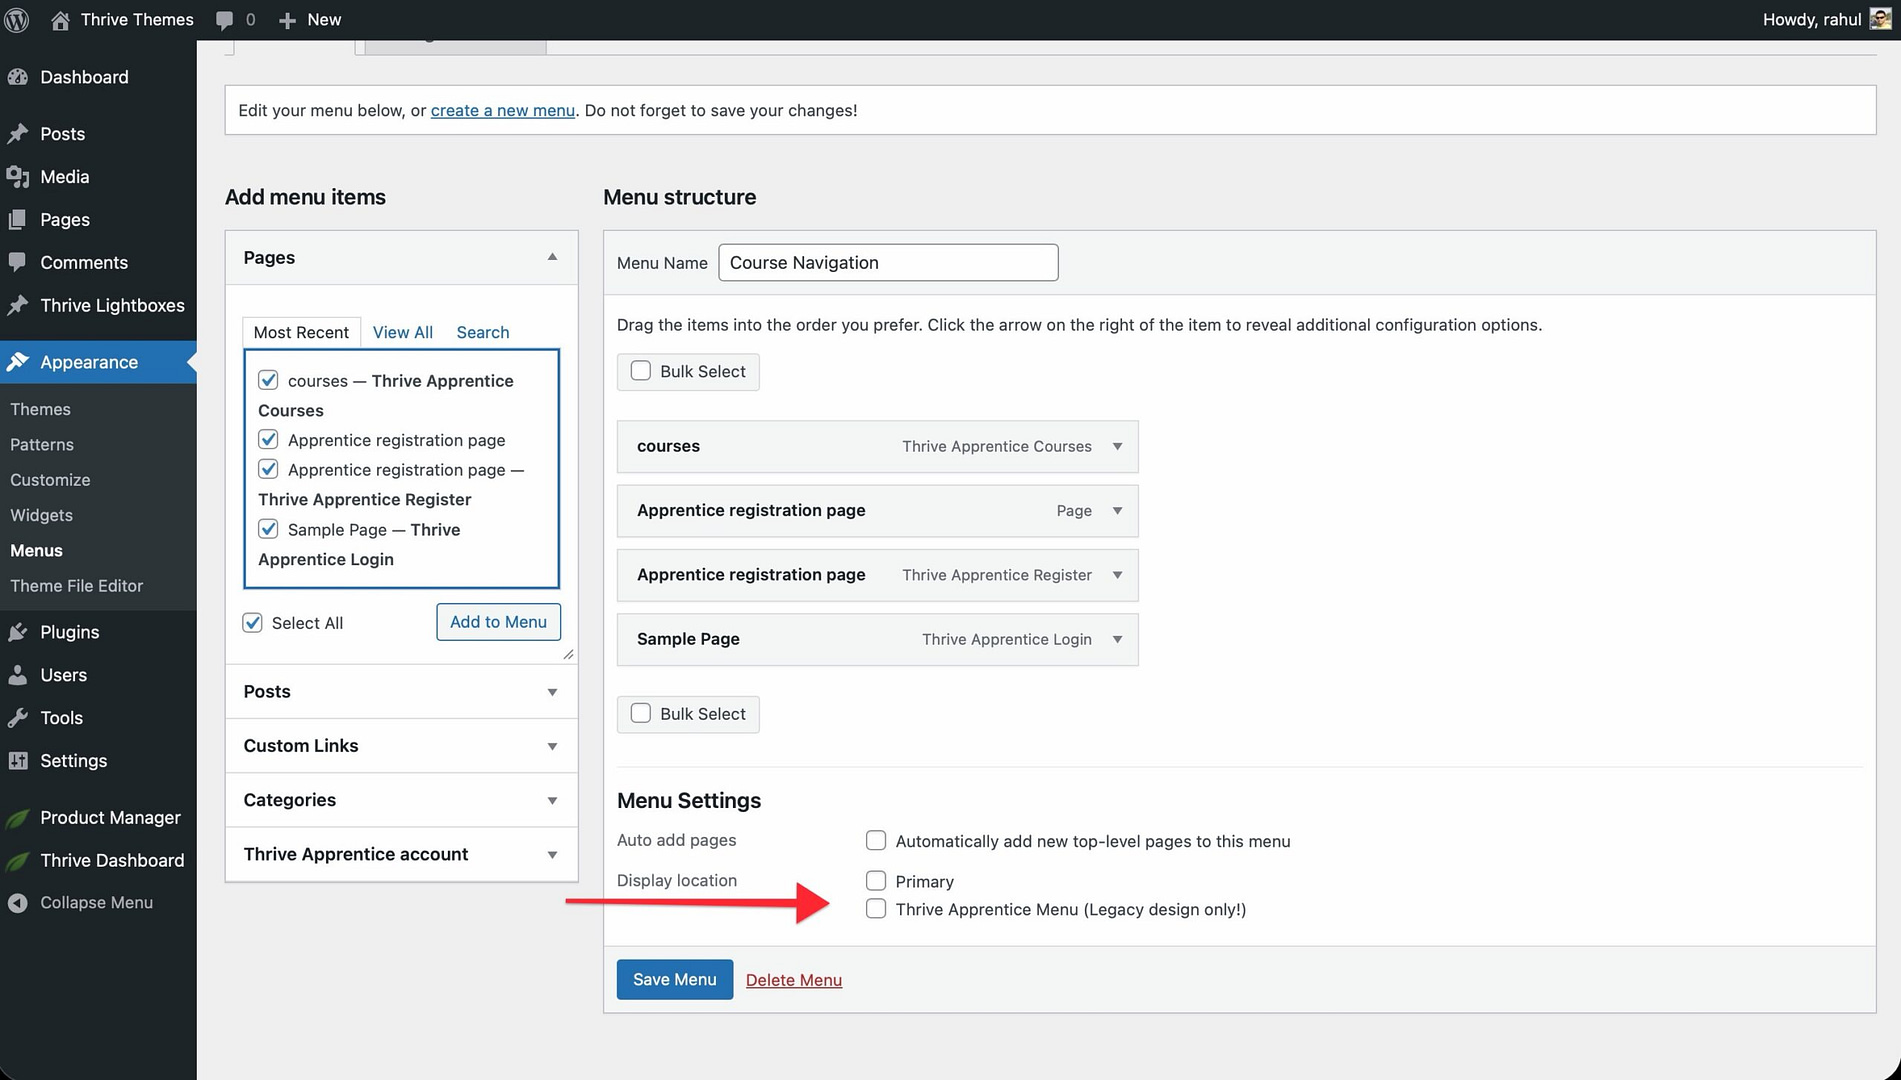
- Click Save Menu.
If your theme supports it, you can assign this menu exclusively to your Thrive Apprentice course and lesson pages using a plugin like Conditional Menus or through Thrive Theme Builder navigation settings.
Best Practices
- Keep your course menu focused—include only items relevant to students.
- Use clear, descriptive labels so learners know exactly where each link leads.
- Add a link back to your main site or homepage so students can navigate away from the course area easily.
- Test your menu on both desktop and mobile devices to ensure it displays correctly.
That’s it! You’ve successfully created a dedicated navigation menu for your Thrive Apprentice courses and lessons, giving your students a clean and focused browsing experience.
Related Resources
- Creating Your First Course: Learn how to create and publish a course in Thrive Apprentice.
- Course Structure: Understand how to organize modules, chapters, and lessons for the best student experience.
- Thrive Theme Builder: Explore how to customize your course layout with Thrive Theme Builder.
- WordPress Menus: Review the official WordPress documentation on menus for foundational concepts.