In this article, you’ll learn how to set up and customize the Course Welcome Email in Thrive Apprentice—a new email that is automatically sent to students when they gain access to a course for the first time.
What Is the Course Welcome Email?
The Course Welcome Email is an automated email that Thrive Apprentice sends when a student is granted access to a course for the first time. Unlike the “New Account Created” email (which only fires when a WordPress account is created), the Course Welcome Email triggers every time a student gains access to a new course—whether through a purchase, manual enrollment, or product bundle assignment.
This means returning students who already have an account will still receive a welcome email each time they gain access to a new course, giving them a direct link to start learning right away.
When Does the Email Trigger?
The Course Welcome Email is sent when a student gains first-time access to a published course. This includes:
- Purchasing a product that includes the course
- Being manually enrolled by an admin
- Gaining access through a product or bundle that includes the course
The email does not trigger in the following cases:
- The student already had access to the course (prevents duplicate emails)
- The course is a free/open course that doesn’t require access to be granted
- The course is still in draft/unpublished status
Note: If a product bundle contains multiple courses, the student will receive a separate welcome email for each course in the bundle.
Enabling the Course Welcome Email
The Course Welcome Email has a per-course toggle that lets you enable or disable it for each individual course:
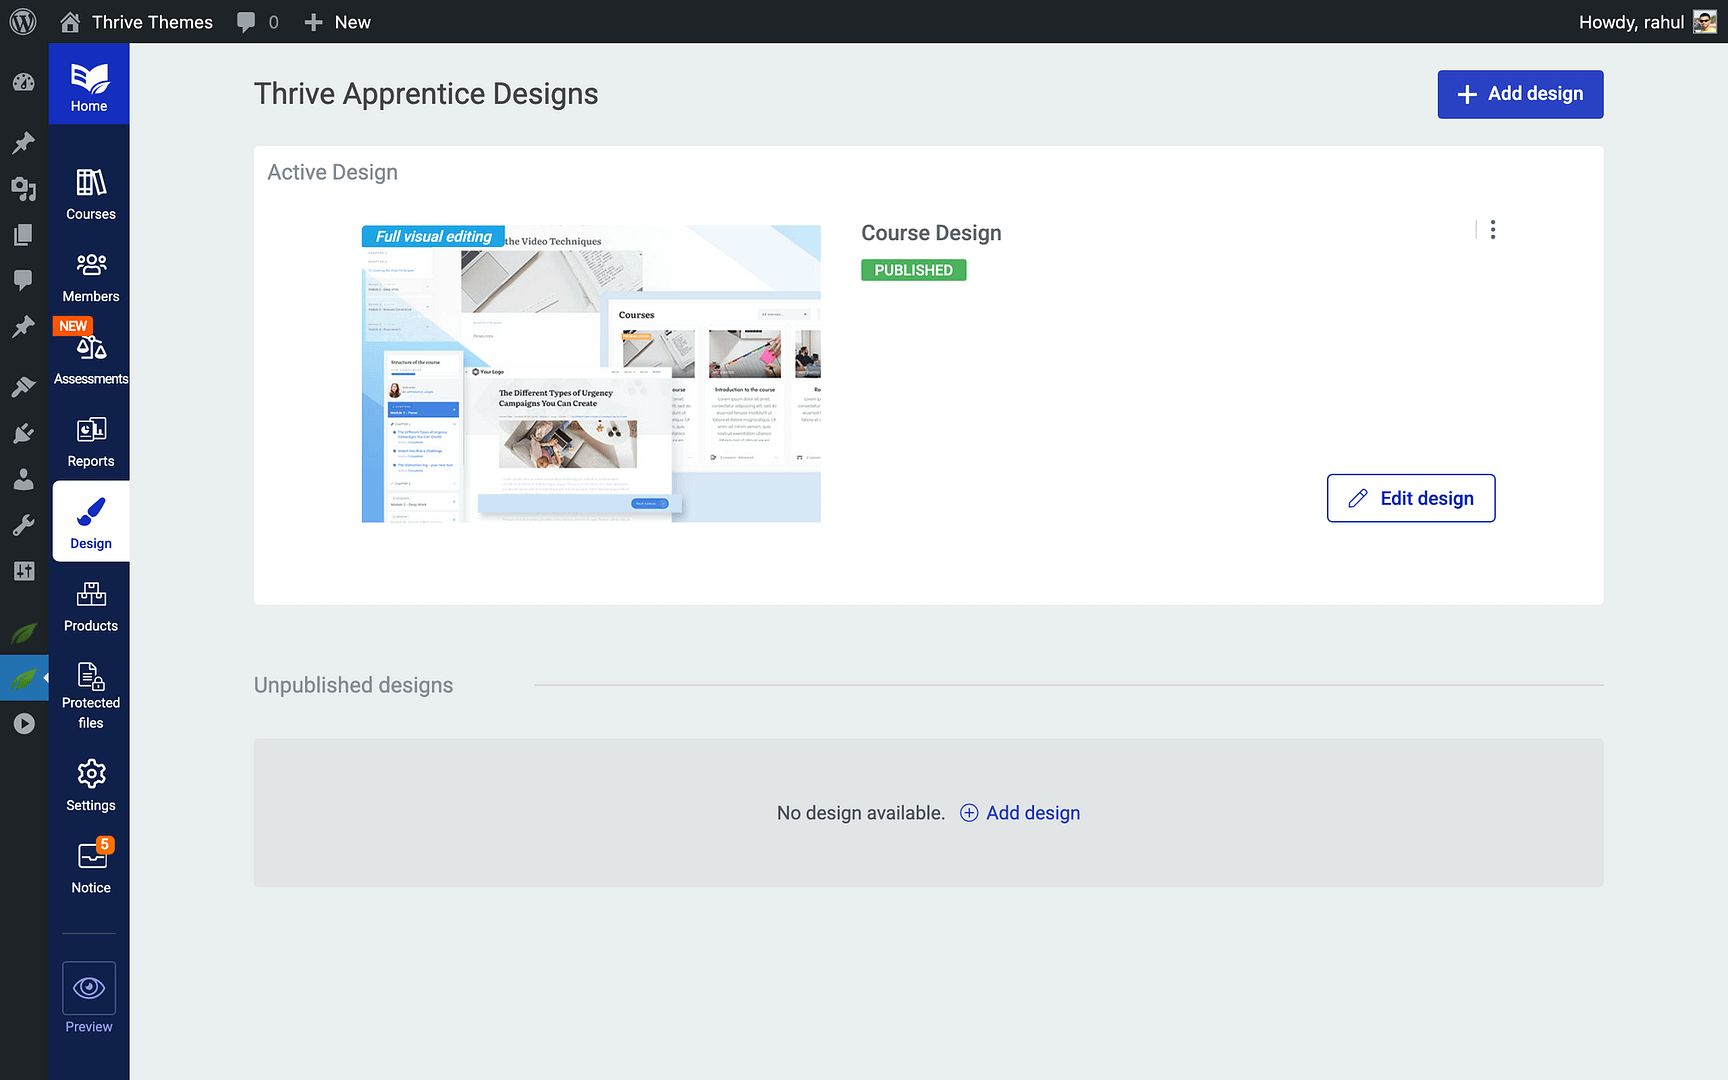
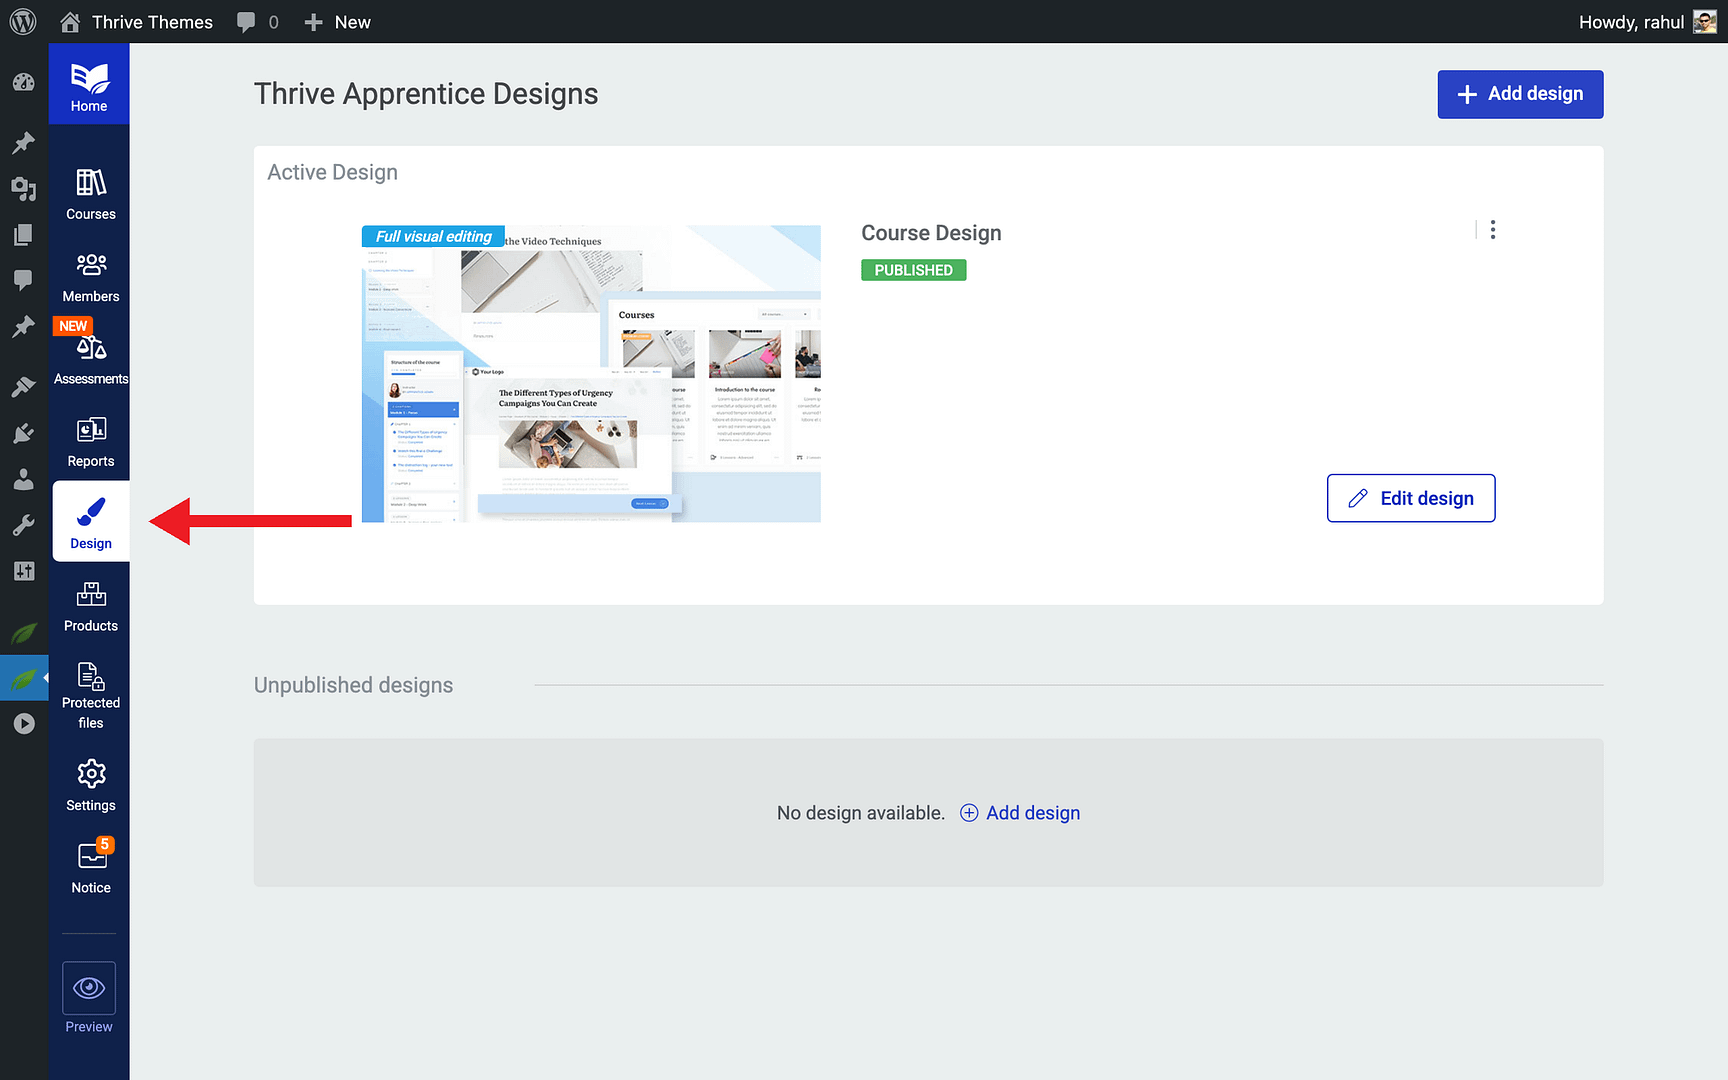
- Navigate to Thrive Apprentice in your WordPress dashboard.

- Click the Courses tab in the left sidebar.
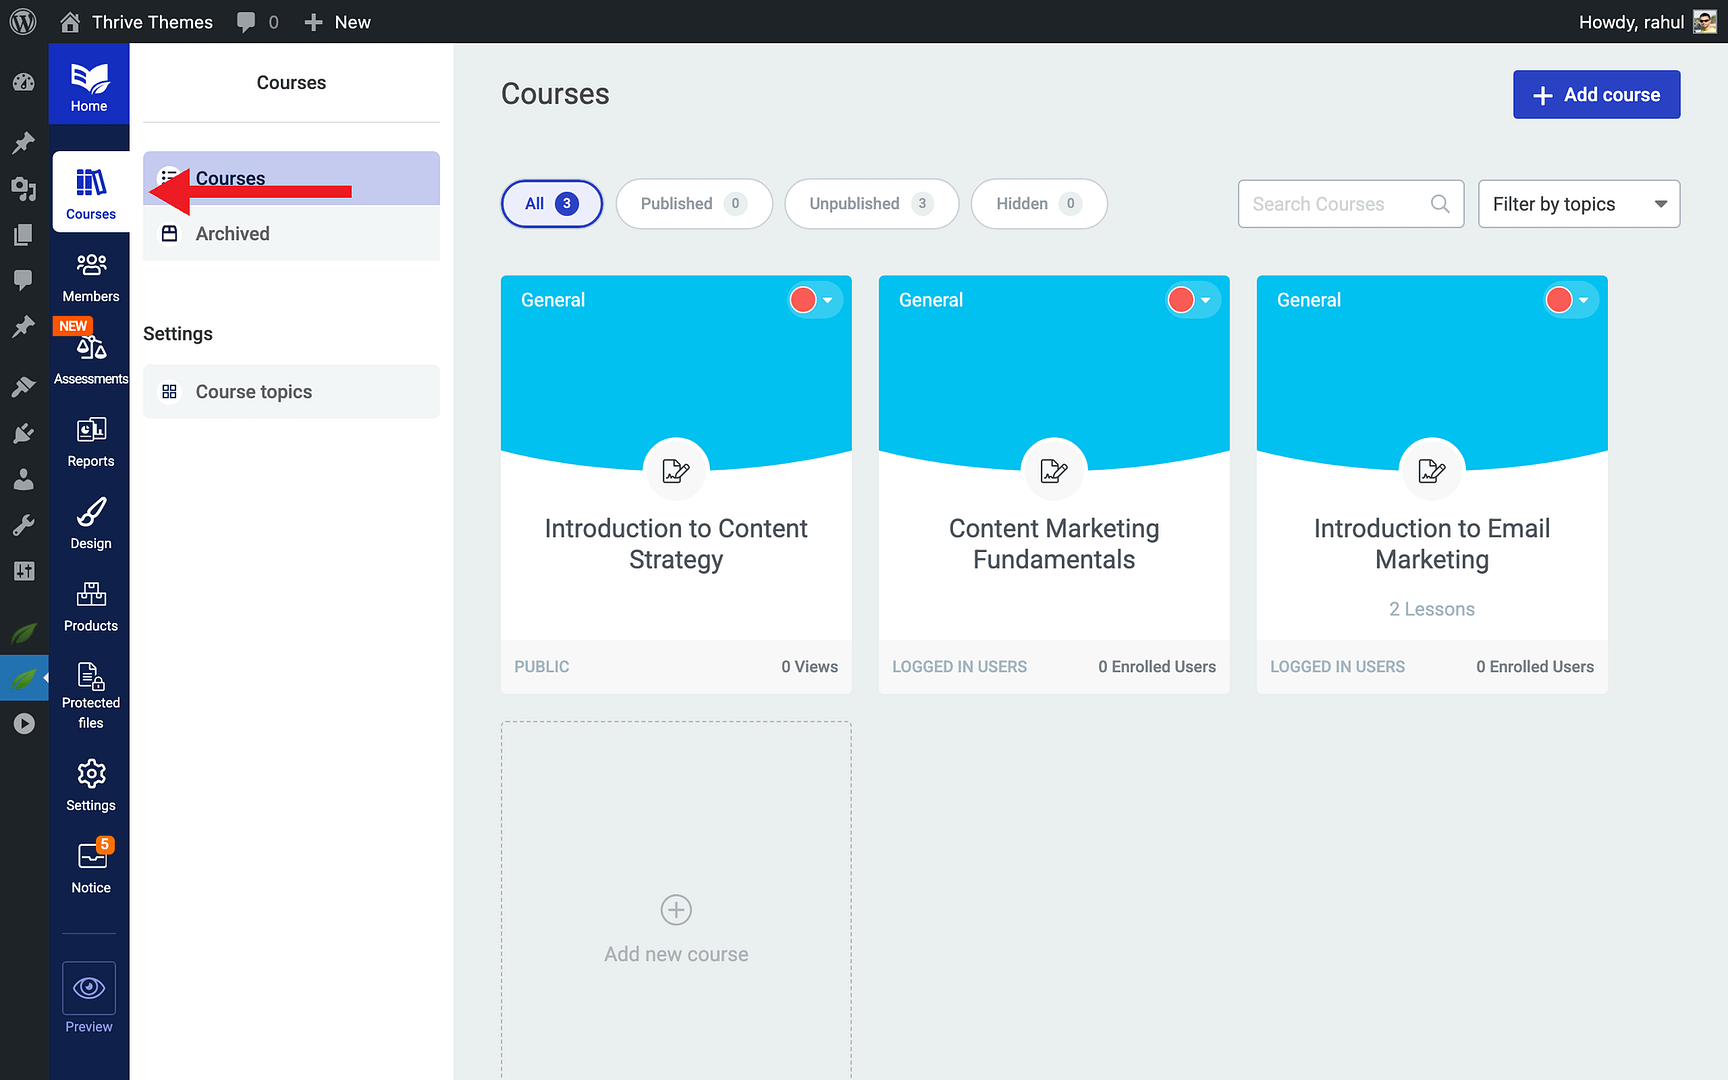
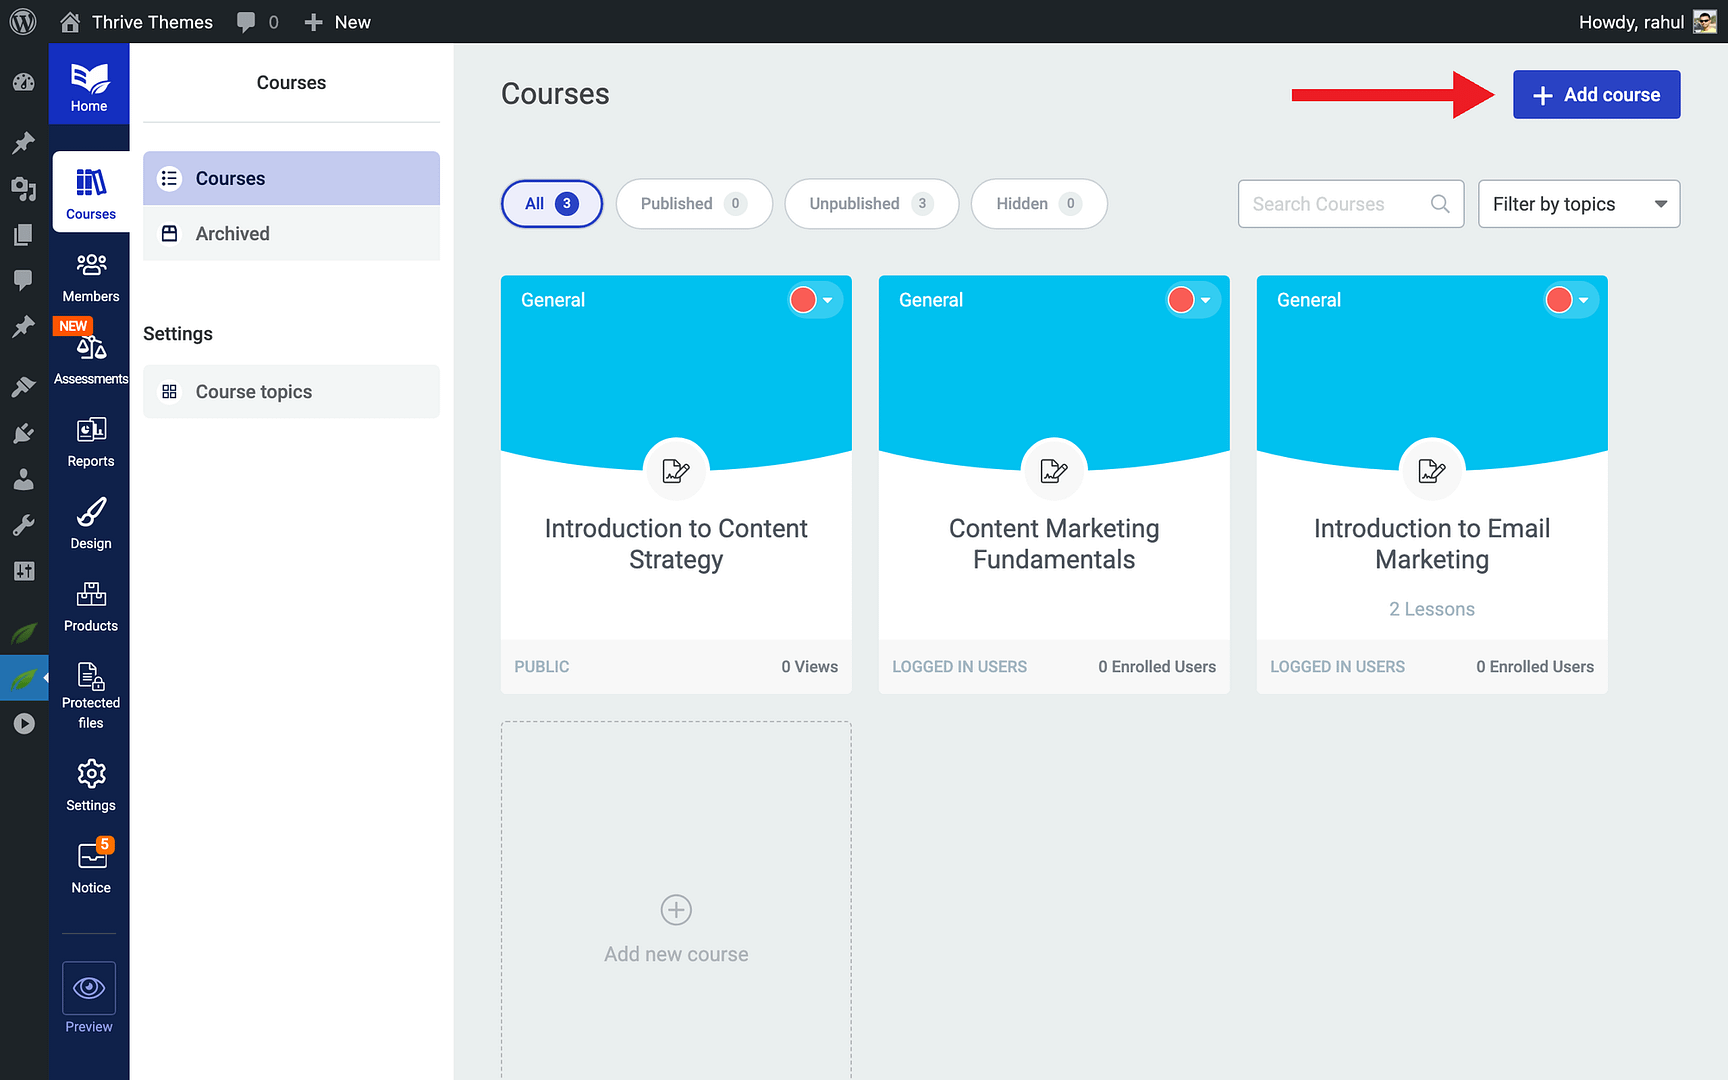
- Click on the course you want to configure.
- Scroll down to find the Enable Course Welcome E-mail toggle on the Course details tab.
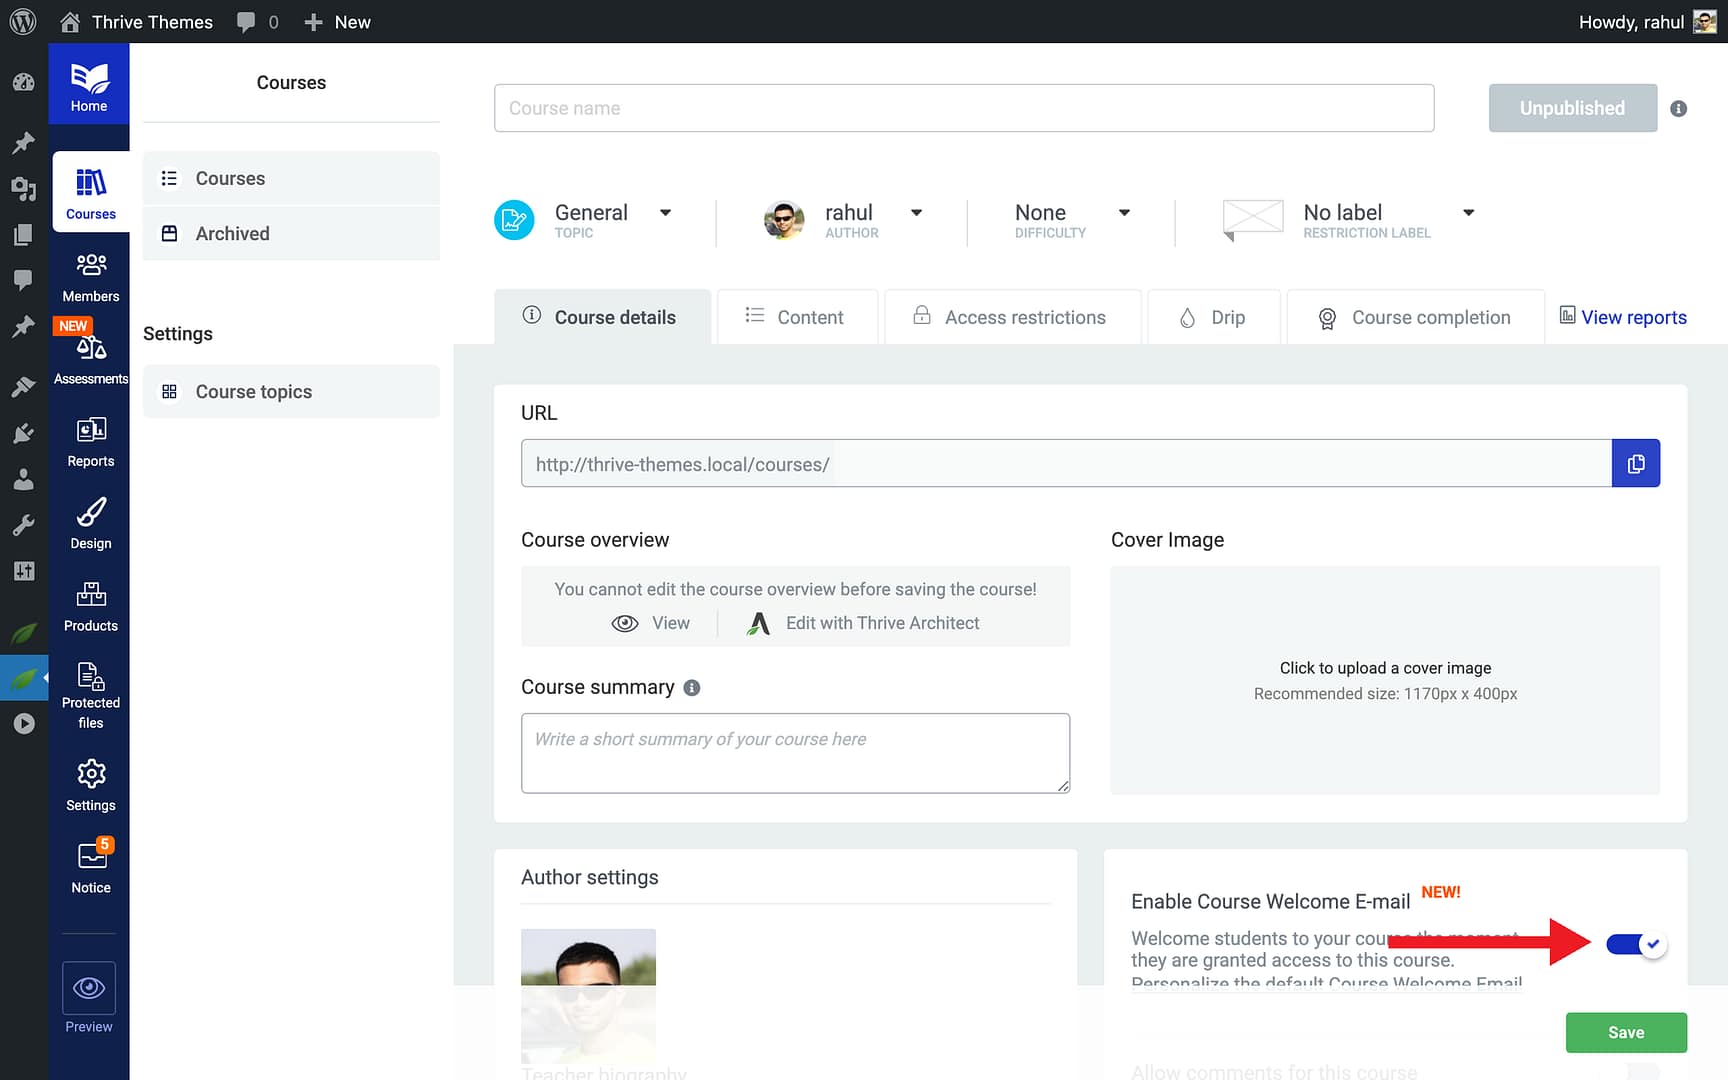
- Click the toggle to enable it.

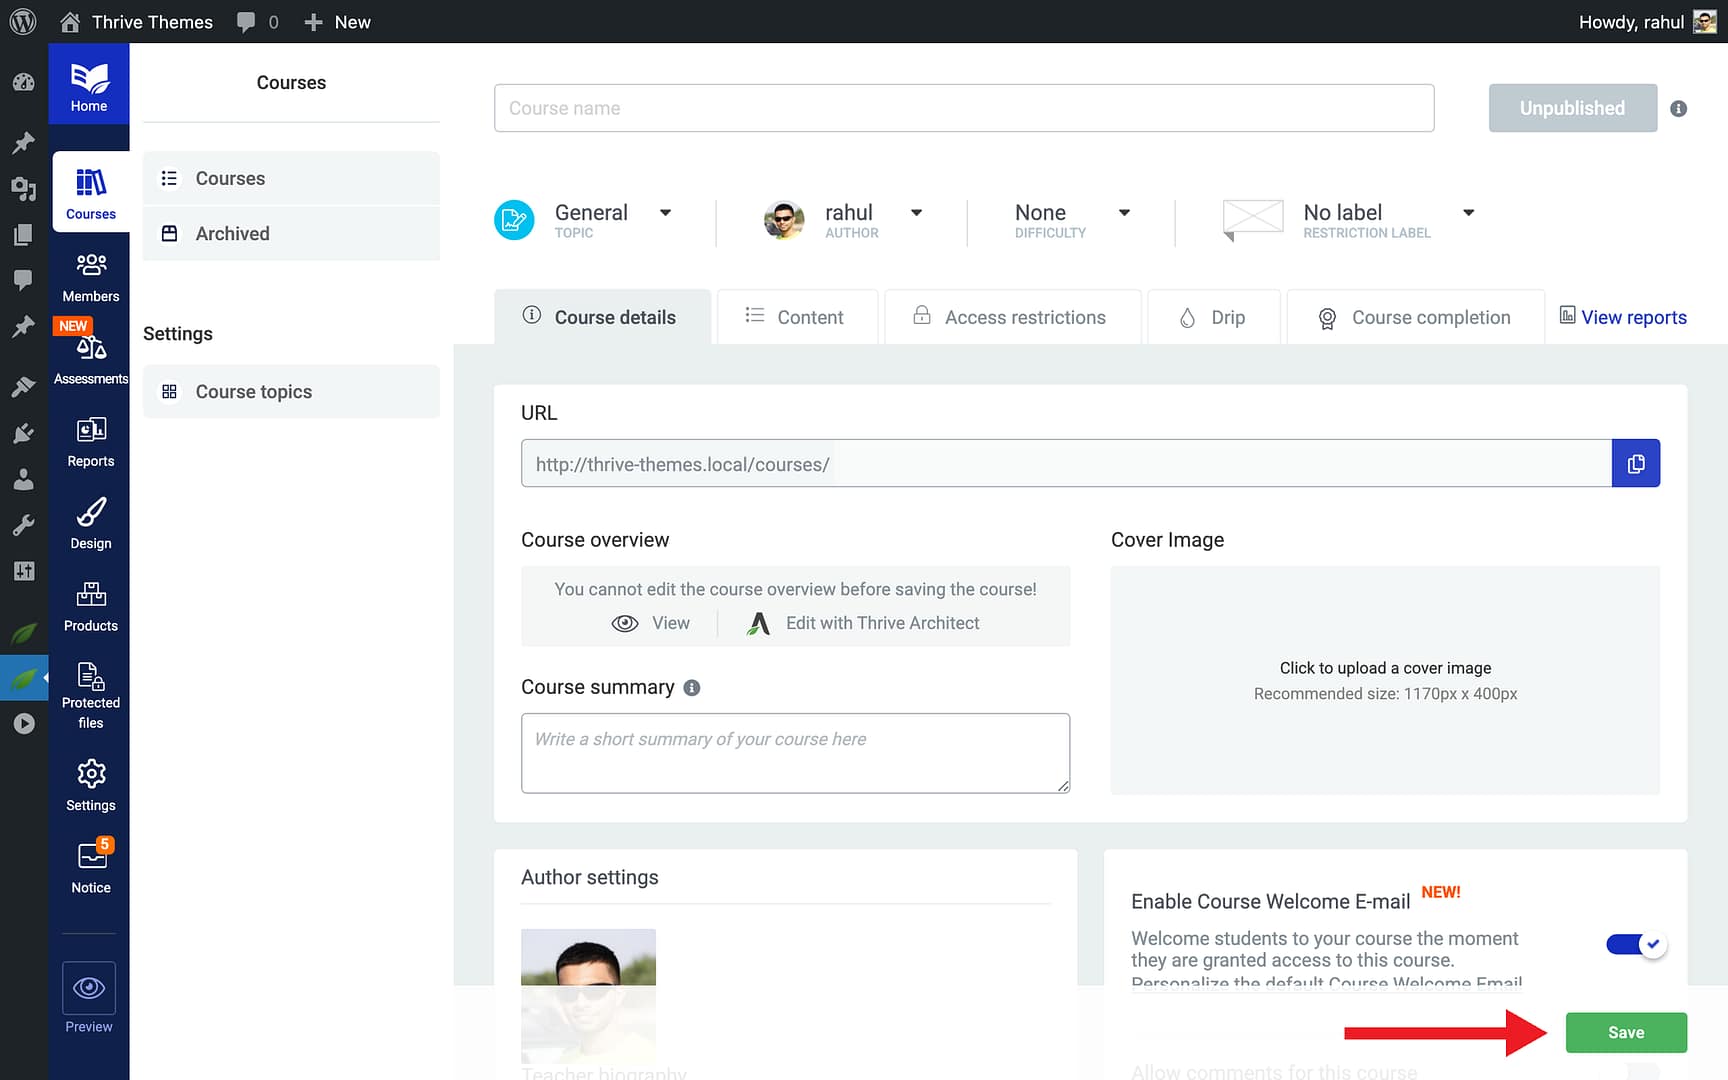
- Click Save to save your changes.
Important: New courses you create will have the Course Welcome Email enabled by default. Existing courses (created before this feature was available) have it disabled by default to avoid sending unexpected emails to your students. You can enable it at any time for any course.
Customizing the Email Template
You can fully customize the subject line, sender name, and body of the Course Welcome Email:
Accessing the Template
- Go to Thrive Apprentice > Settings.

- Click Email templates in the settings sidebar.

- Open the Select email template dropdown.

- Choose New Course Welcome from the list.
Tip: You can also reach the template editor directly from any course’s settings by clicking the “Personalize the default Course Welcome Email” link below the enable toggle.
Editing the Template
Once you’ve selected the New Course Welcome template, you can customize the following fields:
- Subject — The email subject line. The default is: “Welcome to ! Get Started Now”
- From name — The sender name that appears in the student’s inbox. By default, this uses your site name.
- Message — The full body of the email, which supports HTML and shortcodes.
Using Shortcodes in the Template
- Place your cursor in the Message editor where you want to insert a shortcode.
- Open the Select shortcode dropdown below the message editor.

- Choose a shortcode from the list (e.g., Course URL).

- Click the Insert shortcode button to add it to the template.

- Click Save template when you’re done.
Available Shortcodes
The following shortcodes are available in all Thrive Apprentice email templates, including the Course Welcome Email:
- [ first_name ] — The student’s first name
- [ user_name ] — The student’s WordPress username
- [ course_name ] — The name of the course the student was granted access to
- [ course_url ] — A direct link to the course page (new shortcode)
- [ login_link ]…[/ login_link ] — Wraps text in a clickable link to the login page
- [ login_button ] — Inserts a styled login button
- [ site_name ] — Your website’s name
- [ password ] — The student’s auto-generated password (only applies to new accounts)
- [ set_password ] — A link for the student to set their password
Note: The [course_url] shortcode is available across all email templates—not just the Course Welcome Email. You can use it in any template to link directly to the relevant course.
Related Resources
- Email Templates Overview: Learn how to set up all Thrive Apprentice email templates including delivery service configuration and other template types.
- Creating Your First Course: Follow the step-by-step guide to create your first course in Thrive Apprentice.
- Managing Members: Learn how to manage members and enrollments in Thrive Apprentice.