In this article, you’ll learn how demo content works in Thrive Theme Builder and how to use it to make your website look like one of the pre-designed demo websites.
When you install and activate a Thrive Theme Builder theme, it comes with pre-designed templates that include placeholder demo content. This content lets you see how your site will look while you customize templates—but it must be replaced with your own content before going live.
How Demo Content Works
Demo content is placeholder material (text, images, categories, and tags) that gets loaded automatically when you edit a template. It gives you a realistic preview of how your templates will look with actual content.
Key things to understand about demo content:
- Demo content is generated internally—it creates temporary demo posts, pages, categories, and tags behind the scenes. These are hidden from your regular WordPress content and Media Library.
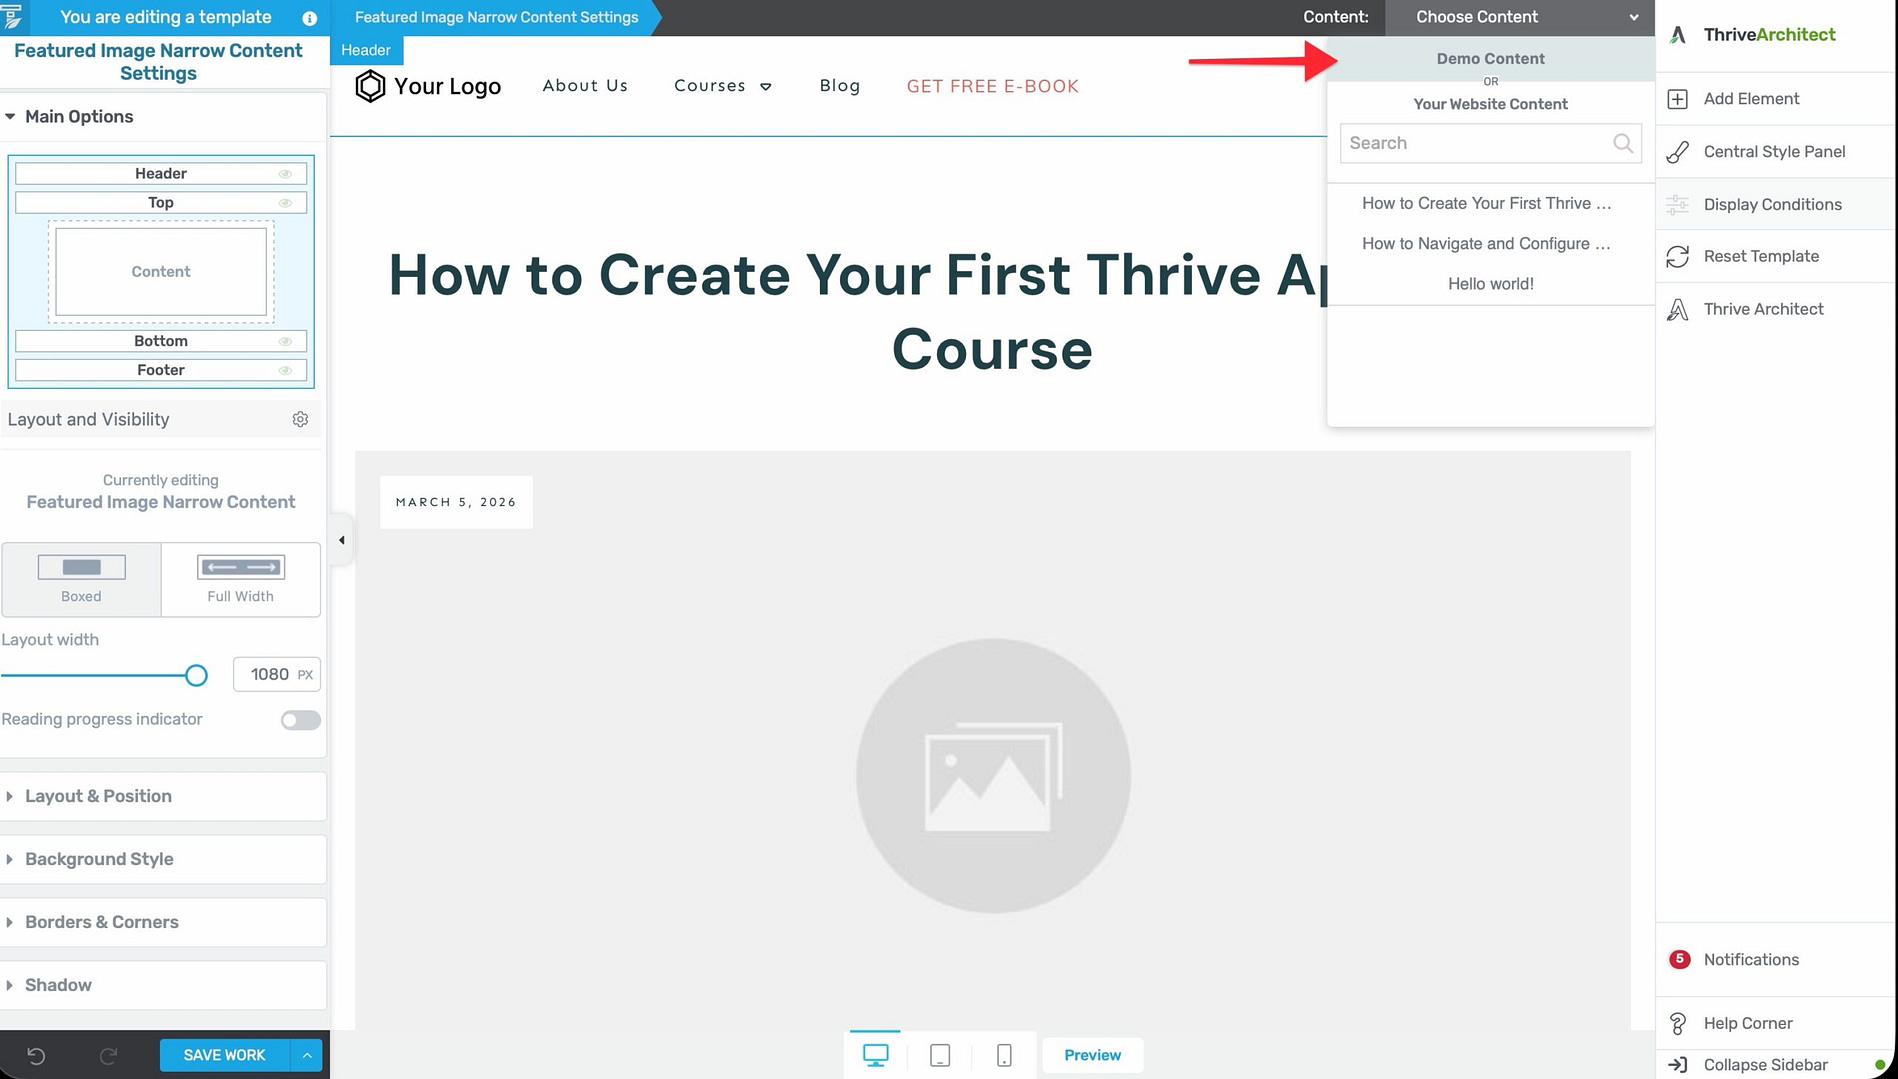
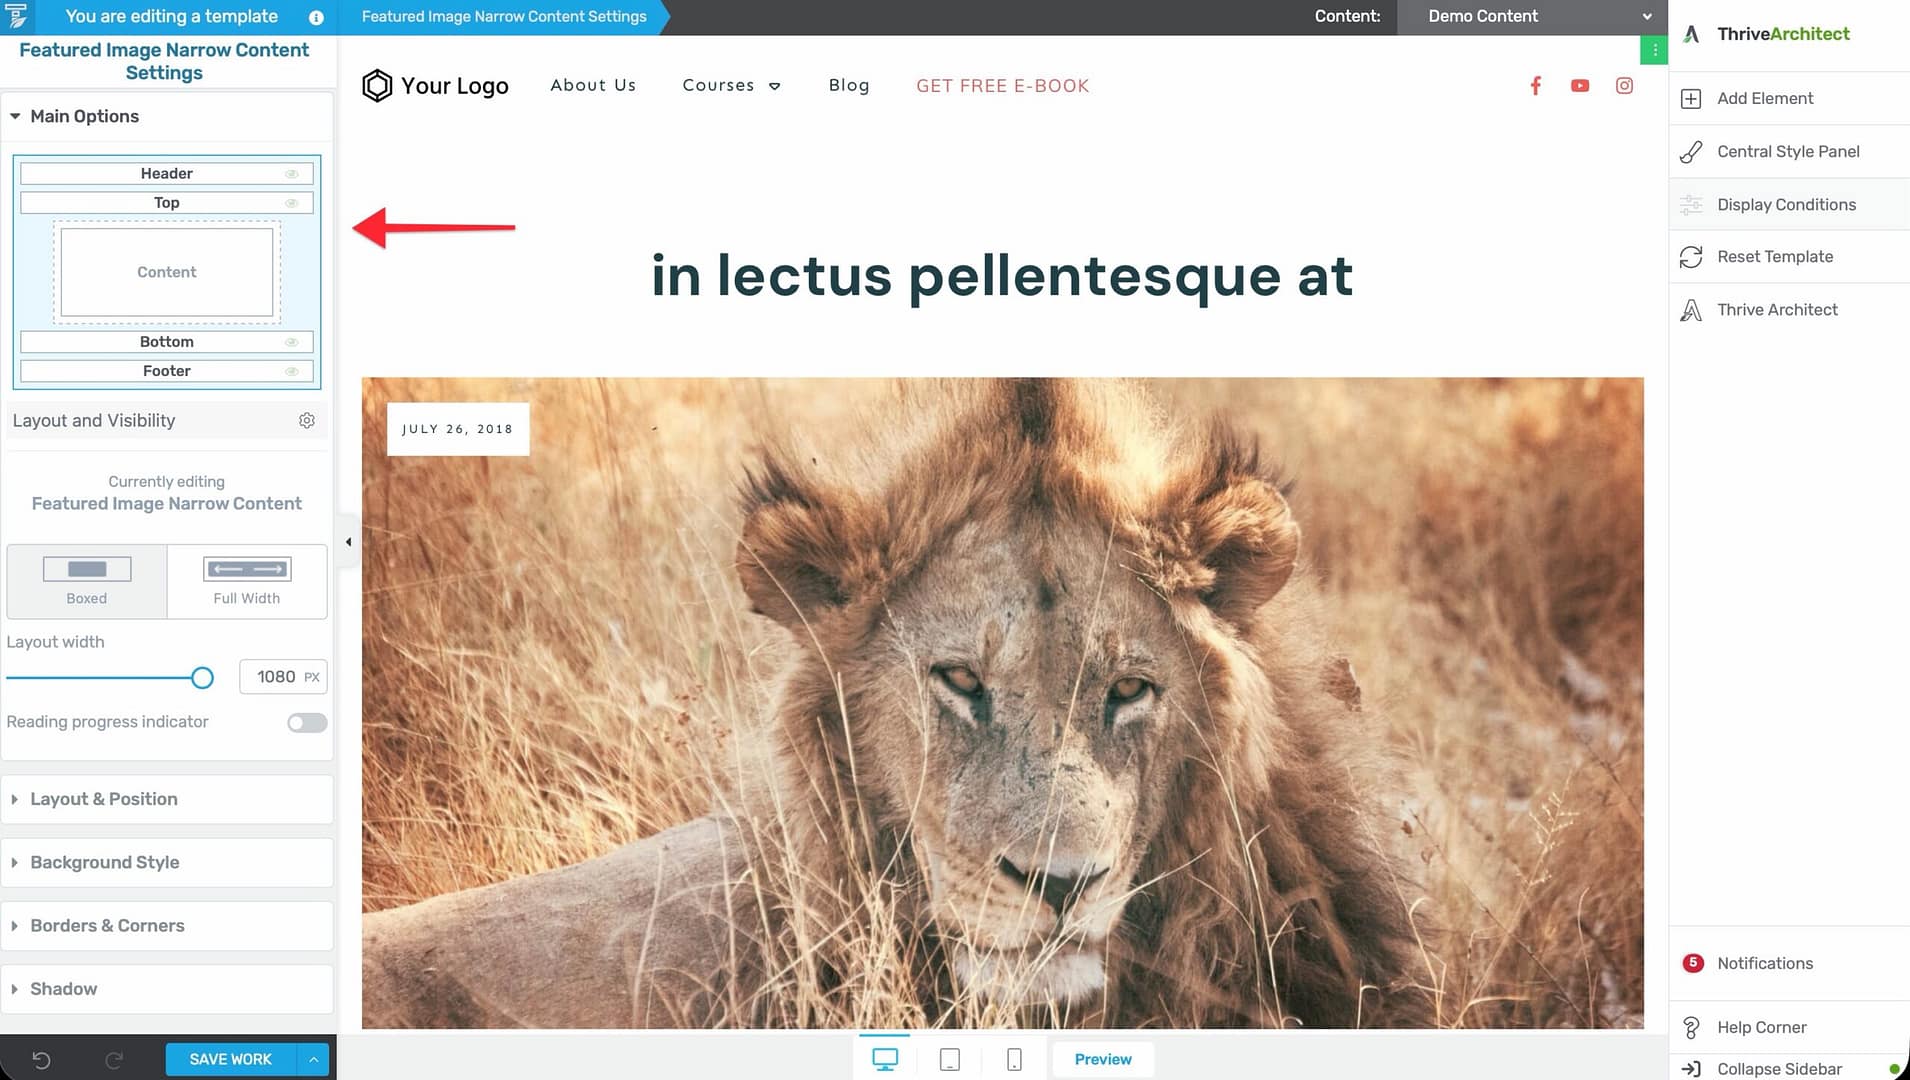
- It appears in the Content Drop-Down—when editing a template in the Thrive Theme Builder editor, the Content Drop-Down in the top-right corner lets you switch between viewing your real pages/posts and the demo content.
- It does not replace your real content—demo content is only visible inside the template editor. It does not affect your published pages or posts.
Making Your Website Look Like the Demo
Follow these steps to replicate the look of a companion theme’s demo website (e.g., Shapeshift, Ommi, Kwik, or Bookwise).
Step 1: Install and Activate the Theme
Install your chosen companion theme from the Thrive Product Manager. If you haven’t done this yet, follow the installation guide.
Step 2: Run the Site Wizard
After activation, run the Site Wizard to choose your homepage, default templates, header, footer, and menu. This sets up the basic structure of your website to match the demo.
Step 3: Customize the Default Templates
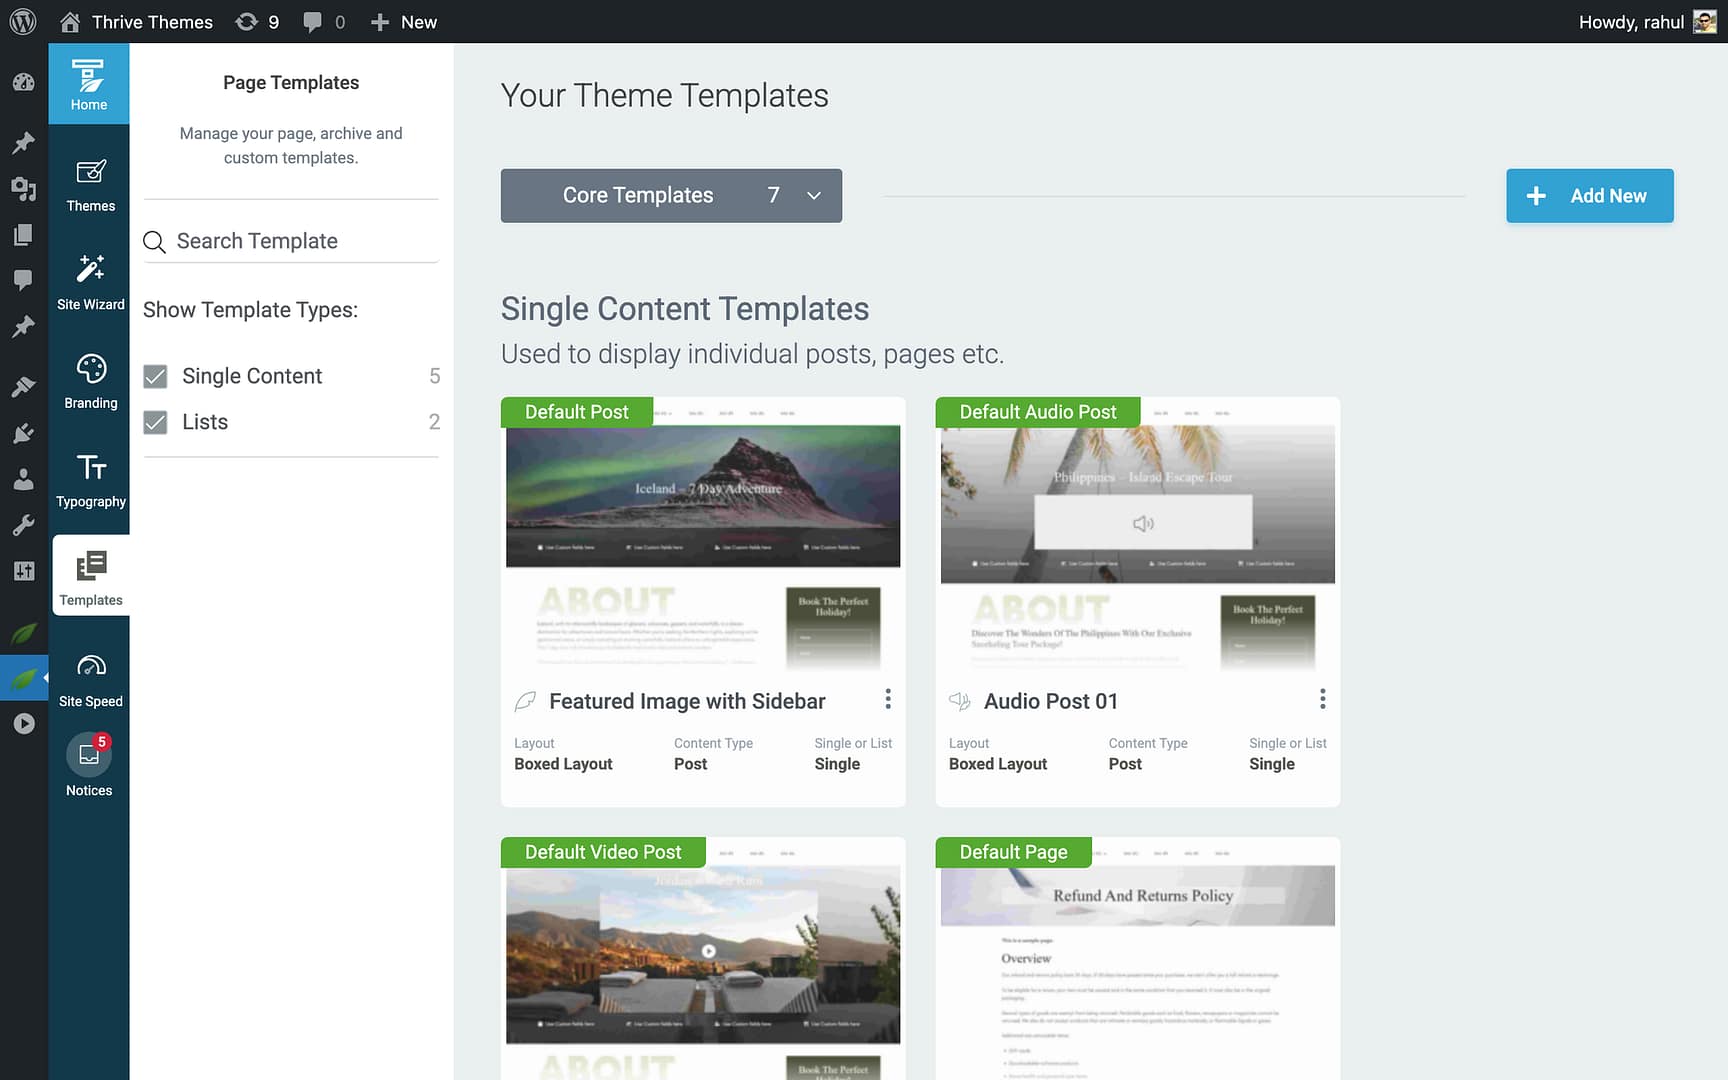
- In the Thrive Theme Builder dashboard, click Templates in the left sidebar.
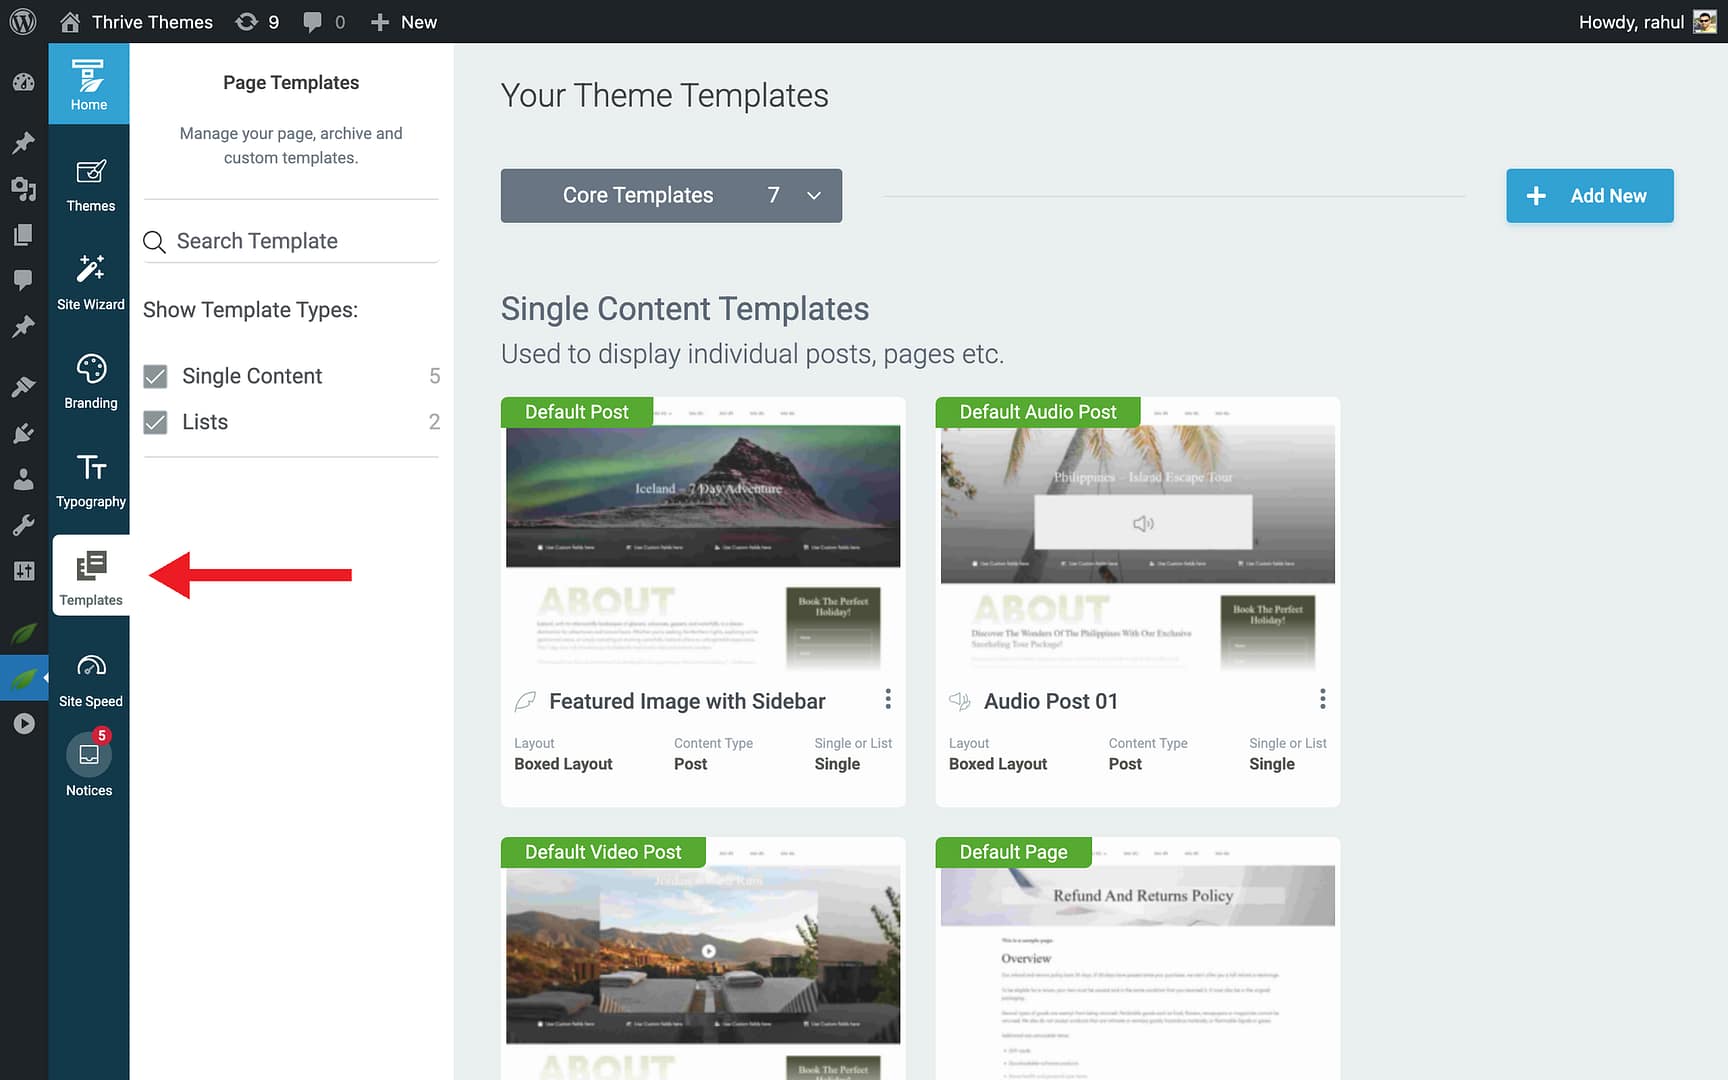
- You’ll see the default templates that came with your theme.
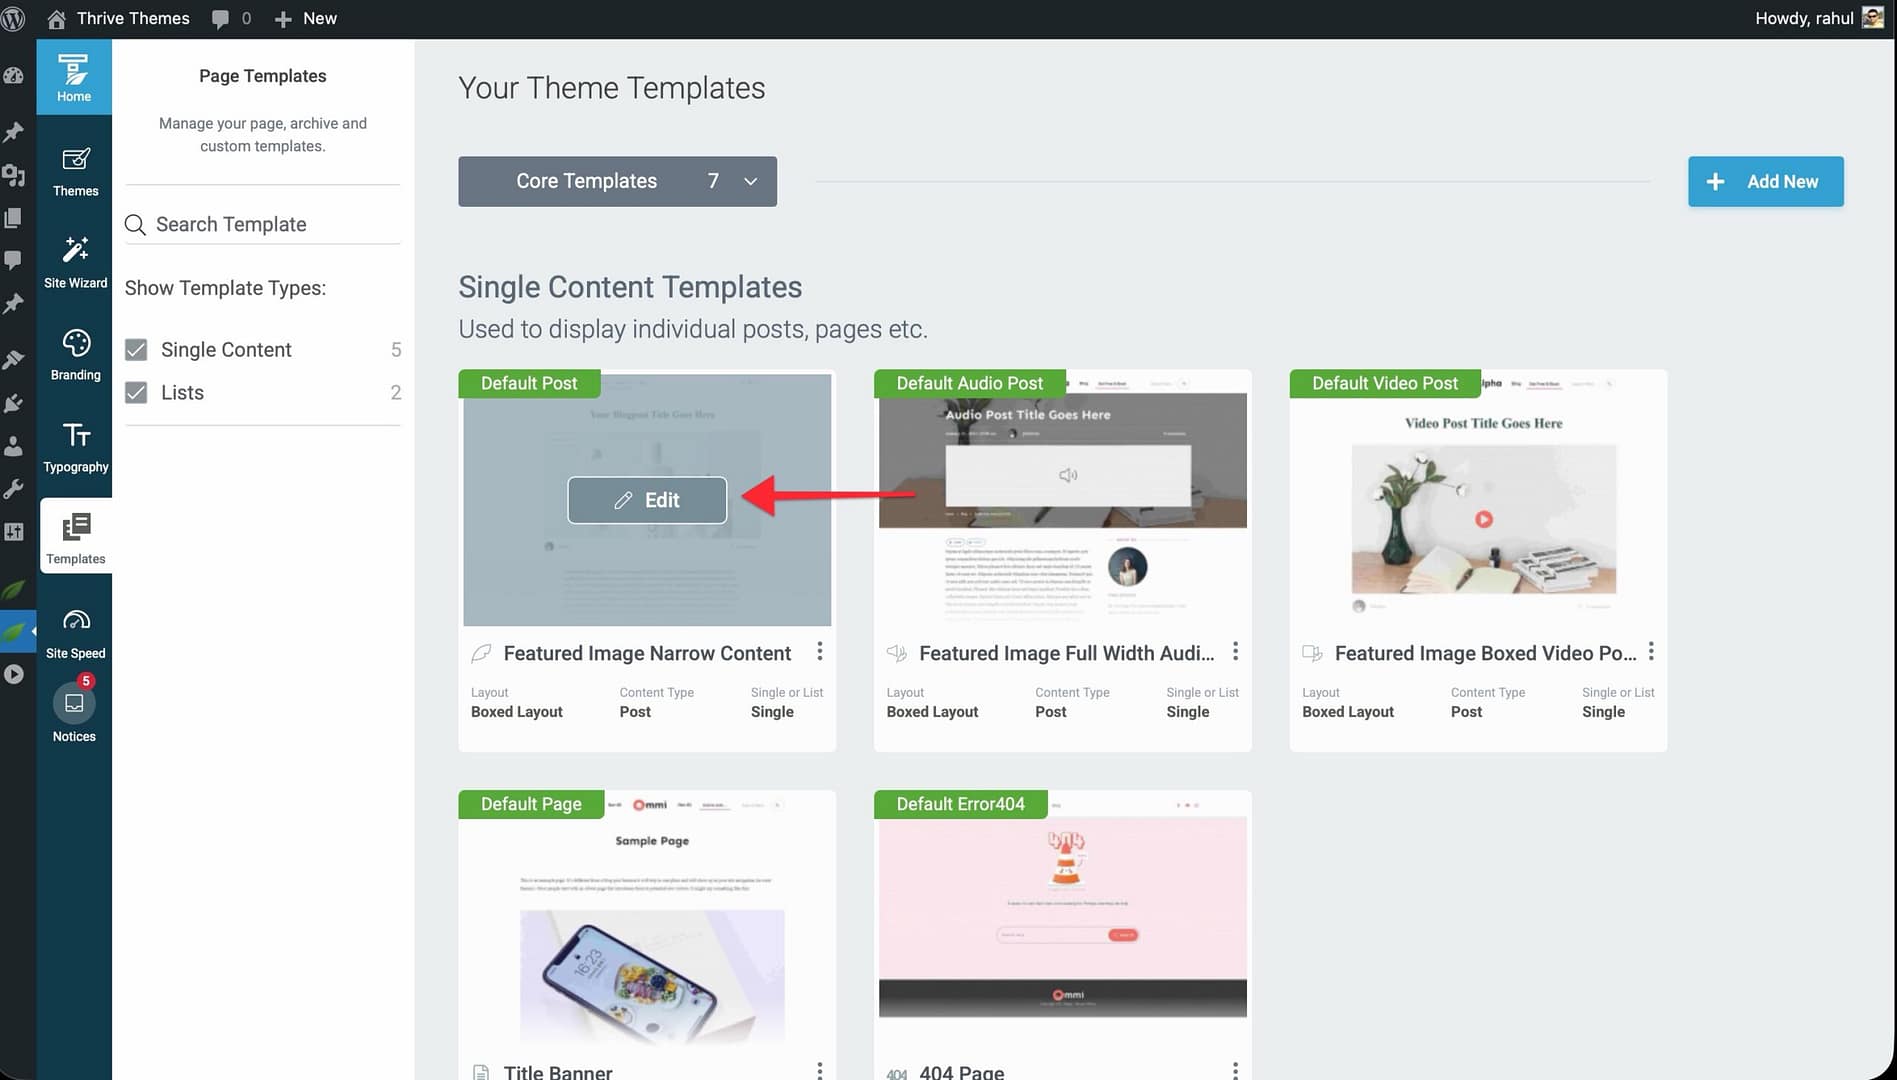
- Hover over a template and click Edit to open it in the Thrive Theme Builder editor.
- Use the Content Drop-Down in the top-right corner to load demo content onto the template for a realistic preview.
- Customize the template layout, elements, and styling to match your needs.
Step 4: Replace the Demo Elements
Once you’re customizing templates, certain demo elements need to be updated manually:
- Post Content — The text content shown is placeholder text. Your actual page/post content will replace it automatically when the template is applied.
- Buttons and Call-to-Action elements — Any CTA buttons in the template have empty links by default. Click on them and enter a URL in the Target URL field, or they will not function on the live site.
- Header and Footer items — Navigation menus in the header/footer use demo menus. Assign your own WordPress menus via Appearance > Menus or through the Site Wizard’s Menu step.
- Social Links — If the template includes social link elements, set up your actual social media URLs in the Branding section of the dashboard.
Step 5: Apply the Templates to Pages and Posts
Customizing a template in the editor only changes the template design—it does not automatically apply it to your content.
To apply a template to a specific page or post:
- Open the page or post in the WordPress editor.
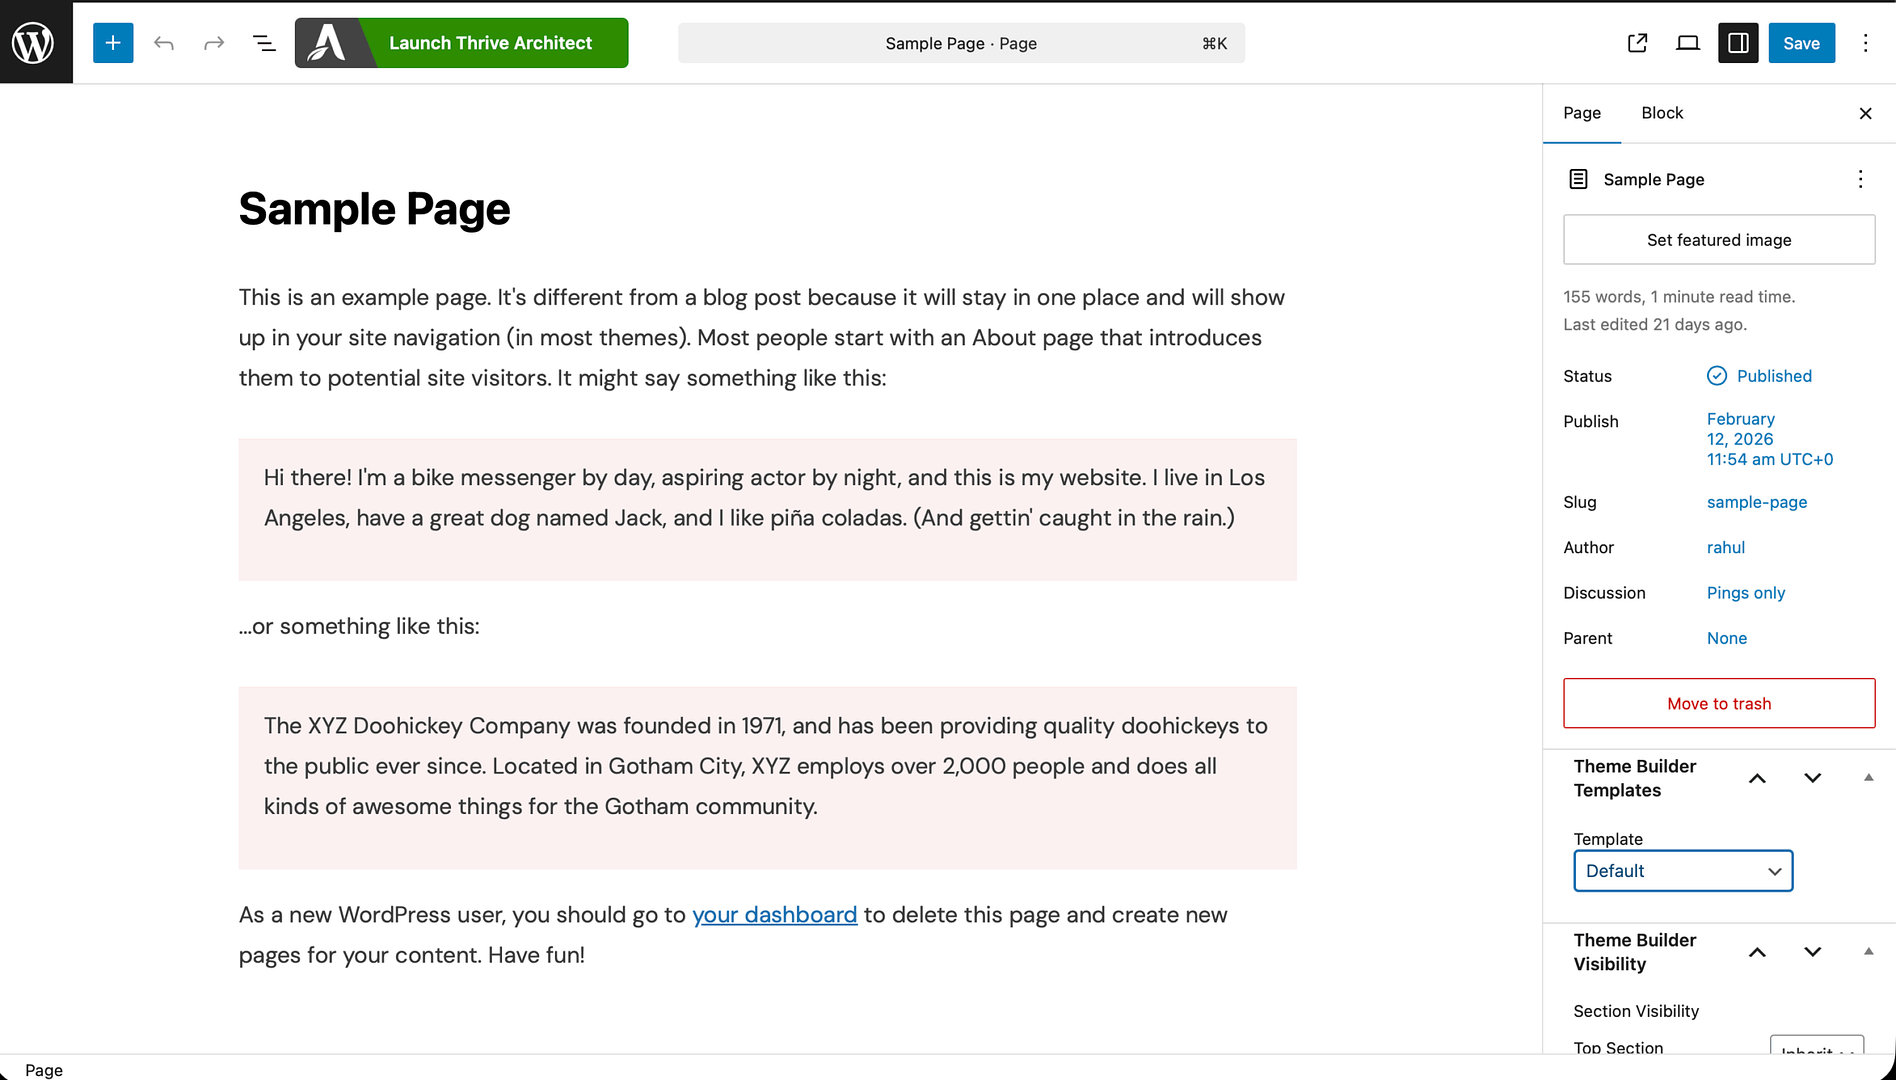
- Look for the Theme Builder Templates meta box in the sidebar.
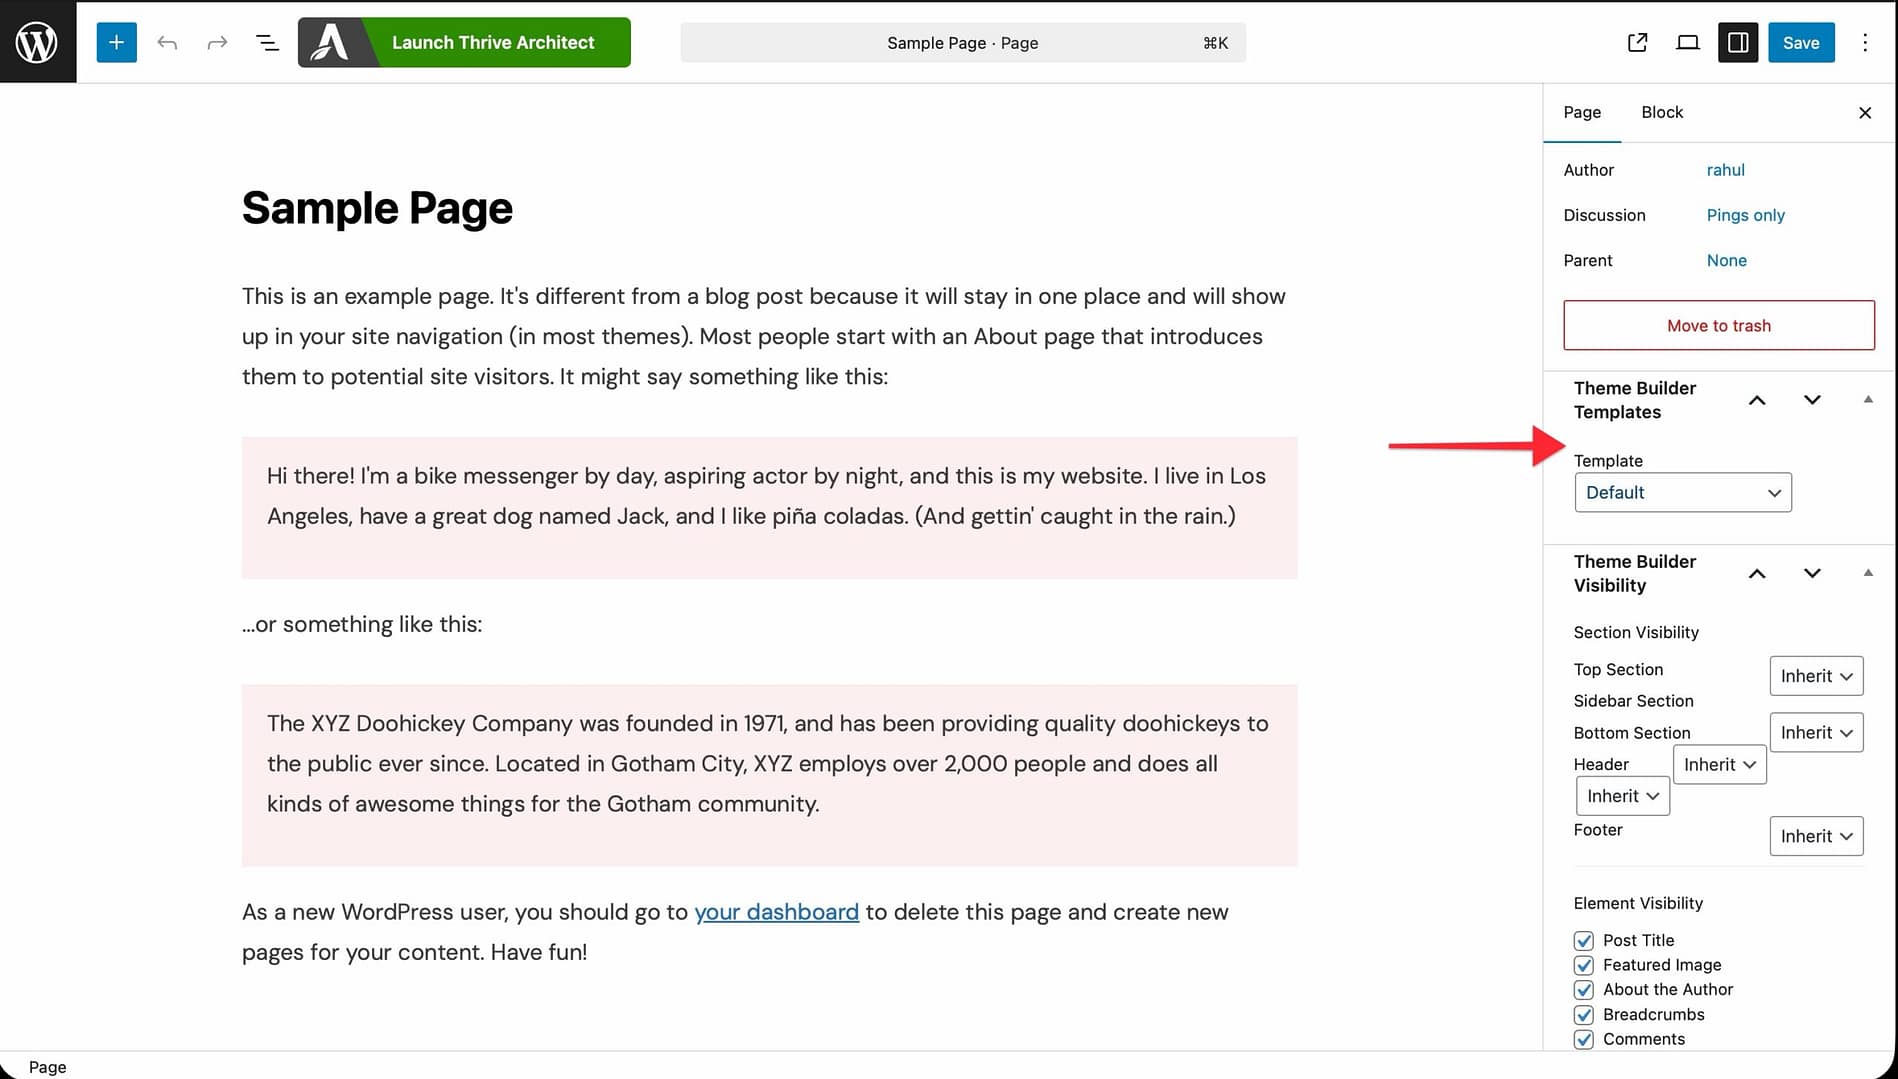
- Select the template you want to apply from the Template dropdown.
- Update the page/post to save the change.
Ready-Made Homepages
During Step 5 of the Site Wizard, you can choose a ready-made homepage. These are pre-designed landing pages that come with demo content already in place.
A key difference: ready-made homepages are actually Thrive Landing Pages, so they open in the Thrive Architect editor (not the Thrive Theme Builder editor). In the Templates section, hovering over the Homepage Template will show Edit Landing Page instead of the standard Edit button.
You can customize the content of these pages directly in Thrive Architect, while the header and footer sections remain controlled by Thrive Theme Builder.
Related Resources
- Getting Started: Learn how to get started with Thrive Theme Builder and run the Site Wizard.
- Setting Up Branding: Configure your logo, favicon, colors, and typography to match your brand.
- Managing Templates: Explore the full Templates section for advanced customization.