In this article, you’ll learn how to migrate from another learning management system to Thrive Apprentice—including a step-by-step migration checklist, platform-specific tips for switching from LearnDash and Teachable, and how Thrive Apprentice 4.0 features make the transition worthwhile.
Overview of the Migration Process
Switching from another LMS to Thrive Apprentice requires rebuilding your courses within the platform. You cannot directly import course content or structure from another system. However, you can export your existing students and import them into Thrive Apprentice—so your customers won’t need to re-register.
Note: While rebuilding courses may sound like a lot of work, the process is straightforward when you follow a structured approach. The checklist below breaks the migration into seven manageable steps.
Why Switch to Thrive Apprentice?
Thrive Apprentice 4.0 introduced several features that make it a compelling alternative to other LMS platforms:
- Products framework — Protect and sell courses, pages, posts, and custom content as bundled products, enabling full membership site functionality.
- Drip content scheduling — Release lessons and modules on a schedule to keep students engaged over time.
- Conditional display rules — Show or hide content based on a student’s access level, progress, or login status.
- Built-in design tools — Customize your entire online school’s appearance without code, using the integrated visual editor.
- No platform fees — Unlike hosted platforms, Thrive Apprentice runs on your own WordPress site with no per-student or transaction fees.
The 7-Step Migration Checklist
Follow these seven steps in order to ensure a smooth transition from your current LMS to Thrive Apprentice:
Step 1: Create Your Course Content
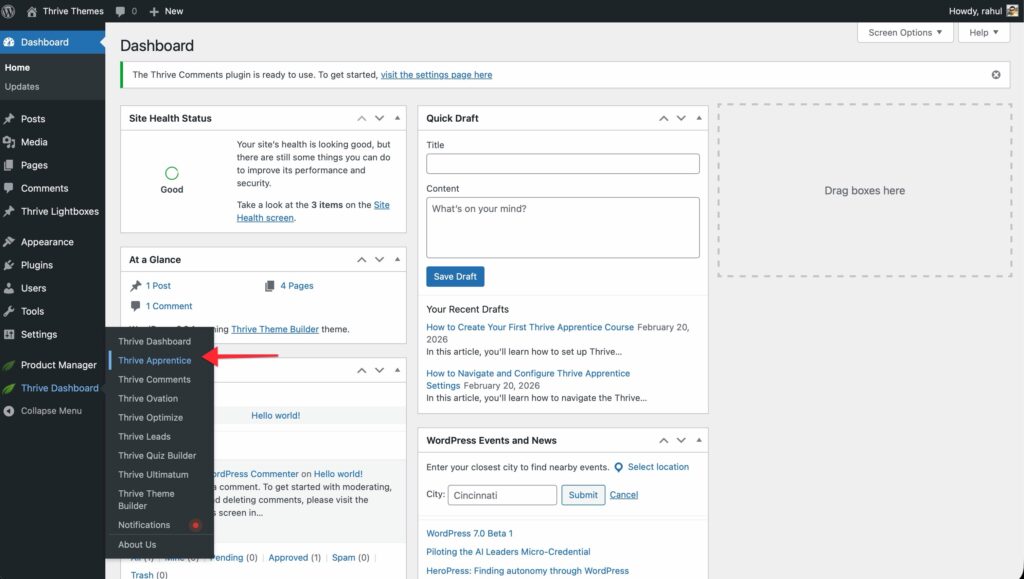
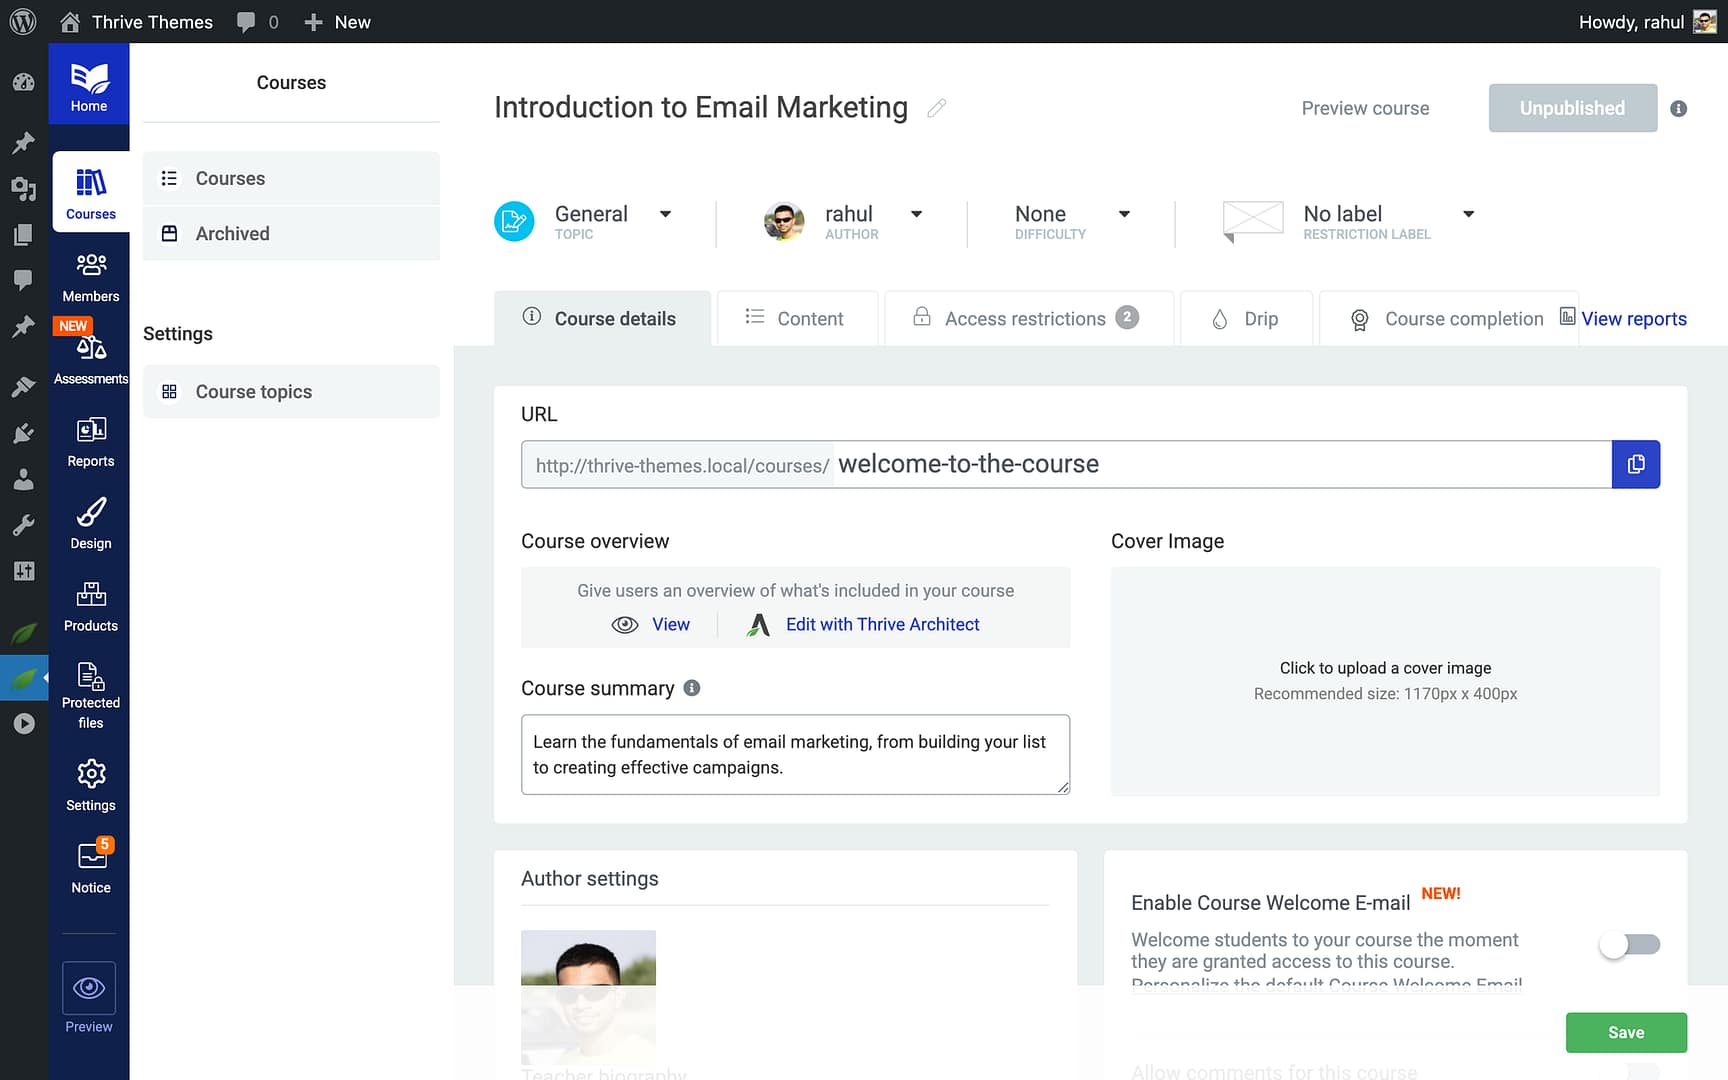
- Navigate to Thrive Dashboard > Thrive Apprentice.
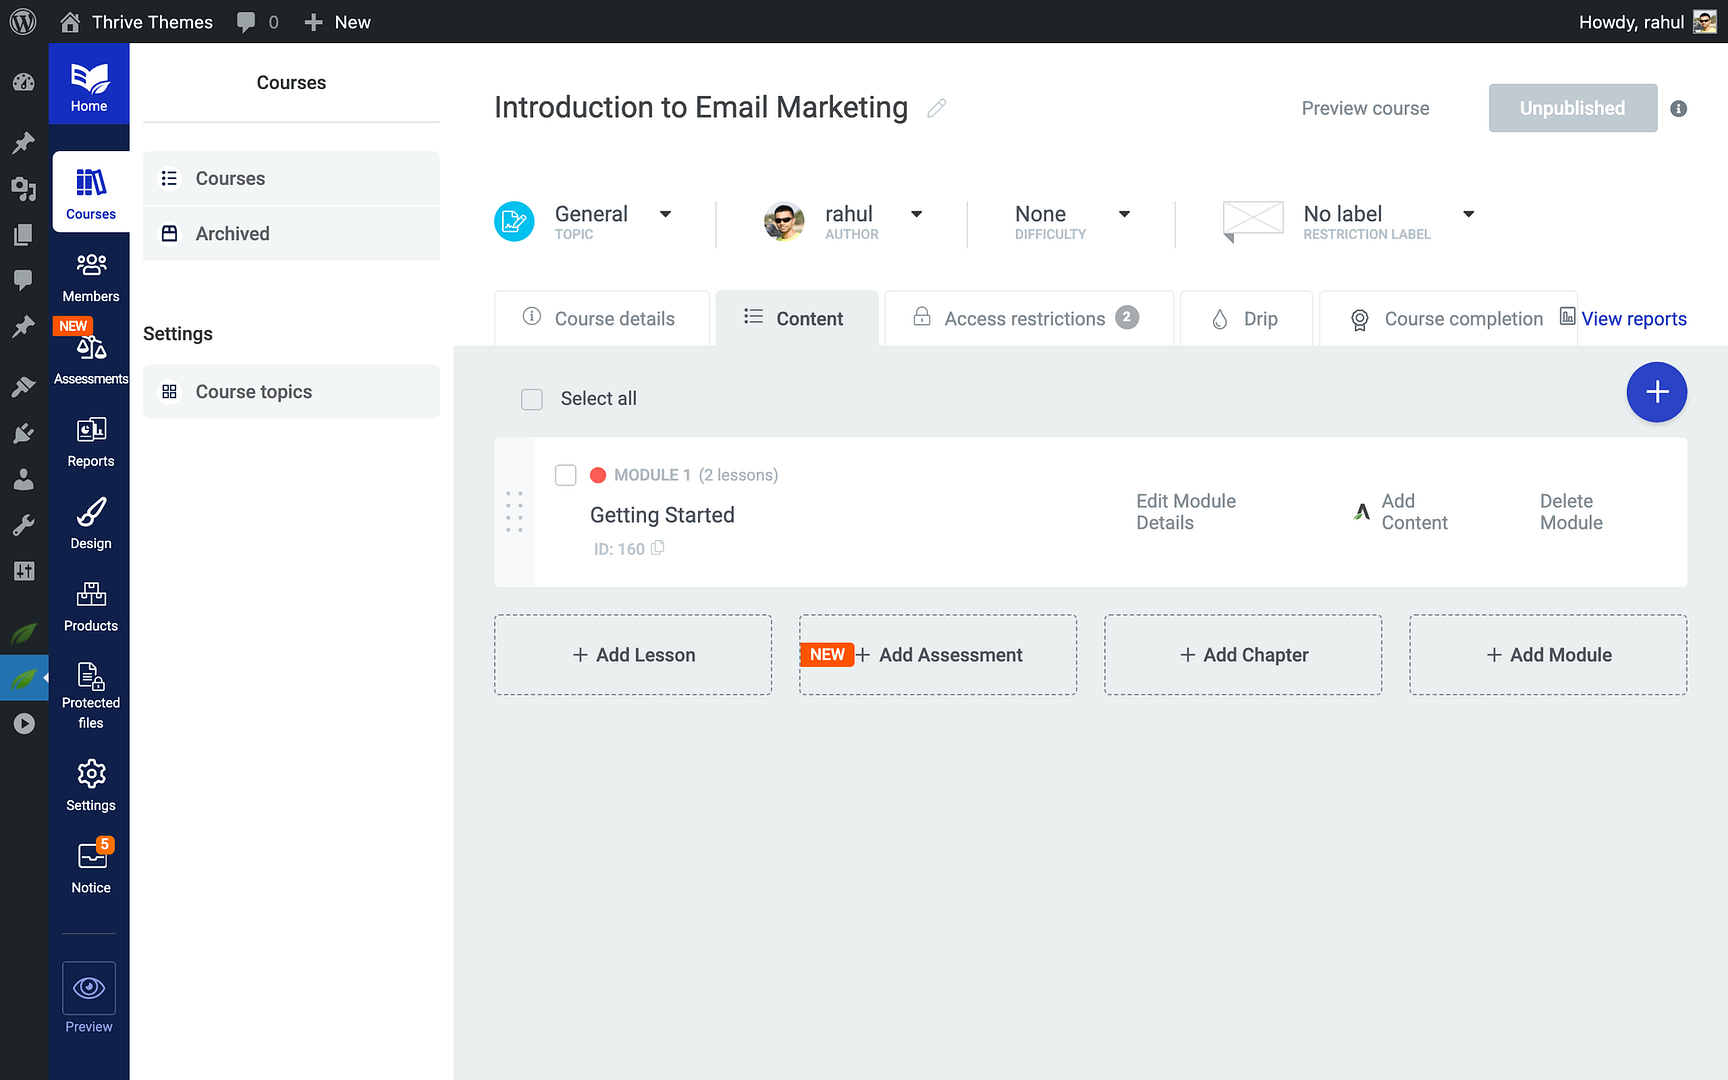
- Click the Courses tab and create a new course for each course you’re migrating.
- Recreate your modules, chapters, and lessons within each course.
- Copy and paste your lesson content from the old platform into each lesson’s editor in Thrive Architect.

- Re-upload any media files (images, videos, downloadable resources) that were hosted on the previous platform.
Tip: Work through one course at a time to stay organized. Open your old LMS in one browser tab and Thrive Apprentice in another for easy side-by-side content transfer.
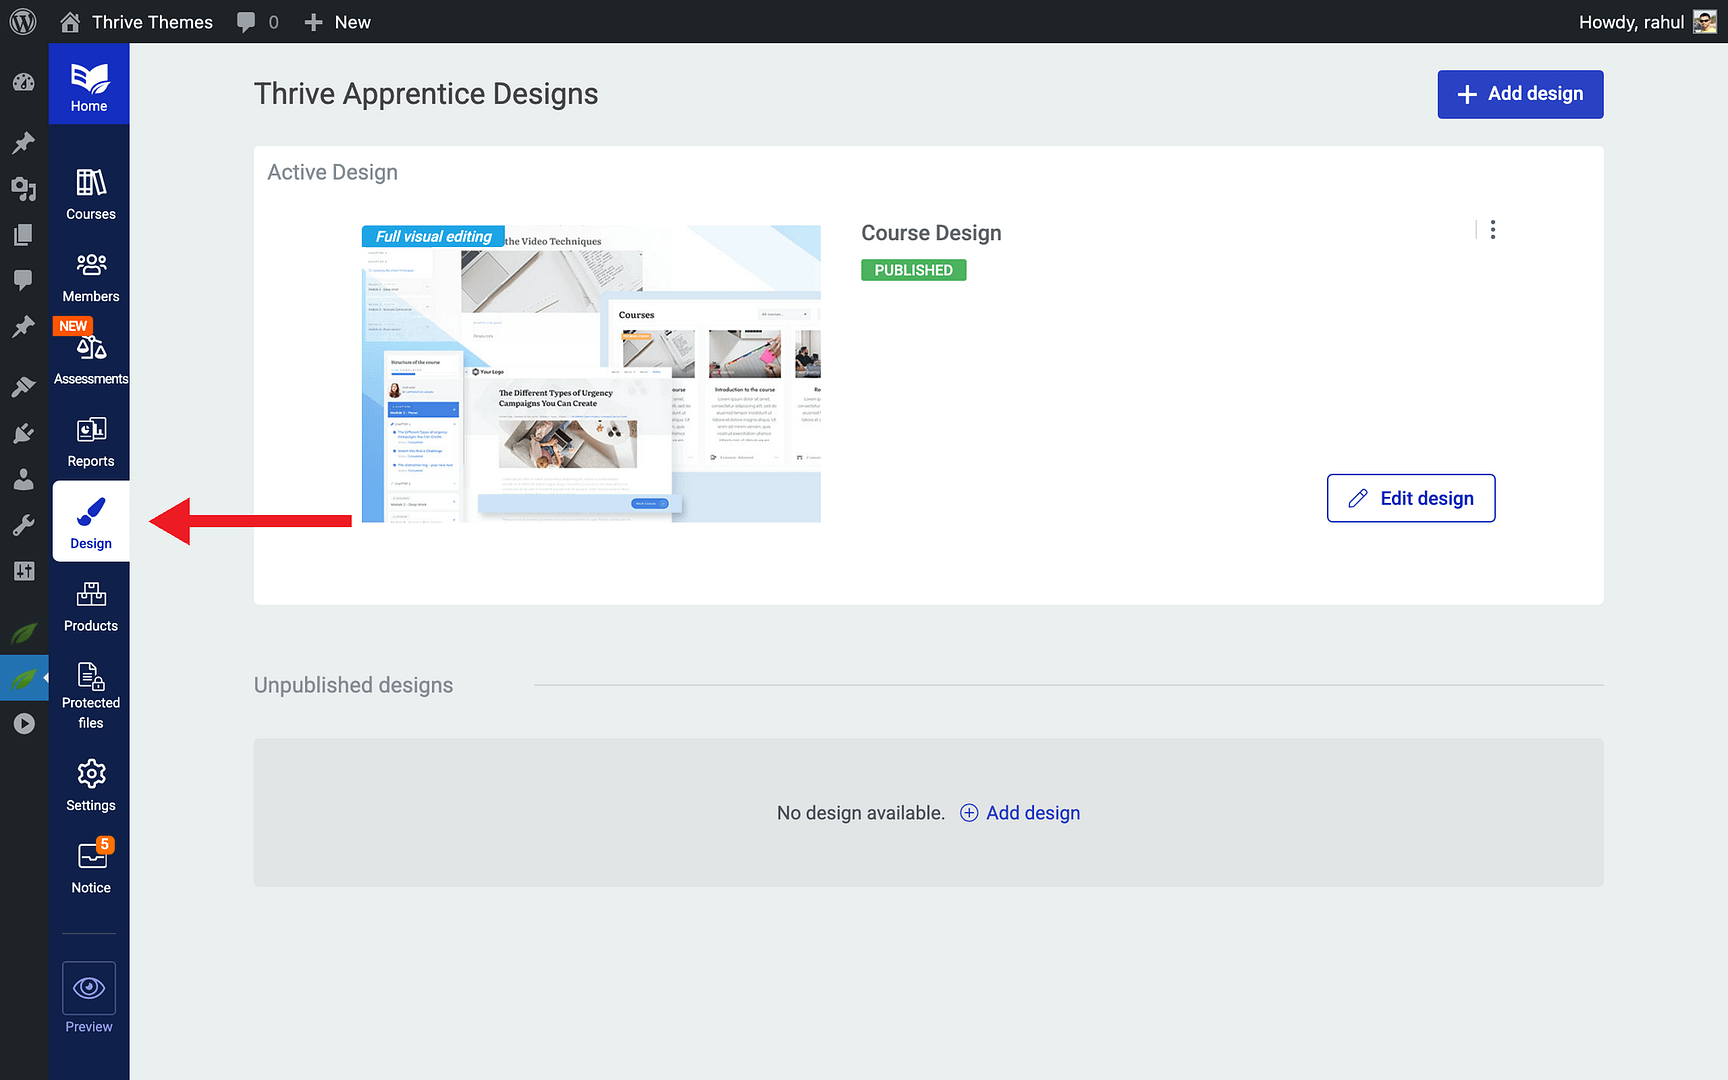
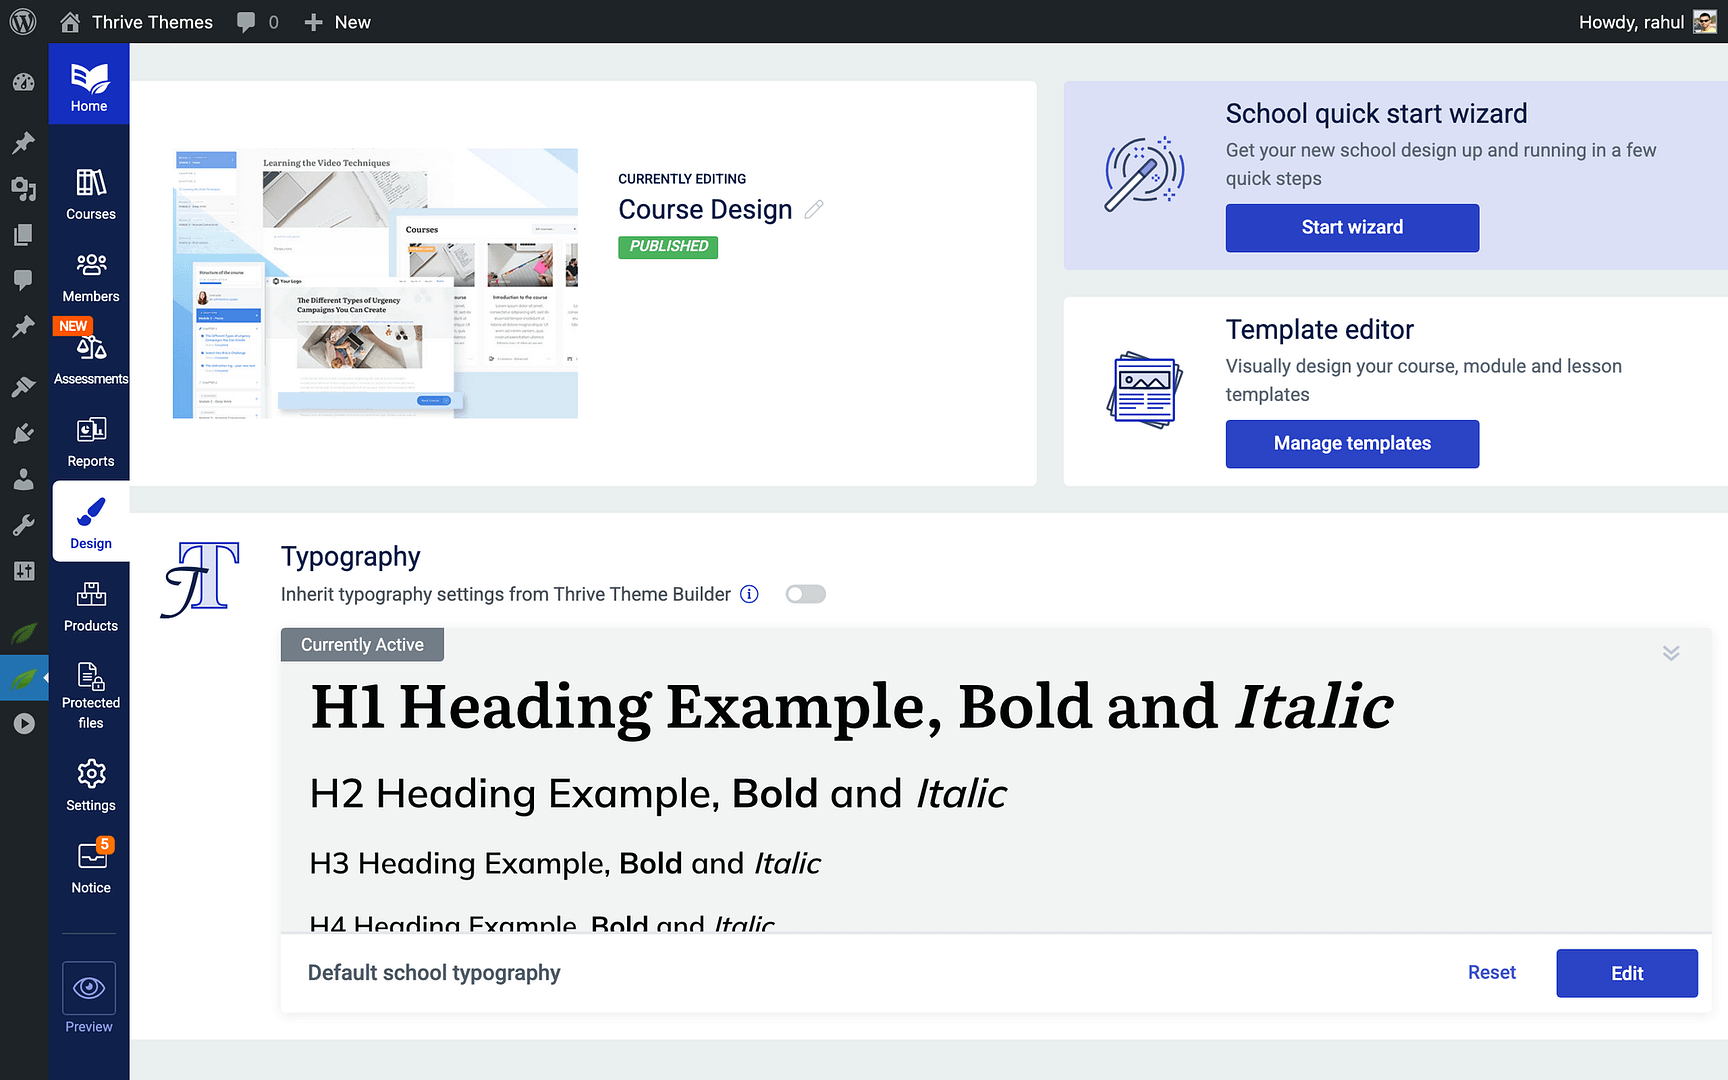
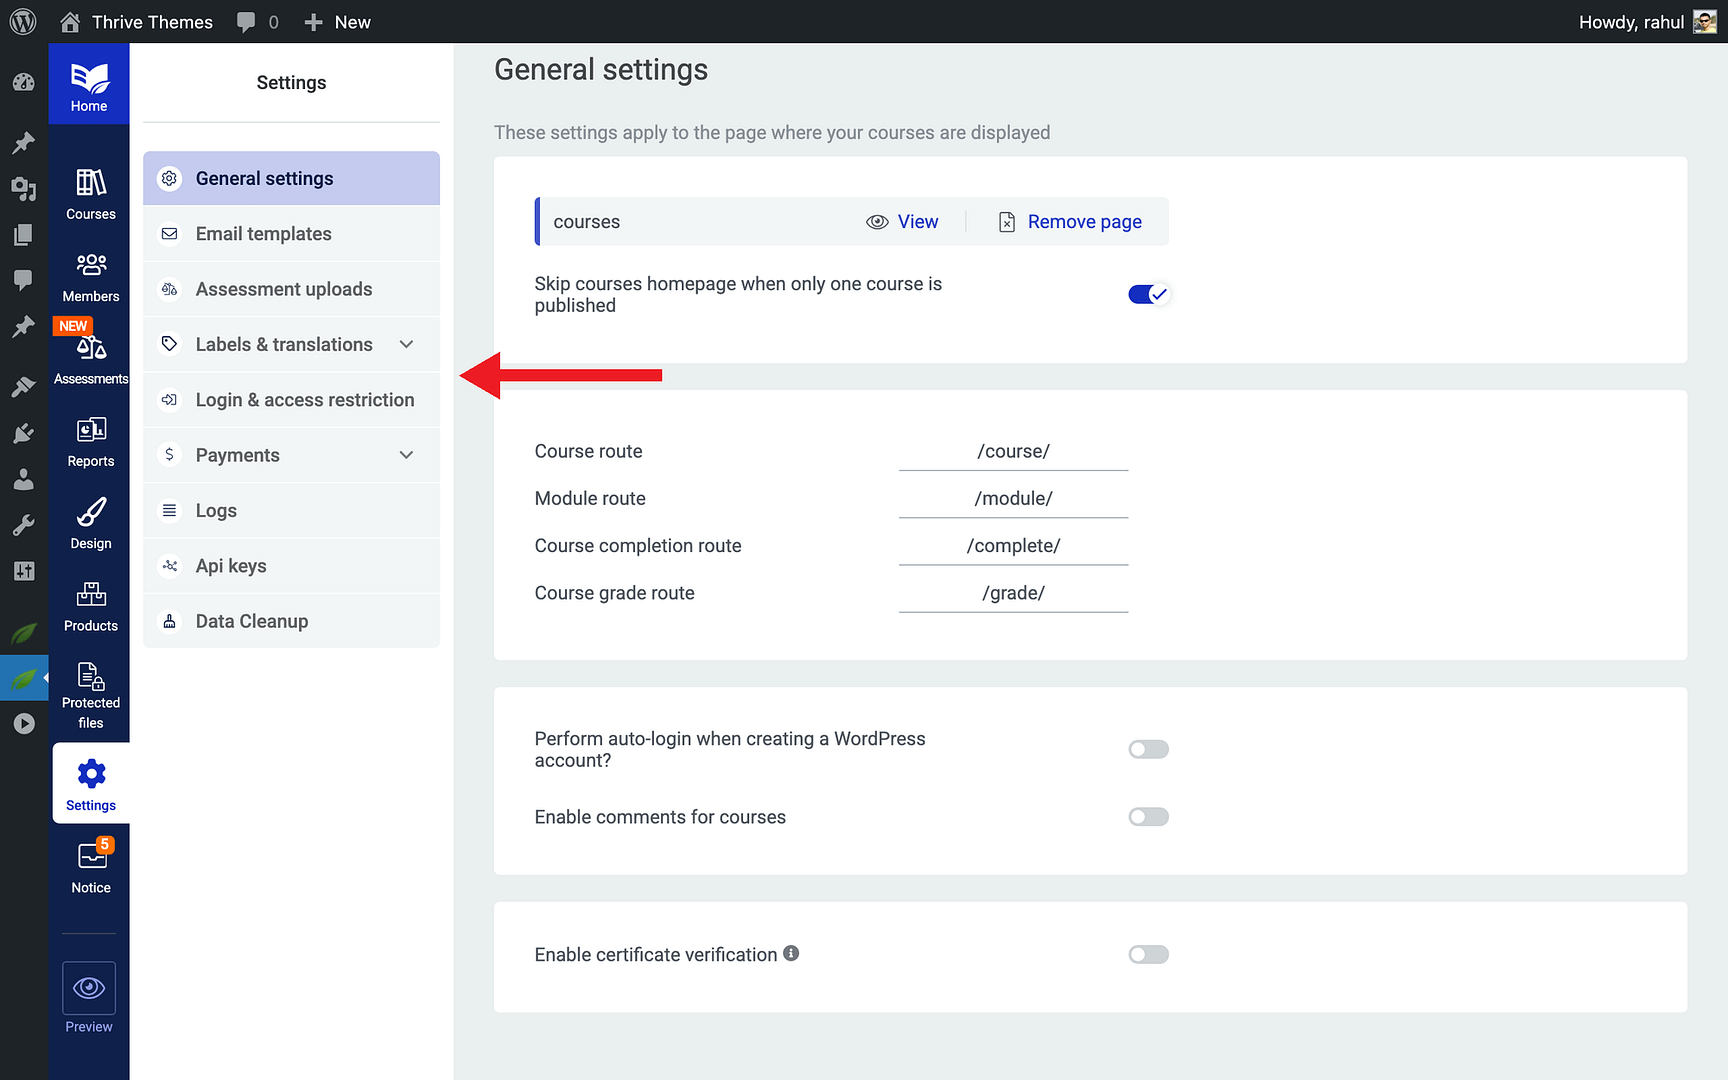
Step 2: Design Your Online School
- Click the Design tab in Thrive Apprentice.
- Choose a school design template or customize your own.
- Configure the layout for your course overview pages, lesson pages, and navigation elements.
- Set up your branding—logo, colors, and typography—to match your existing school’s look.
Step 3: Set Up Products and Course Bundles
- Click the Products tab in Thrive Apprentice.
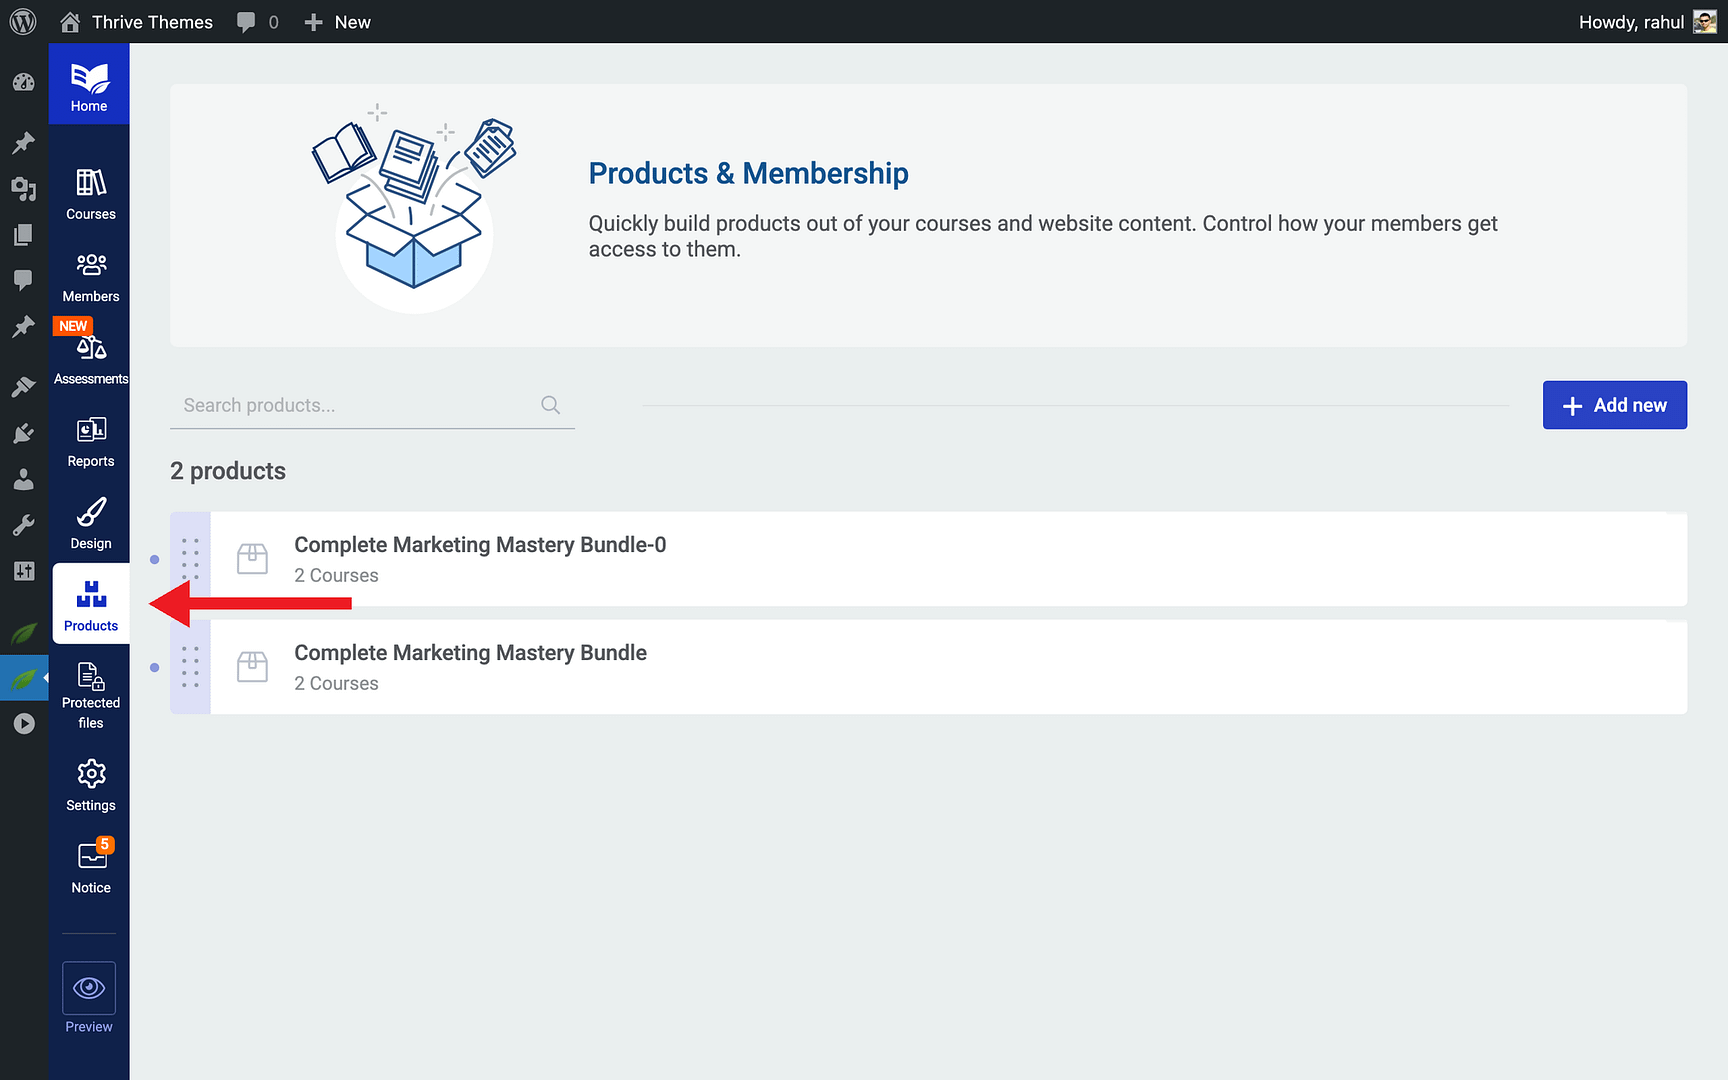
- Create a product for each course or course bundle you want to sell.
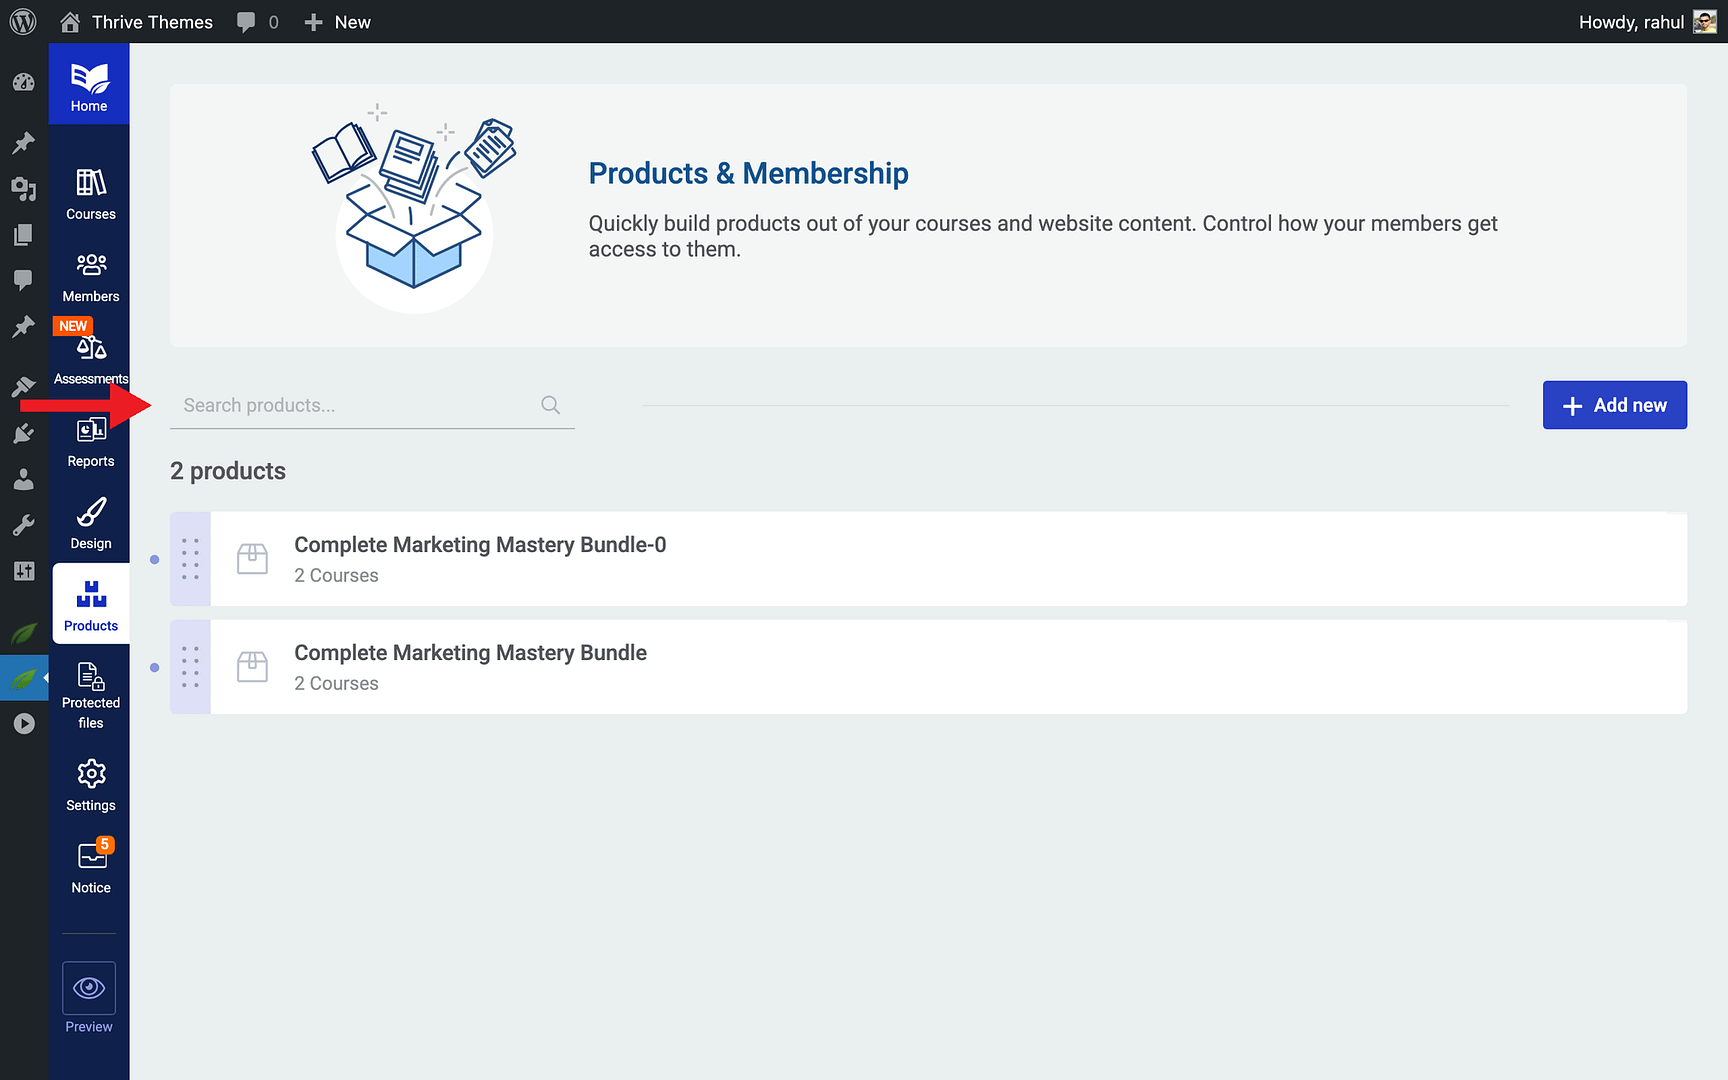
- Associate the appropriate courses with each product.

- Connect your payment gateway (e.g., ThriveCart, WooCommerce, or SendOwl) to handle purchases
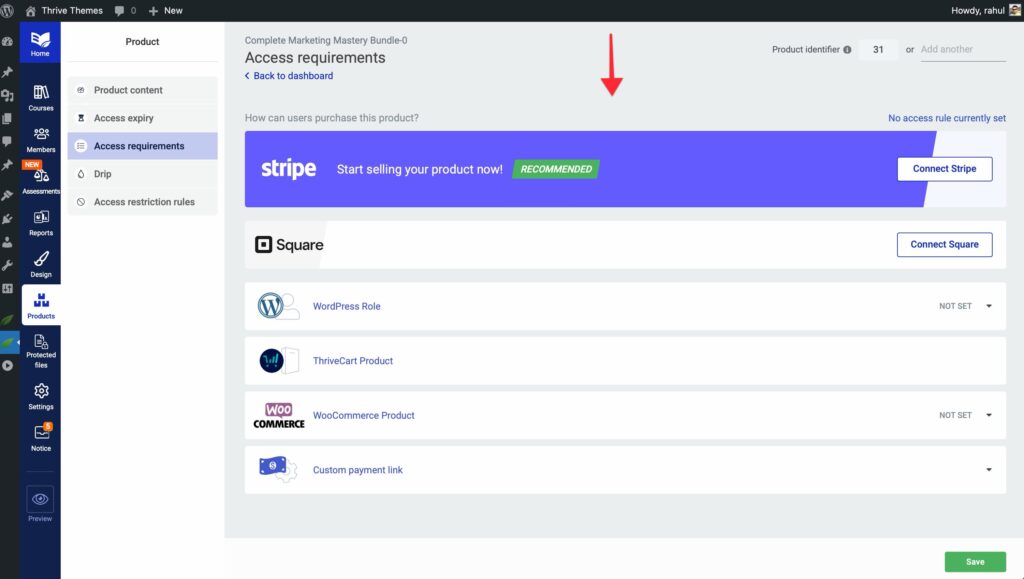
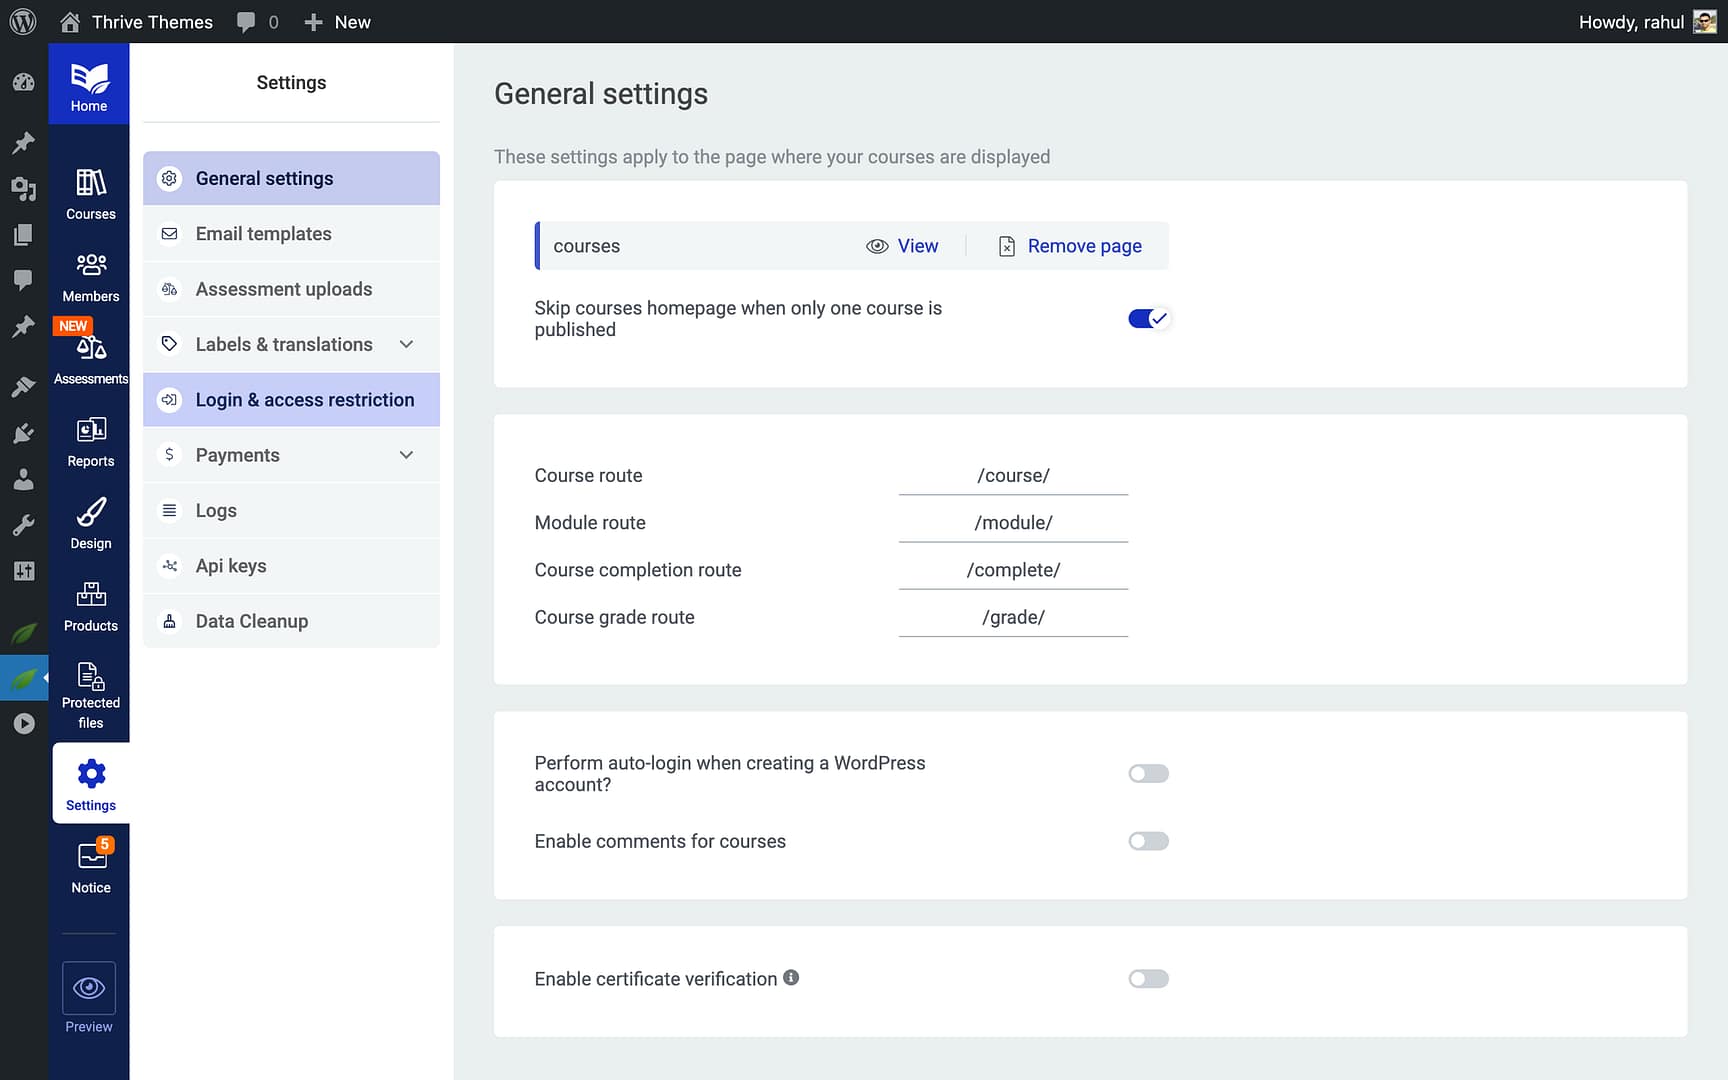
Step 4: Configure Access Restrictions
- Within each product’s settings, define the Access Requirements.
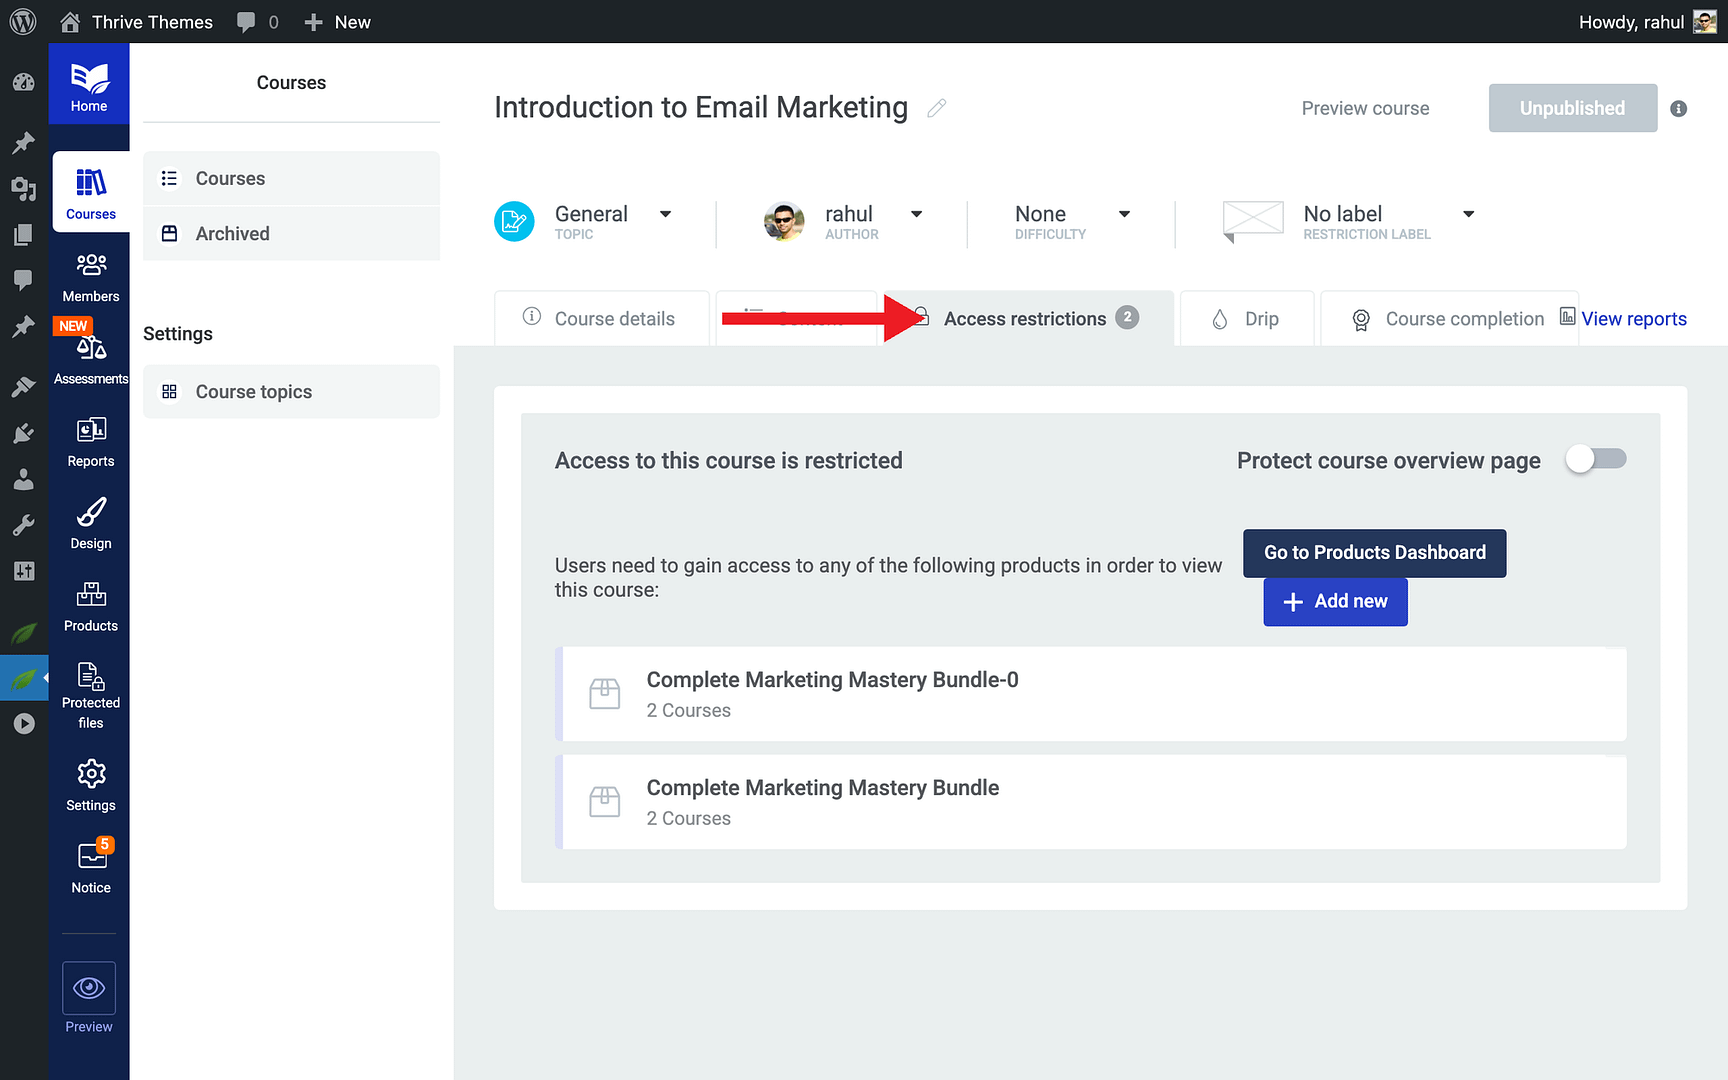
- Set rules for who can access the content—paid students, free users, or specific membership levels.
- Review your content protection priority to ensure rules don’t conflict.
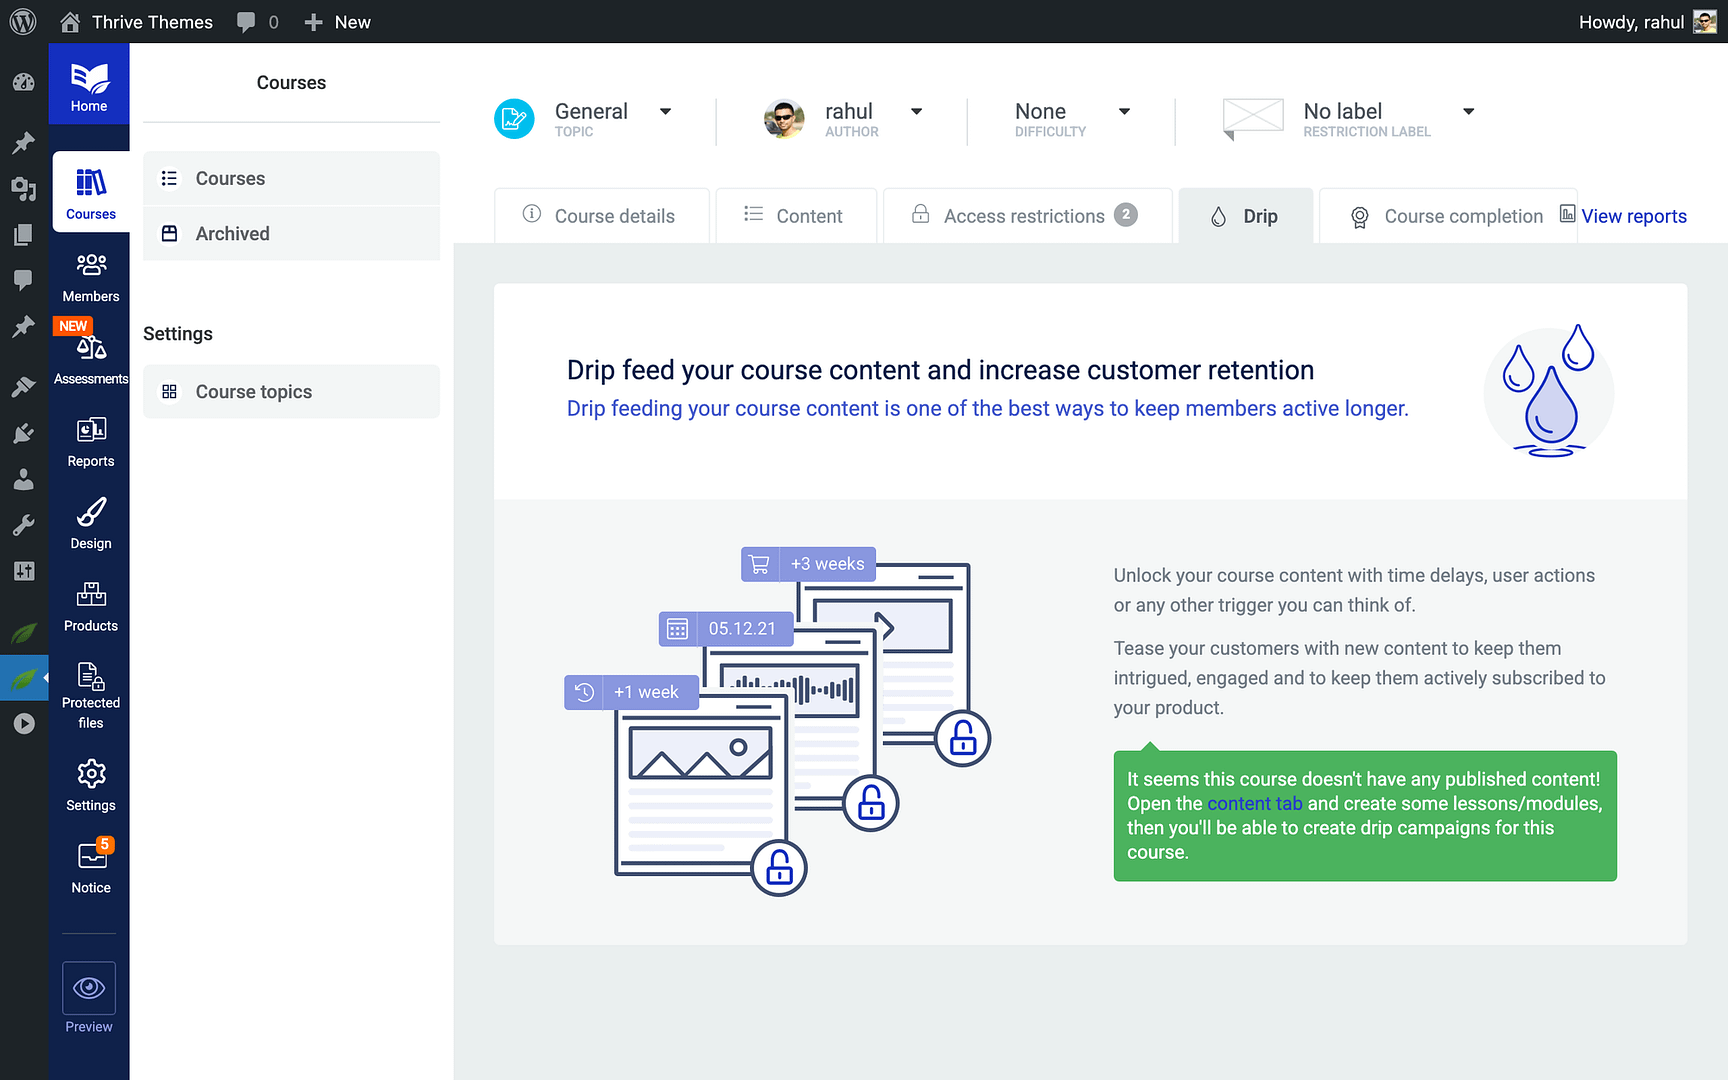
Step 5: Set Up Drip Schedules
- Open the course you want to drip-release.
- Navigate to the Drip settings within the course.
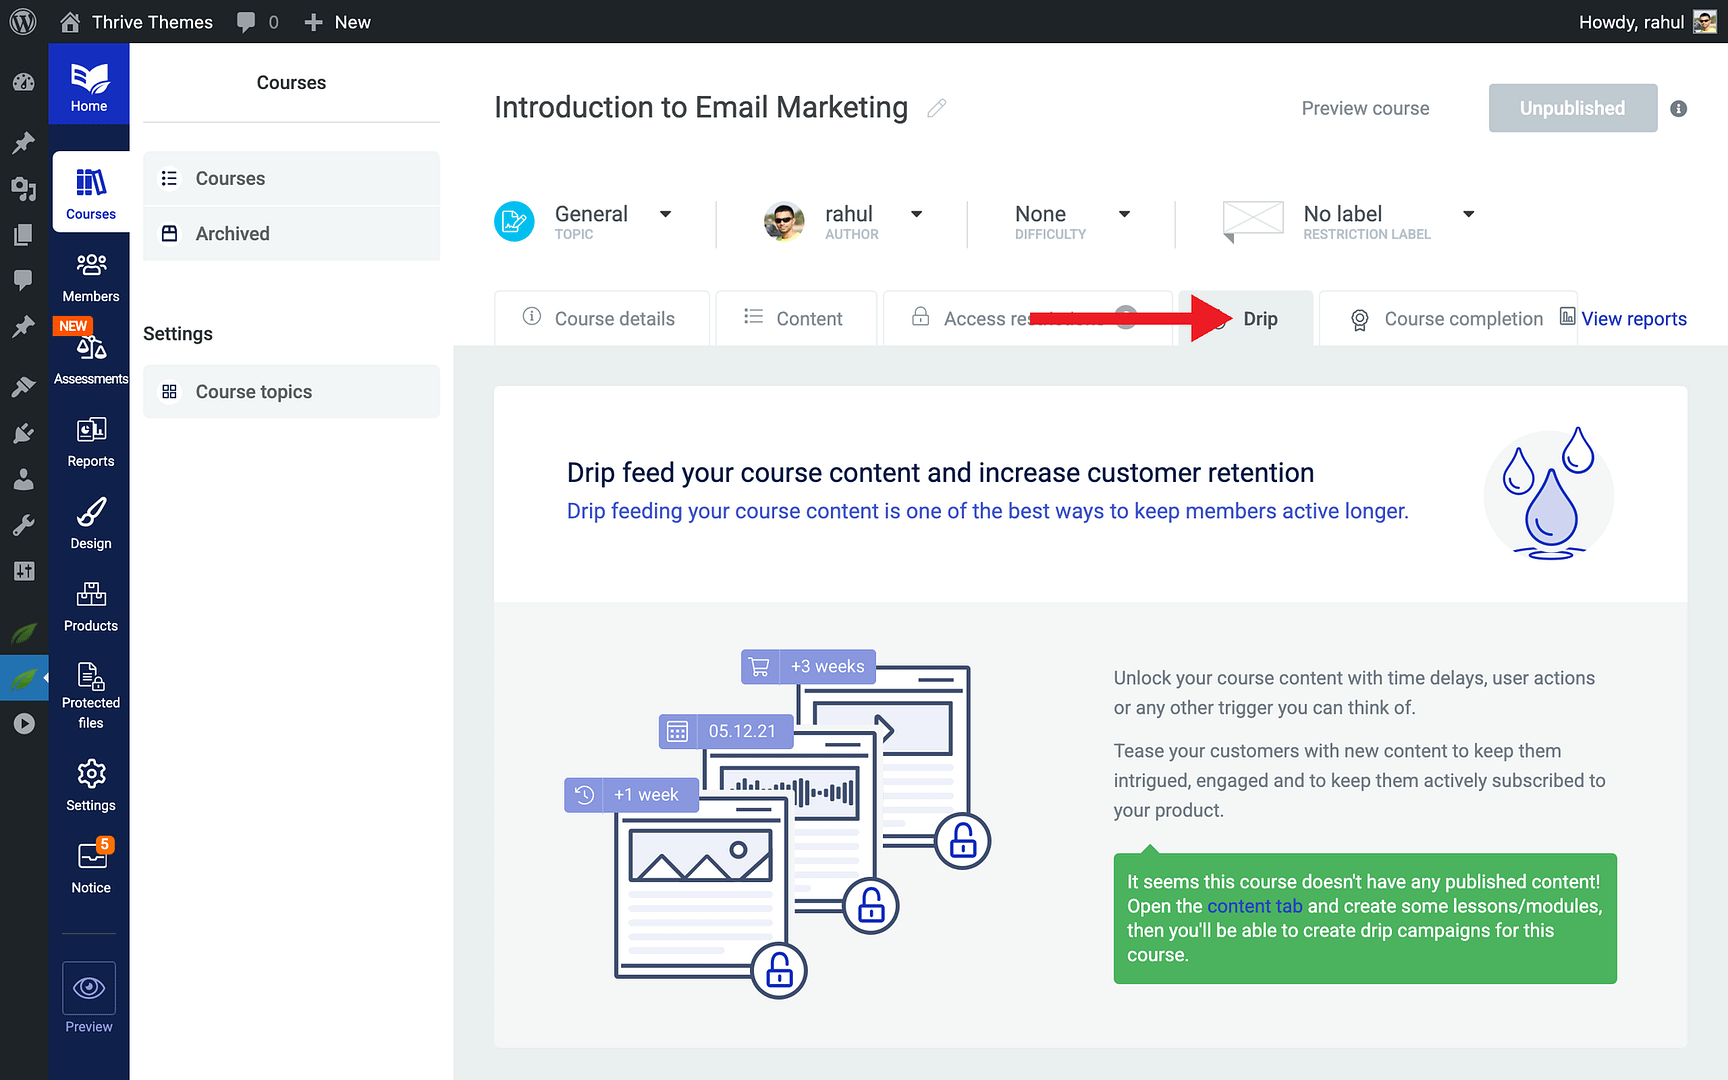
- Configure when each lesson or module becomes available—based on enrollment date, specific dates, or completion of previous content.
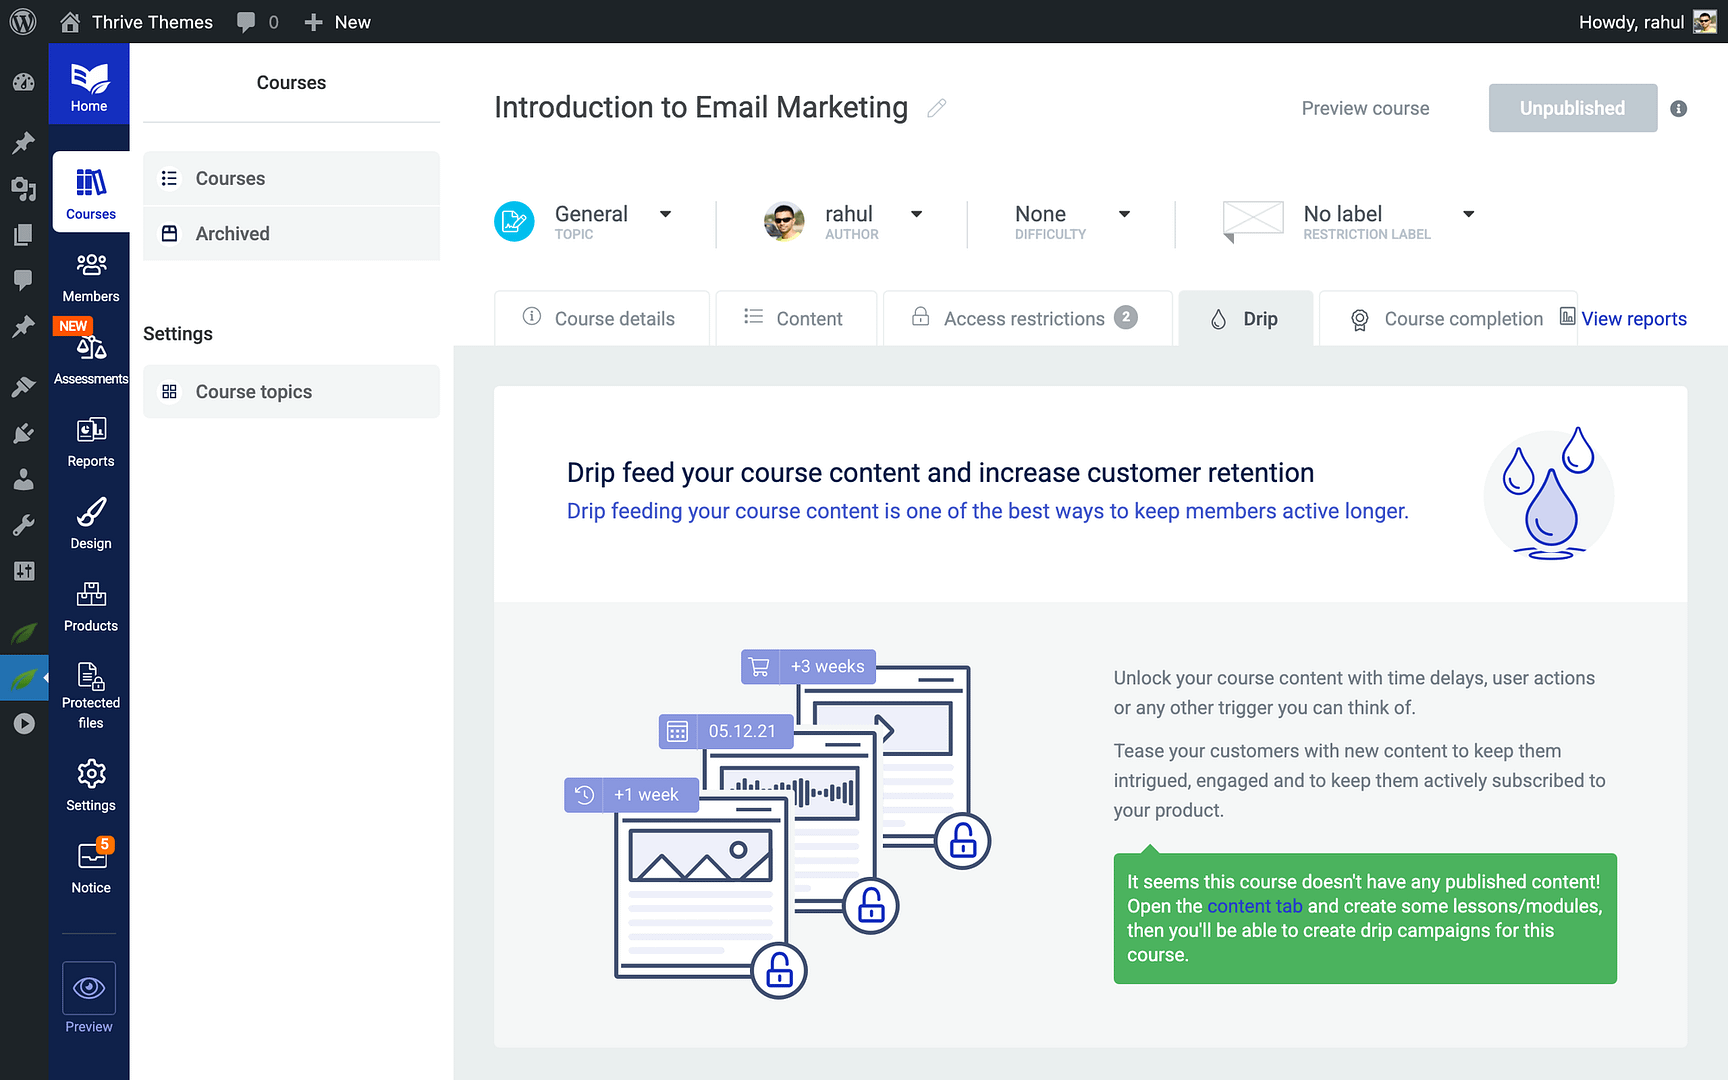
- Save your drip schedule.
Step 6: Configure Login and Authentication
- Set up a Login Page for your students (or use the default WordPress login).
- Optionally, create a Registration Page if you want new students to sign up directly on your site.

- Configure any SSO (Single Sign-On) integrations if your old platform used external authentication.
- Test the login flow from a student’s perspective.
Step 7: Import Your Existing Customers
- Export your student list from your current LMS (typically as a CSV file).
- In Thrive Apprentice, go to the Members tab and click the Import member button.
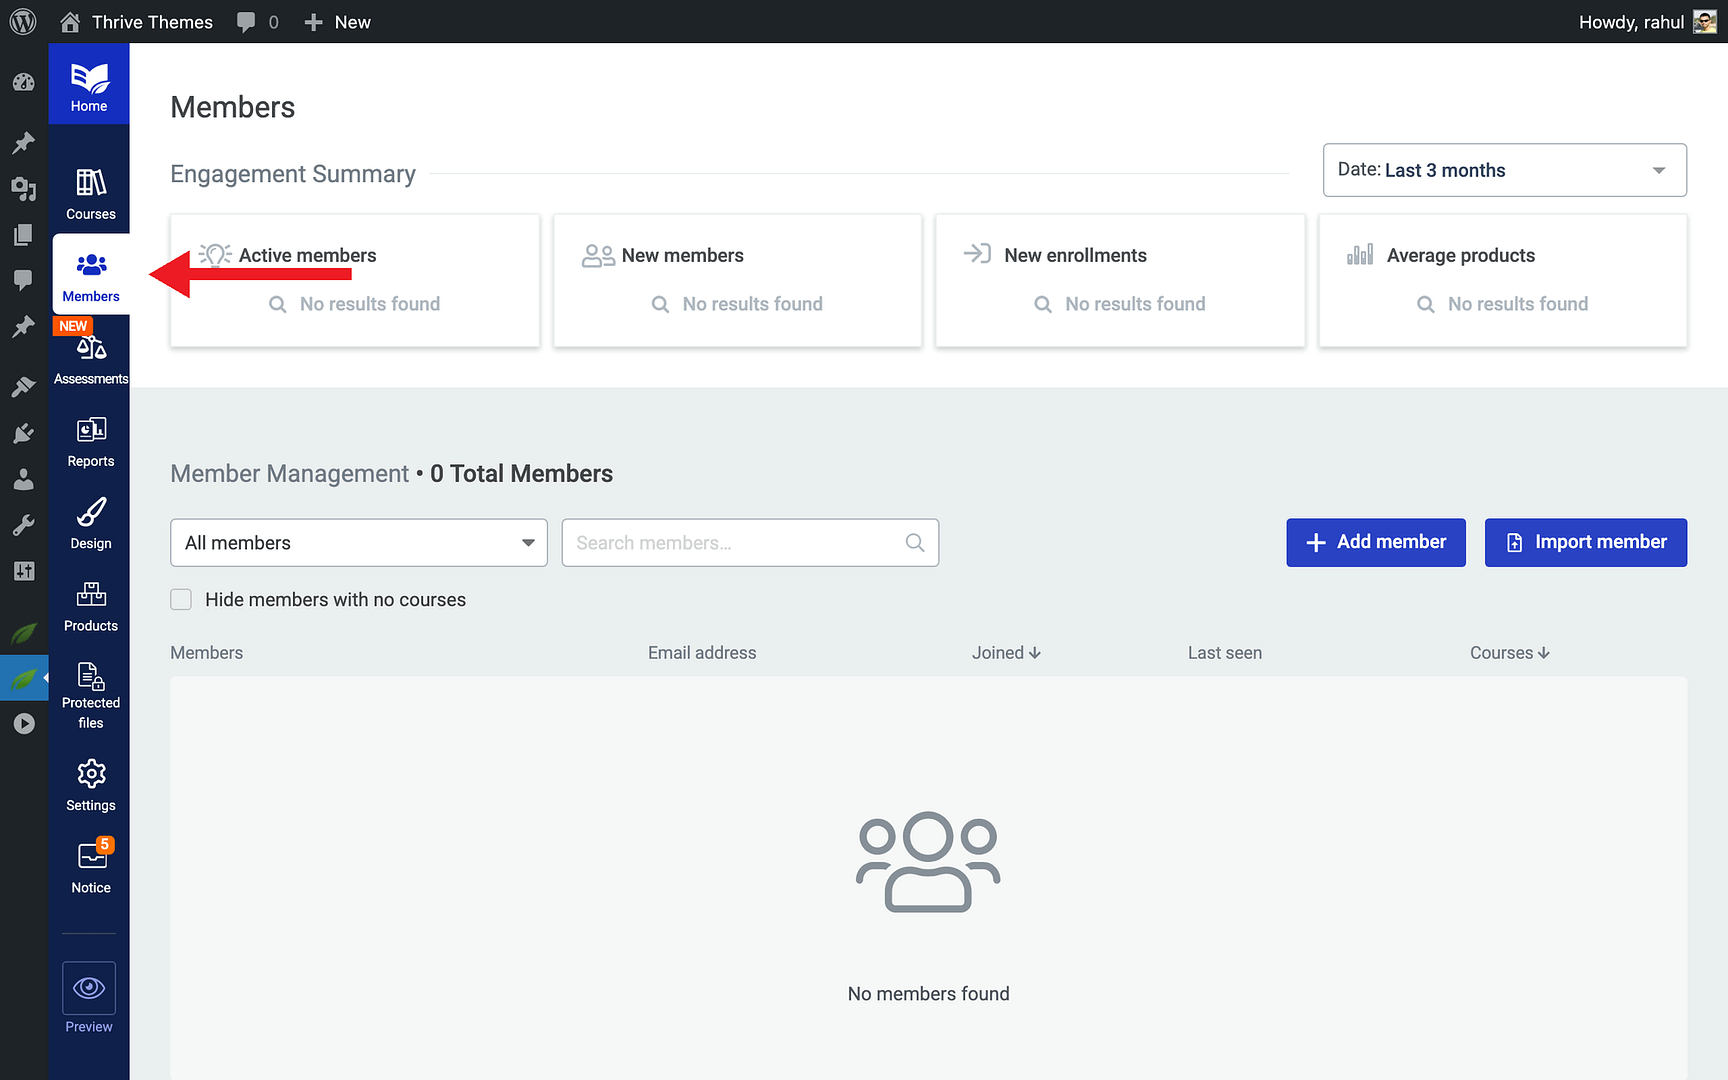
- Upload the CSV file containing your student data.
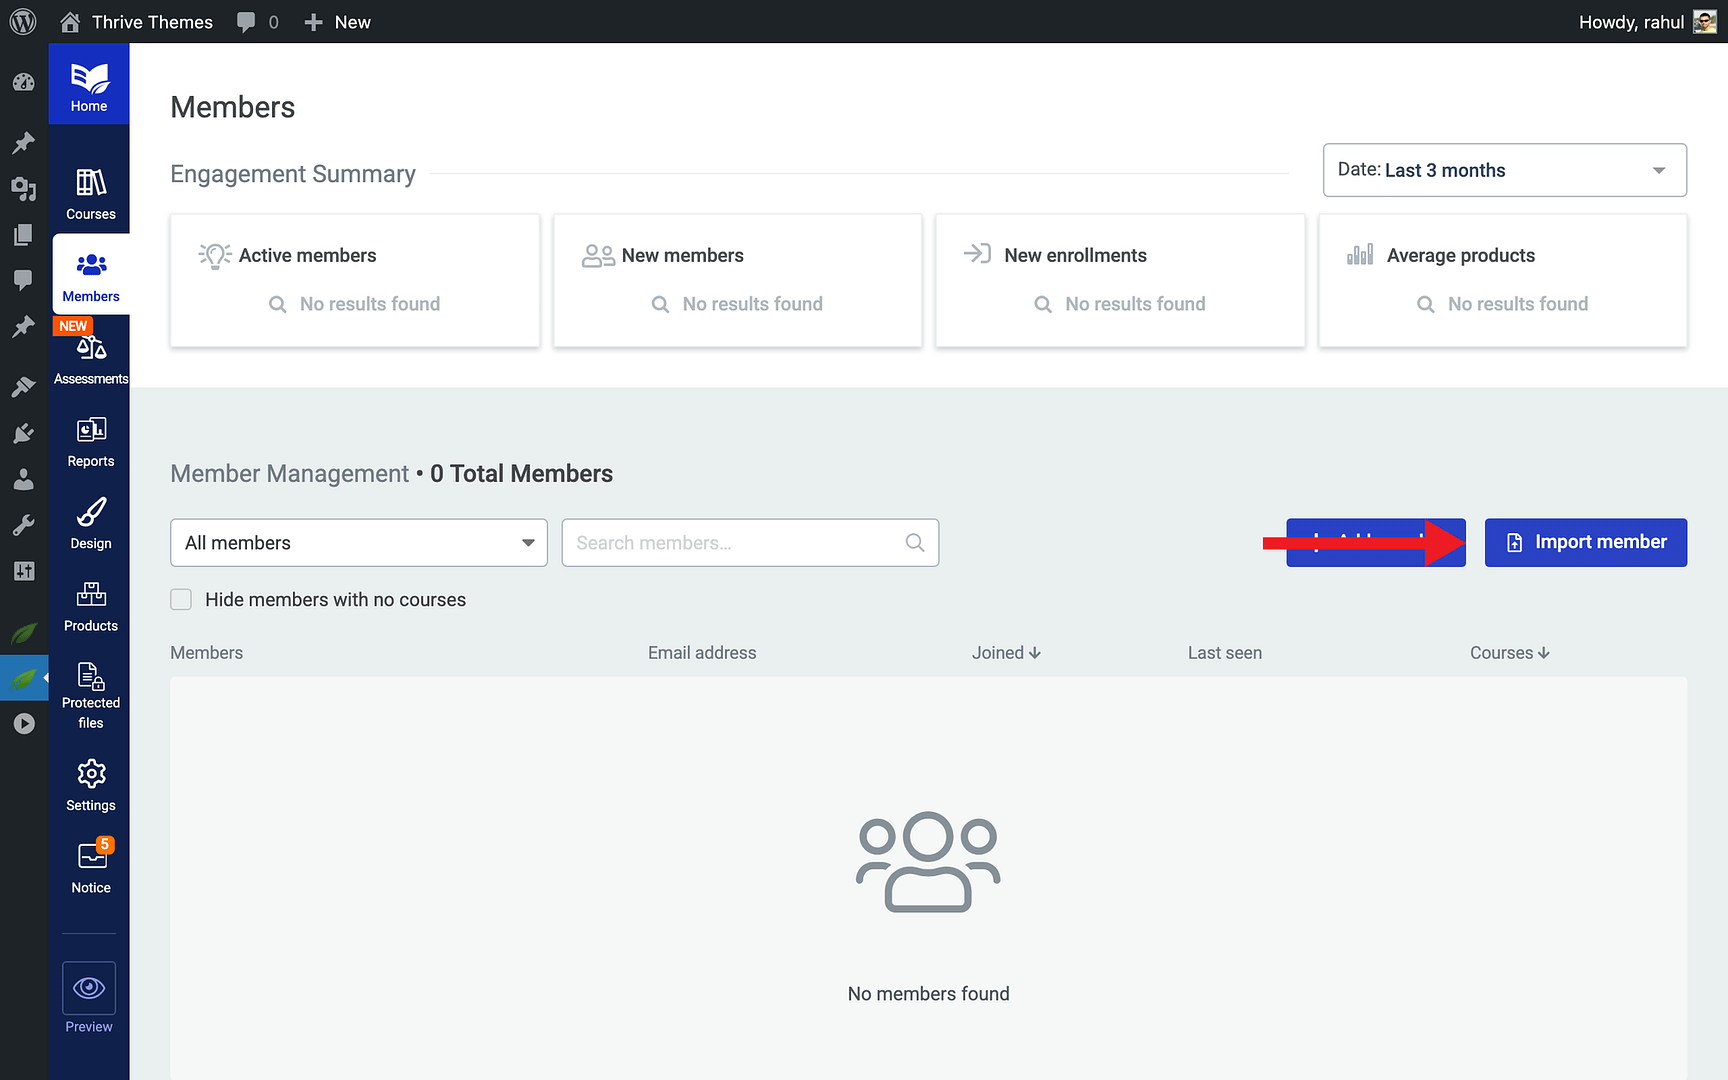
- Map the CSV fields to Thrive Apprentice fields (name, email, purchased products, etc.).
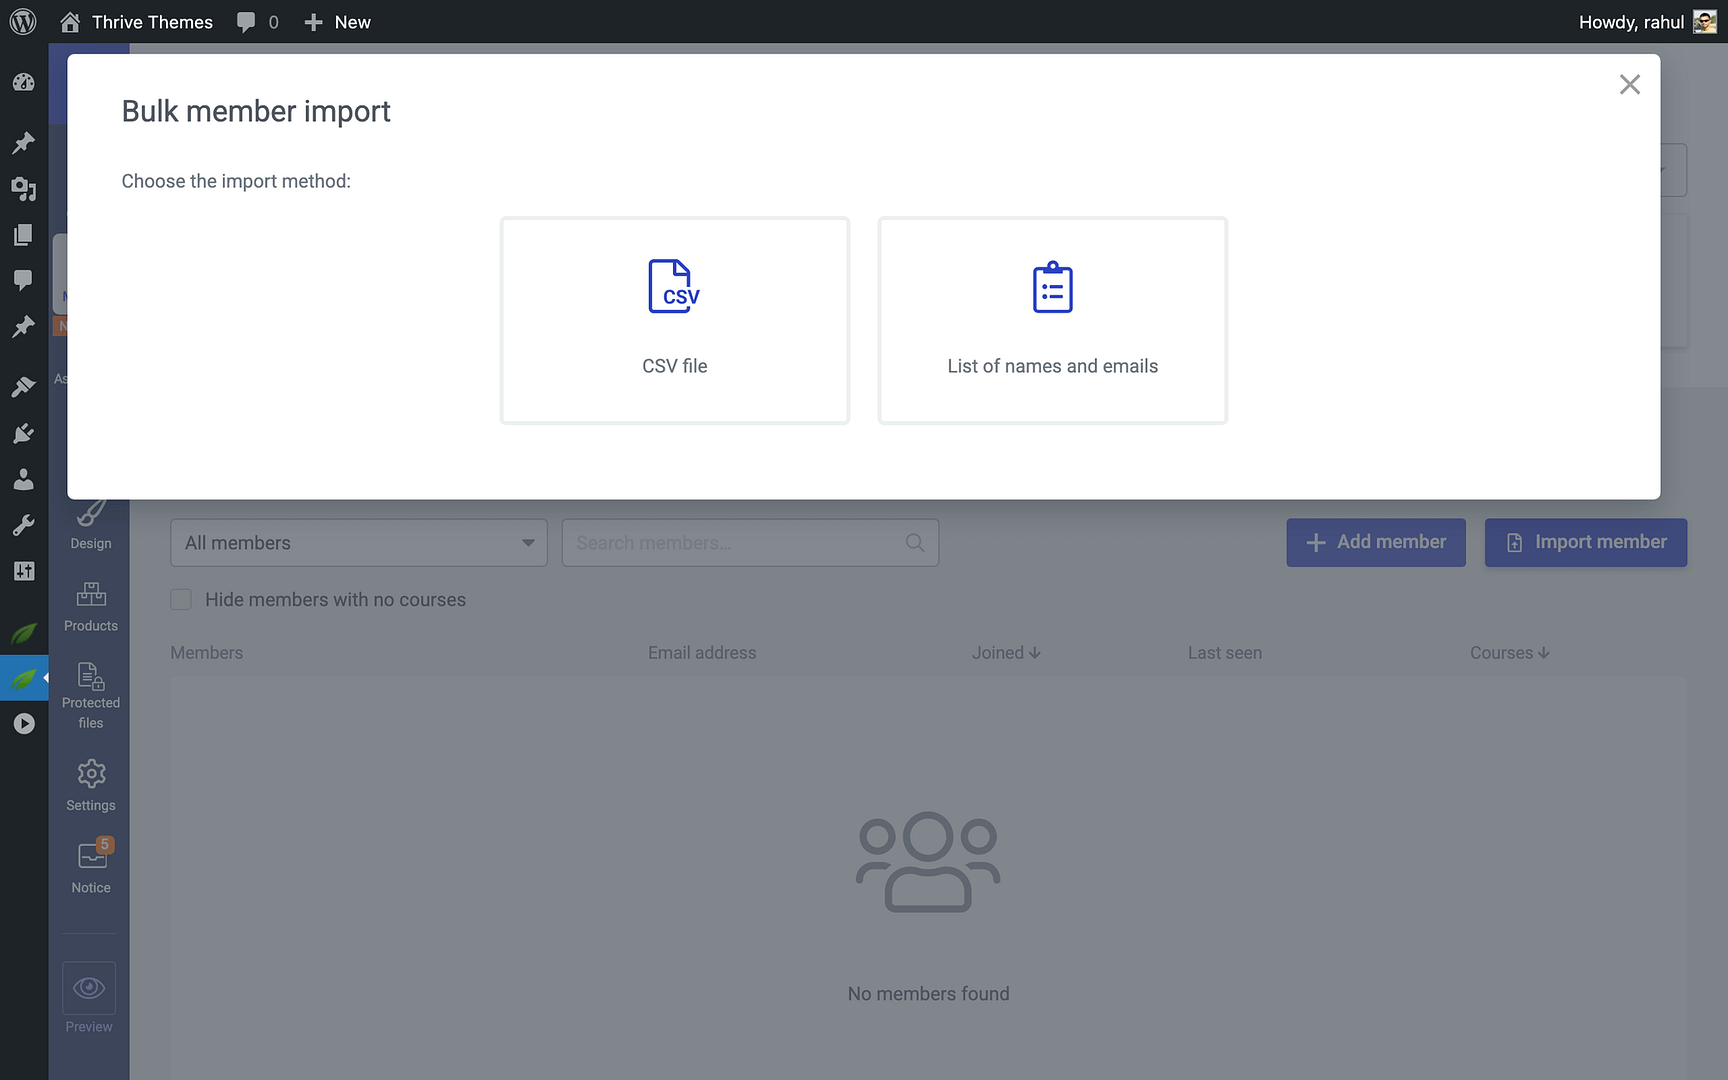
- Run the import and verify that students appear with the correct product access.

Important: After importing, send an email to your existing students letting them know about the platform change. Include their new login URL and instructions for accessing their courses.
Switching From LearnDash
If you’re currently using LearnDash, the migration to Thrive Apprentice has a notable advantage: since both platforms run on WordPress, your student accounts already exist as WordPress users. This simplifies the process significantly.
Platform-specific tips for LearnDash users:
- Student transfer is straightforward — You can pull in all your students from LearnDash to Thrive Apprentice without requiring them to re-register, since they already have WordPress user accounts on your site.
- Content lives on the same site — Your lesson content (text, images, embedded videos) is already in WordPress, so copying it into Thrive Apprentice lessons is faster than migrating from an external platform.
- Course structure mapping — LearnDash uses Courses, Lessons, Topics, and Quizzes. Map these to Thrive Apprentice’s Courses, Modules, Chapters, and Lessons respectively.
- Payment integration — If you used WooCommerce with LearnDash, you can continue using it with Thrive Apprentice for payment processing.
- Deactivate LearnDash last — Keep LearnDash active until your Thrive Apprentice courses are fully set up and tested. Once you’ve verified everything works, deactivate the LearnDash plugin.
Switching From Teachable
Teachable is a hosted platform, which means your course content lives on Teachable’s servers—not on your WordPress site. This requires a few extra steps during migration.
Platform-specific tips for Teachable users:
- Export your student list — Teachable allows you to export your student data as a CSV file. Download this before starting the migration, as you’ll need it to import students into Thrive Apprentice.
- Download all media — Since your videos, images, and files are hosted on Teachable, download everything to your computer before cancelling your Teachable subscription.
- Recreate course content manually — You’ll need to transfer your lesson content by copying text and re-uploading media into Thrive Apprentice’s lesson editor via Thrive Architect.
- Redirect your domain — If you used a custom domain on Teachable, update your DNS settings to point to your WordPress site instead.
- No per-student fees — One of the biggest advantages of switching is eliminating Teachable’s transaction fees. With Thrive Apprentice, you keep 100% of your revenue (minus payment processor fees).
- Maintain access during transition — Keep your Teachable account active until all content is migrated and all students have been notified of the change.
Warning: Do not cancel your Teachable subscription until you have exported all student data, downloaded all media files, and verified that your Thrive Apprentice courses are fully operational.
That’s it! You’ve successfully learned how to plan and execute a migration from another LMS to Thrive Apprentice—using the 7-step checklist for a structured approach, with platform-specific guidance for LearnDash and Teachable users.
Related Resources
- Creating Your First Course: Learn how to create your first Thrive Apprentice course from scratch.
- Course Bundles: Learn how to create course bundles to package multiple courses together.
- Access Restrictions: Explore how to set up access restrictions and rules to protect your content.
- Student Profile Pages: Learn how to create a student profile page so migrated students can manage their accounts.
- Thrive Apprentice Knowledge Base: Browse the full Thrive Apprentice Knowledge Base for more tutorials.