In this article, you’ll learn how to use the Breadcrumbs element and the Previous/Next Content element to help visitors navigate your website.
Breadcrumbs Element
The Breadcrumbs element displays a hierarchical navigation path that shows visitors where they are on your site. A typical breadcrumb trail looks like:
Home > Category > Post Title
Breadcrumbs help visitors navigate to parent pages and improve your site’s SEO by providing clear content hierarchy to search engines.
Adding the Breadcrumbs Element
- Open a template in the Thrive Theme Builder editor.
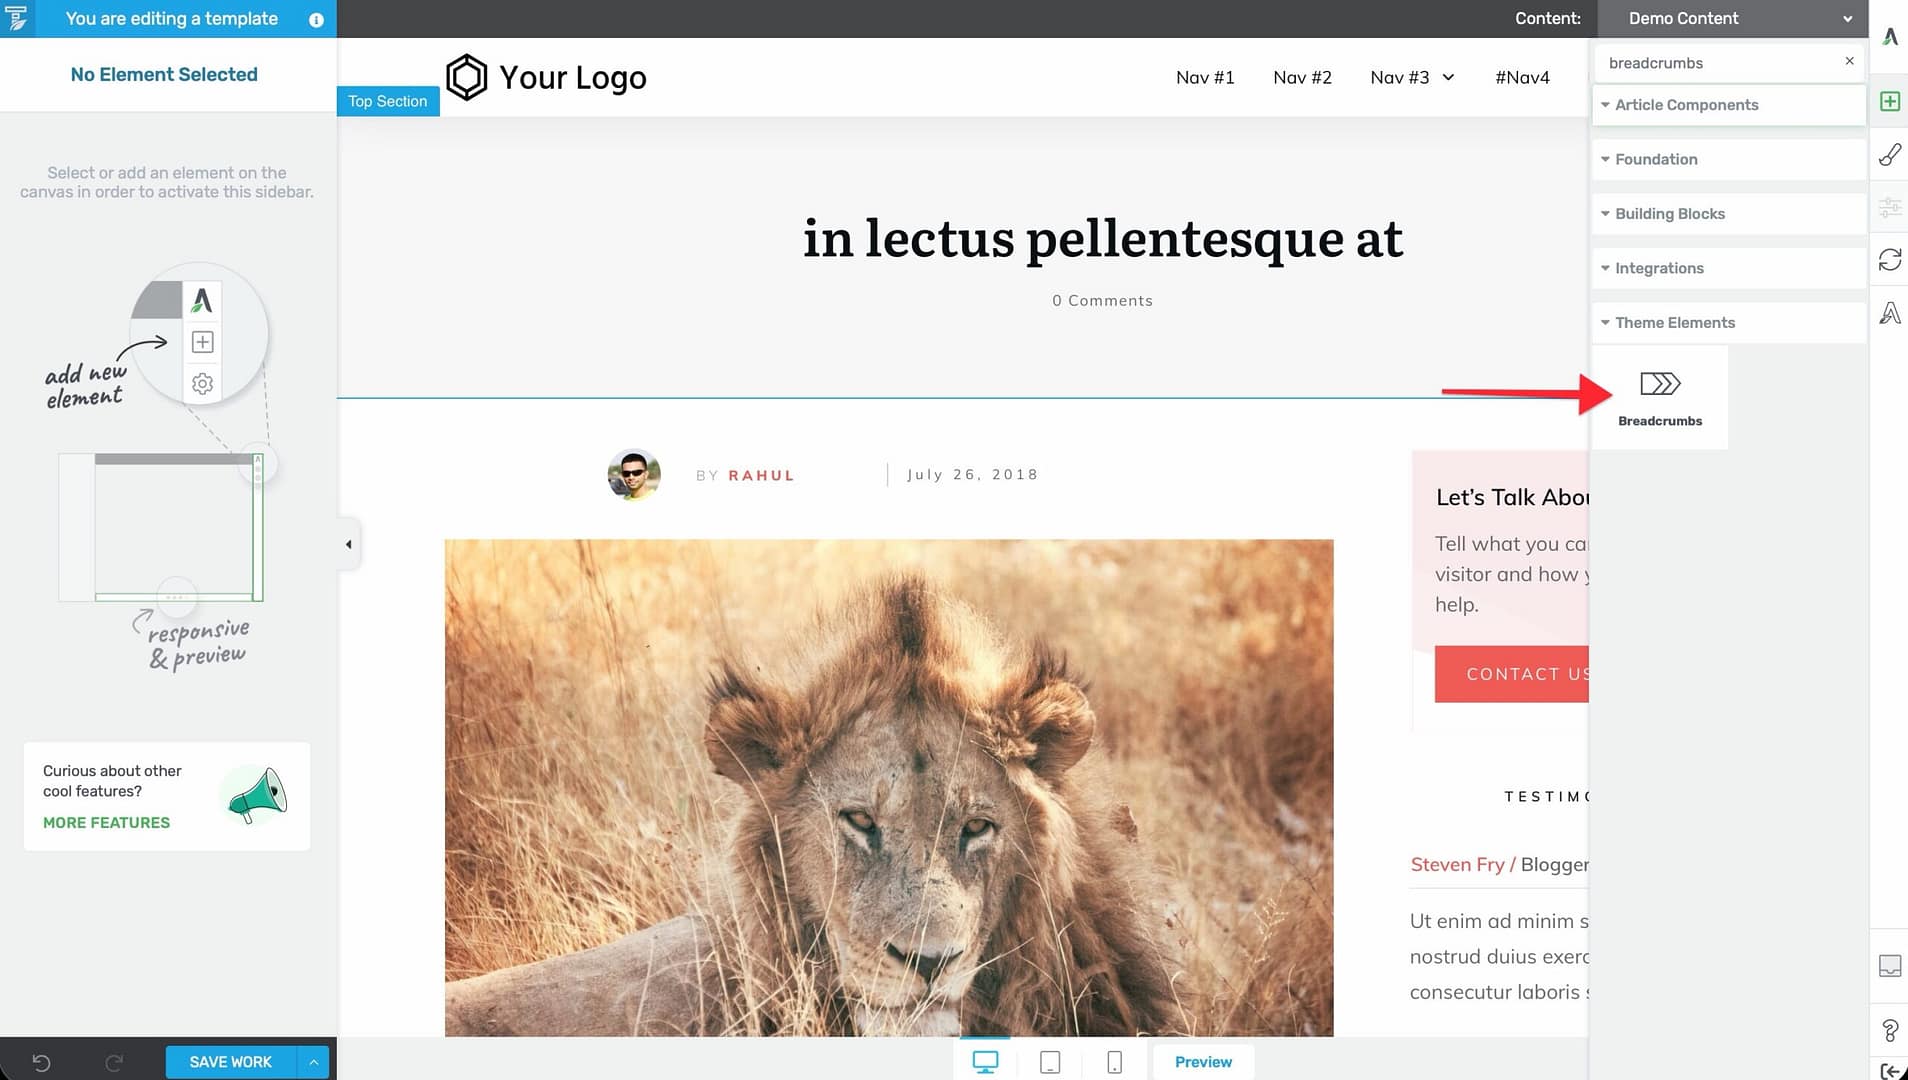
- Click the plus (+) icon in the right sidebar.
- Search for Breadcrumbs.
- Drag the element into position (typically near the top of the template, below the header and above the content).
Customization Options
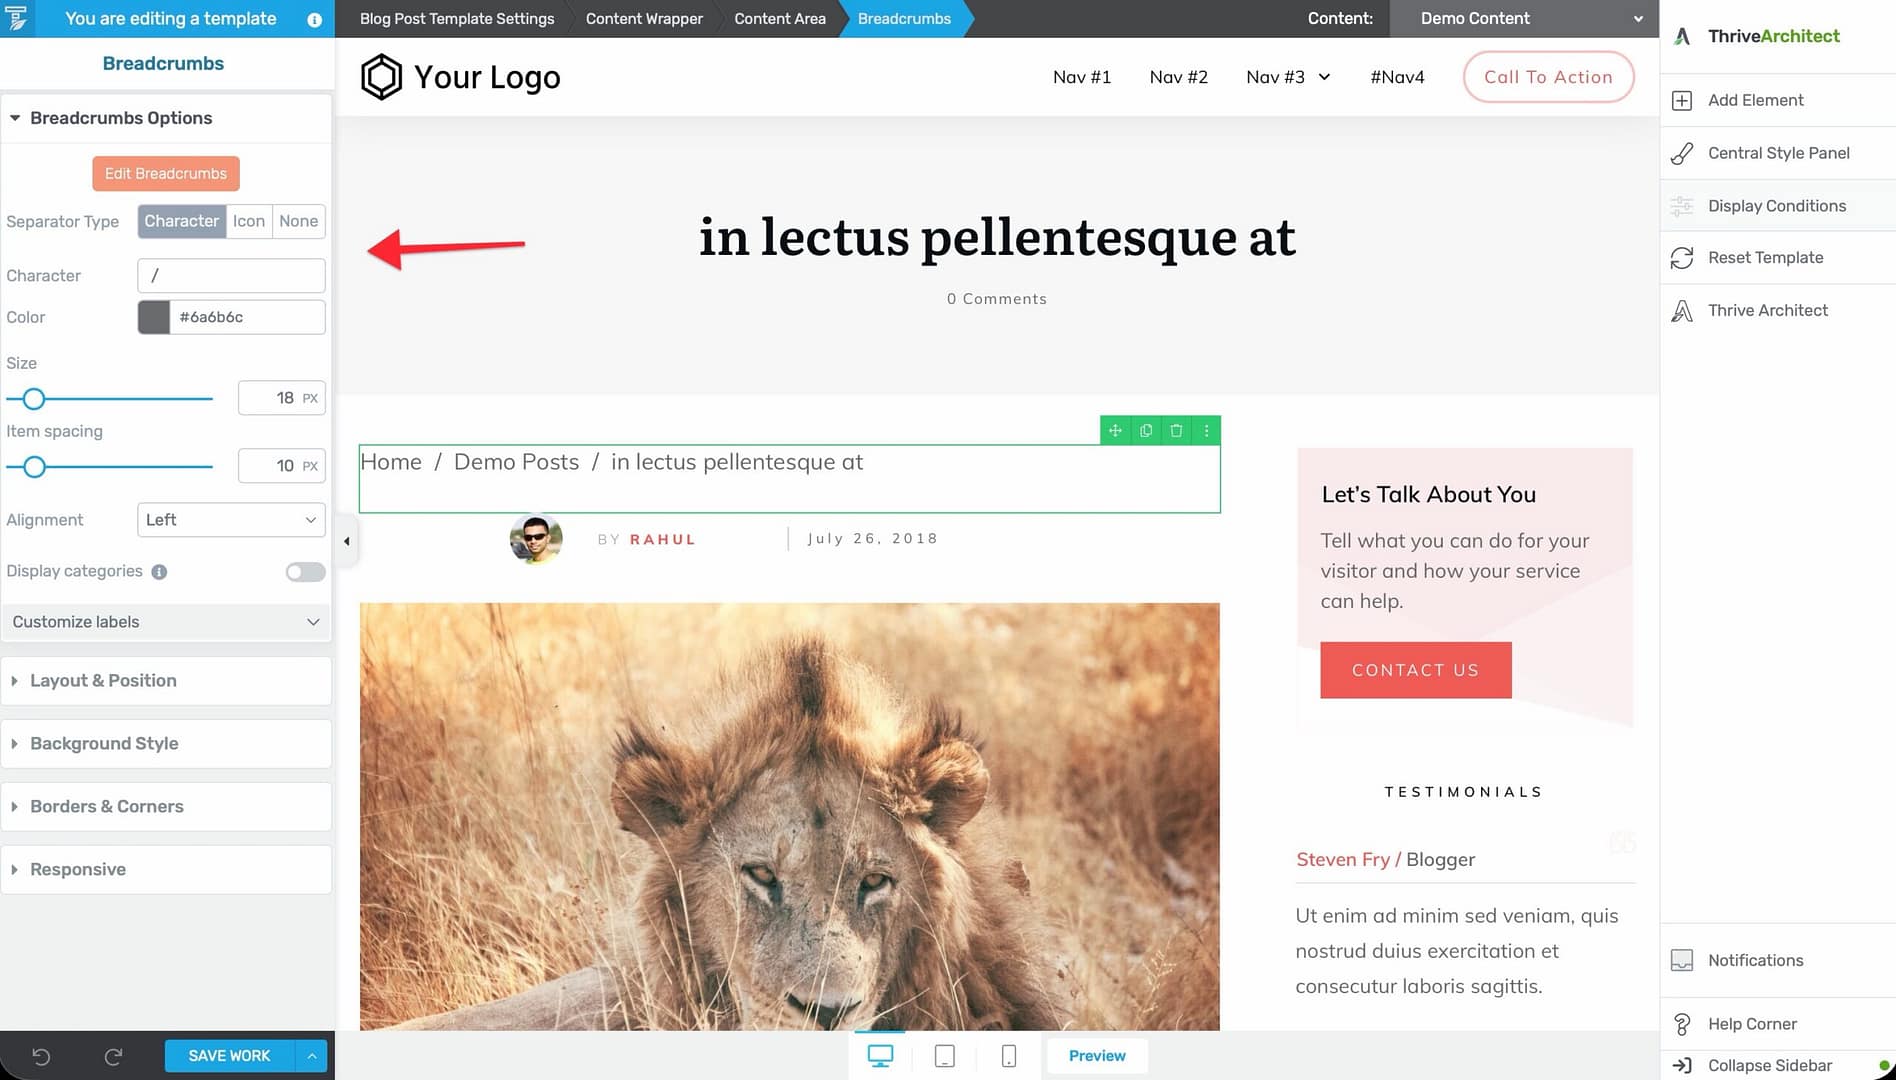
- Separator Type — Choose between a character separator (e.g.,
/or>), an icon, or no separator. - Separator Character — Set the character used between breadcrumb items (default:
/). - Separator Icon — Select a custom icon to use as the separator.
- Item Spacing — Control the space between breadcrumb items.
- Alignment — Set the breadcrumb alignment (left, center, right, or space-between).
- Display Categories — Toggle whether post categories appear in the breadcrumb trail.
Custom Labels
You can customize the labels for special breadcrumb items:
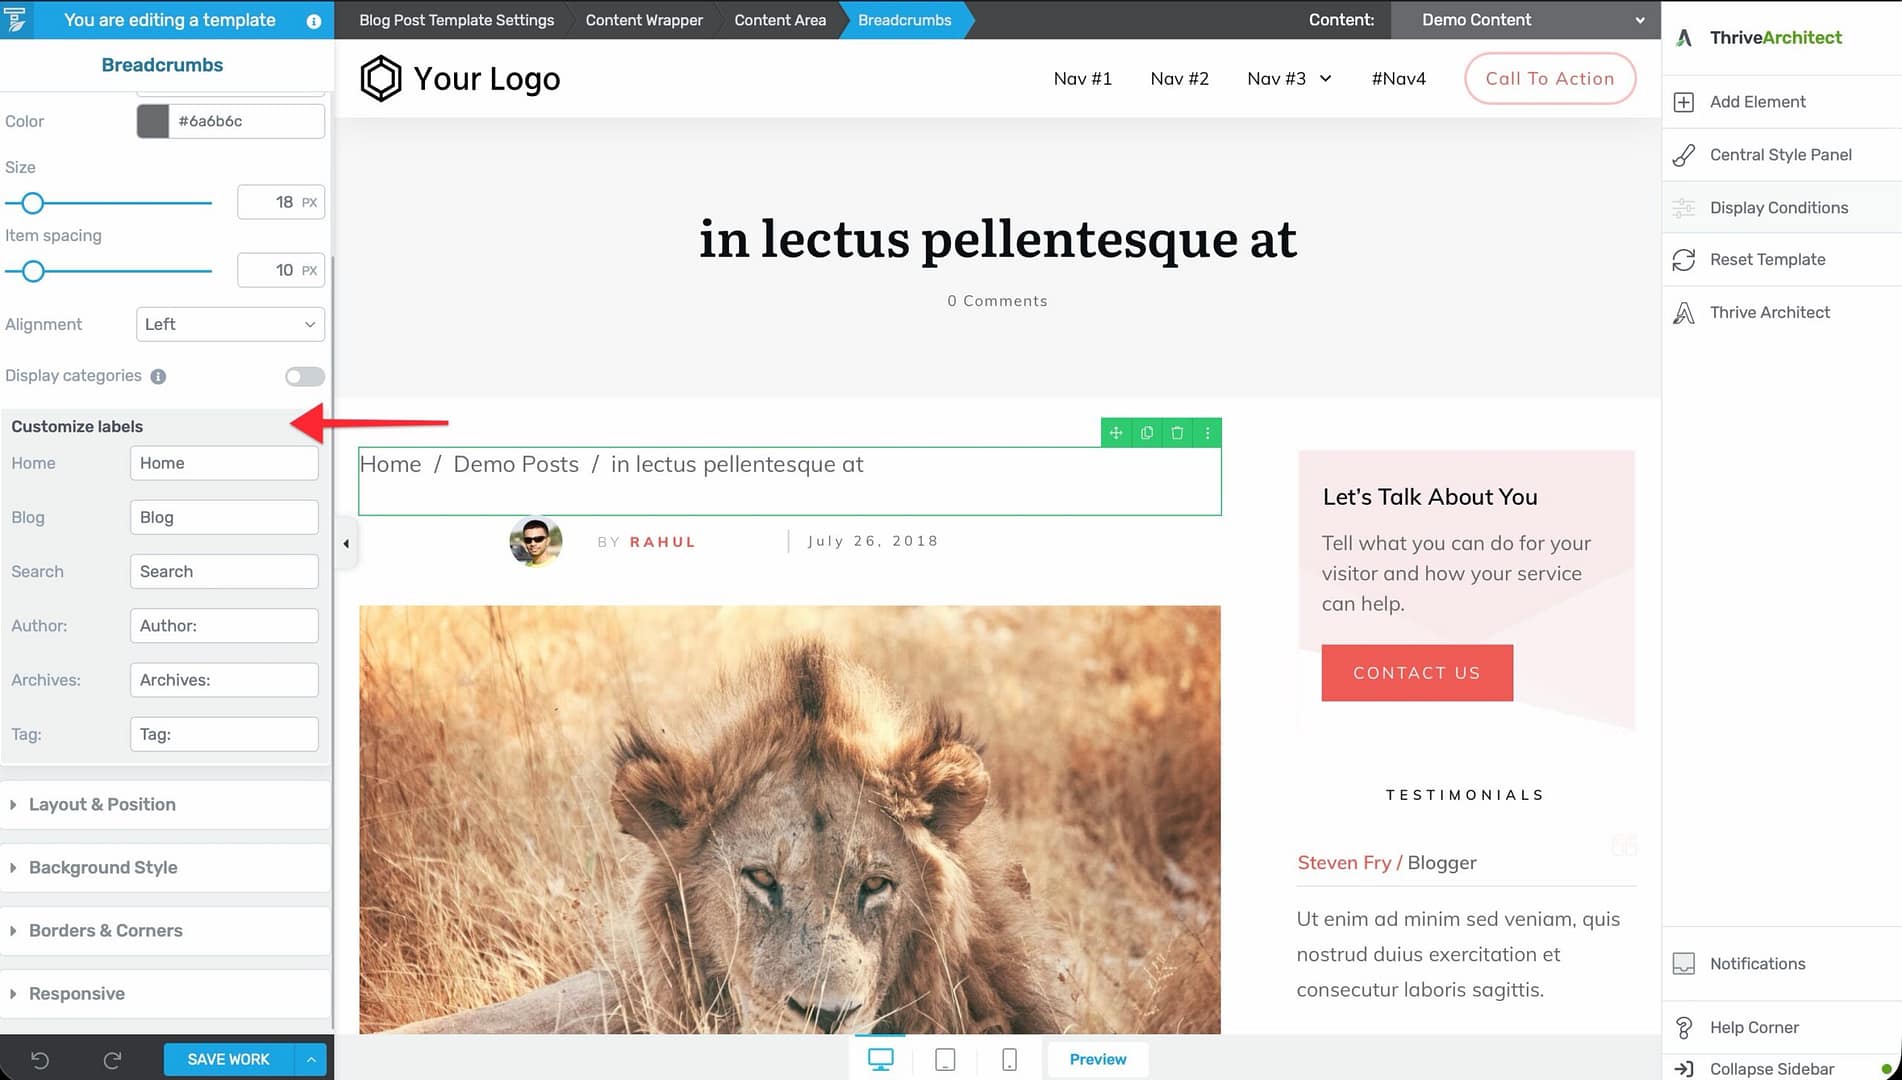
- Home — The label for the homepage link (default: “Home”).
- Blog — The label for the blog page.
- Search — The label for the search results page.
- Author — The prefix for author archive pages (default: “Author: “).
- Archives — The prefix for date-based archive pages (default: “Archives: “).
- Tag — The prefix for tag archive pages (default: “Tag: “).
Previous/Next Content Element
The Previous/Next Content element adds navigation links to move between posts. It displays links to the previous and next posts, helping visitors continue reading related content.
Adding the Element
- Open a post template in the Thrive Theme Builder editor.
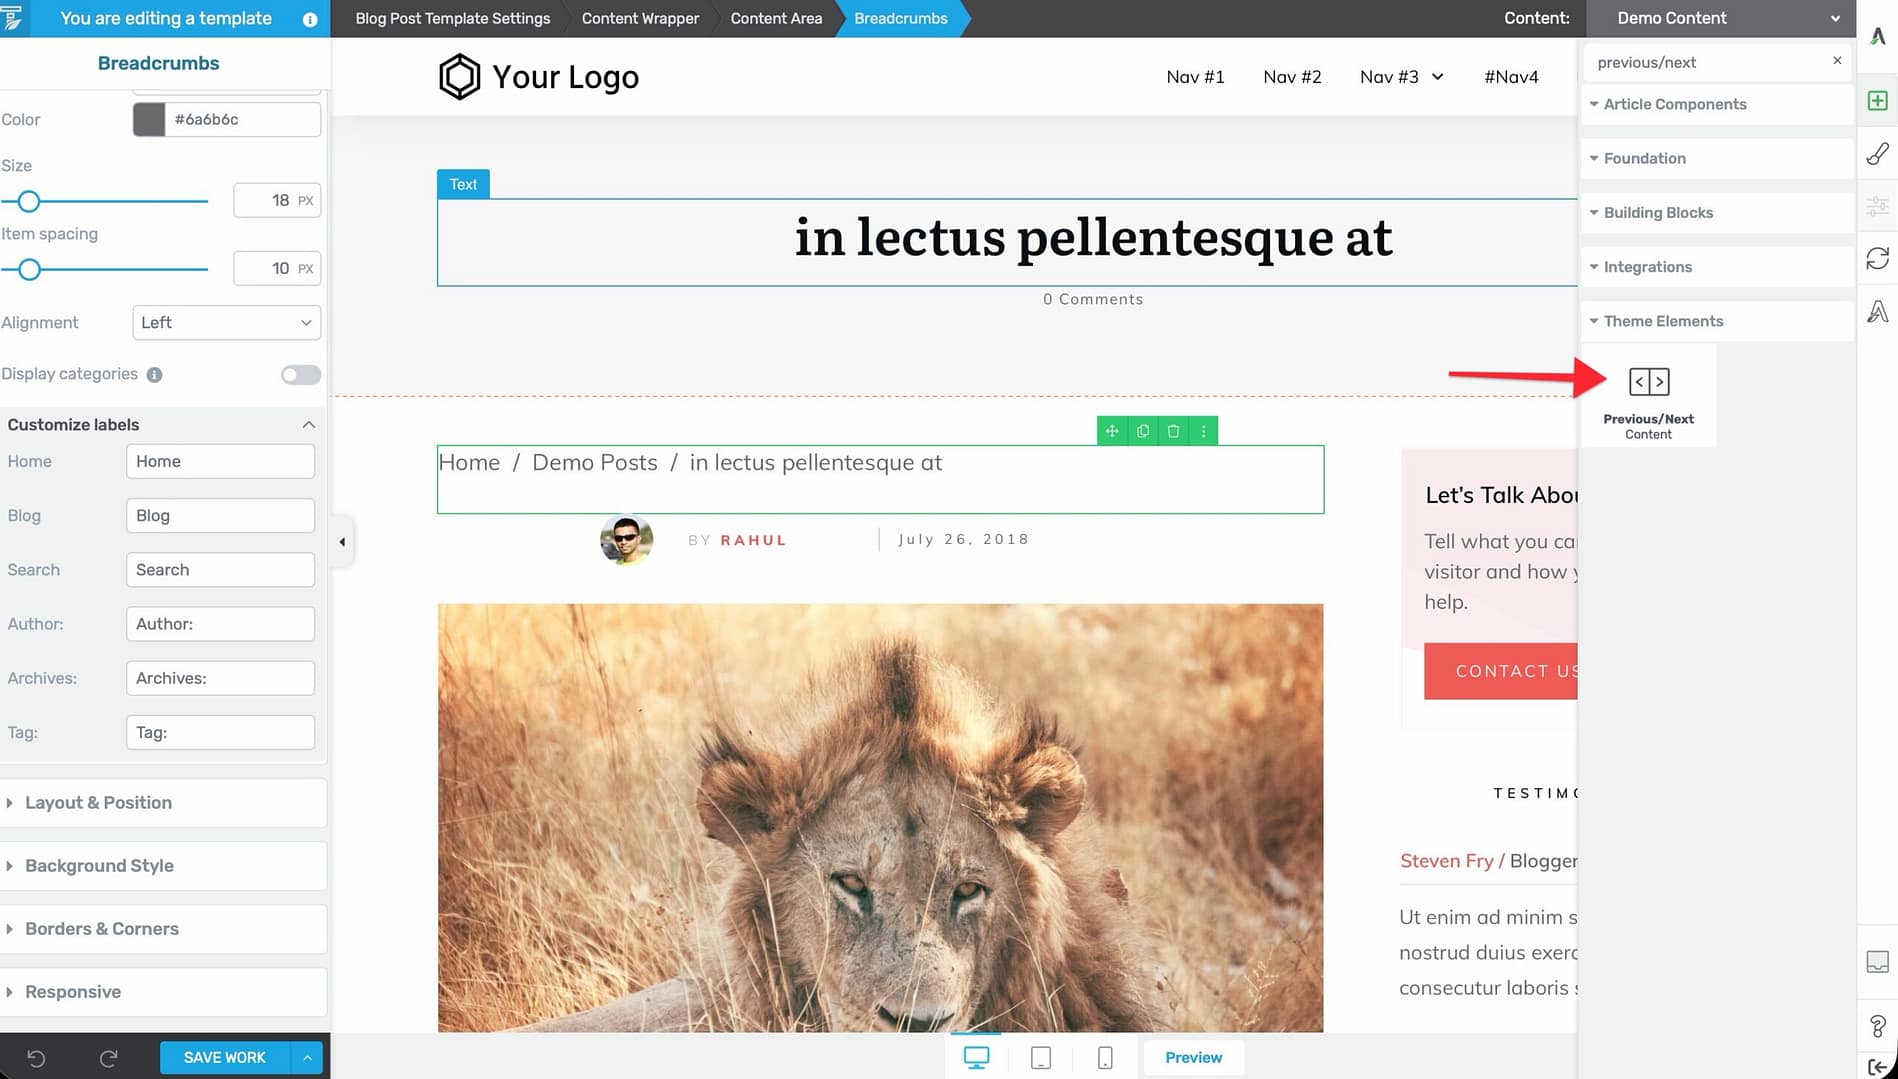
- Click the plus (+) icon in the right sidebar.
- Search for Previous/Next Content.
- Drag the element into position (typically below the post content, before or after the comments section).
- Select the template of your choice.
Customization Options
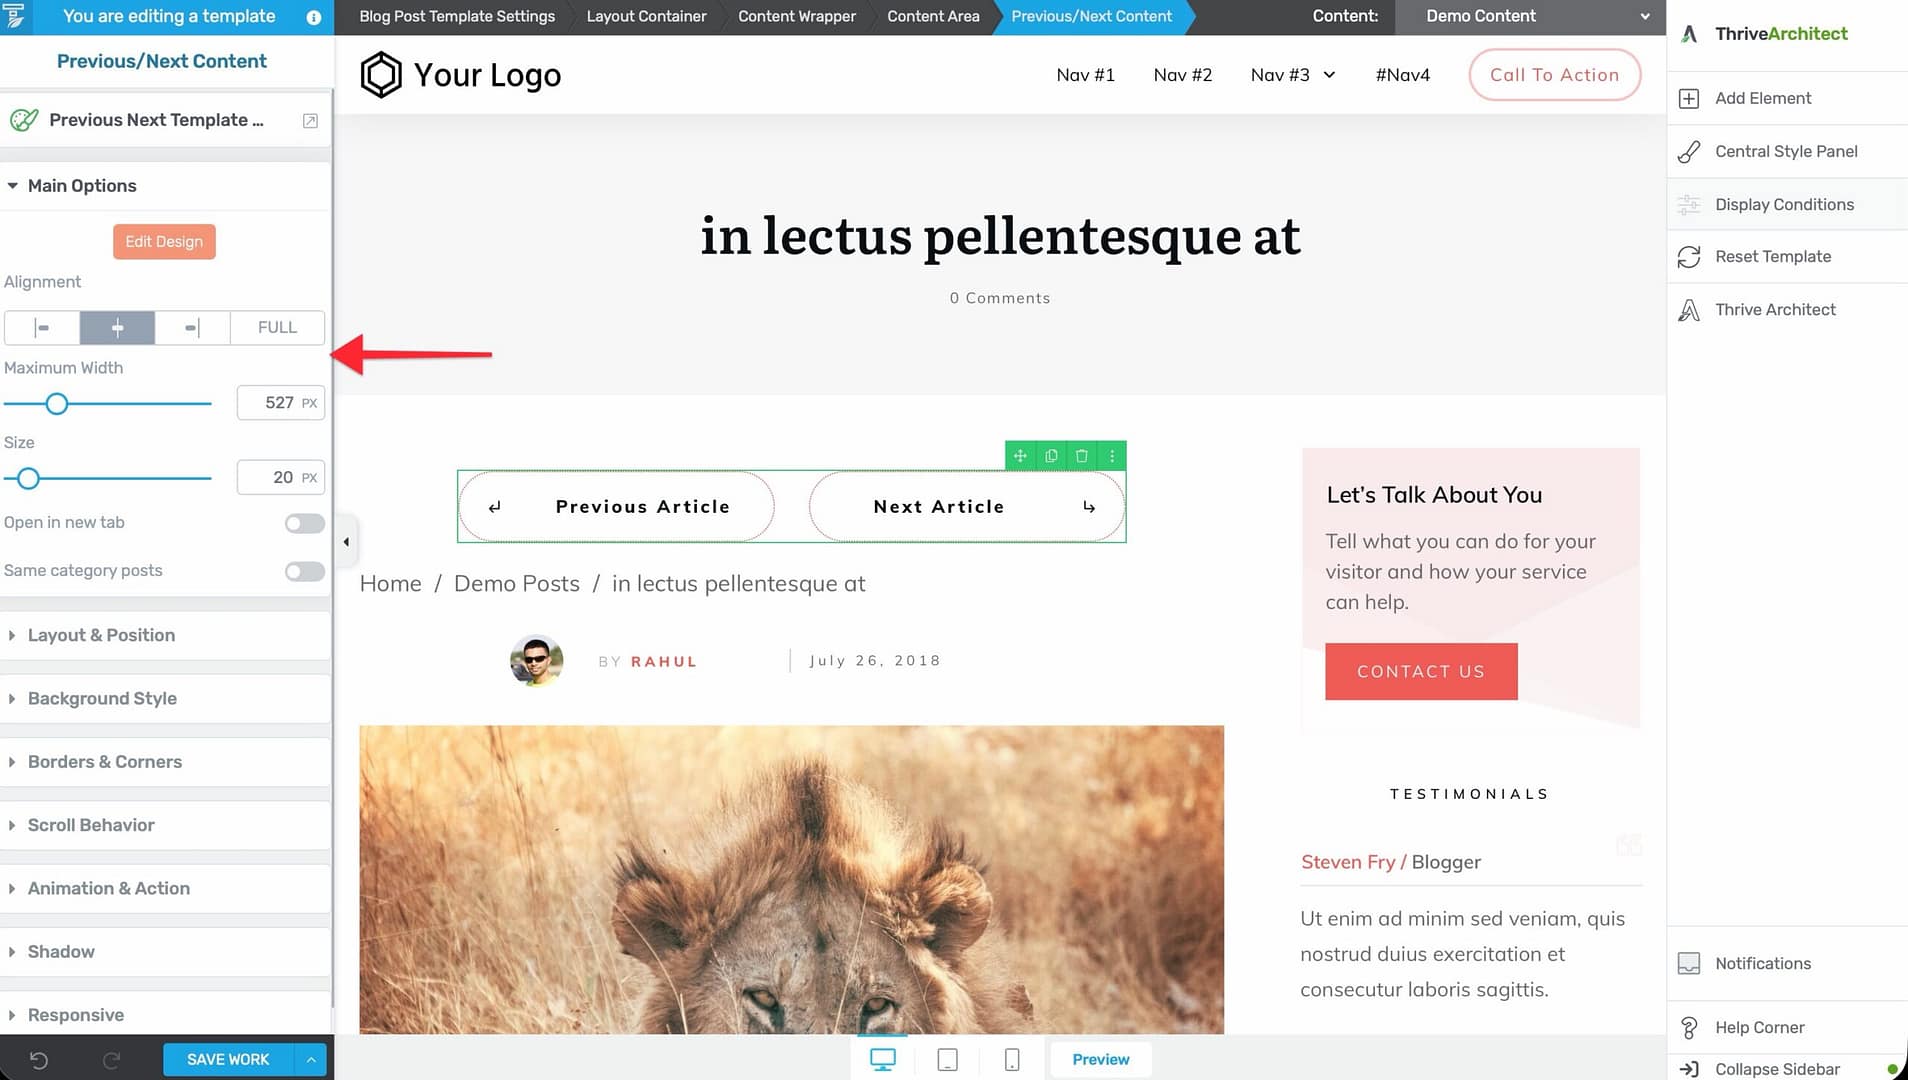
- Maximum Width — Set the maximum width of the navigation area (in pixels or percentage).
- Size — Adjust the text size of the navigation links.
- Open in New Tab — Toggle whether links open in a new browser tab.
- Same Category Posts — When enabled, the Previous/Next links only navigate between posts in the same category as the current post. This keeps readers within a related topic.
- Alignment — Set the alignment of the navigation links (left, center, right, or full-width).
Group Editing
The Previous/Next Content element supports group editing for the “Previous” and “Next” buttons. You can style both buttons simultaneously for a consistent look, or style them individually.
Best Practices
- Place breadcrumbs at the top — Breadcrumbs are most useful at the top of the page where visitors can immediately see their location.
- Keep breadcrumbs visible on all page types — Add breadcrumbs to post templates, page templates, and archive templates for consistent navigation.
- Use “Same Category” for post navigation — Enabling the “Same Category Posts” option on the Previous/Next element keeps readers exploring related content rather than jumping to unrelated posts.
- Position post navigation below content — The Previous/Next element works best below the post content, where readers naturally look for more to read.
Related Resources
- Using Post Content & Meta Elements: Learn about post content and metadata elements.
- Using Author Elements: Learn about author-related elements.
- Using the Comments Section Element: Learn about the comments section element.