In this article, you’ll learn how to add and customize the Comments Section element in your Thrive Theme Builder templates.
What Is the Comments Section Element?
The Comments Section element adds a WordPress comments area to your templates. It allows visitors to leave feedback, ask questions, and engage with your content directly on the page.
Where the Comments Section Appears
The Comments Section element is only available on singular templates — templates for individual posts, pages, or custom post types. It does not appear in the element panel when editing archive, list, search, or 404 templates.
Most default Thrive Theme Builder templates for blog posts already include a Comments Section. If your template already has one, you won’t see the element in the panel because only one Comments Section can exist per template.
Tip: If the Thrive Comments plugin is active, the element is renamed to Thrive Comments Section in the element panel. It works the same way but includes additional options provided by Thrive Comments.
Adding the Comments Section Element
If your template does not already include a Comments Section:
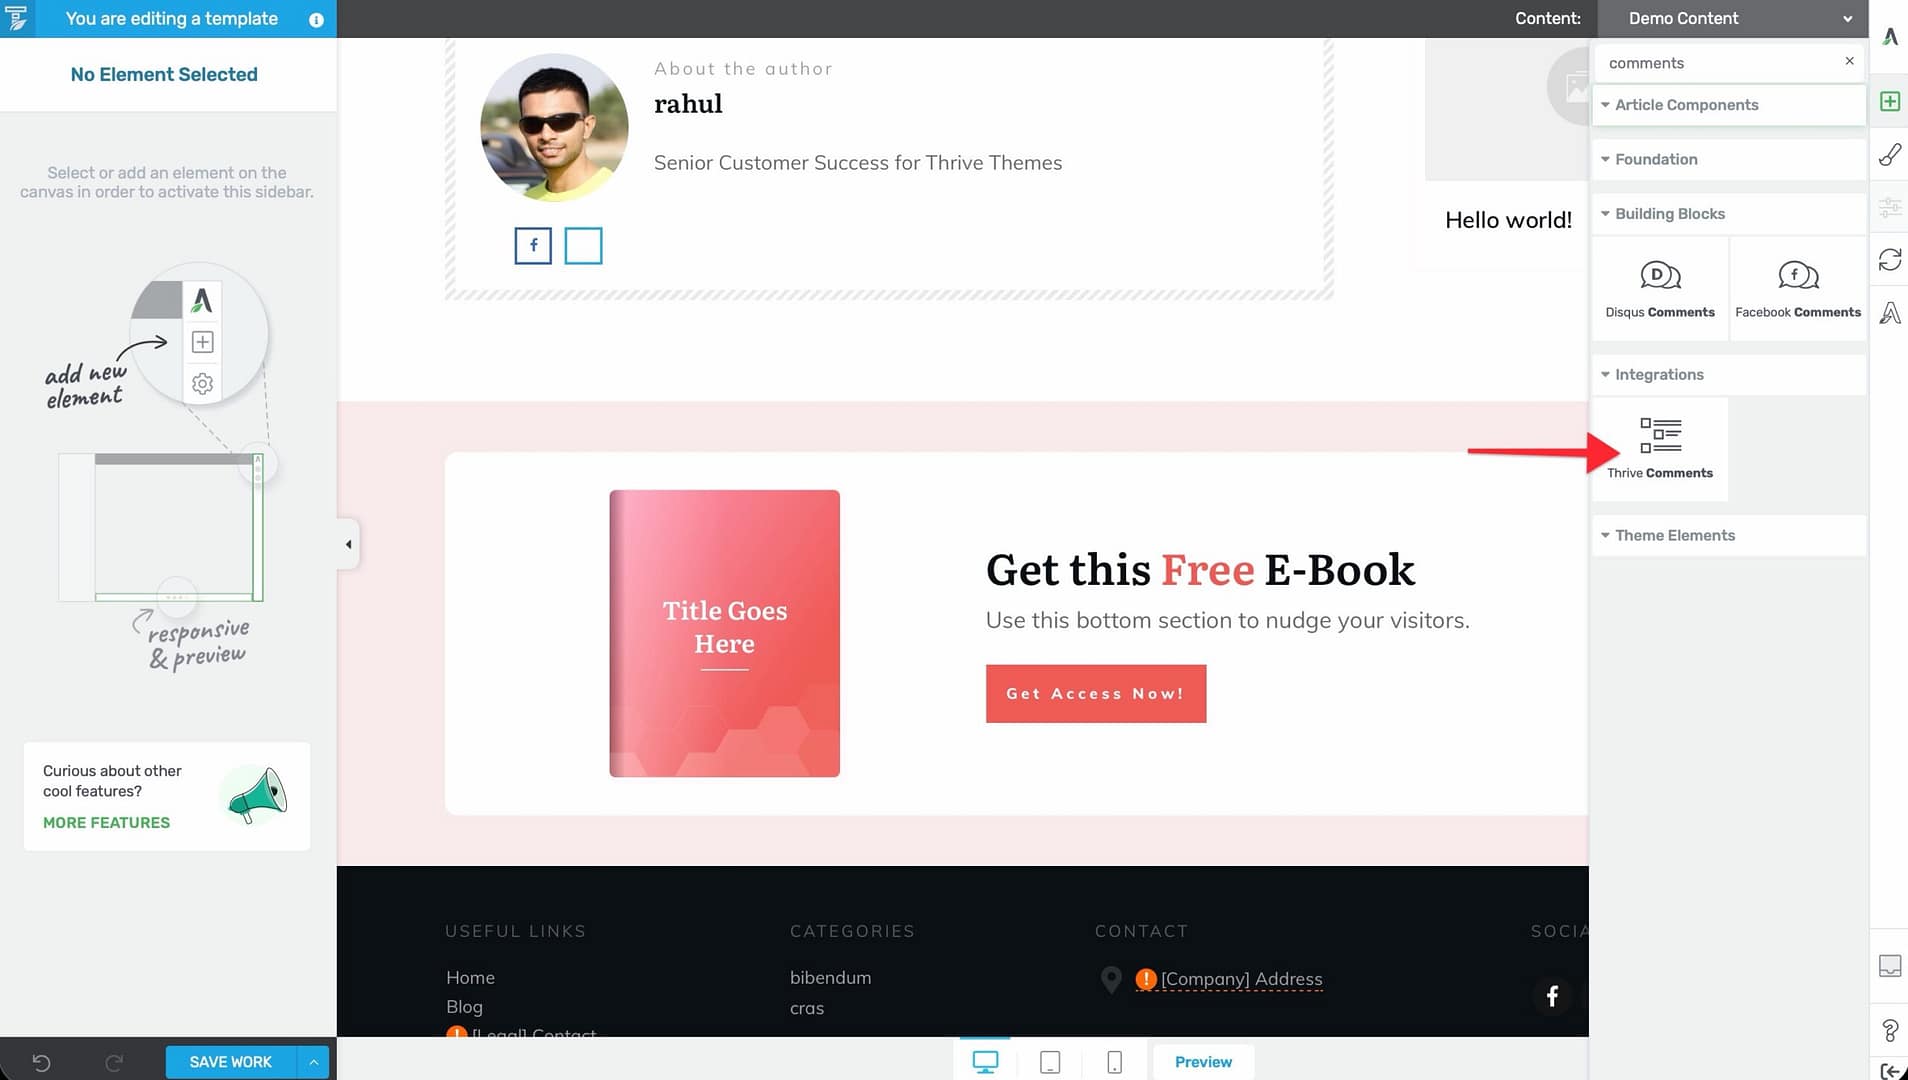
- Open a singular template (e.g., Blog Post, Page) in the Thrive Theme Builder editor.
- Click the plus (+) icon in the right sidebar.
- Search for Thrive Comments Section if the Thrive Comments plugin is active.
- Drag the element into position on the template (typically below the post content and below the About the Author element).
Customization Options
Once placed, select the Comments Section element to customize its appearance:
- Comment list styling — Control the appearance of individual comments, including spacing between comments and reply indentation.
- Reply spacing — Set the indentation for reply threads.
- Form styling — Customize the appearance of the comment form (input fields, submit button).
- Typography — Adjust font settings for comment text, author names, and dates.
- Colors — Modify background colors, text colors, and accent colors.
How It Works
The Comments Section element renders the standard WordPress comments system:
- It displays existing comments on the post.
- It shows a comment form for new submissions.
- It handles comment threading (replies to specific comments).
- It respects WordPress discussion settings (Settings > Discussion in the WordPress admin).
The element is dynamic—it displays the comments for whichever post is being viewed. You configure the design once in the template, and it applies to all posts using that template.
Enabling Comments on Posts
For the Comments Section to display content, comments must be enabled on the post:
- Open the post in the WordPress editor.
- In the post settings, make sure Allow Comments is checked.
- Update the post.
You can also control comment settings globally in Settings > Discussion:
- Enable/disable comments on new posts by default.
- Configure comment moderation settings.
- Set comment threading depth.
- Control email notifications for new comments.
Related Resources
- Using Post Content & Meta Elements: Learn about post content and metadata elements.
- Using Navigation Elements: Learn about breadcrumbs and post navigation.
- Creating Post Templates: Learn how to create and customize post templates.