In this article, you’ll learn how to use the Login & Registration Form element in Thrive Architect. This element lets you add fully customizable login, registration, or combined login/registration forms to any page on your WordPress site.
Here is a video walkthrough of the Login and Registration Form element:
The Login & Registration Form element is found in the Integrations section of the element panel. It provides a flexible way to handle user authentication directly on your pages, without relying on the default WordPress login screen. This is especially useful for membership sites, online course platforms, and any site that requires user accounts.
Adding the Login and Registration Form to Your Page
Follow these steps to add a Login & Registration Form to your page:
- Open your page or post in the Thrive Architect editor.
- Click the green plus (+) icon in the right sidebar to open the element panel.
- Scroll to the Integrations section, or type Login in the search field at the top of the panel.
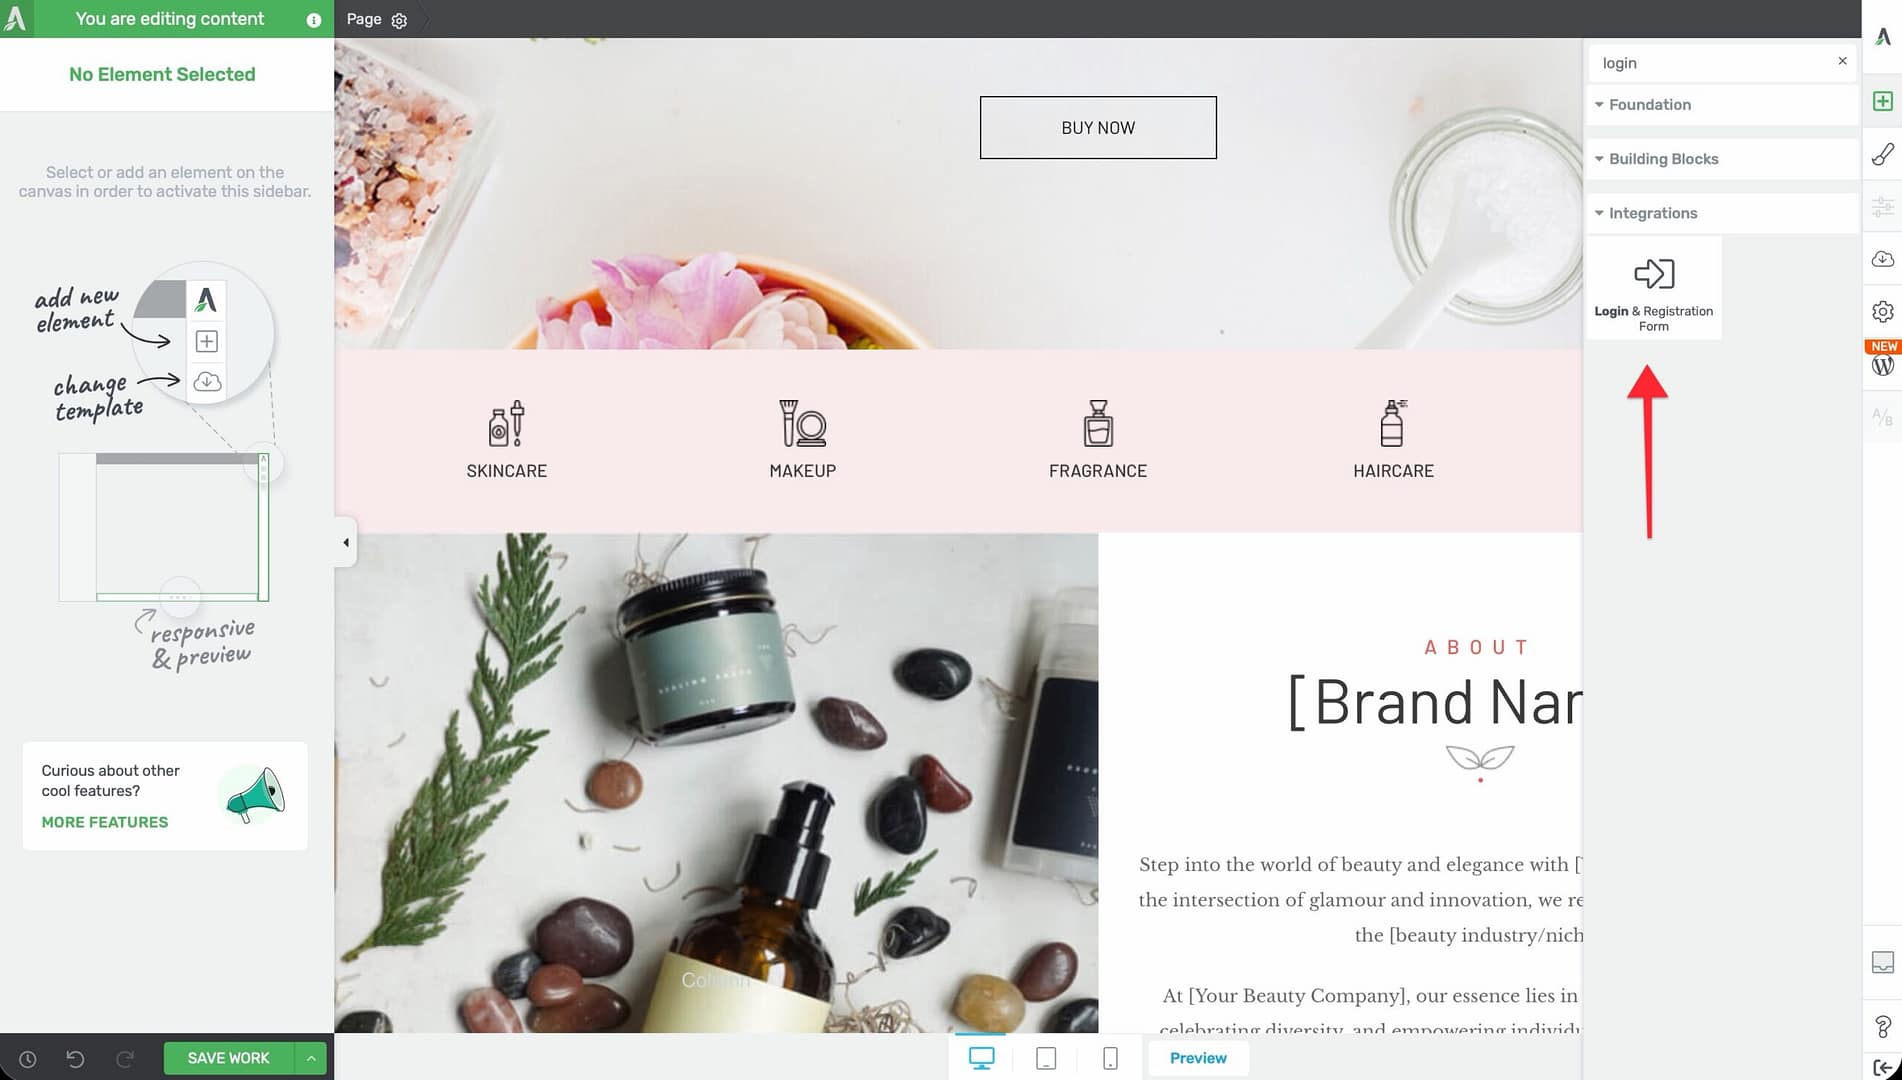
- Drag the Login & Registration Form element from the panel and drop it onto your page canvas.
- The form will appear on your page with default login fields.
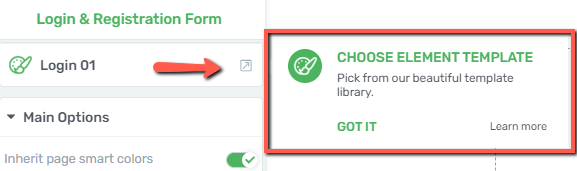
Once added, click on the form to select it. The form’s options will appear in the left sidebar.
Main Options
When you select the Login & Registration Form element, the following options appear in the left sidebar:
Form Type

Controls which form is displayed on the page. Choose from three options using the button group:
- Login — Displays only the login form with username/email and password fields (default)
- Register — Displays only the registration form for new users
- Both — Displays both forms together, with a toggle that lets visitors switch between logging in and registering
Tip: Use the Both option on landing pages or sales pages where you want to accommodate both new and returning users in a single location.
Default State
This option is only available when Form Type is set to Both. It determines which form is shown first when the page loads:
- Login — The login form is displayed by default
- Register — The registration form is displayed by default
Visitors can switch between the two forms using the built-in toggle link.
Hide Form When User Is Logged In
A checkbox that controls whether the form is visible to users who are already logged in:
- When enabled, the form is hidden from logged-in users, so they do not see a login or registration form unnecessarily
- When disabled, the form remains visible to all visitors regardless of their login status
Tip: Enable this option on most pages to avoid showing a login form to users who are already authenticated. You can use other elements (such as a welcome message or dashboard link) in place of the form for logged-in users.
Password Reset Link
A toggle switch that controls whether the “Forgot password?” link appears on the login form:
- When enabled, a Forgot password? link is displayed below the password field, allowing users to initiate the WordPress password reset process
- When disabled, the link is hidden
Note: The password reset process uses the default WordPress password recovery flow, which sends an email to the user’s registered address with a reset link.
Size and Alignment Options

Alignment
Controls the horizontal alignment of the form within its container. Choose from four options:
- Left — Aligns the form to the left
- Center — Centers the form horizontally (default)
- Right — Aligns the form to the right
- Full Width — Stretches the form to fill the entire width of its container
Form Width
A slider that sets the width of the form:
- Default: 400px
- Range: 10–1080px
- Units: px or %
Drag the slider or type a value to adjust the form width. Using a percentage value makes the form responsive to its container size.
Styling the Form with Color Palettes
The Login & Registration Form element supports the Palettes color system. This allows you to quickly apply a consistent color scheme to your form that matches your site’s branding:
- Select the Login & Registration Form element on your page.
- In the left sidebar, click Palettes at the top of the options panel.
- Choose a color palette from the available options.
- The form’s colors (backgrounds, buttons, text, links) will update to match the selected palette.
You can further customize individual colors by clicking on specific form components (such as the submit button or input fields) and adjusting their styling options.
Setting Up Logout Redirects
By default, when a user logs out of WordPress, they are redirected to the WordPress login page. You can configure a custom redirect URL so that users are sent to a specific page after logging out:
- Navigate to Thrive Dashboard in your WordPress admin area.
- Locate the Login & Registration Form settings or the relevant redirect option in your theme settings.
- Enter the URL of the page where you want users to land after logging out (for example, your homepage or a custom “You’ve been logged out” page).
- Save your settings.
Note: The logout redirect applies site-wide and affects all users who log out, regardless of which page they log out from.
Additional Options
The Login & Registration Form element also supports the following standard Thrive Architect options:
- Layout — Control the element’s position within the page layout, including margins and padding
- Scroll Effects — Apply scroll-based behaviors such as sticky positioning or fade-in animations
- Group Editing — Edit multiple instances of the form element across your site simultaneously when the form is used in a shared template or symbol
Note: The Typography and Animation options are not available for the Login & Registration Form element. Text styling is controlled through the form’s built-in design settings and color palettes.
Use Cases
The Login & Registration Form element is versatile and works well in several scenarios:
- Membership sites — Place the form on a dedicated login page or within a sidebar for easy member access
- Online course platforms — Use the form on your course landing page so students can register or log in to access course content
- Gated content pages — Add the form above or alongside restricted content to prompt visitors to log in before viewing
- Landing pages — Use the Both form type on a landing page to capture new registrations while allowing existing users to log in
- Header or footer sections — Add a compact login form in your site’s header or footer for persistent access across all pages
Frequently Asked Questions
Can I Customize the Fields on the Registration Form?
The registration form uses the standard WordPress registration fields (username, email, password). To add custom registration fields, consider using a dedicated membership or user profile plugin alongside Thrive Architect.
Does the Form Work with Thrive Apprentice?
Yes. The Login & Registration Form element integrates with Thrive Apprentice’s login and access system. Students can log in through this form to access their enrolled courses.
Can I Add the Form to a Thrive Lightbox?
Yes. You can add the Login & Registration Form to a Thrive Lightbox, which allows you to display a login or registration form in a popup triggered by a button click, exit intent, or timed delay.
What Happens If a User Tries to Register with an Existing Email?
WordPress will display an error message indicating that the email address is already registered. The user will be prompted to log in instead or use a different email address.
Related Resources
- Lead Generation: How to Use the Lead Generation Element — Collect leads and connect to email marketing services
- Page Events: How to Set Up Page Events and Lightboxes — Display the login form in a lightbox popup
- Conditional Display: How to Use Conditional Display — Show or hide content based on login status
- Custom Menus: How to Use the Custom Menu Element — Create menus visible only to logged-in users
That’s it! You’ve successfully learned how to use the Login & Registration Form element in Thrive Architect. With flexible form types, alignment options, and color palette support, this element gives you full control over how users log in and register on your site.