In this article, you’ll learn how to use the Pricing Table element in Thrive Architect. This element lets you add professional, multi-column pricing comparison tables to your pages, complete with customizable pricing columns, feature lists, buttons, and color palettes.
The Pricing Table element is a cloud template element—you start by selecting a pre-designed pricing layout from the template library. Once inserted, you can add or remove pricing columns, edit the content within each column, and apply coordinated color schemes using the built-in palette system.
What Is the Pricing Table Element?
The Pricing Table element displays side-by-side pricing options, making it easy for visitors to compare plans, packages, or product tiers at a glance. Each pricing column typically includes a plan name, price, feature list, and a call-to-action button.
Key characteristics of the Pricing Table element:
- It is a cloud template element, meaning its designs are hosted in the Thrive Themes template library
- It uses a color palette system (PricingPalette) that applies coordinated colors across all pricing columns
- Pricing columns are managed through a sortable list, letting you reorder, add, and remove columns
- Individual pricing columns support group editing, so you can style all columns consistently in one step
- The element supports shadow and layout controls at the table level, with text shadow disabled
Adding the Pricing Table Element to a Page
Follow these steps to add a Pricing Table to your page:
- Open your page or post in the Thrive Architect editor.
- Click the green plus (+) icon in the right sidebar to open the element panel.
- Type Pricing Table in the search field at the top of the panel.
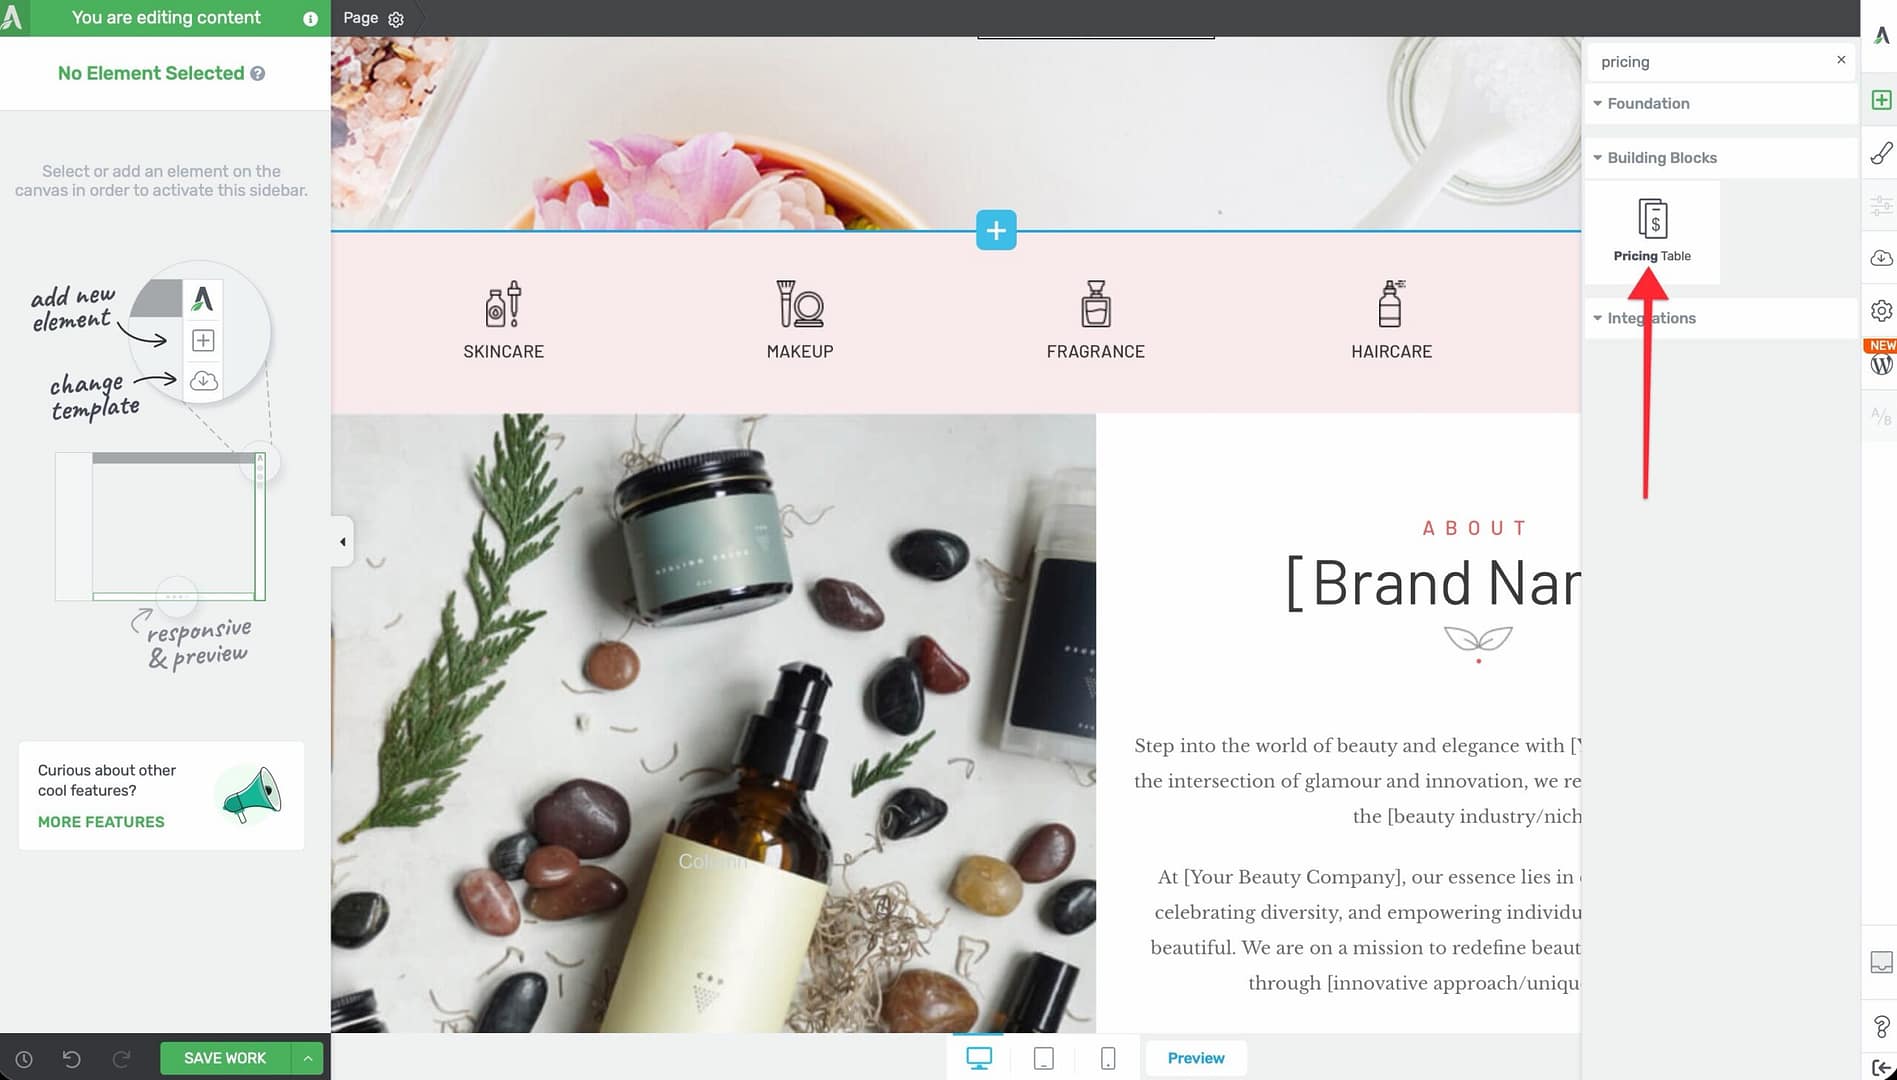
- Alternatively, scroll down to the Building Blocks section in the element list to find the Pricing Table element.
- Drag the element from the panel and drop it onto your page canvas.
The cloud template library will open, displaying a gallery of available pricing table designs. Browse or search the templates, then click on a design to insert it onto your page.
Selecting a Pricing Table Template

After dragging the element onto the canvas:
- The cloud template library opens automatically with pricing table designs.
- Browse through the available templates—you’ll find a variety of styles including flat, card-based, gradient, and highlighted layouts.
- Click on a template to preview it.
- Click Insert (or double-click the template) to add it to your page.
The selected template will appear on your canvas with sample pricing data that you can customize.
Configuring the Main Pricing Table Options
Select the Pricing Table element on the canvas (click the outer container, not an individual column) to reveal the main options in the left sidebar.
Color Palettes
Click the Color Palettes option to choose from a set of pre-configured color combinations. Each palette applies coordinated colors across all pricing columns, backgrounds, buttons, and text elements within the table. This is the fastest way to match the pricing table to your site’s color scheme.
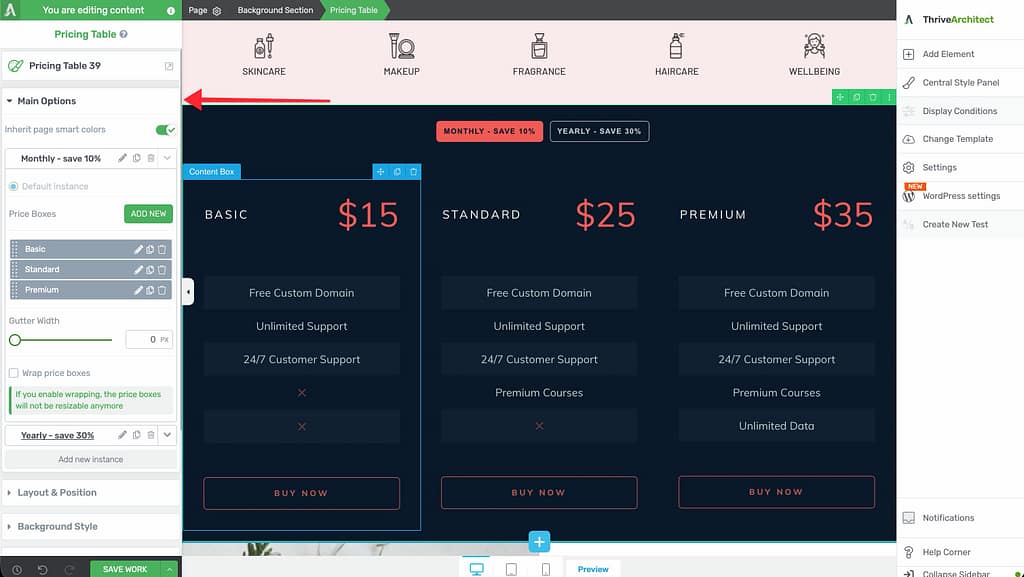
Managing Pricing Columns
The Pricing Columns section in the left sidebar displays a sortable list of all pricing columns (instances) in your table. From here, you can:
- Reorder columns by dragging them up or down in the list
- Select a column by clicking its name in the list, which highlights it on the canvas
- Add a new column by clicking the Add new instance button at the bottom of the list
To remove a pricing column, select the column on the canvas and delete it using the right-click context menu or the delete key.
Editing Individual Pricing Columns
Each pricing column within the table is a container of standard Thrive Architect elements. Click on any column to edit its contents:
Plan Name and Price
- Click on the plan name or price text within a column.
- Type directly to replace the placeholder text with your plan name and pricing information.
- Use the text formatting toolbar to adjust fonts, sizes, and colors.
Feature List
- Click on the feature list within a pricing column.
- Edit the text to list the features included in each plan.
- Add or remove list items as needed.
- Use icons or checkmarks to visually indicate included and excluded features.
Call-to-Action Button
- Click on the button at the bottom of a pricing column.
- Change the button text, link destination, colors, and size.
- Set the button link to point to your checkout page, signup form, or payment processor.
Highlighting a Column
Many pricing table templates include a visually highlighted or “featured” column to draw attention to a recommended plan. To highlight a column:
- Select the column you want to feature.
- Adjust its background color, border, or shadow to make it stand out from the other columns.
- Some templates include a “Most Popular” or “Best Value” label that you can edit or reposition.
Using Group Editing with Pricing Tables
The Pricing Table element supports group editing, which lets you apply styling changes to multiple pricing columns or buttons simultaneously. This is particularly useful for maintaining consistent design across all columns.
To use group editing:
- Select one of the pricing columns on the canvas.
- Look for the Group Editing option in the left sidebar.
- Choose from the available group options:
- Grouped Pricing Boxes — Edit all pricing column containers at once
- Grouped Pricing Boxes Buttons — Edit all CTA buttons across columns at once
- Make your styling changes, and they will apply to all items in the selected group.
Customizing Design Options
The Pricing Table element provides several design panels at the table level:
Shadow
Add a box shadow to the entire pricing table using the Shadow panel. This creates depth and helps the table stand out from the page background.
Note: Text shadow is disabled for the Pricing Table element. Text shadow options are available on individual text elements within the columns.
Layout
Use the Layout panel to adjust margins and padding around the pricing table. The Overflow and Scroll Style controls are disabled for this element.
Animation
Add entrance animations to the pricing table to draw attention as visitors scroll down the page. The animation applies to the entire table container.
Common Use Cases
SaaS Pricing Page
Display monthly and annual pricing tiers with feature comparisons, a highlighted recommended plan, and direct signup buttons.
Course or Membership Tiers
Show different access levels for online courses or membership sites, with each column representing a tier (Free, Basic, Premium) and listing the included content.
Service Packages
Present consulting, coaching, or freelance service packages with different deliverables, pricing, and booking buttons.
Product Comparison
Compare product variants or editions side by side, highlighting key differences to help visitors make a purchasing decision.
Frequently Asked Questions
How Many Pricing Columns Can I Add?
There is no hard limit on the number of pricing columns. However, for readability and usability, three to four columns work best on most screen sizes. More than four columns may require horizontal scrolling on smaller devices.
Can I Change the Template After Inserting a Pricing Table?
No. Once you insert a pricing table template, it becomes a collection of standard Thrive Architect elements. To use a different template, delete the current pricing table and add a new one.
Are Pricing Tables Responsive?
Yes. Pricing table templates from the cloud library are designed to be responsive. On smaller screens, columns typically stack vertically. You can further fine-tune the responsive behavior using Thrive Architect’s device-specific editing controls.
Can I Link Pricing Buttons to Different Payment Processors?
Yes. Each button within a pricing column is an independent element with its own link settings. You can link each button to a different checkout URL, payment page, or registration form.
Can I Save a Customized Pricing Table as a Template?
Yes. After customizing a pricing table, right-click the element container, select Save as Template, and give it a name. It will then be available in your saved templates for future use.
Related Resources
- Buttons: How to Use the Button Element — Customize CTA buttons within your pricing columns
- Columns: How to Use the Columns Element — Understand column-based layouts used inside pricing tables
- Call to Action: How to Use the Call to Action Element — Pair pricing tables with CTA sections
- Styled Box: How to Use the Styled Box Element — Another template-based building block element
That’s it! You’ve successfully learned how to use the Pricing Table element in Thrive Architect. By selecting a template, managing pricing columns, applying color palettes, and using group editing, you can create professional pricing comparison sections that help visitors choose the right plan.