In this article, you’ll learn how to navigate the Products section of Thrive Apprentice, create new products, assign courses to them, and configure product settings to protect and sell your content.
What Are Products in Thrive Apprentice?
A product in Thrive Apprentice is a package of content that you can sell or grant access to. Think of it as a container—you bundle one or more courses, along with other website content like posts, pages, or even WooCommerce products, into a single product. When someone purchases or is granted access to that product, they unlock everything inside it.
Products are the foundation of how you monetize and protect your content. Instead of managing access on a per-course basis, you control everything at the product level—making it easy to create bundles, membership tiers, or standalone course offerings.
Navigating the Products Section
To access the Products section:
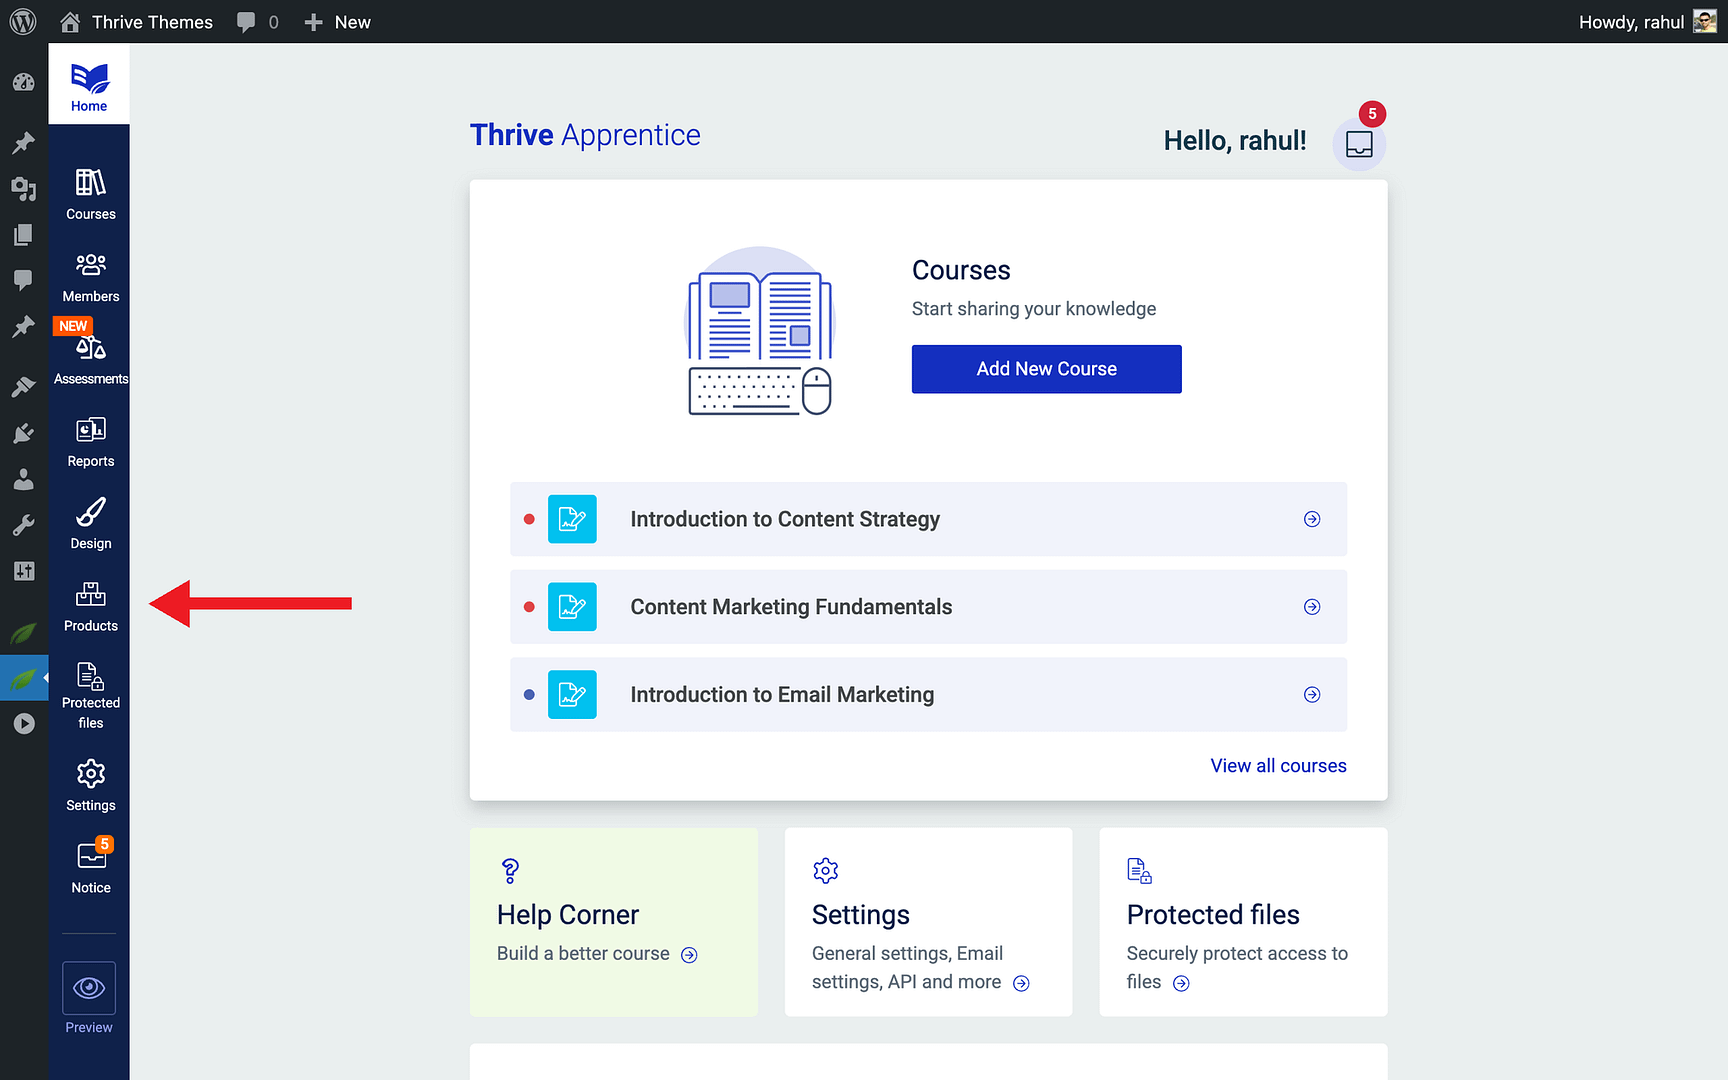
- Go to your WordPress admin dashboard.
- Navigate to Thrive Dashboard > Thrive Apprentice.

- Click Products in the left sidebar.
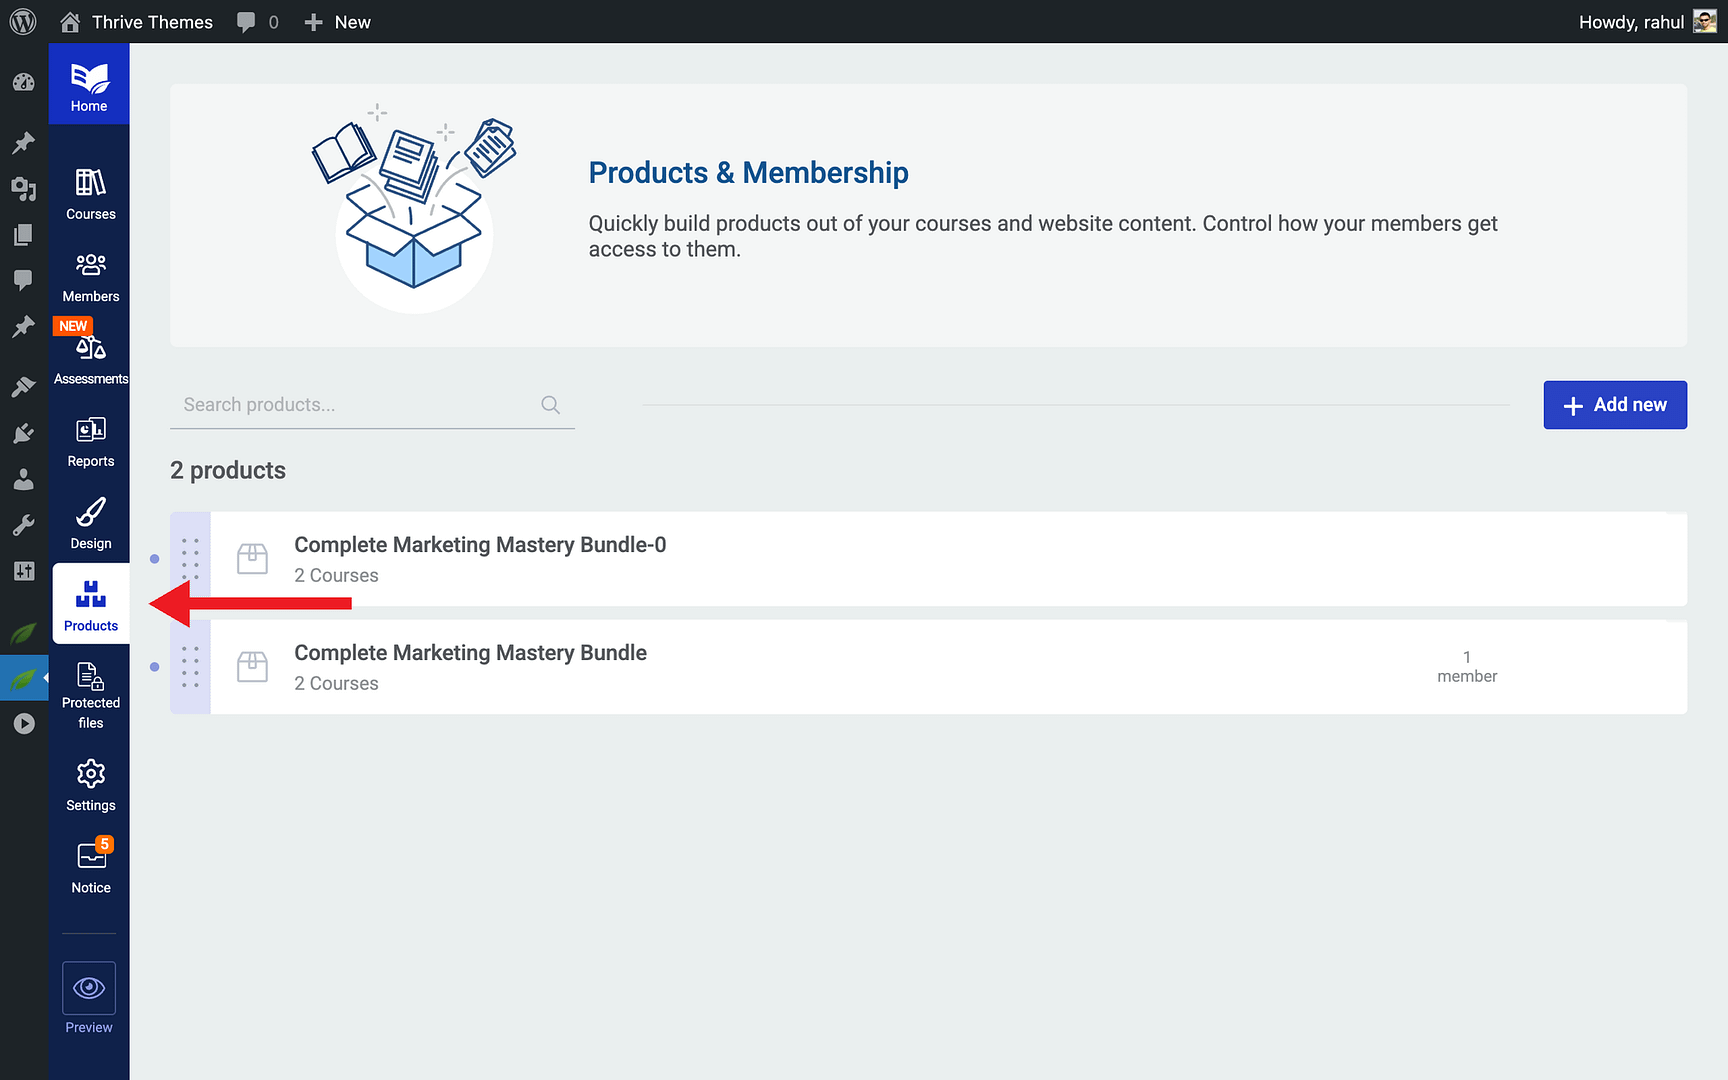
The Products page displays all of your existing products in a list view. Each product card shows the product name, the number of courses assigned, and the current access status. From here, you can create new products, edit existing ones, or manage access settings.
Creating a New Product
To create your first product:
- Navigate to Thrive Dashboard > Thrive Apprentice > Products.
- Click the + Add New Product button (or + Create your first product if you haven’t created one yet).

- Enter a name for your product in the popup dialog that appears.

- Click Create Product to confirm.

Your new product is created and you’re taken to the product configuration screen where you can start adding courses and adjusting settings.
Assigning Courses to a Product
Once your product is created, you need to assign content to it. To add courses:
- Open the product you want to edit.

- Click the Product Content tab.

- Click + Add Course to see a list of available courses.

- Select the courses you want to include in this product.

- Click Add to assign them.

You can assign multiple courses to a single product to create a bundle. You can also add other content types—such as WordPress pages, posts, or protected files—to the same product.
Configuring Product Settings
Each product has several configurable settings that control how access works:
- Access Requirements — Define how users gain access to this product (e.g., through a payment integration, a custom payment link, or manual granting).
- Access Restriction Rules — Control what non-authorized visitors see when they try to access protected content, including custom messaging and redirect behavior.
- Access Expiry — Set a time limit on product access for subscription-based or limited-time offerings.
- Custom Payment Links — Connect your product to external checkout pages or third-party payment processors.
Note: Changes to product settings take effect immediately for new visitors. If you have caching enabled on your site, clear your cache after making changes to ensure all visitors see the updated behavior.
Conclusion
That’s it! You’ve successfully learned how to navigate the Products section, create new products, assign courses to them, and configure product settings in Thrive Apprentice. Products give you a flexible, centralized way to bundle, protect, and sell your course content.
Related Resources
- Access Restrictions — How to Set Up Access Restrictions and Rules in Thrive Apprentice
- Access Expiry — How to Manage Product Access Expiry in Thrive Apprentice
- File Protection — How to Protect Files and Grant Access in Thrive Apprentice
- Custom Payment Links — How to Set Up Custom Payment Links in Thrive Apprentice