In this article, you’ll learn how to use the Thrive Apprentice widget area to add extra features, helpful information, and supplementary content to your course pages—enhancing the student experience without editing individual lessons.
What Is the Widget Area?
The Thrive Apprentice widget area is a designated section on your course pages where you can place WordPress widgets. Widgets are small content blocks that display information or functionality—such as a sidebar with course navigation, a call-to-action banner, or a list of recent lessons. The widget area lets you control what appears alongside your main course content.
Where Does the Widget Area Appear?
Depending on your course layout and theme, the Thrive Apprentice widget area typically appears in the sidebar or below the main content on course-related pages. This includes:
- The main Courses listing page
- Individual Course Overview pages
- Lesson pages
- Module and Chapter pages
Note: The exact position of the widget area depends on your active WordPress theme and any customizations you’ve made through Thrive Theme Builder. Some themes place widgets in a right sidebar, while others use a footer or below-content area.
Adding Widgets to the Thrive Apprentice Widget Area
- In your WordPress dashboard, go to Appearance > Widgets.
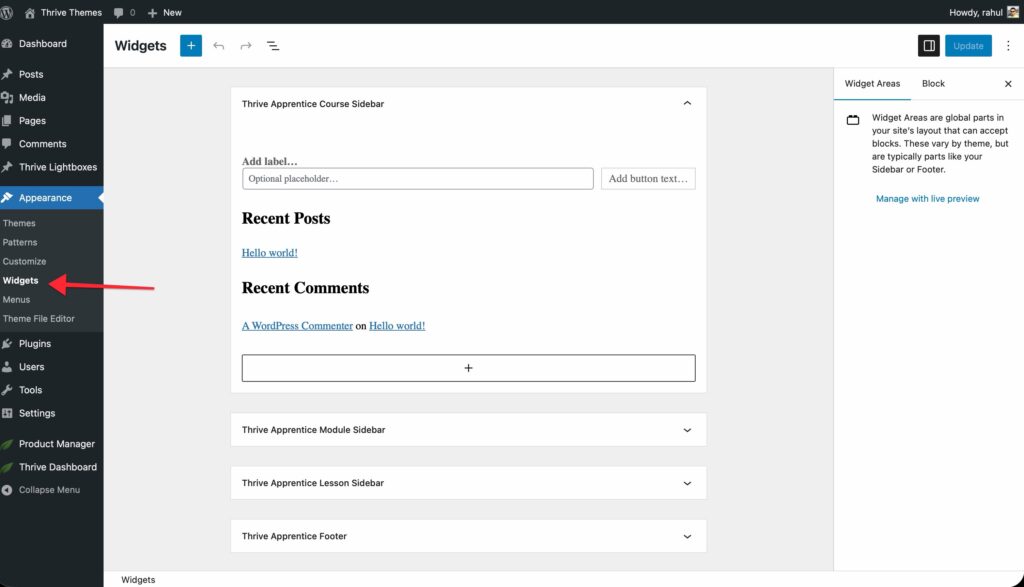
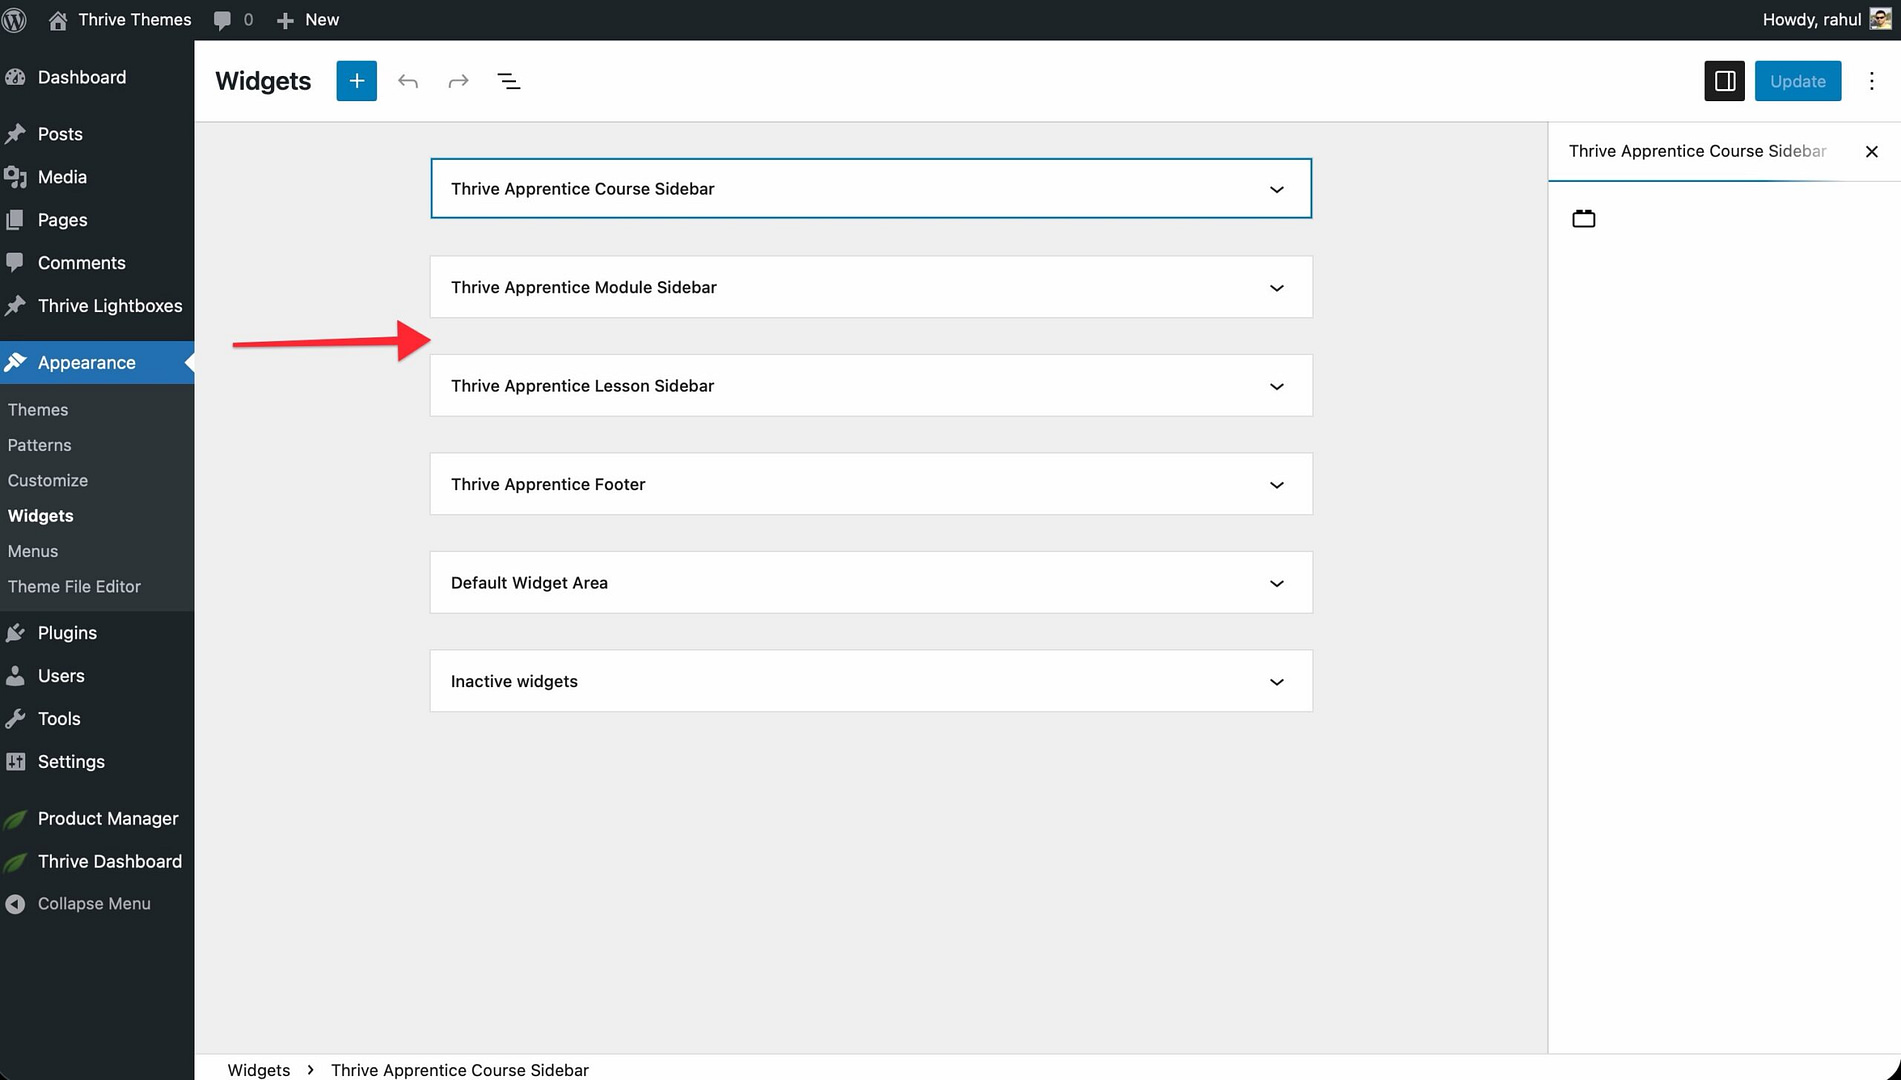
- Locate the Thrive Apprentice widget area in the list of available widget areas. It may be labeled as Thrive Apprentice Sidebar or similar, depending on your theme.
- Click the widget area to expand it.
- Click the Add Widget button (or use the block inserter if you’re using the block-based widget editor).
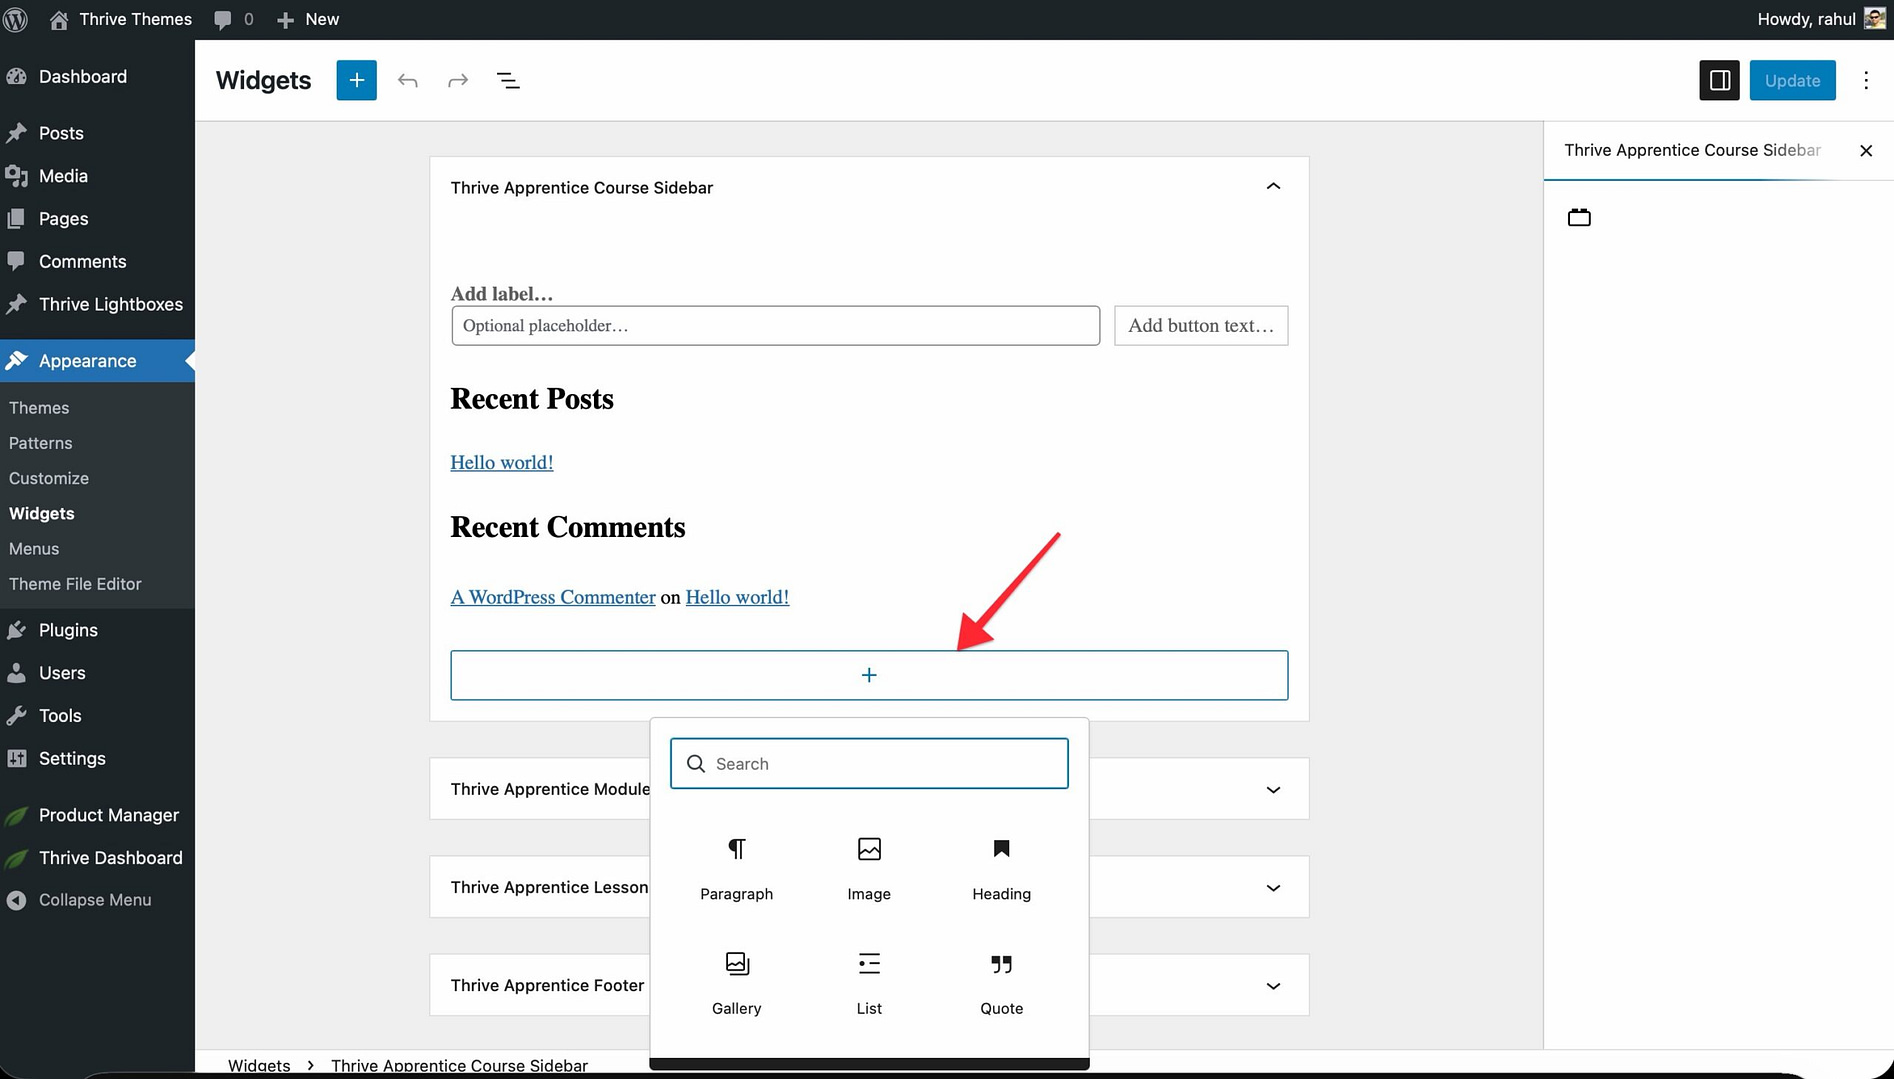
- Select the widget you want to add from the available options.
- Configure the widget settings as needed (e.g., title, content, display options).
- Click Save or Update to apply your changes.
Common Widgets to Use
Here are some popular widgets that work well in the Thrive Apprentice widget area:
- Text/HTML Widget — Add custom text, announcements, or HTML content. Great for course-specific messages or instructor bios.
- Navigation Menu Widget — Display a secondary menu with links to related courses, resources, or external materials.
- Search Widget — Let students search through course content directly from the sidebar.
- Recent Lessons Widget — Show a list of recently published or updated lessons to keep students informed of new content.
- Custom HTML Widget — Embed calls-to-action, promotional banners, or third-party tools using custom HTML code.
- Image Widget — Add visual elements such as a course badge, instructor photo, or branding graphic.
Managing and Removing Widgets
You can update or remove widgets at any time.
- To edit a widget: Go to Appearance > Widgets, expand the Thrive Apprentice widget area, click the widget, and modify its settings.
- To remove a widget: Click the widget to expand it, then click the Remove or Delete option. The widget will be removed from the course pages immediately.
- To temporarily disable a widget: Drag it to the Inactive Widgets area instead of deleting it—this preserves your settings for later use.
Important: Changes to widgets take effect on all course pages that display the widget area. If you need different widgets on different pages, consider using a widget visibility plugin to control which widgets appear where.
That’s it! You’ve successfully configured the Thrive Apprentice widget area, adding useful sidebar content and functionality to create a more engaging course experience for your students.
Related Resources
- Course Layout Design: Learn how to customize your course templates with Thrive Theme Builder.
- Menu Setup: Explore how to create dedicated menus for your courses and lessons.
- WordPress Widgets: Review the official WordPress documentation on widgets for foundational concepts.
- Student Experience: Discover more ways to enhance the student-facing experience in Thrive Apprentice.