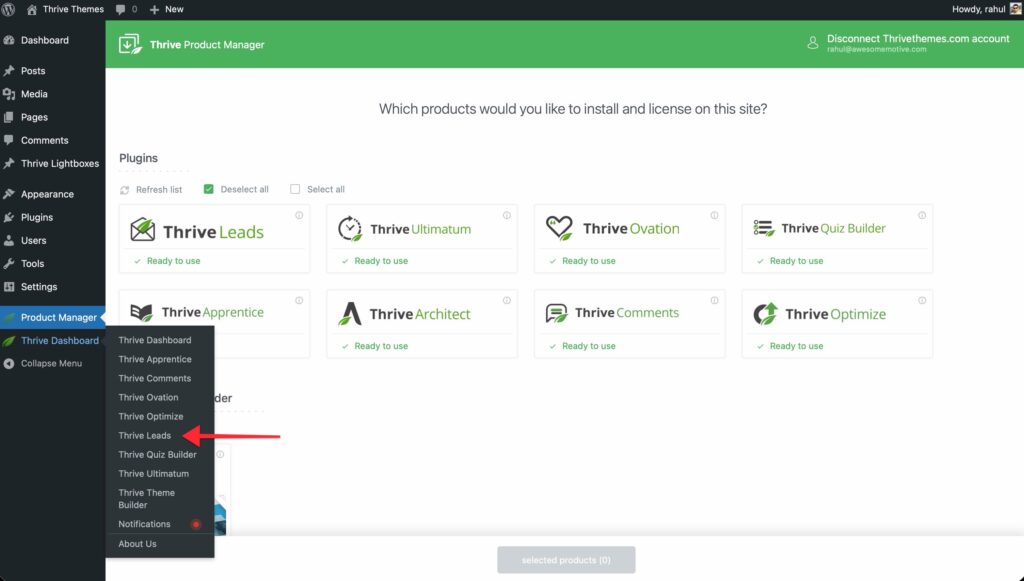
In this article, you’ll learn how to navigate the Thrive Leads Dashboard to manage your forms, view analytics, and access advanced features. This dashboard is your central hub for all list-building activities.
To access it, log in to your WordPress admin area and navigate to Thrive Dashboard > Thrive Leads.
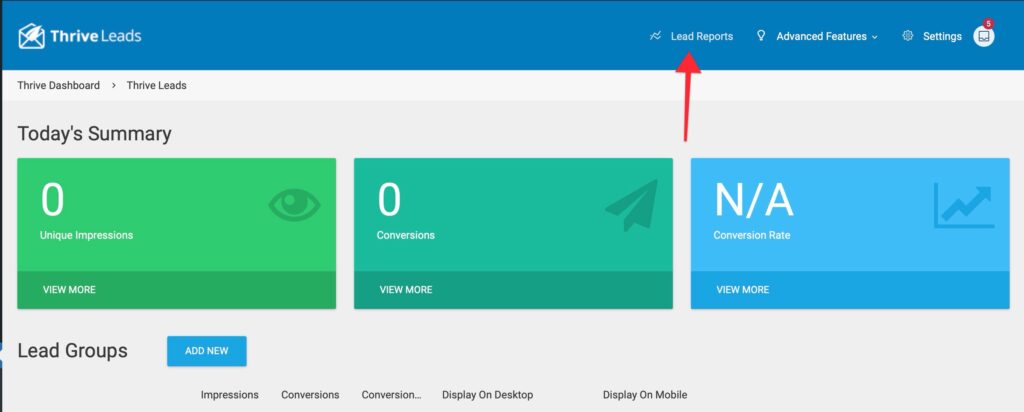
1. Today’s Summary
At the very top of the dashboard, you’ll see a quick snapshot of your performance for the current day.

- Unique Impressions: The number of unique visitors who have seen your forms today. Note: “Unique” means a visitor who hasn’t visited your site in the last 30 days. Repeat visitors are not counted again here.
- Conversions: The number of people who submitted a form today.
- Conversion Rate: The percentage of unique visitors who converted (Conversions / Unique Impressions).
Note: These stats are visitor-centric, giving you a high-level view of your site’s performance. For detailed analytics, use the Lead Reports section.
2. Lead Reports & Analytics
To dig deeper into your data, click the Lead Reports button in the top-right corner. This opens the detailed Reporting Dashboard where you can analyze:
Conversion Report
Shows a graph of conversions over time. You can filter by:

- Source: Which Lead Group is generating the most leads?
- Form Type: Do Lightboxes convert better than Ribbons?
Content Marketing Report

Crucial for bloggers. This report shows which pages or posts on your site are generating the most leads. Use this to identify your high-performing content and optimize it further.
Lead Referral Report

Shows where your traffic came from before they signed up (e.g., Facebook, Google, Direct, or a specific referral site).
List Growth

A simple cumulative chart showing how fast your email list is growing over time.
3. Advanced Features & Settings
In the top-right corner, you’ll also find menus for global settings.
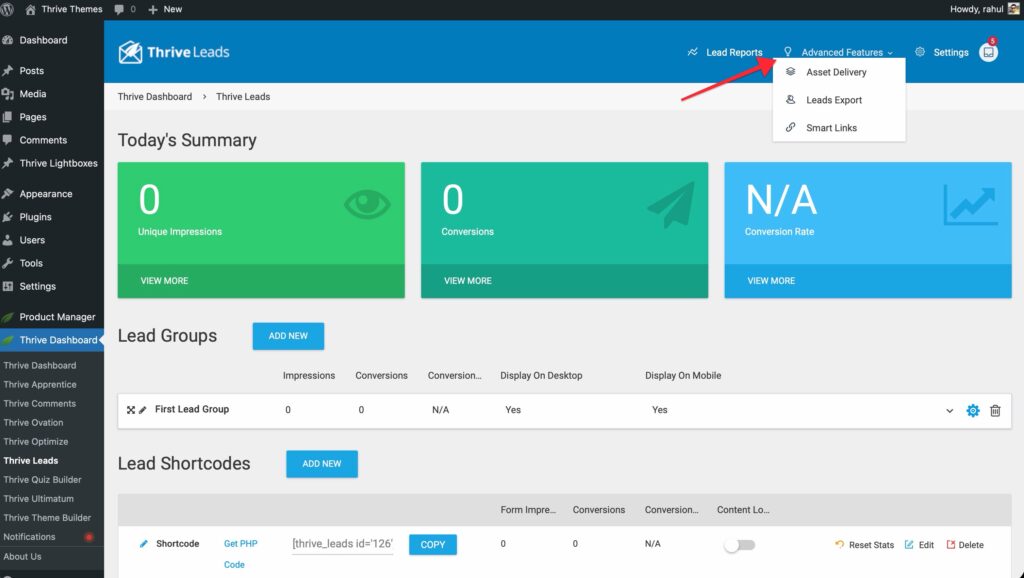
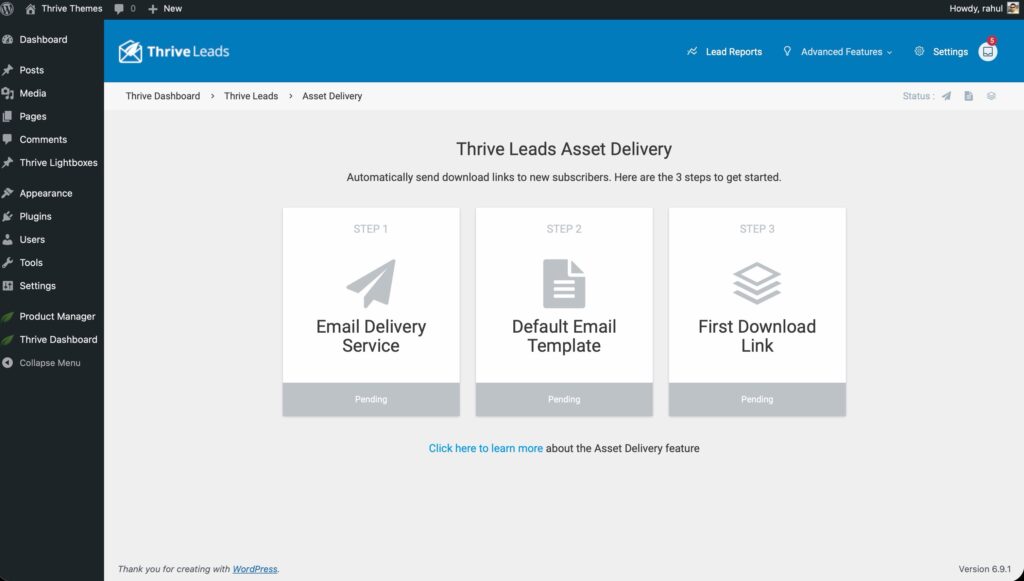
Advanced Features
- Asset Delivery: Set up automated file delivery (like PDFs or ebooks) to new subscribers.
- Leads Export: View and export a CSV list of all leads captured locally by Thrive Leads.

- Smart Links: Create special links that show (or hide) specific Lead Groups based on where the visitor came from.

Settings
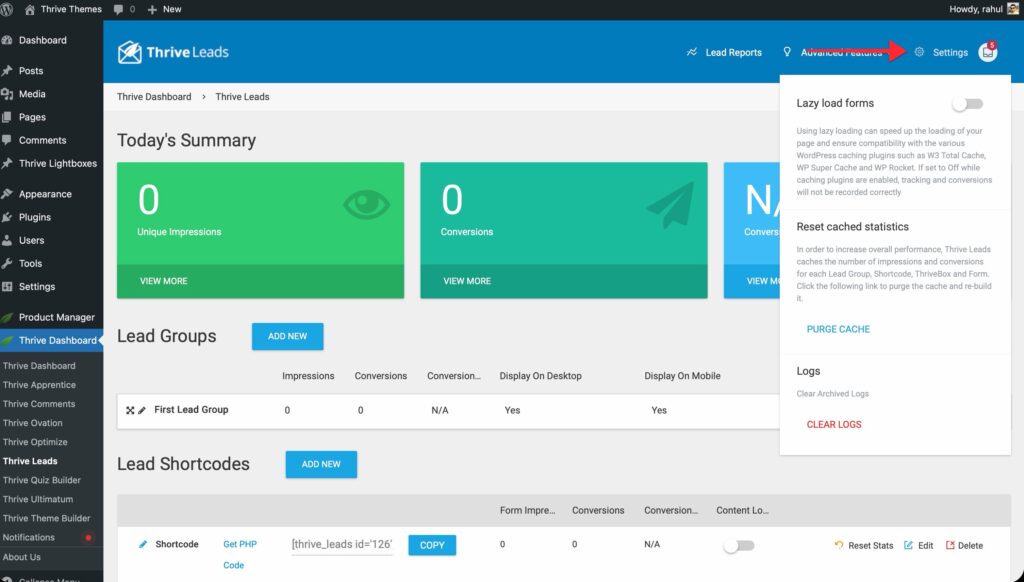
- Lazy Load Forms: Enable this to improve site speed. It loads the form content only after the rest of the page has loaded, improving Core Web Vitals.
- Reset Cached Statistics: If your dashboard numbers look out of sync, use this to clear the internal cache and rebuild the stats.
- Logs: View or clear system logs (useful for troubleshooting).
4. Lead Groups
This is the main work area. Lead Groups allow you to create automated opt-in forms that appear on specific areas of your site.
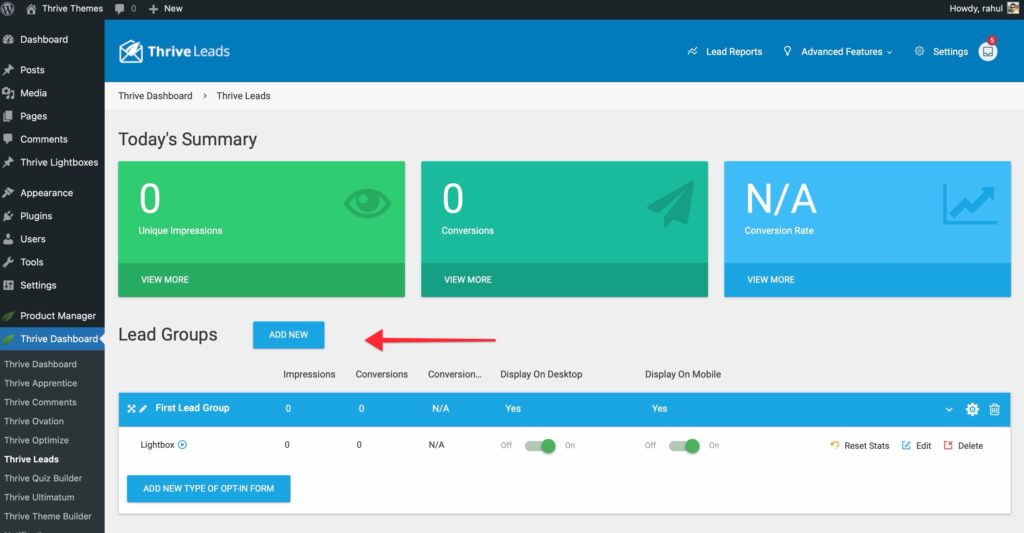
- Add New: Create a new campaign.
- Display Settings (Cogwheel Icon): Define targeting rules (e.g., “Show on All Posts” or “Show on Front Page Only”).
- Duplicate Icon: Create a copy of the entire Lead Group with all its form types and settings.
- Active/Inactive Switch: Toggle the entire group on or off.
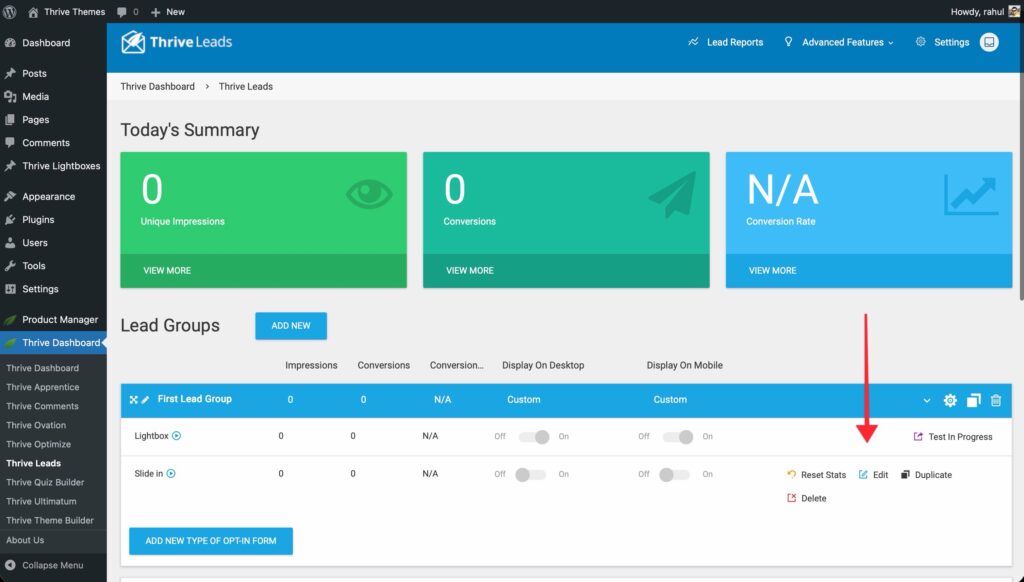
Within each Lead Group, you can add multiple form types (Lightbox, Ribbon, Widget, etc.) and run A/B tests between them.
5. Lead Shortcodes
This section manages forms that are manually placed using a shortcode.
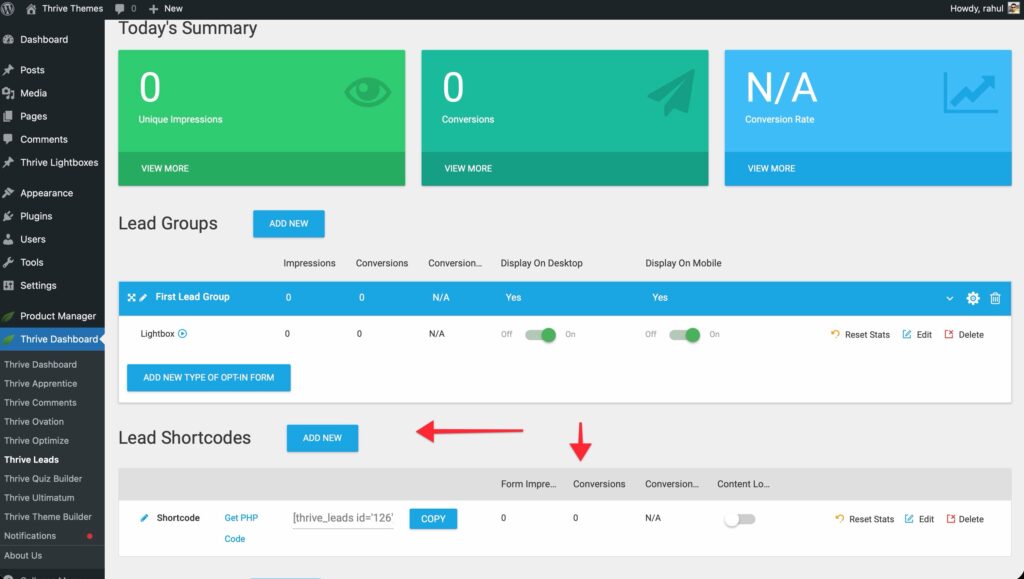
- Add New: Create a specific form design.
- Duplicate Icon: Create a copy of any Lead Shortcode with all its settings.
- Shortcode: Copy the provided code (e.g.,
) and paste it into any WordPress post, page, or text widget to display the form exactly where you want it.
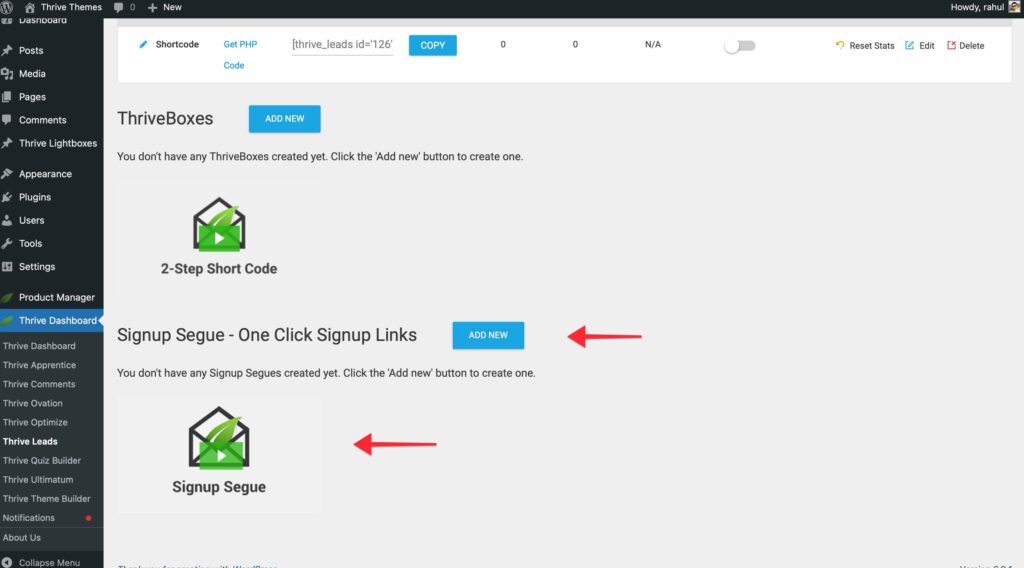
6. ThriveBoxes
This section manages 2-step opt-in forms.
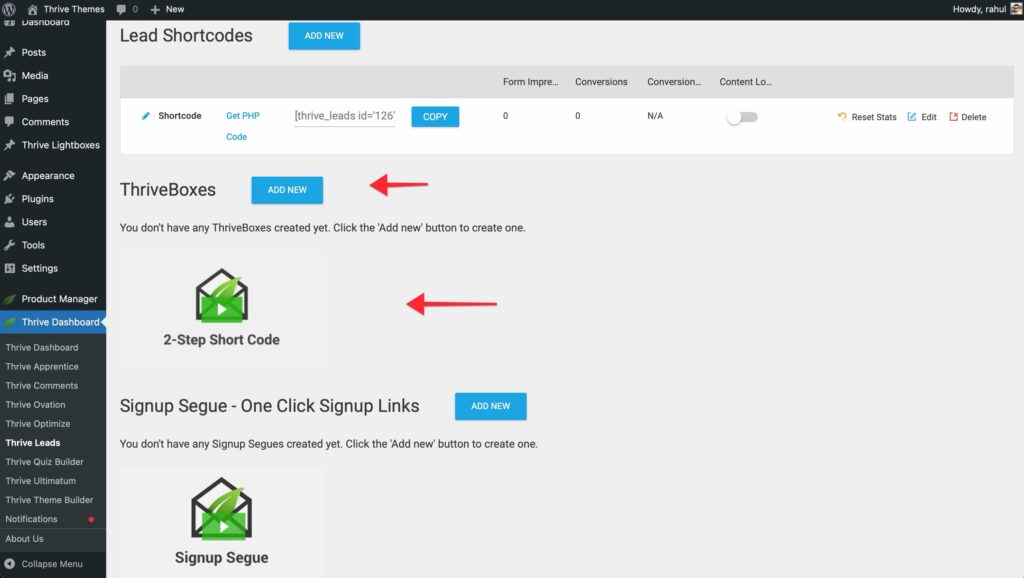
- Add New: Create a popup that only appears when triggered.
- Duplicate Icon: Create a copy of any ThriveBox with all its settings.
- Shortcode: Copy the shortcode to wrap around a button or link. When clicked, the ThriveBox (lightbox) will open.
7. Signup Segue
The “Signup Segue” feature allows you to generate specialized links. When a user clicks these links (e.g., in an email), they are instantly signed up for an event or offer without having to fill out a form again.
That’s it! You now know how to navigate the Thrive Leads Dashboard to manage your campaigns and tracking.
Related Resources
- Getting Started: Getting Started with Thrive Leads
- Thrive Knowledge Base: Use the full Thrive Leads knowledge base