In this article, you’ll learn how to use the Widget Area element and the Calendar Widget element in your Thrive Theme Builder templates.
Widget Area Element
The Widget Area element lets you display WordPress widgets within your templates. It acts as a bridge between the Thrive Theme Builder visual editor and the WordPress widget system.
Adding the Widget Area Element
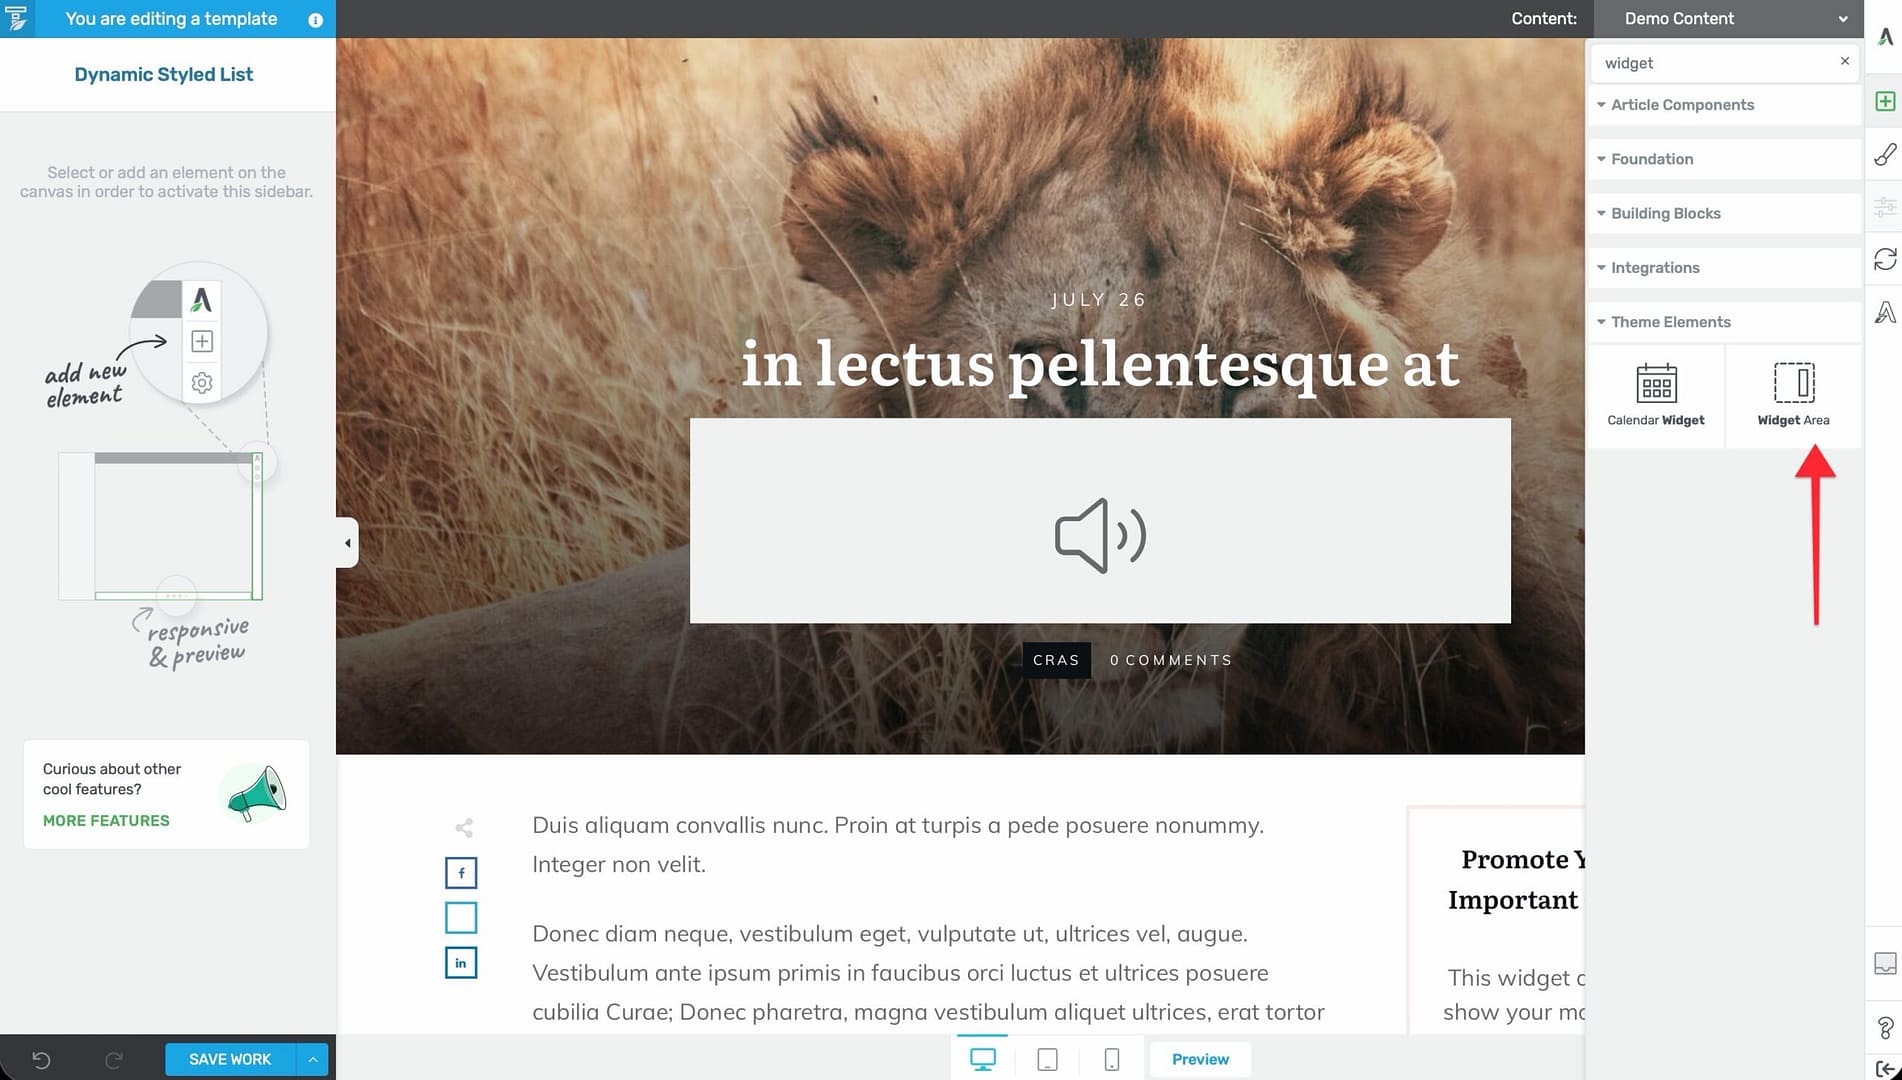
- In the Thrive Theme Builder editor, click the plus (+) icon in the right sidebar.
- Search for Widget Area.
- Drag the element into position on the template (commonly in the sidebar, footer, or any section where you want widget content).
Selecting a Widget Area
When you first add the element, it appears as a placeholder labeled Insert Widget Area:
- Click the placeholder to open a searchable popup listing your available widget areas.
- Select the widget area you want to display.
Configuring the Widget Area
After selecting a widget area:
- Select the Widget Area element on the canvas.
- In the left sidebar under the Widget Area panel, use the Source dropdown to change which widget area is displayed.
- Set the Orientation — choose between Column (vertical, stacked widgets) or Row (horizontal, side-by-side widgets).
Adding Widgets to the Widget Area
The actual widgets displayed by this element are managed in the WordPress admin:
- Go to Appearance > Widgets in the WordPress admin dashboard.
- Find the widget area you selected in the Thrive Theme Builder element.
- Add widgets to that area (e.g., Search, Recent Posts, Categories, Custom HTML, Thrive Leads).
- Save the widget configuration.
The Widget Area element in your template will then display those widgets.
Styling Notes
The Widget Area element has limited typography controls because WordPress widgets use their own styling. You can control:
- Layout and positioning.
- Background and borders.
- Spacing (padding and margins).
Calendar Widget Element
The Calendar Widget element displays a WordPress calendar showing your published posts organized by date. Visitors can click on dates to view posts published on that day.
Adding the Calendar Widget
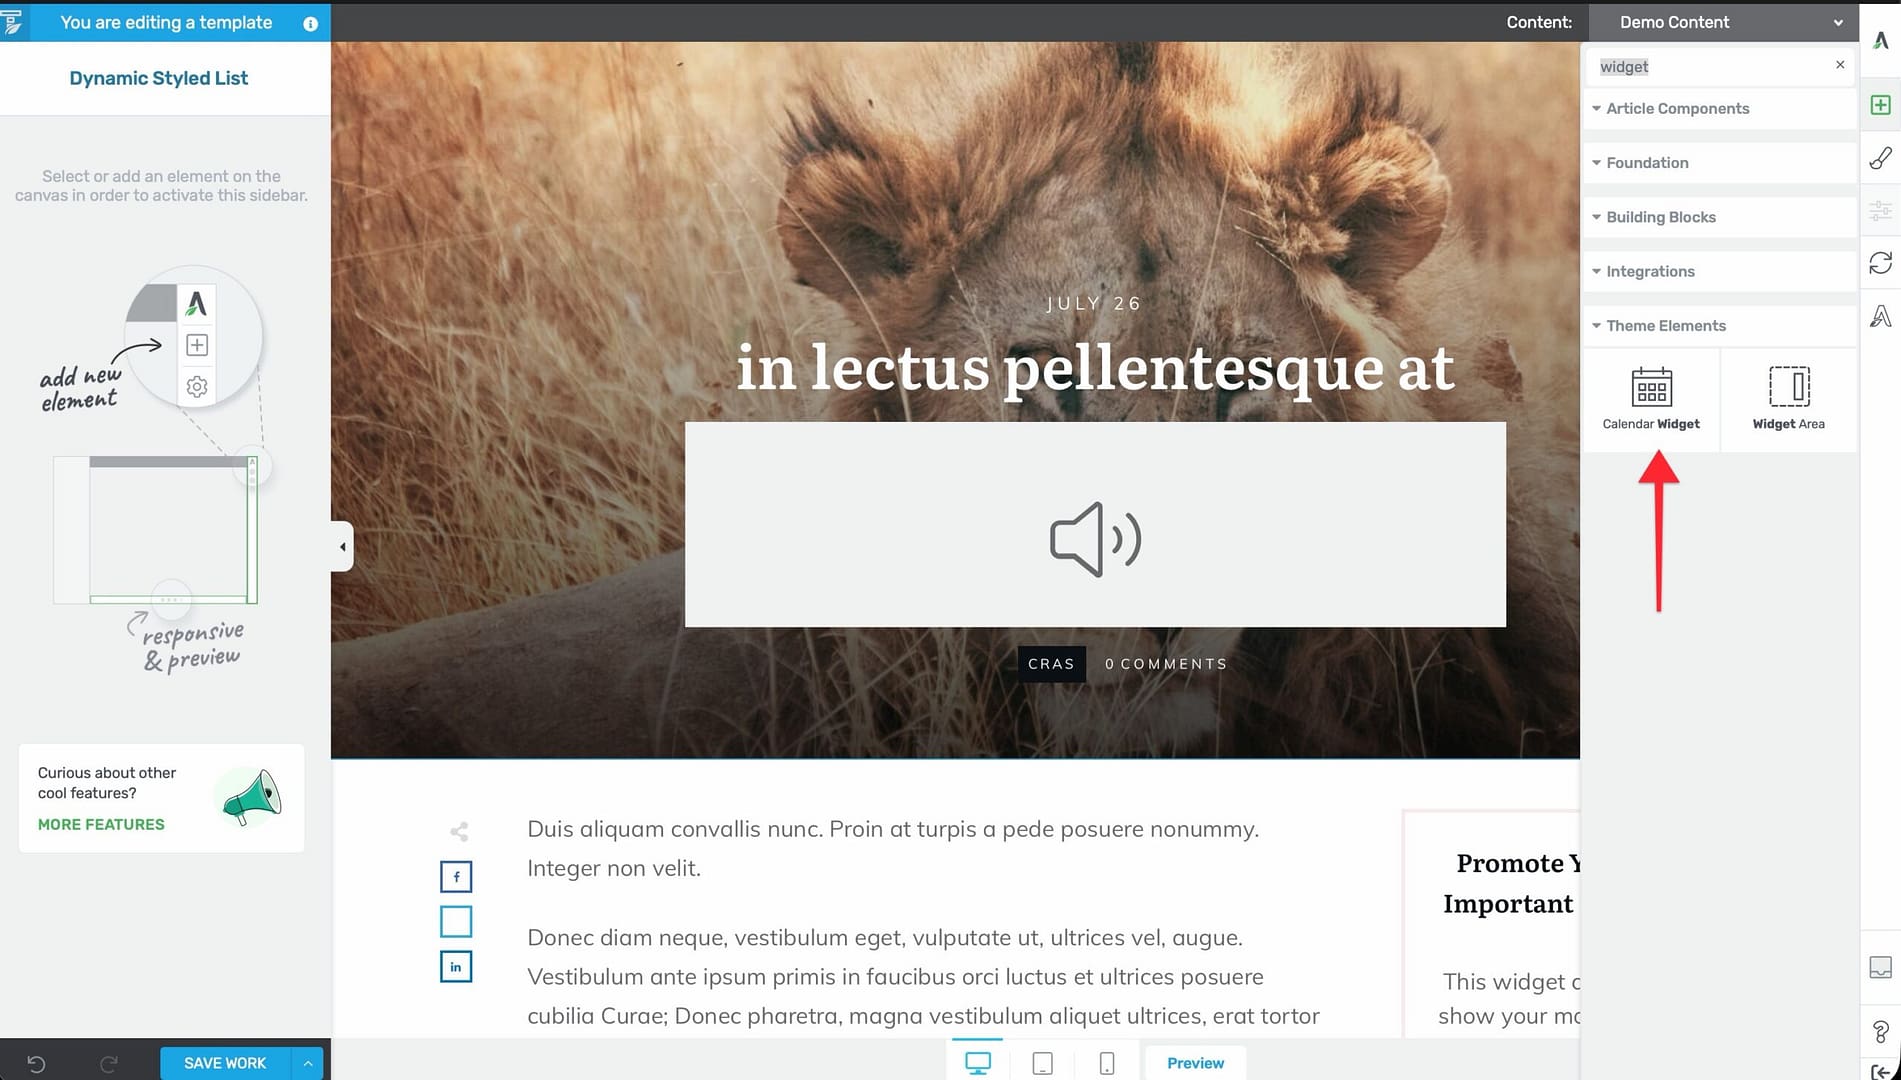
- In the Thrive Theme Builder editor, click the plus (+) icon in the right sidebar.
- Search for Calendar Widget.
- Drag the element into position on the template.
The Calendar Widget can be added to any template type. It is most commonly used on blog and archive templates where date-based navigation is useful, but it works on any template.
How It Works
- The calendar displays the current month with dates that have published posts highlighted as clickable links.
- Visitors can navigate between months using the previous/next arrows.
- Clicking a date opens the daily archive showing all posts published on that date.
Customization
You can style the calendar’s appearance:
- Colors and typography for dates, headers, and navigation.
- Background and border styling.
- Spacing and sizing.
Best Practices
- Use Widget Areas for flexible content — Widget Areas are ideal for content that changes frequently or that you want to manage without editing the template (e.g., promotional banners, recent posts, newsletter signups).
- Name widget areas descriptively — When creating widget areas in WordPress, use clear names so you can easily identify them in the Thrive Theme Builder dropdown.
- Use the Calendar Widget on blog templates — The calendar is most relevant on blog and archive templates where date-based navigation makes sense.
- Don’t overuse Widget Areas — For most content, Thrive Theme Builder’s native elements (Post List, Dynamic Styled List, etc.) provide better visual control than WordPress widgets. Use Widget Areas primarily for third-party plugin widgets that don’t have native Thrive elements.
Related Resources
- Using the Building Block & List Elements: Learn about building blocks and dynamic lists.
- Sidebar Widgets & Content: Learn how to add content to the sidebar.
- Using the Content and Sidebar Sections: Learn how to customize the sidebar.