In this article, you’ll learn how to export the content of a page or post built with Thrive Architect and import it into another page or site.
This feature lets you reuse content across pages or transfer designs between WordPress installations. It works for regular pages and posts. For landing page templates, a separate import/export process is available in the landing page settings.
Exporting Content

- Open the page or post you want to export in the Thrive Architect editor.
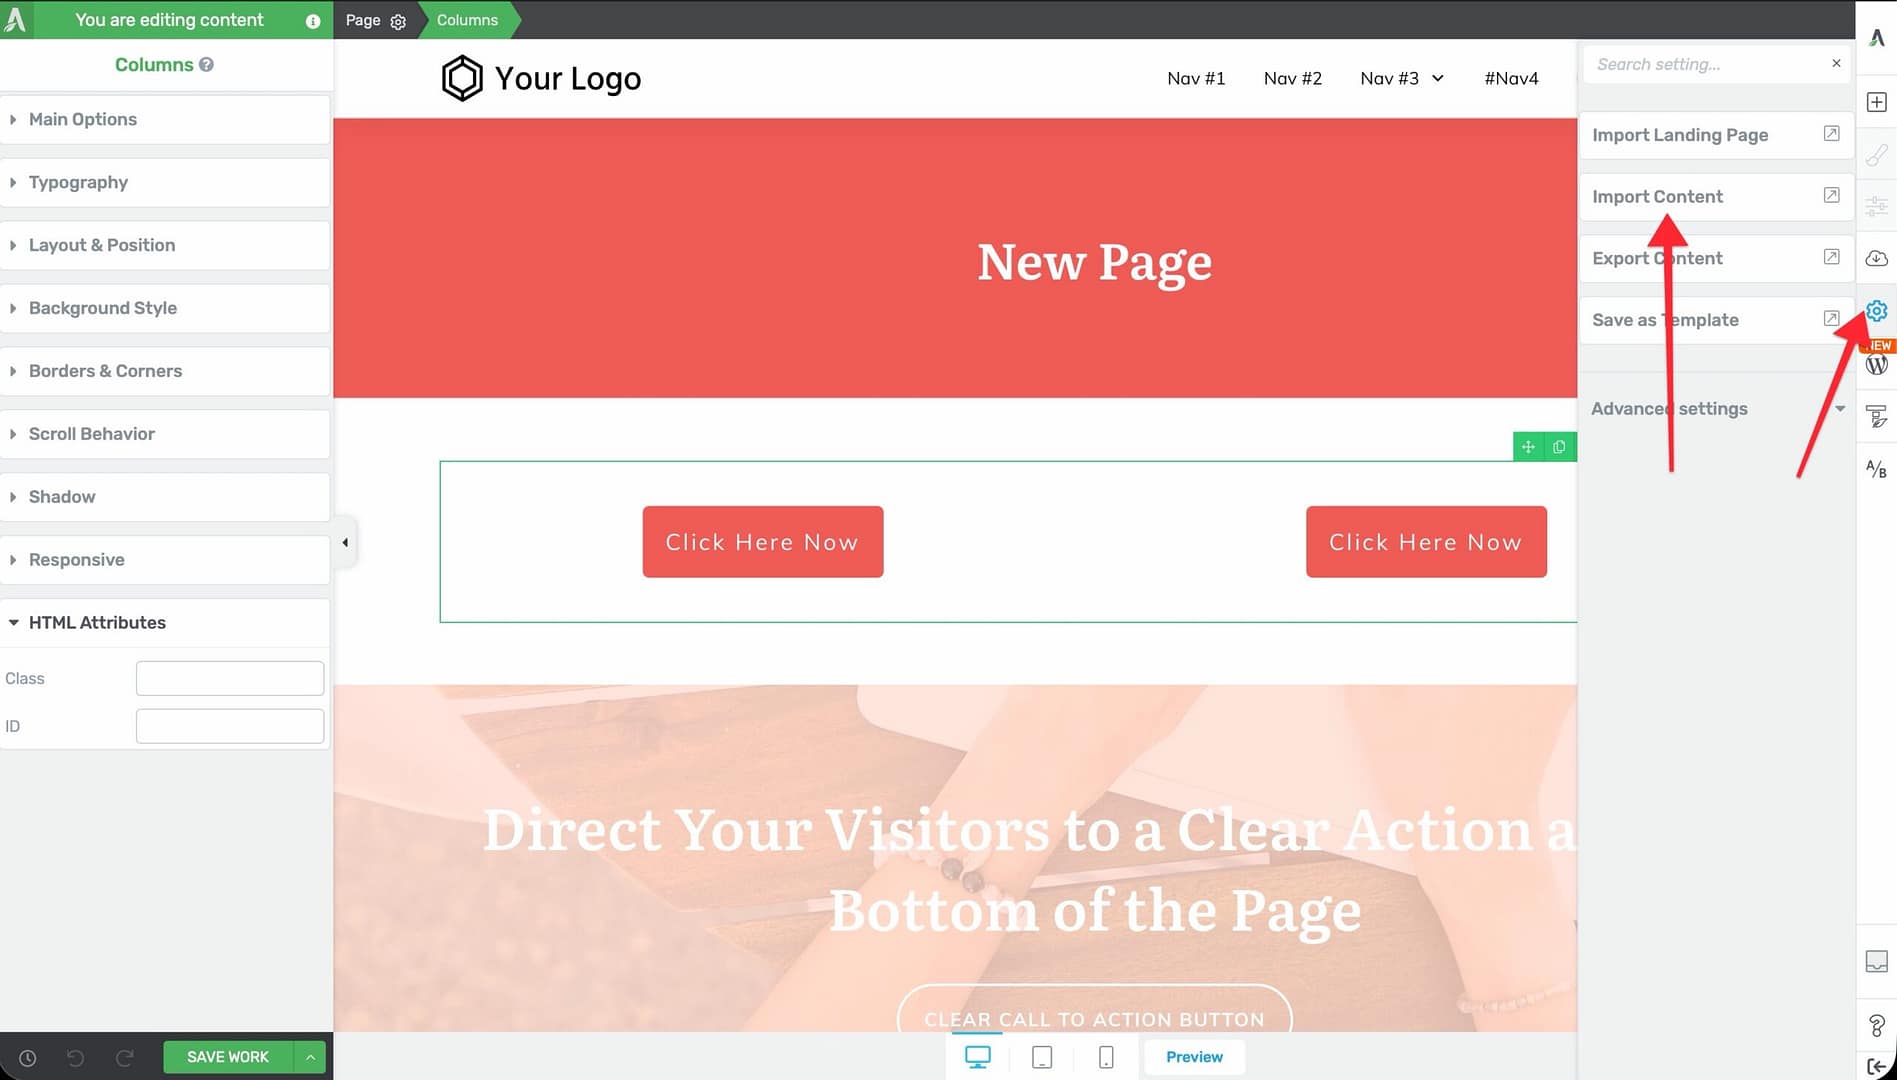
- In the right sidebar, click the Settings icon (gear icon).
- Click Export Content.
- A popup appears. Enter a file name for the export.
- Click the Download File button.
- A
.zipfile will be downloaded to your computer containing the page content.
Importing Content
- Open the target page or post in the Thrive Architect editor. This can be on the same site or a different WordPress installation.
- In the right sidebar, click the Settings icon (gear icon).
- Click Import Content.
- Click Select Files and choose the
.zipfile you exported earlier. - Click the Import button.
- The imported content will be added below any existing content on the page.
Limitations
- This export/import process works for regular page and post content only.
- Landing page templates have their own separate export/import process available through the landing page settings (Save Landing Page, Export Landing Page, Import Landing Page).
- Exported content includes the Thrive Architect elements and their styling but does not include images hosted on your server. Images will need to be accessible from their original URLs or re-uploaded.
- The server must have the PHP ZipArchive extension enabled for export and import to work.
Related Resources
- Getting Started: Learn about the Thrive Architect editor layout and interface.
- Landing Pages: Learn about landing page templates and their dedicated import/export options.
- HTML and CSS: Learn how to edit HTML and add custom CSS to your pages.