Do you want to add access restrictions for courses published on your website? You can set access restrictions rules like allowing only subscribers or purchasers to access the courses.
However, to apply access restrictions for courses, you’ll need to add those courses in products on which the access restriction rules can be applied. This means that you can create multiple products that can contain multiple courses and you can apply the access restrictions rules on all the products.
If a visitor tries to access a course or a part of a course that they do not have access to, then a message will be displayed to them as per the settings you have set up in the “Login & access restriction” panel.
In this article, we’ll show you how you can add login and access restriction settings in Thrive Apprentice.
- Accessing the Login and Access Restriction Settings
- Setting Up a Login and Registration Page
- Understanding the Access Restriction Settings
Accessing the Login and Access Restriction Settings
To manage the Login and Access Restrictions in Thrive Apprentice, you need to first access the settings in your website.
To begin, open your WordPress admin area, navigate to Thrive Dashboard >> Thrive Apprentice, and click on Settings in the left panel.

On the Thrive Apprentice Settings page, click Login & Access Restriction in the left column.
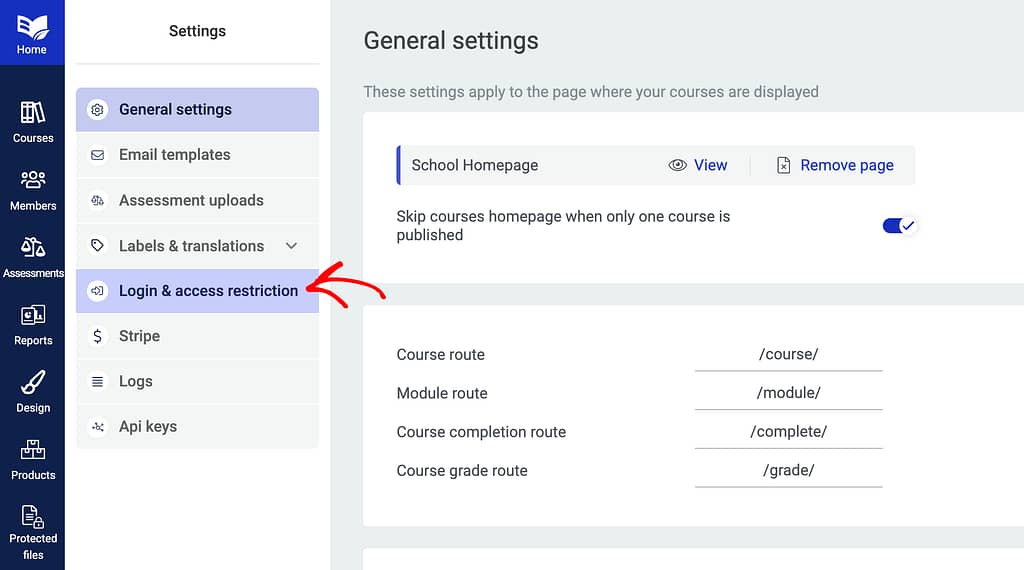
When you click Login & access restriction, you’ll see a page with all the settings associated with it.
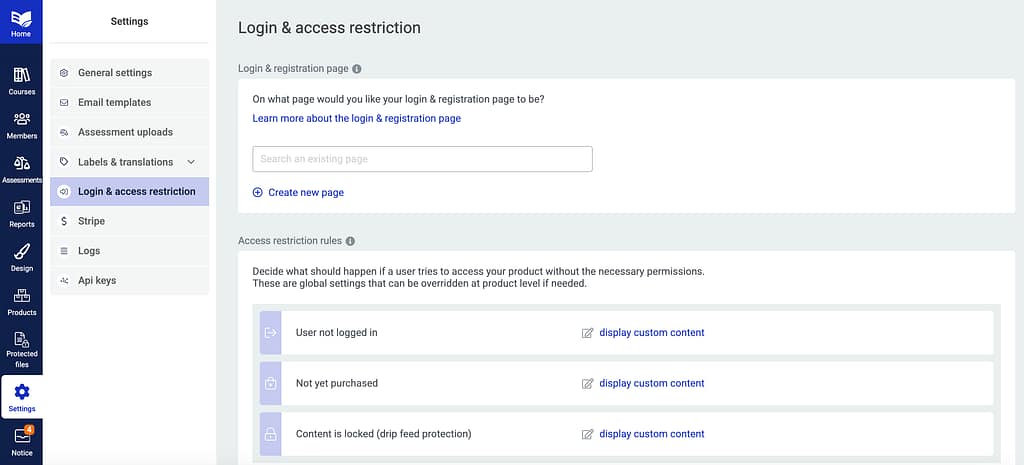
This is where you will have to manage the login and registration page alongside the access restriction rules for your Thrive Apprentice products.
Setting Up a Login and Registration Page
The Login and Registration page is the one you’ll direct visitors and existing members to if they want to log into their account or sign up for a new account.
You can either choose an existing page on your site or create a new one.

Selecting an existing page
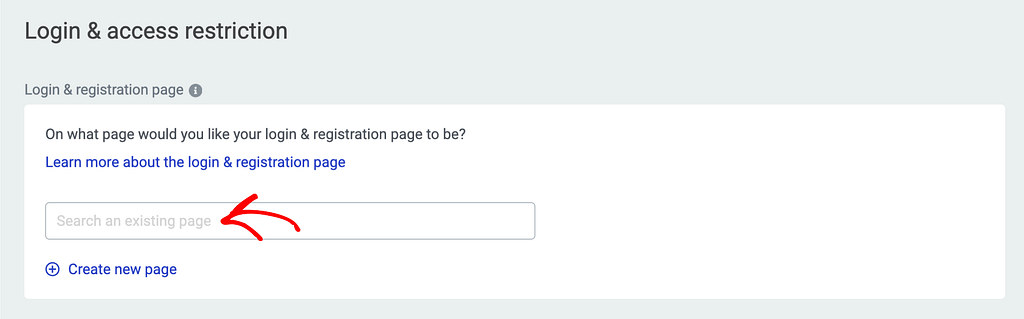
To set a login and registration page, you can select an existing one if you’ve created it before.
To select an existing page, start typing the page name in field with the placeholder text, Search an existing page.
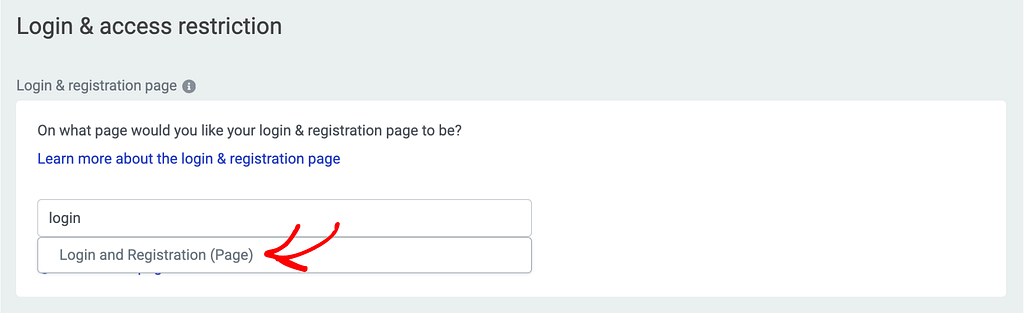
When you start typing, you’ll see the page listed in the dropdown. In the dropdown, click the page name.
After selecting the page, you’ll see it applied as the Login and Registration page. Alongside the page name, you’ll see options using which you can view the page, edit it with Thrive Architect or remove it from here.
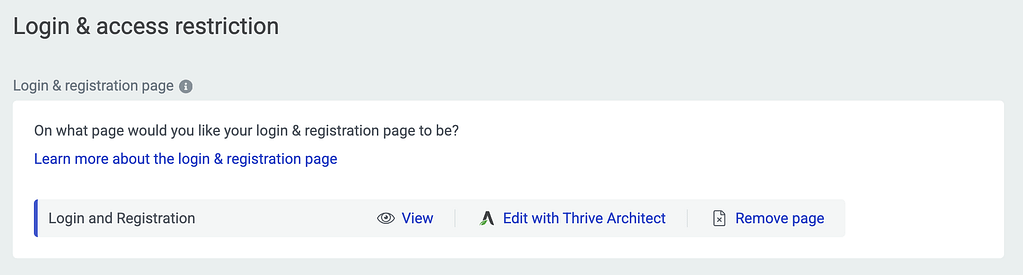
This login and registration page can be further customized using Thrive Architect. To open the page in the editor, click the Edit with Thrive Architect.
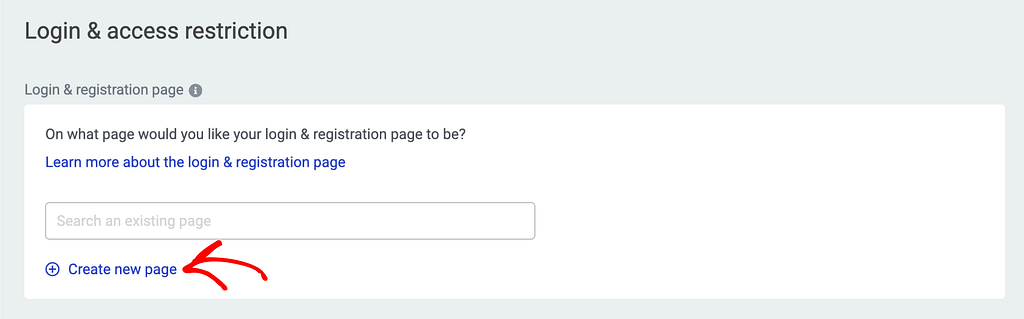
Creating a new page
If you do not have a login and registration page created already, you can select the Create new page option under the Login & Registration page settings.
After you click the Create new page link, enter the page name in the given field and click Add page.

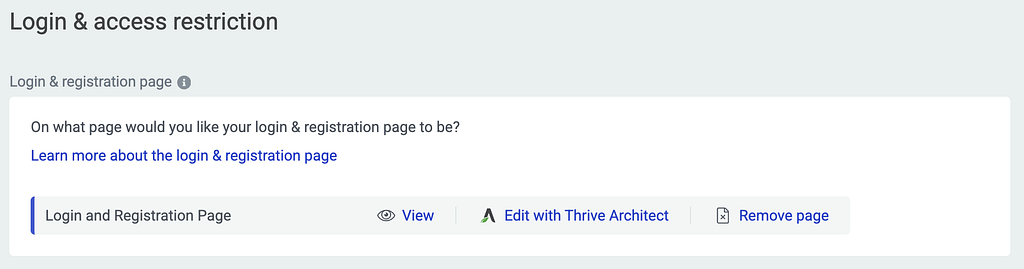
Clicking Add new will create the new page and list it in the Login and registration page section.
Alongside the page name, you’ll also see options that will allow you to
- View the page
- Edit the page with Thrive Architect
- Remove the page from being the Login and registration page
Need further help setting up a login and registration page in Thrive Apprentice? You can refer to our document here.
Understanding the Access Restriction Settings
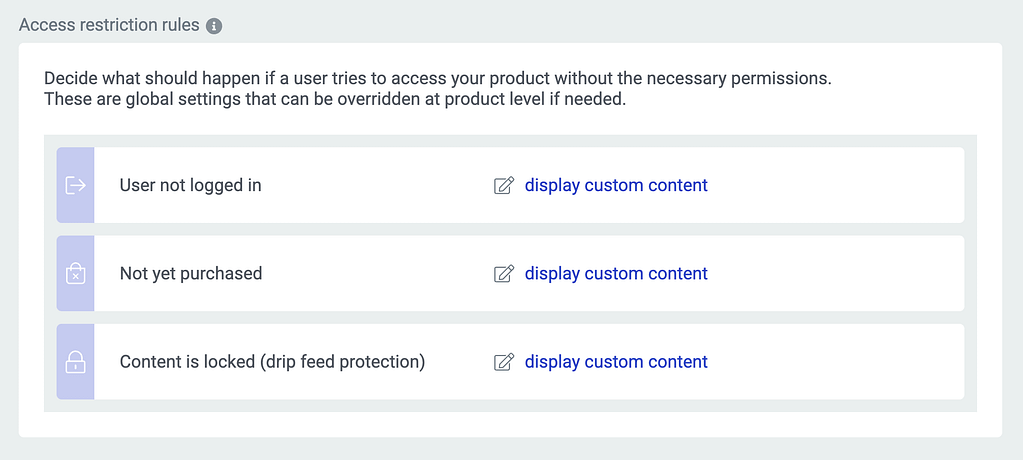
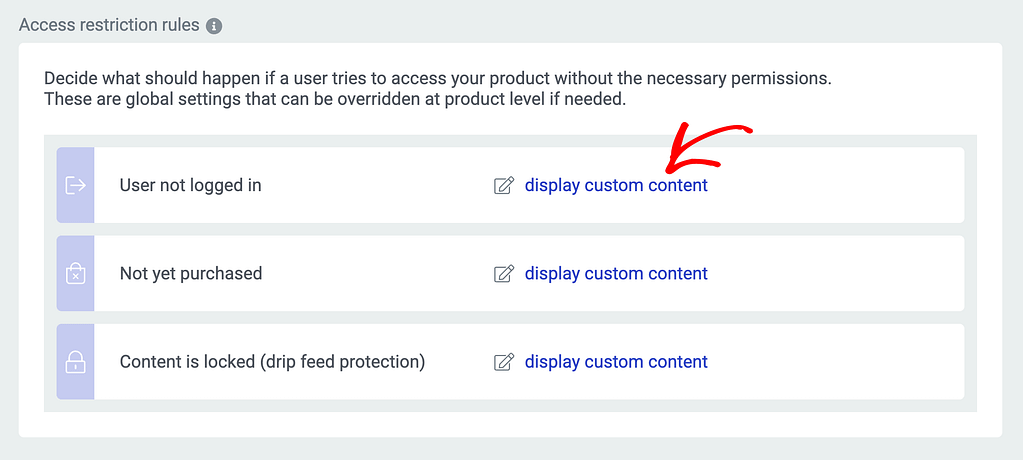
The Thrive Apprentice Access Restrictions for a product will let you decide what should happen when a website visitor tries to access a product without necessary permissions.
You can set the access restriction behavior depending on the three contexts as listed below.
- A website visitor tries to access a course that is only available to logged in users – this occurs when a non-logged in visitor to your site tries to access any course that is not public. Read more here.
- A website visitor tries to access a course that they don’t have access to – this occurs when a logged in user tries to access a premium course without purchasing it. Read more here.
- A website visitor tries to access a course that is locked due to drip feed protection – this occurs when a user tries to access a course before it is sent out through the drip. Read more here.
Restricting Access for Non Logged In Users
This setting allows you to manage the action to be taken when someone tries to access the product without logging in to your website.
To update the action you want when a user is not logged in, click on the action to see the options you have.
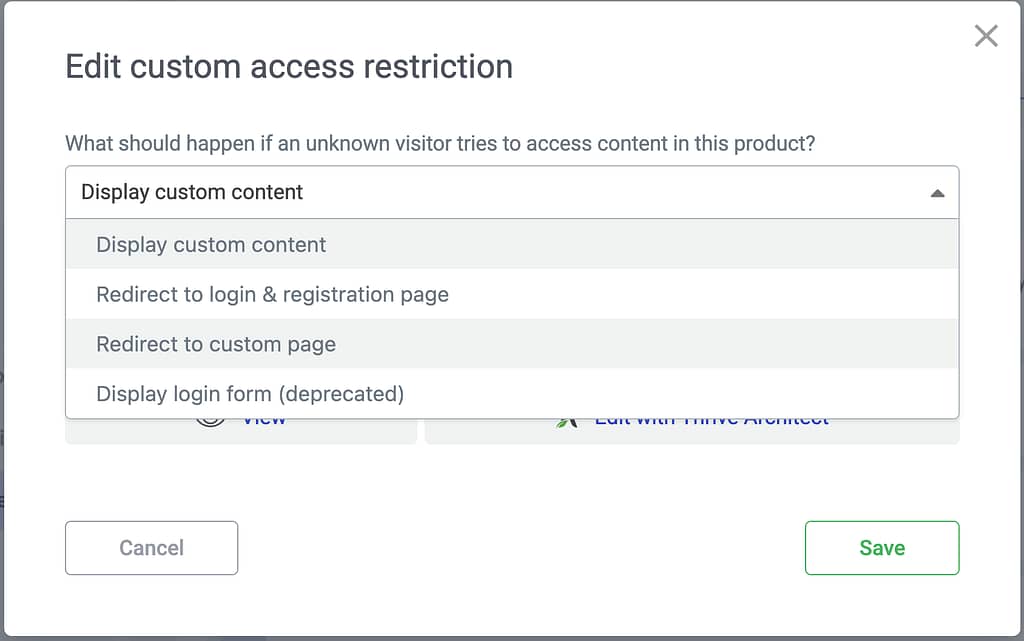
When you click the action, you’ll see a popup where you have to select what happens when a non-logged in user tries to access a course. Click the dropdown on the popup to view and select the available option.
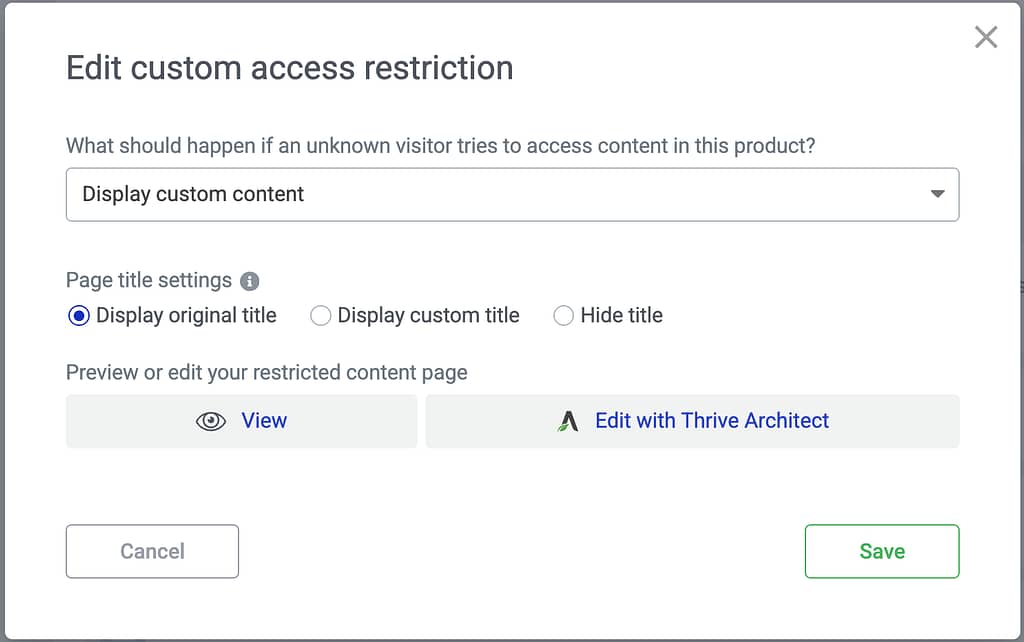
Here are the options available to you:
- Display custom content: This will allow you to display a custom content page that you can view or edit using the available options.
- Redirect to login & registration page: Selecting this option will redirect the user to the login and registration page. You can also decide which would be the default state of the form shown to the users, as well as whether you want to redirect them to the content they were trying to access after successful login.
- Redirect to custom page: You can use this option if you want to redirect the user to a custom page. You can search an already existing page from your website, or create a new one directly from this pop-up.
After you select the action and the settings that follow, click Save.
Access Restrictions for Users Who Have Not Yet Purchased
This section allows you to decide what happens if a user is logged in, but tries to access one of your courses that they do not have access to.
To update the action, click on the action to see the options you have.

When you click the action, you’ll see a popup where you have to select what happens when a user who has not purchased a course tries to access it. Click the dropdown on the popup to view and select the available option.
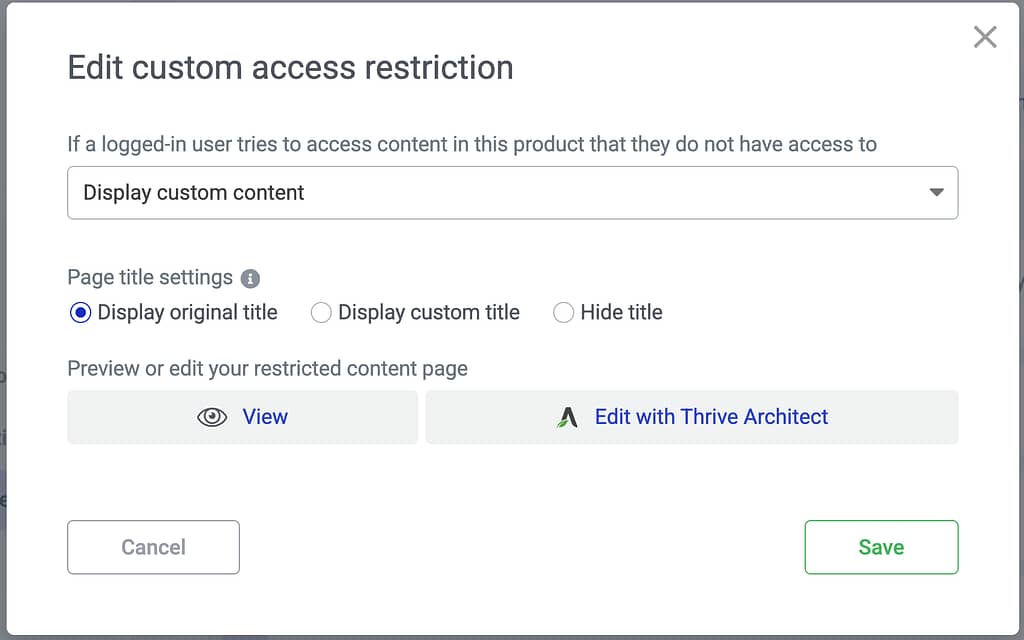
Here are the options available to you:
- Display custom content: This will allow you to display a custom content page that you can view or edit using the available options.
- Redirect to custom page: You can use this option if you want to redirect the user to a custom page. You can search an already existing page from your website, or create a new one directly from this pop-up.
After you select the action and the settings that follow, click Save.
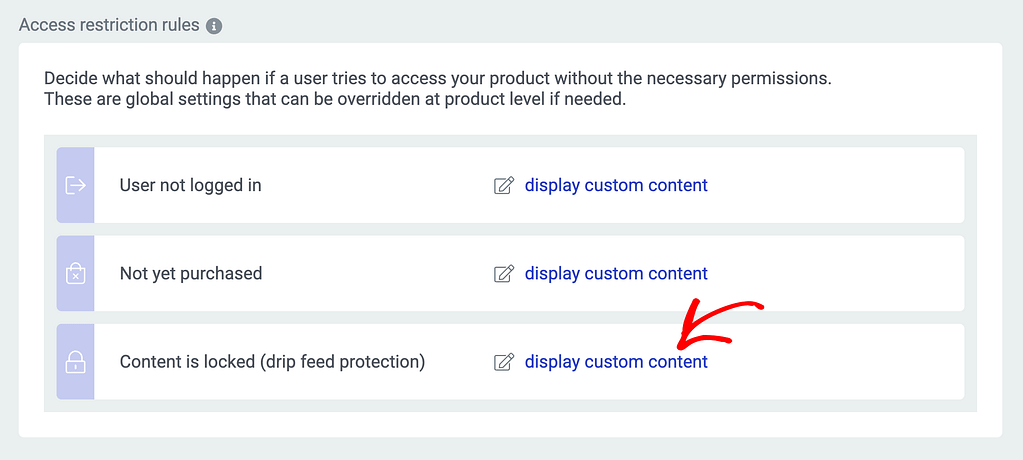
Access Restrictions for Locked Content
This applies to the scenario where the user has access to the content, but the content is being dripped, and the piece of content they are trying to access has not yet been unlocked.
To update the action, click on the action to see the options you have.
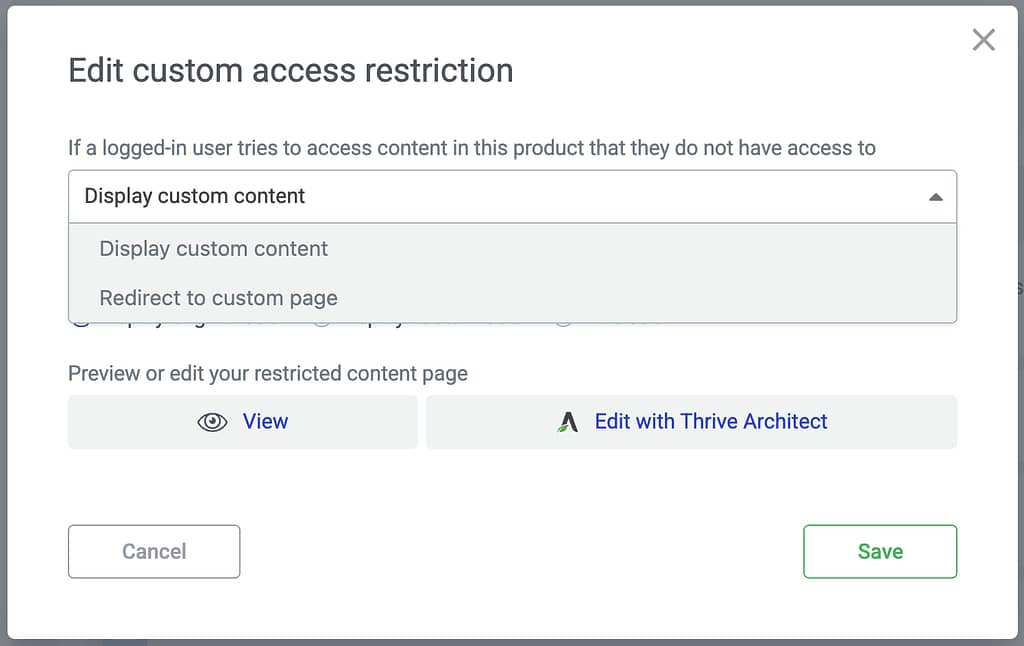
When you click the action, you’ll see a popup where you have to select what happens when a user has access to this product but visits content that is not yet available according to the drip schedule conditions. Click the dropdown on the popup to view and select the available option.
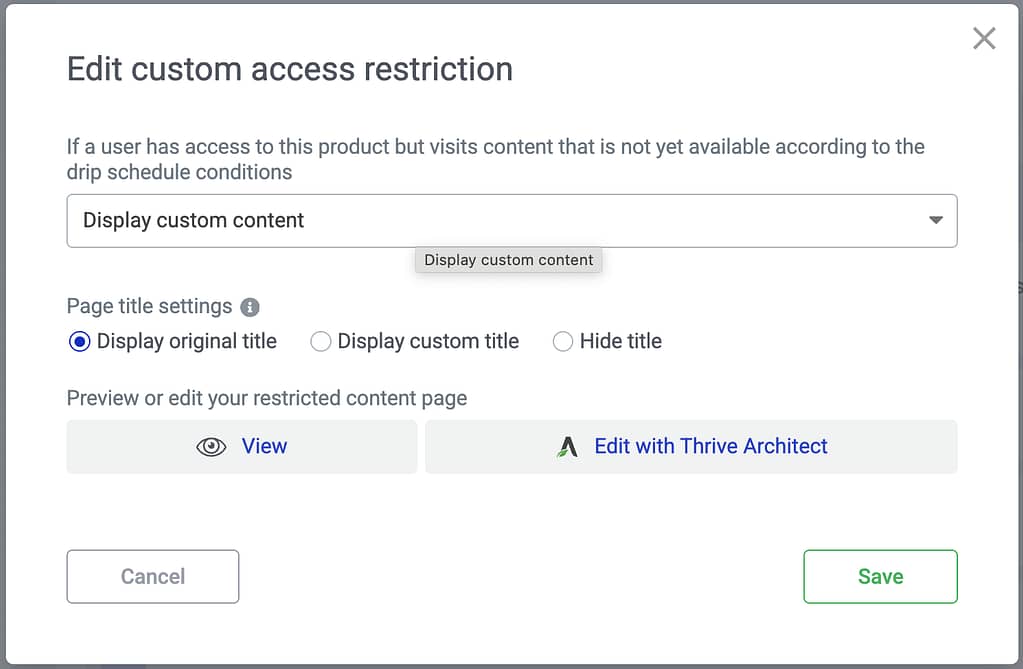
Here are the options available to you:
- Display custom content: This will allow you to display a custom content page that you can view or edit using the available options.
- Redirect to custom page: You can use this option if you want to redirect the user to a custom page. You can search an already existing page from your website, or create a new one directly from this pop-up.

We’ve just seen how you can access the and set the Login and Access Restriction rules in Thrive Apprentice.
The method explained above helps you add access restriction rules to all the Thrive Apprentice products on your website.
Next, if you want to customize access restriction rules for every single product or want to change it for one specific one, you can refer to our document that explains access restriction rules at product level.