Do you want to offer the first lesson from a paid course for free? This will not just give users an idea about what to expect from the course, but help you increase their curiosity or interest in knowing more by purchasing the course.
Thrive Apprentice lets you offer the first lesson of a course for free with a few easy steps.
In this article, we’ll show you how you can mark a Thrive Apprentice course as paid and give out its first lesson for free.
- The Access Requirements and Restriction Rules for Thrive Apprentice Products
- Marking the First Lesson in a Course as Free
The Access Requirements and Restriction Rules for Thrive Apprentice Products
Before you proceed to mark the lesson as free, please ensure you’ve set the right Access requirements and Access restriction rules on the product individual page.
A product acts as a container that contains your course which you want to sell on your website.
To manage the Access requirements of a product, open your WordPress admin area, navigate to Thrive Dashboard >> Thrive Apprentice, and click on Products in the left panel.

On the Thrive Apprentice products page, click on the product you want to make this change to.
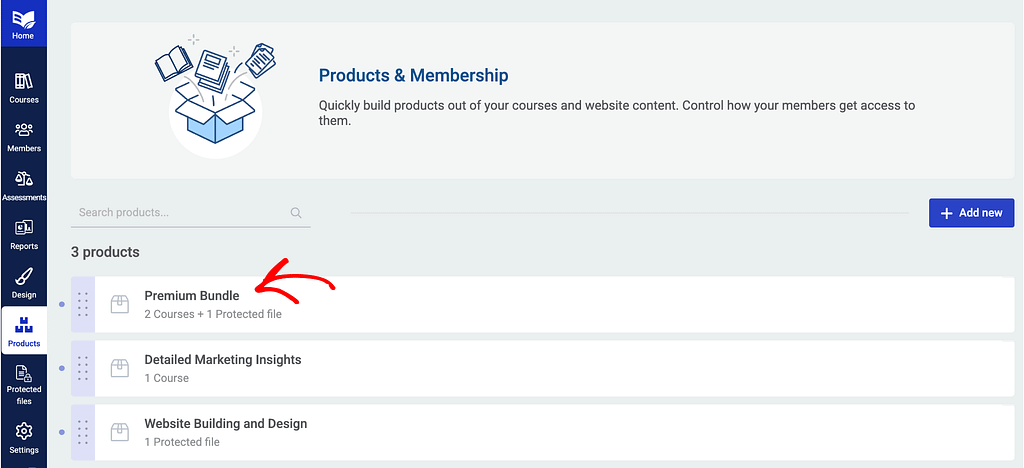
On the individual product page, you’ll see a left column with the options to manage the Access requirements and the Access restriction rules for the product.
You can refer to the following documents that will help you set these up.
Marking the First Lesson in a Course as Free
To mark a lesson as free, we need to begin by opening the course page in Thrive Apprentice.
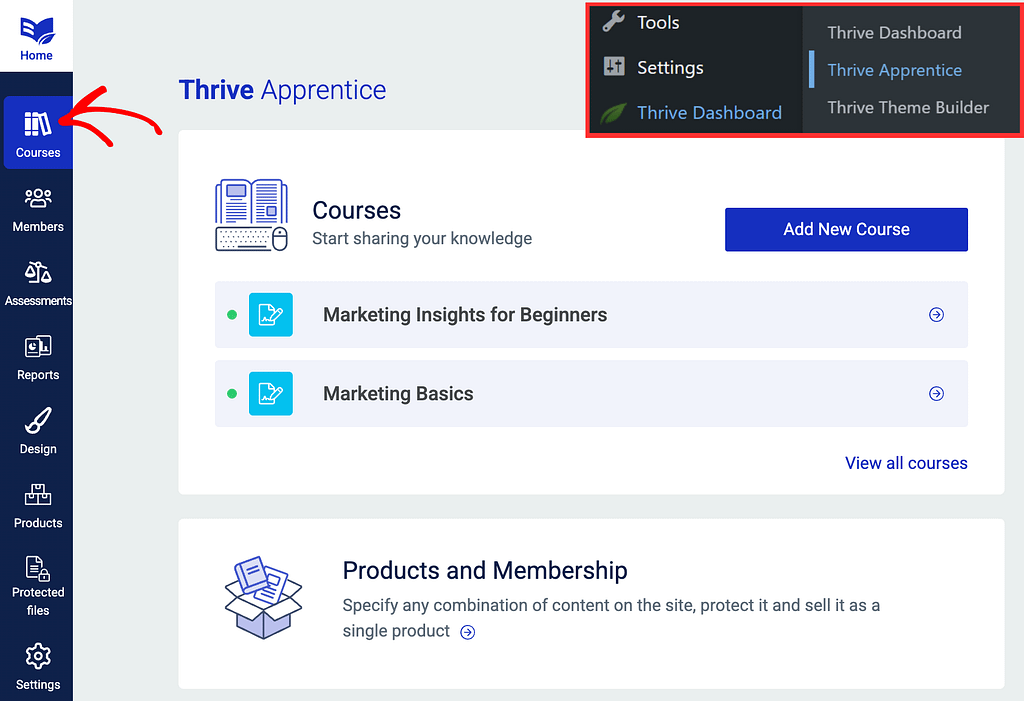
To do so, start by opening your WordPress admin area, navigate to Thrive Dashboard >> Thrive Apprentice, and click on Courses.
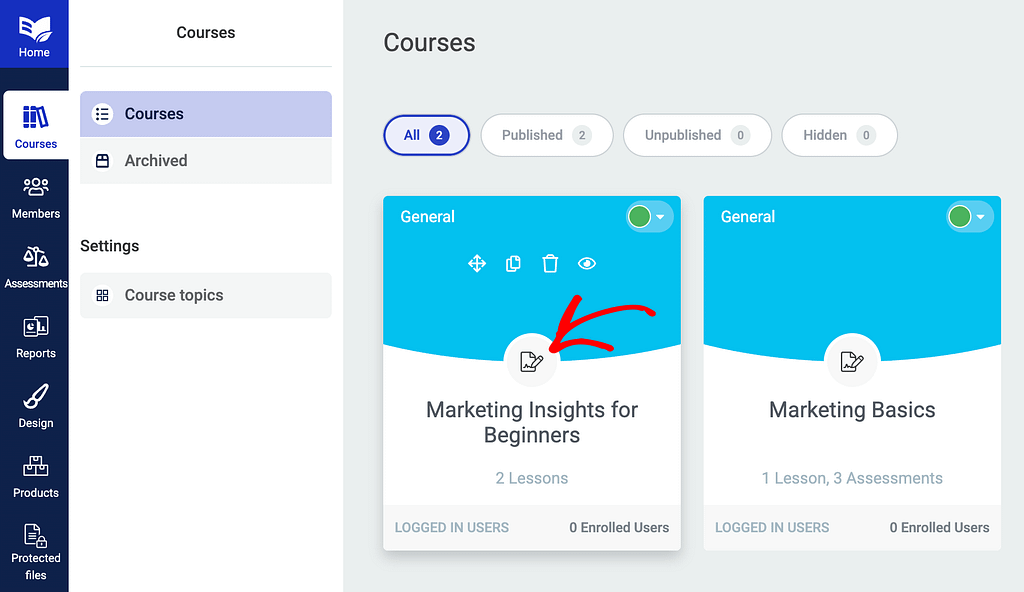
On the Thrive Apprentice courses page, click the course you want to add the free lesson to.
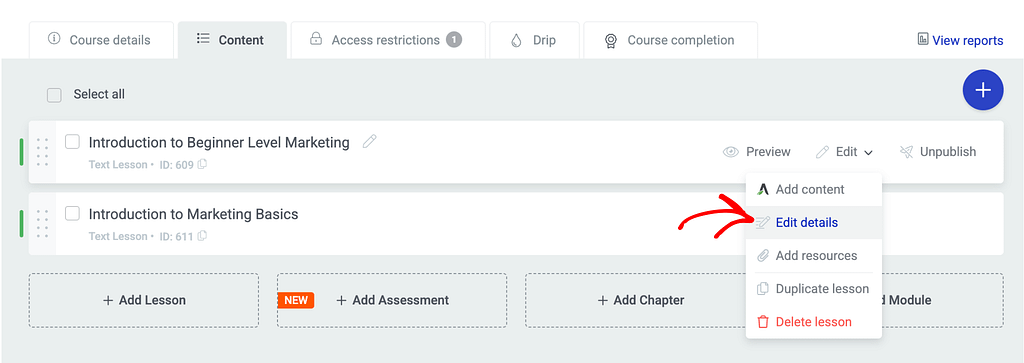
On the individual course page, click the Content tab to open it.
The Content tab will display the lessons or other form of content you’ve added to the course. If you haven’t added a lesson yet, you can read our document that will help create and publish a lesson in Thrive Apprentice.
In the content tab, hover on the lesson you want to mark as free, hover on the Edit option and click Edit details.
Clicking Edit details will open a popup where you can edit things like the lesson name, type, slug, etc.
On this popup, you’ll see a setting that says, “Give users free access to this content?”
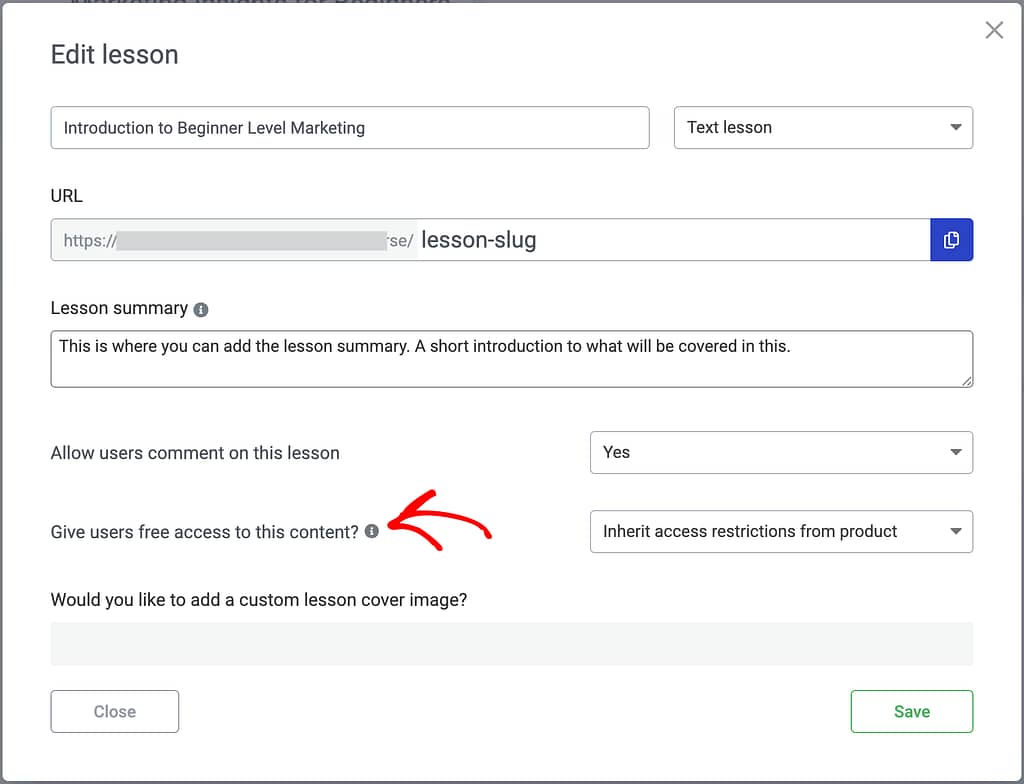
Besides this option, click on the dropdown to see and select the kind of users you want to give this lesson for free.
The options are:
- Free for logged in users (require registration): Offer the lesson for free for all the users who have logged in to your website.
- Free for all users (no registration required): Offer the lesson for free to everyone who visits your website whether they have registered or not.
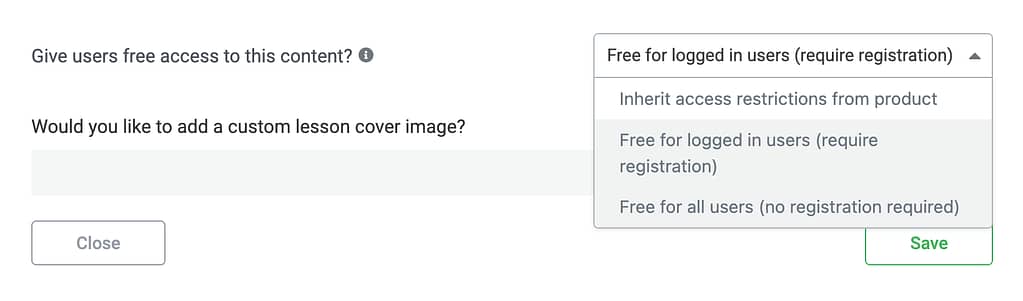
When you’ve selected one of these options, click the Save button on the popup.
We’ve just seen how you can give out a Thrive Apprentice lesson for free while the remaining part of the course can remain paid.
Next, do you want to schedule your lessons in a course? Here’s our document that will help.