Managing your automations is very easy, and it only takes several clicks to apply the necessary changes to your workflow.
We will first have a look at how you can manage individual automations, and later on, we will look into managing automations directly in the main automation dashboard.
Individual Automations
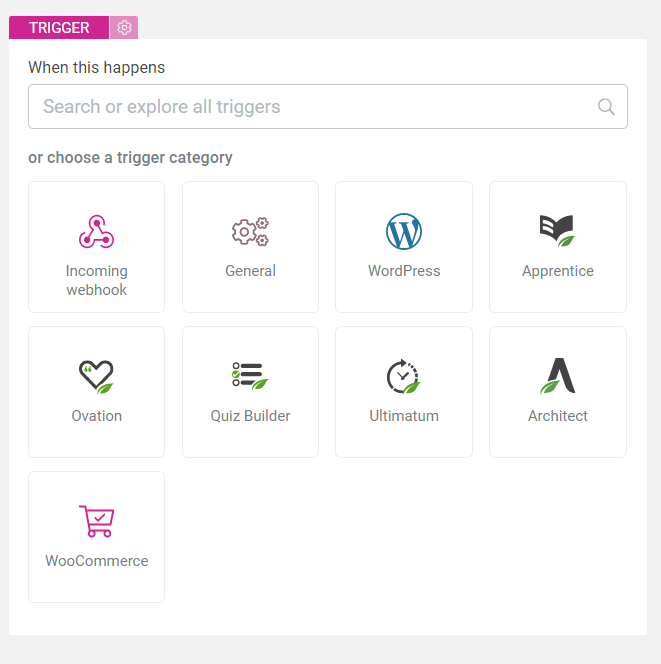
Every automation starts with a “Trigger”. So, after you click on the “+Add New” button, you will be taken to this dashboard where you can start setting up your automation:
Here’s where you can add new filters, actions, delays, and so on by clicking on the plus icon:
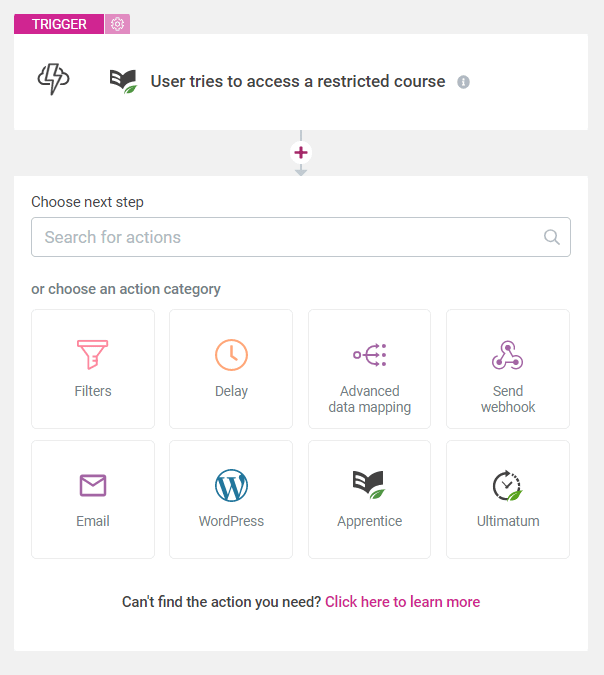
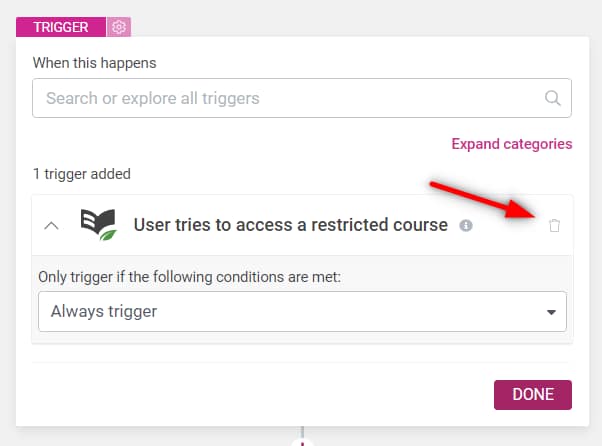
Just as easily you can delete parts of your automation.
The triggers can be removed by clicking on it and then use the trash icon:
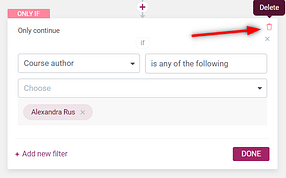
The actions, filters, and delays can be removed the same way:
Automations Dashboard
After you’ve created your first automation, you can return to the Thrive Automator dashboard and bring changes to it, if you want:

First off, you can use these checkboxes to select multiple automations (or select all of them by clicking on the uppermost checkbox) :

As soon as you make your selection, you will notice that several new icons have become available in the dashboard:
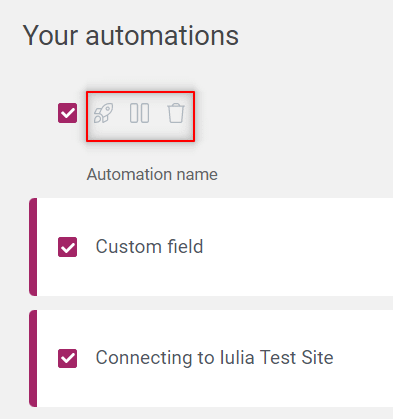
The first icon will allow you to publish the selected automation with only one click:
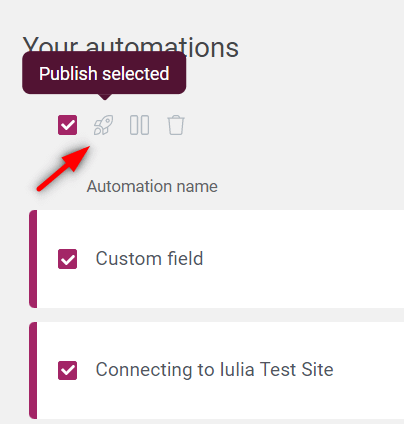
The following option will do the exact opposite, and unpublish the automation:
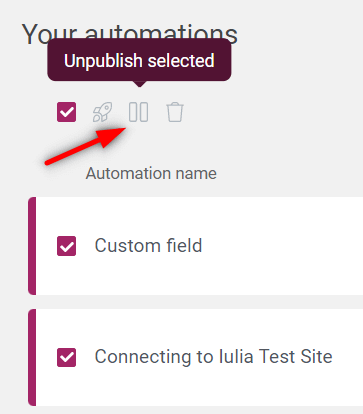
And lastly, from the trash icon you can delete it:
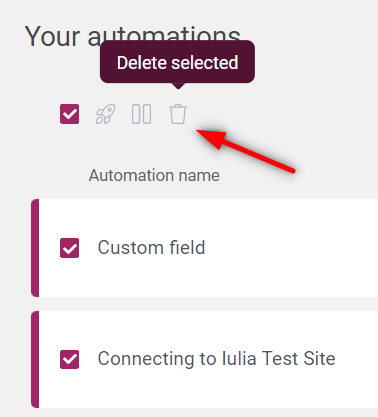
So these actions can be performed on single, multiple, or all automation, depending on what you have selected in this dashboard.
Let’s have a look at one automation and how you can interpret the various icons located on the automation card:

If you hover over the end of your automation name, a pencil icon will show up, that you can use if you want to rename it:
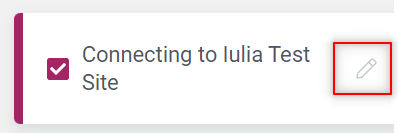
Simply click on it and type in the new name for your automation.
Next, if you hover over different parts of your automation, you can identify the triggers that are setting off actions on your website:

For example, in the above automation, I have a Thrive Quiz Builder trigger that sets off a Thrive Ultimatum campaign. So, whenever a visitor completes the quiz that I’ve set as my trigger and meets the criteria that I’ve set as my filter, that visitor will be able to view the Thrive Ultimatum campaign that is triggered by the quiz completion.
Next, let’s move on to the active/inactive option that you can very easily use in order to change the status of the automation:

Lastly, if you hover next to the toggle, you will be able to access several additional options:

Click on “Edit”:
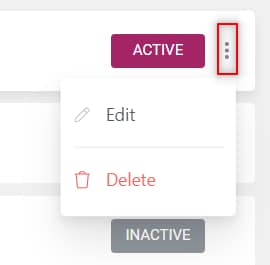
This will take you to this view where you can edit the flow of the automation:

Clicking on “Duplicate” will mean that a new duplicate version of the existing automation will be created in your dashboard:
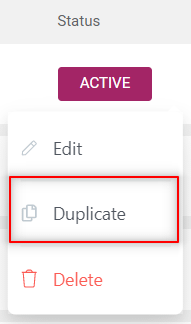
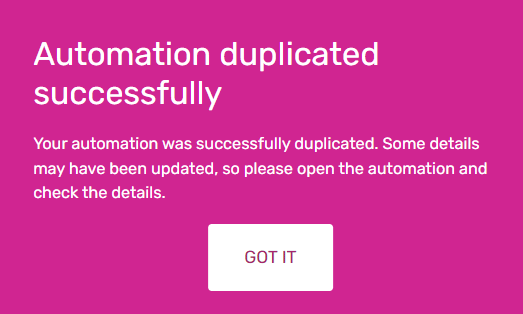
When you click on “Duplicate” you’ll see this message, letting you know that the automation was successfully duplicated. However, as Thrive Automator supports rather complex automations, it’s highly recommended to check the automation before activating it:
The duplicate version will be inactive, by default, and will be listed as a copy of the original one:

|
Important! If you are using the “Duplicate” option on an automation that has incoming webhook, it’s worth keeping in mind that the duplicate version will have a new webhook. The duplicate automation will not be fired by the same webhook as the original one, because generated webhook URL where the data needs to be sent is unique per automation. |
After you make sure that your duplicate automation is properly set up, don’t forget to activate it:

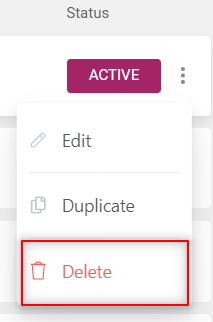
Lastly, if you click on “Delete”, you will remove the automation:
And that’s pretty much it! This is how you can manage your automations from the Thrive Automator dashboard.
Feel free to check out other Thrive Automator articles available in our dedicated knowledge base section linked here.