When editing a Thrive Ultimatum campaign, you may notice an “Open Campaign” card on the right, providing you the “Activate Lockdown” option:
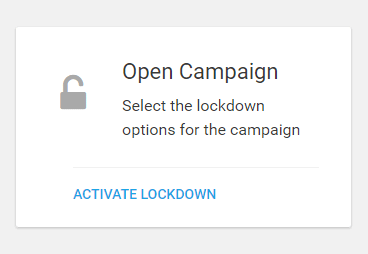
A lockdown campaign is one whose promotion page can be accessed only by recognized visitors or one whose access to the promotion page is restricted outside of the campaign duration.
This can be useful when you set up a sales page, but you don’t want anyone to be able to access it before your campaign starts or you want to set up an offer that’s available to subscribers exclusively.
How to set up a Lockdown Campaign for a Fixed Dates Campaign
In the campaign settings, choose the fixed dates option, then set up your campaign by following the steps in this article (link to absolute).
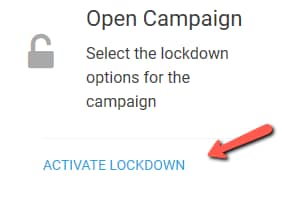
Click the “Activate Lockdown” button:
In the next step you can choose the 3 pages that can be defined in a lockdown campaign:
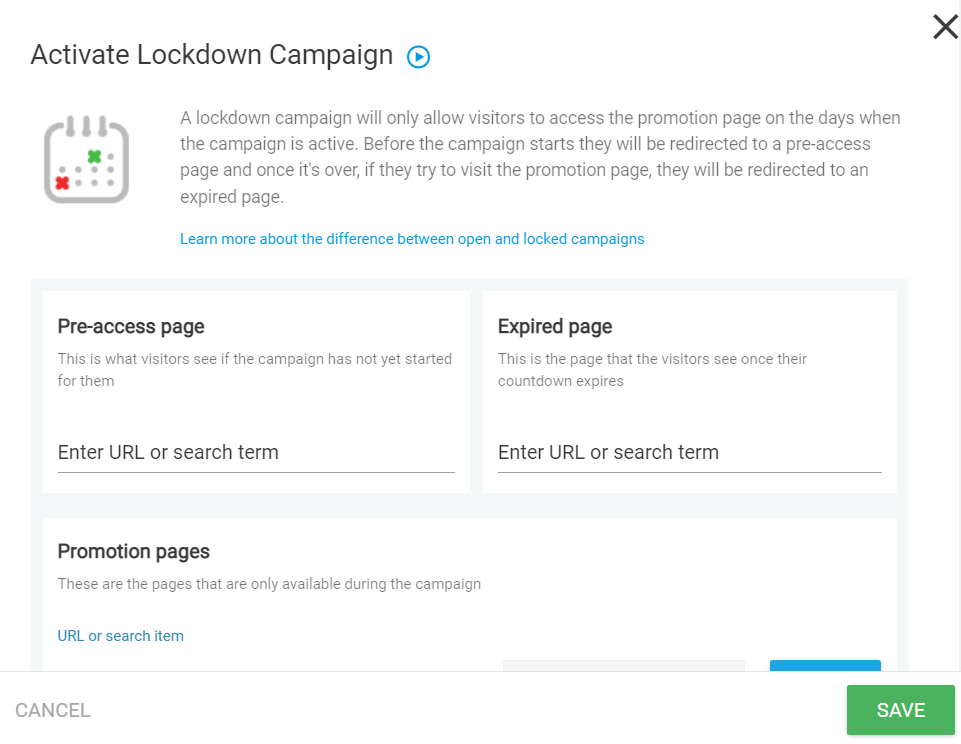
Pre-access page: this is what visitors see if the campaign has not yet started for them.
Expired page: this is what visitors see once their countdown expires.
Promotion page: this is the page that is only available during the campaign.
You can add more than just one “Promotion pages”, by clicking on the “Add New Promotion Page” button:
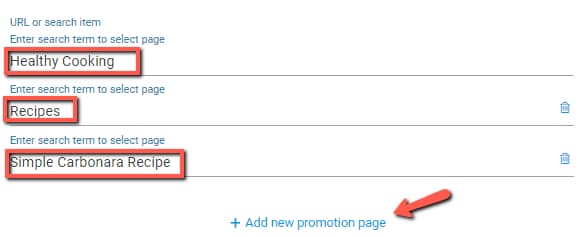
Furthermore, if you want to delete the pages, you can do so by clicking on the “trash” icon:
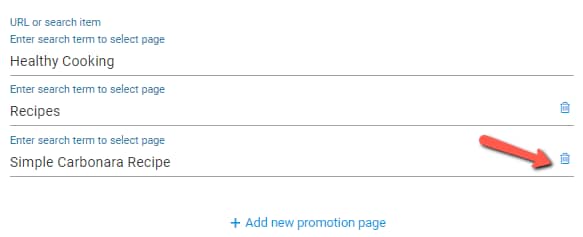
Note: To make sure your search list is always displaying accurate results, try adding the searched content between quotation marks.
How to set up a Lockdown Campaign for a Recurring Campaign
You will need to set up your recurring campaign as described in this article and then the procedure is the same as above.
Click the “Activate Lockdown” button. In the next step, you will be able to define the pre-access page, the promotion page, and the expired page.
How to set up a Lockdown Campaign for an Evergreen Campaign
In the first 2 cases, access to the promotion page is allowed within the time interval when the campaign is active. Evergreen campaigns are triggered by user actions, technically they’re always active, so the use case is different here.
With Evergreen campaigns, the purpose of the lockdown feature is to allow only recognized users to access the promotion page.
The first step is to activate the lockdown when setting up the campaign.
Click “Edit” to open the campaign settings:
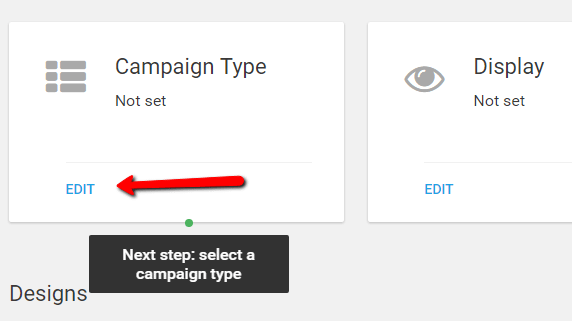
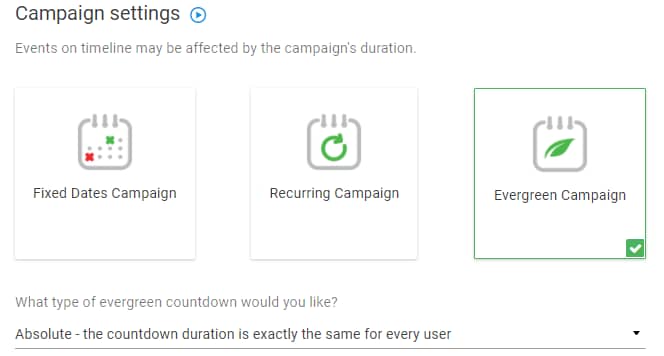
Then, choose the “Evergreen Campaign” type:
Switch on the toggle next to the “Activate Lockdown” field:
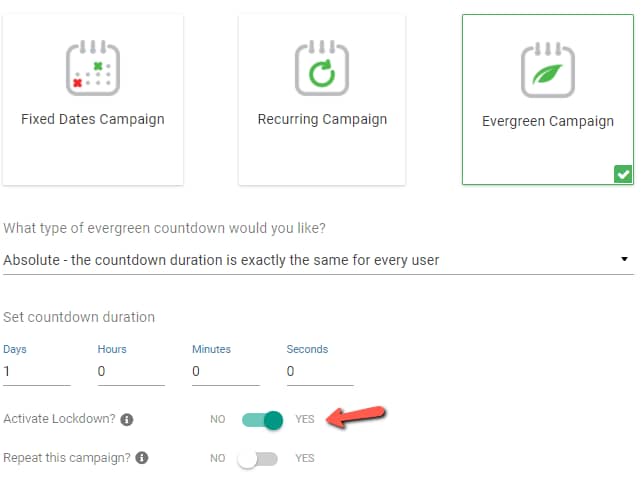
Once you set the Activate Lockdown option to “Yes” you will need to choose the campaign trigger.
In open campaigns, you can choose the trigger to be a Thrive Leads conversion (if you have Thrive Leads installed), the first visit to the site, or a visit to a specific page.
The options for a “Lockdown Campaign” are “When a lead generation form is submitted”, a “Visit to the promotion page” using the generated URL (it will be set up in the next step), or setting up a “3rd party event”:
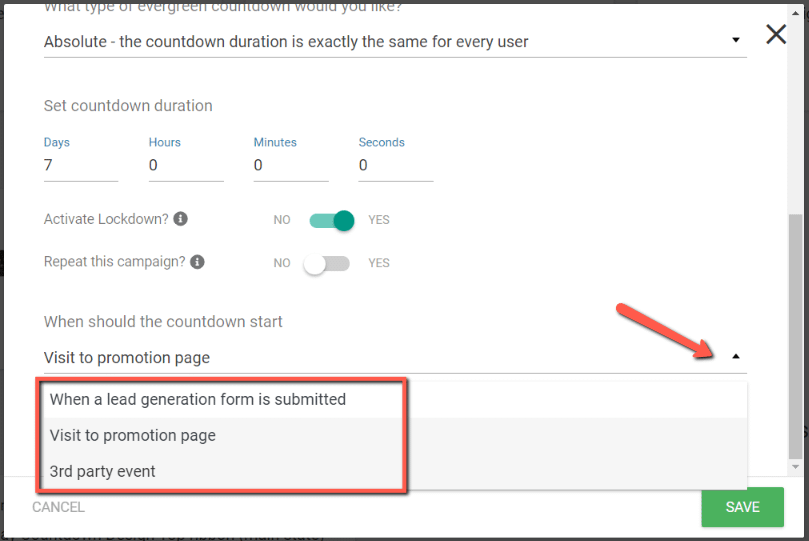
- The “When a lead generation form is submitted” trigger will start the campaign when someone subscribes via an opt-in form, as explained in this article;
- The “Visit to promotion page” option will start the campaign when the users visit the promotion page that is set from the Lockdown settings, explained here;
- The “3rd party event” will let you trigger a webhook that will start the campaign at a very specific time. You can find more details about this trigger type here.
After you chose the trigger and clicked “Save”, you can edit the “Lockdown Campaign” card:
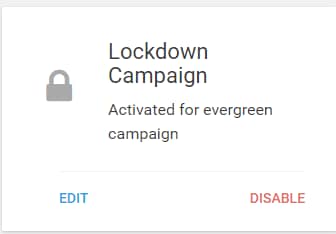
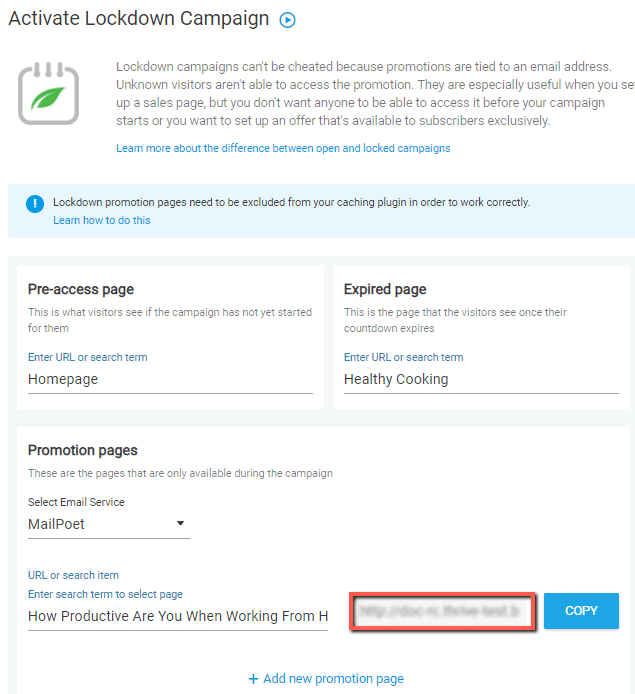
You need to set up the pre-access, promotion, and expired pages like in the other campaign types, but their role is a bit different now.
The goal here is to give access to the promotion page only to recognized users.
For example, if you want to run a promotion where you offer a product at a discounted price, which should only be available to your current subscribers, this feature will be useful.
It allows you to send them an email with a generated URL that tags them so they get access to the page. Anyone else would be restricted from accessing it.
Pre-access page: this is what visitors see if the campaign has not yet started for them.
Expired page: this is what visitors see once their countdown expires.
Promotion page: this is the page that is only available during the campaign. Just as described above, you can add more than one promotion page.
After you set up the 3 pages, you will notice the generate email link option next to the promotion page search field. This option is the way the plugin will know who should have access to the promotion page. You generate a URL that you send to your current subscribers:
If you choose Mailchimp, Thrive Ultimatum will generate a URL that looks like this:
https://yourdomain.com/your-promotion-page/?tu_id=370&tu_em=*|EMAIL|*
You can then paste it into an email that you send to your subscribers. If someone clicks on the link, the campaign will trigger for them and they get access to the promotion page.
If someone else (non-recognized user) lands on the promotion page (maybe a subscriber gave them a direct link to yourdomain.com/your-promotion-page/) they will be redirected to the pre-access page.
If a recognized user (someone who clicked on the link they received through email) wants to access the promotion page after the campaign has ended, they will be redirected to the access expired page.
Example of an Evergreen lockdown campaign
I am selling a software solution, and I want to give my existing subscribers a discount that’s available to them for 3 days once they accessed the promotion page, but I want to be sure that only they can access it.
1. Set up my discount sales page at domain.com/sales-page.
2. Set up the pre-access page at domain.com/pre-access. This will contain an opt-in form, so those who cannot access this promotion have a way to sign up so they can receive future offers.
3. Set up the expired page at domain.com/expired.
4. Create an evergreen campaign, activate the lockdown, and choose its trigger to be “Visit the promotion page”.
5. In Display Settings choose to show the campaign on all pages of the site.
6. Create a top ribbon to be displayed.
7. Edit the lockdown campaign, assign the 3 pages, and generate the URL I’ll be sending to my subscribers.
When user A opens my email and clicks on the link, they will land on my promotion page, and they will also trigger the campaign. From then on, if they navigate away from the promotion page, they will see the top ribbon on other pages, reminding them about the offer.
If user B is not a subscriber but somehow they got a direct link to domain.com/sales-page and they want to grab the product for the discounted price, when trying to reach this page, they will be redirected to the pre-access page. They won’t be able to get the discount, but they can opt-in to future offers.
If user C, who is a subscriber clicks on the link in the email they received a month after the campaign ended, they will be redirected to domain.com/expired.
These are the steps for setting up a “Lockdown Campaign”. If you need more information about Thrive Ultimatum, make sure to check out our dedicated knowledge base section.
Hopefully, you found this article useful. If so, please make sure to rate it with a smile below 🙂